Last updated: November 12, 2026
These Christmas resin ideas give you handmade ornaments, gifts, and decor that look polished even if you are new to pouring. Start with the ornaments right below, then work your way down to coasters, gifts, and small projects.
Every project here works with a basic silicone mold and a clear casting or craft epoxy, so you can pick one idea and start this weekend.
Christmas Resin Ideas for Ornaments You Can Hang This Year
Ornaments are the easiest place to start because the molds are small and forgiving. A single pour can become a gift tag, a tree ornament, or a keepsake for someone you love.
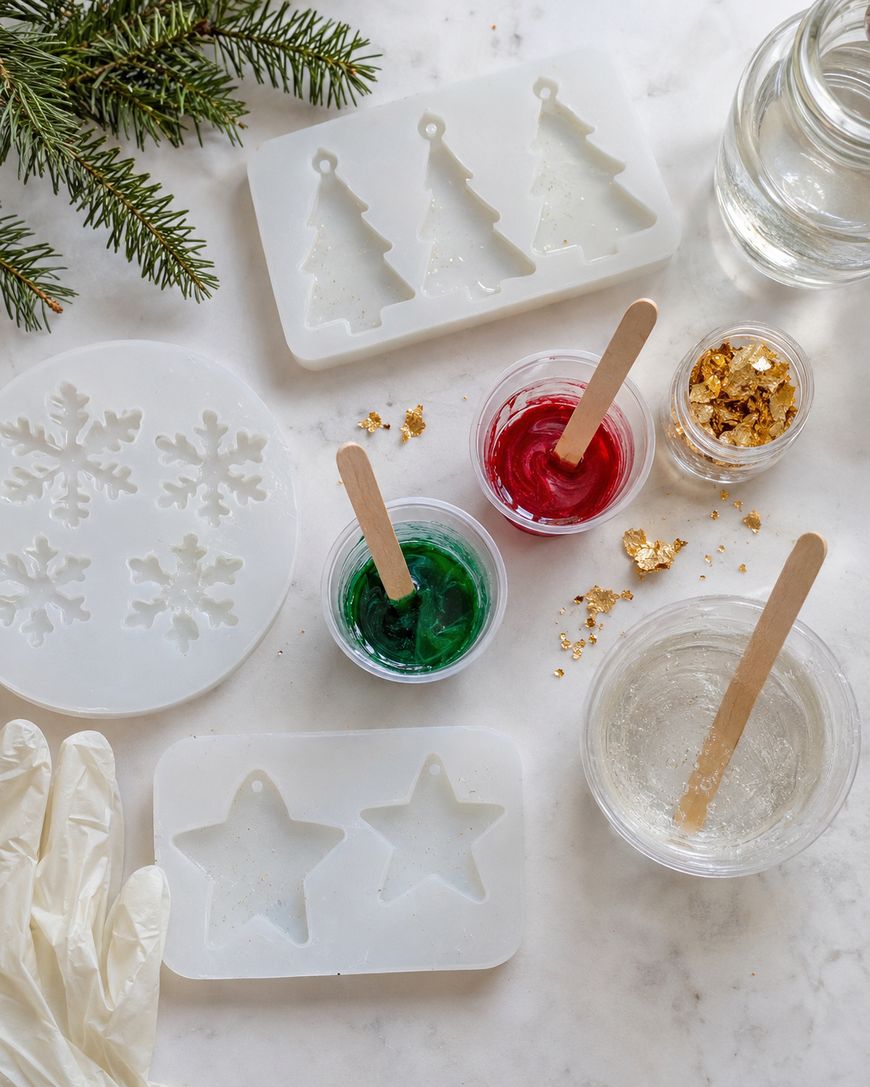
These three ornament styles show off what resin does best: it holds glitter, flowers, and tiny treasures in place like a snow globe without the water.
Glitter Snowflake Ornaments
Use a snowflake silicone mold and mix a little fine white or silver glitter into the resin before you pour. The glitter settles as the resin cures, which gives each snowflake a soft, frosty depth.
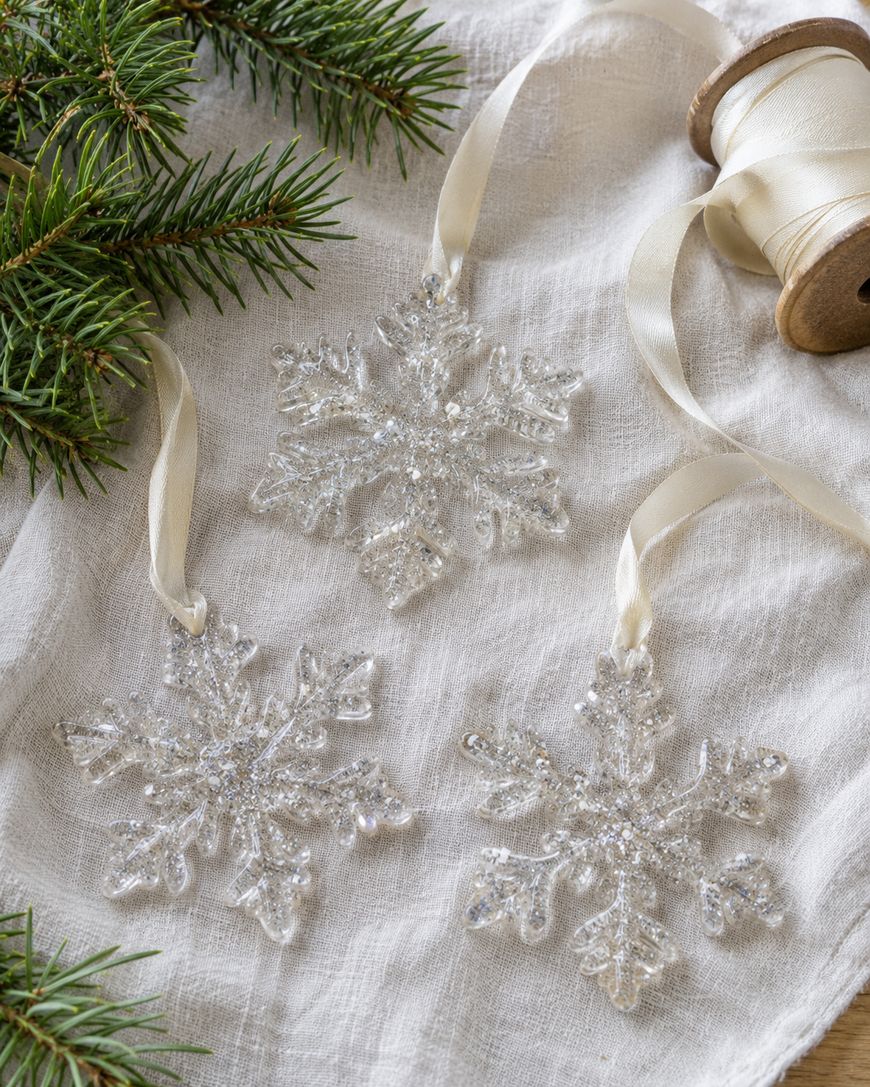
For extra sparkle, add a thin layer of iridescent flakes on top of the first pour. Once the ornament is fully cured, pop it out and drill or insert a small eye pin for the ribbon.
Dried Flower and Greenery Ornaments
Tiny sprigs of dried pine, baby’s breath, and berries look like a frozen winter garden inside a round or oval mold. Make sure every botanical is completely dry before it goes into the resin, because moisture can cloud the finish.
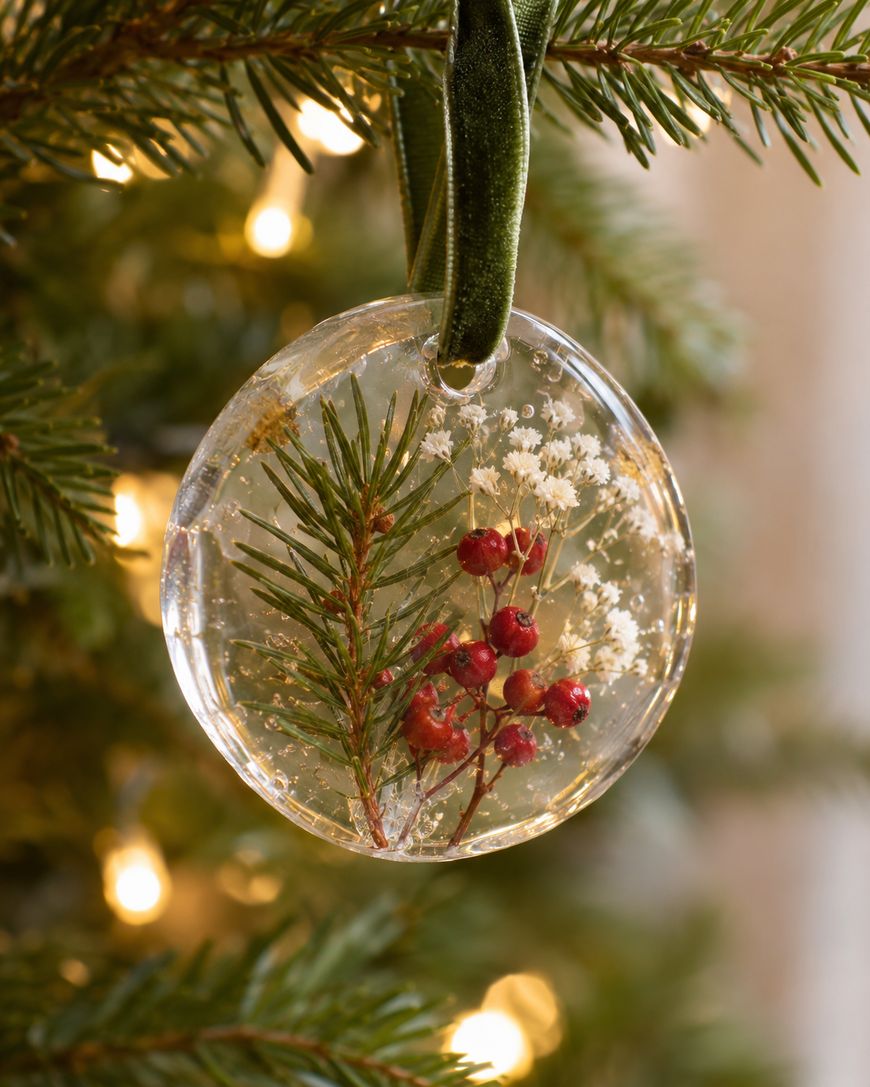
Seal delicate pieces first by following the resin maker’s advice for preparing natural materials. Then arrange them with tweezers so the prettiest side faces the front.
Photo and Keepsake Ornaments
A printed family photo, a dated snippet of ribbon, or a child’s tiny drawing can all be sealed into a flat ornament mold. These make wonderful gifts for grandparents because they capture one year in one small piece.
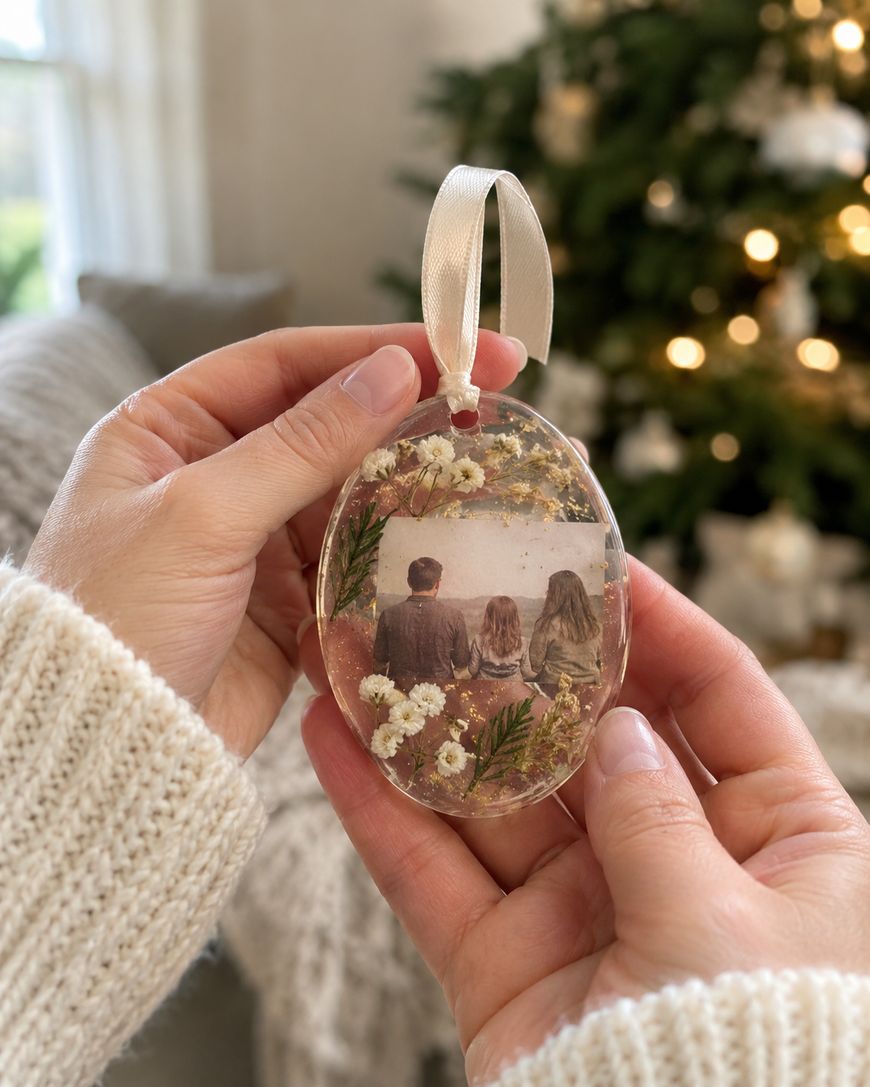
Print the photo on regular paper, seal both sides according to your resin’s instructions, and place it face down in the mold. Add a short line of text on the back with a paint pen once the piece has fully cured.
Resin Coasters and Trays That Feel Like Christmas
Coasters are a classic resin project, and a festive set makes a lovely hostess gift. Round, square, and hexagon molds are all easy to find, and each shape lets you play with a different holiday look.
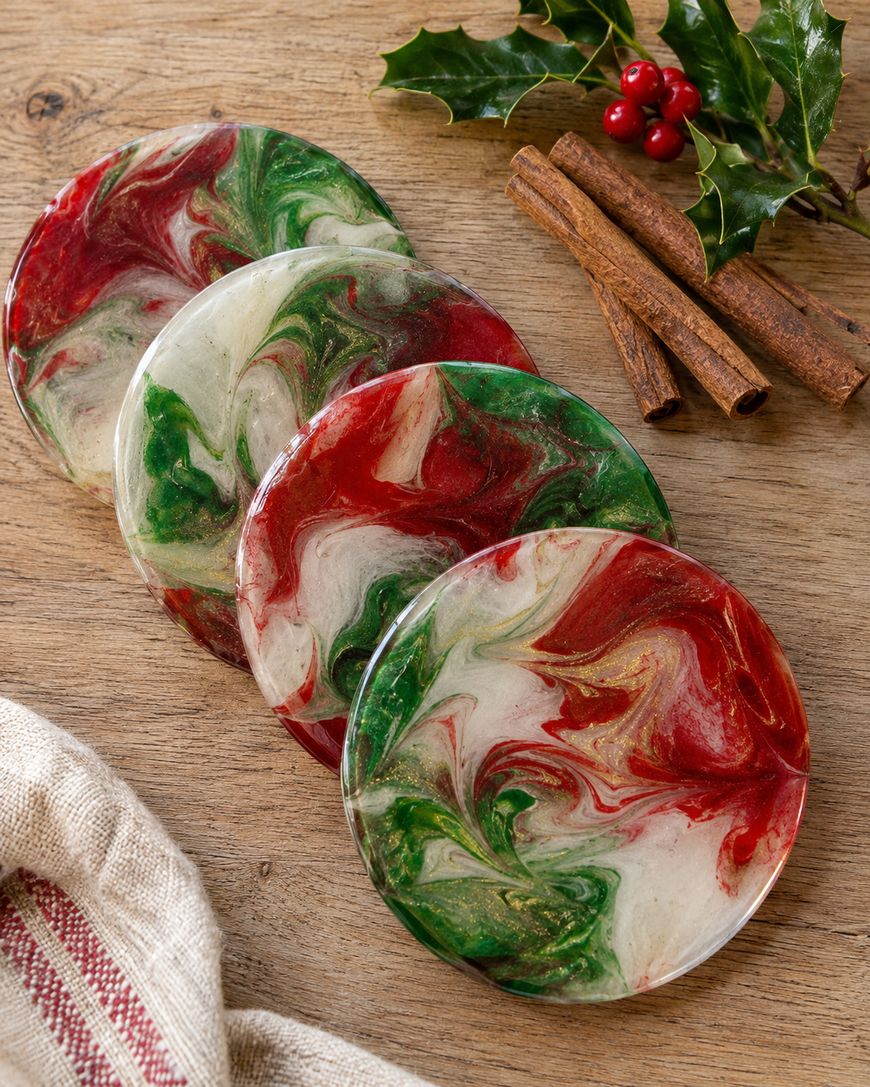
A marbled red and green swirl feels bold and cheerful, while a white and gold cloud pour feels more elegant for a neutral home. For a woodland look, try evergreen sprigs and cranberry-red pigment layered in two pours so the greenery appears to float.
Trays follow the same steps as coasters, just on a larger scale. Pour slowly, work on a level surface, and cover the piece while it cures so dust does not settle on the finish.
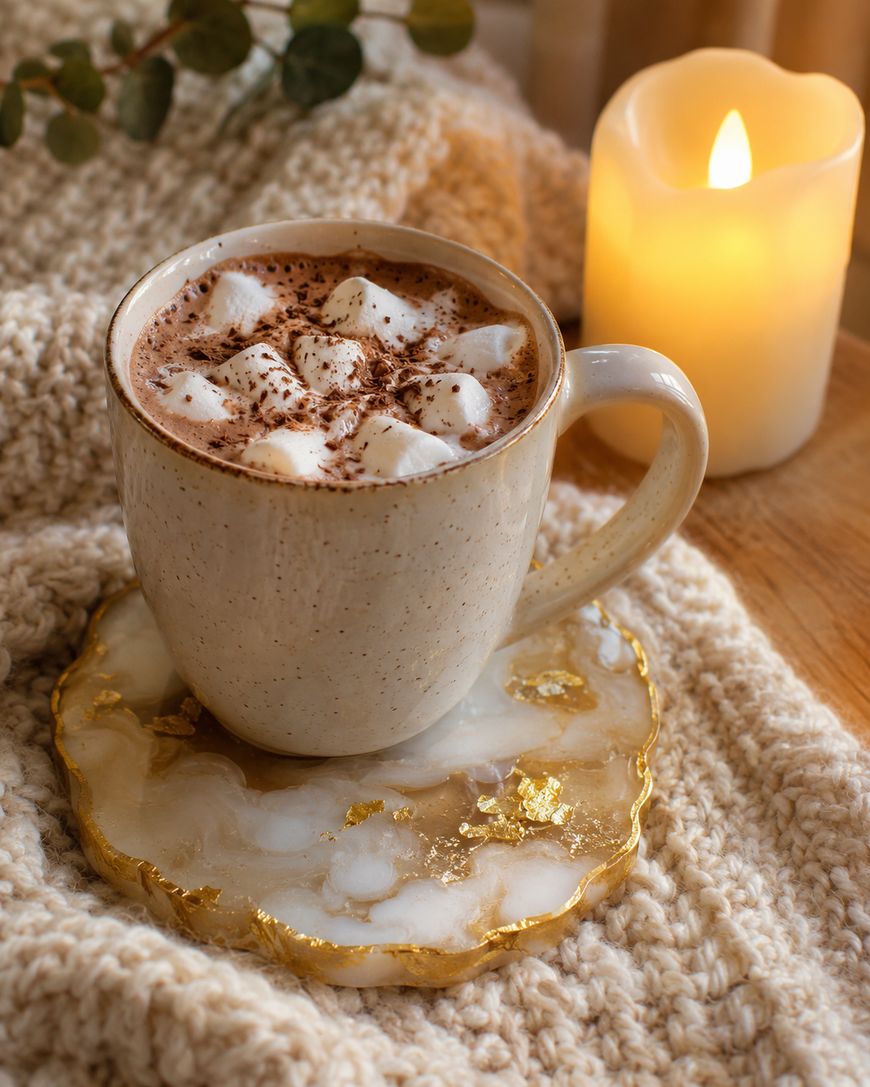
Keep in mind that cured resin can be damaged by heat and sharp tools. Treat coasters as decor for cold drinks and tea cups set down briefly, and check the resin maker’s product guidance on heat before you promise anything to a gift recipient.
Christmas Resin Ideas for Gifts Friends Will Keep
Resin gifts feel personal and look far more expensive than they are. Small pieces are also quick to make in batches, which saves time when you are shopping for a long list.
Think of these as little sparkly souvenirs that people will carry or display all year.
Keychains and Bag Charms
A small mold and a bit of glitter can turn into a keychain in a single afternoon. Try mini gingerbread men, candy canes, or tiny wrapped presents in bright pigments.
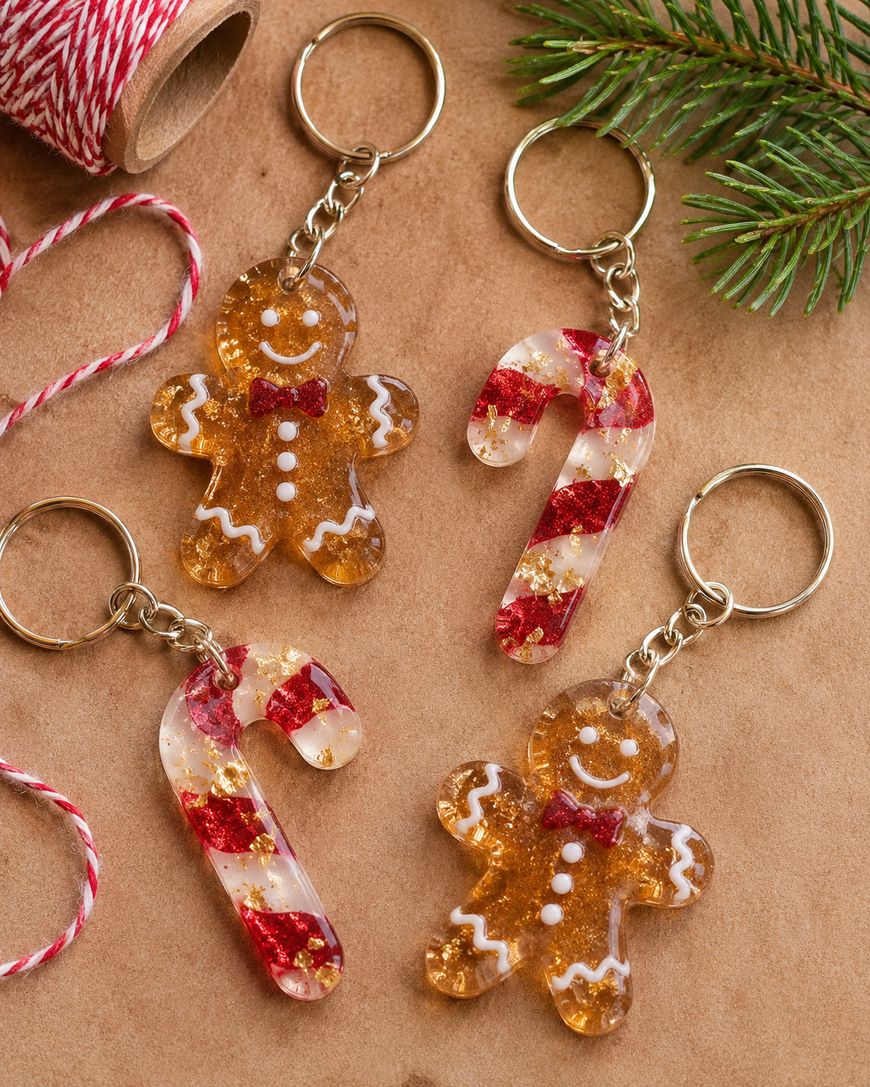
Add a metal key ring and a small charm once the resin has fully cured. Make a few extras, because everyone who sees them will ask for one.
Bookmarks and Ring Dishes
A long, narrow bookmark mold makes a perfect gift for readers on your list. Pour a thin layer of clear resin, lay in dried holly leaves or a pressed flower, and finish with a tassel through the top hole.

A shallow ring dish works the same way and doubles as a place for earrings by the bedside. Pigment it deep green, then add gold flakes for a festive jewelry catch-all.

Pressed Flower Pendants
A small round or teardrop mold holds a single pressed flower beautifully. Add a bail and a chain, and you have a necklace that looks like it came from a boutique.
Pair it with a handwritten card about why you chose that flower. The story makes a simple pendant feel truly special.
Resin Decor for the Tree, Mantel, and Table
Once you have the basics down, resin can move beyond small gifts and into the decor you display every December. These projects look best when you keep the color palette simple and let the shine do the work.

A resin star topper or a row of matching mini ornaments can pull your whole tree together. Choose two or three colors and repeat them across every piece.
On the mantel, a resin candle tray with embedded greenery looks pretty under LED candles. Use battery-operated candles only, since cured resin is not a safe surface for open flame.
For the dinner table, place card holders and napkin ring charms in matching resin shapes make each seat feel considered. They also double as favors that guests can take home.
Match the finish to your existing decor so the resin feels intentional. Clear pieces with gold flakes suit a glam table, while matte pigments in forest green and cream suit a rustic farmhouse mantel.
Group small pieces in odd numbers on a tray or cake stand for an easy styled look.
Gift Tags, Magnets, and Small Resin Pieces
Small molds are perfect when you want to make a lot of something quickly. A single pour in a multi-cavity tray gives you a whole set of tags or magnets at once.
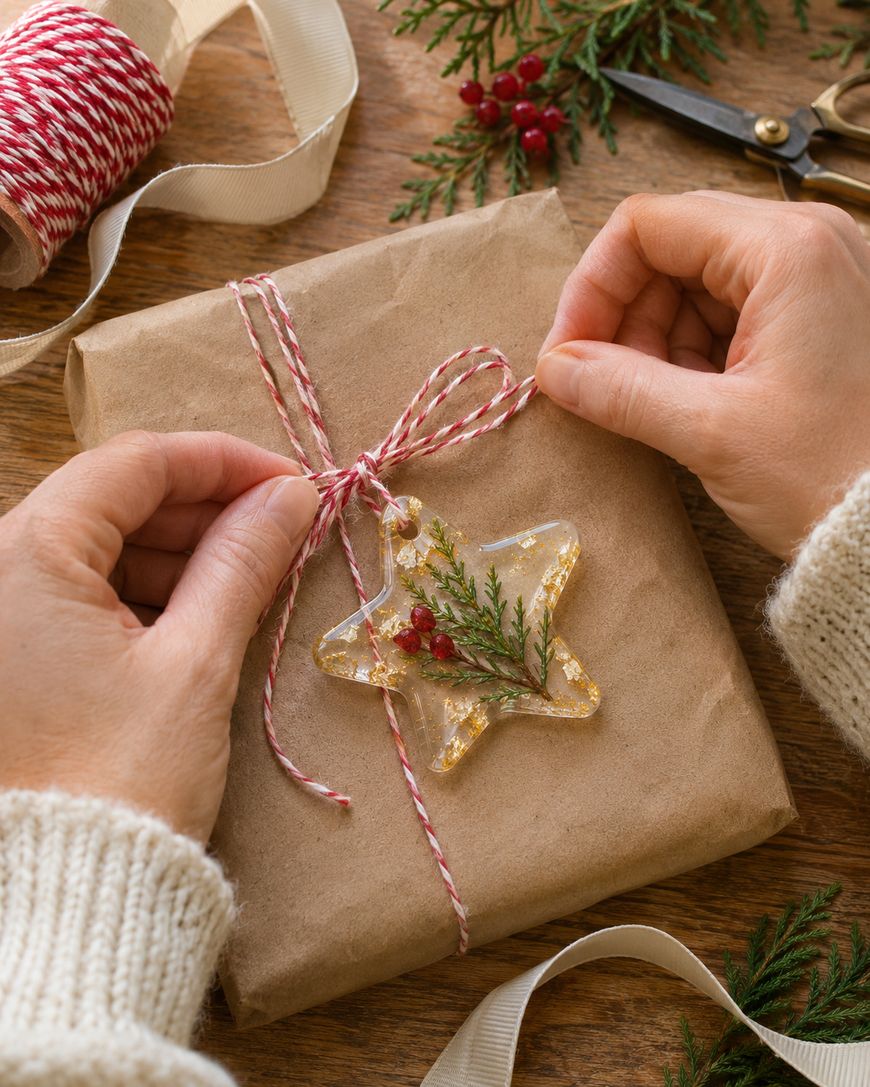
Name tags shaped like stars or trees can be written on with a paint pen after curing. Tie them onto wrapped packages with twine so each present has a keepsake attached.
Fridge magnets shaped like ornaments, mittens, or holly leaves are a thoughtful stocking stuffer. Glue a small magnet to the back once the piece is cured and cleaned.
For a cozy touch, try a tiny snow globe charm by pouring a clear layer, adding a pinch of fine white glitter, and sealing it with a second layer. It gives you that tiny winter scene with a lot less fuss.
Stamps, stickers, and metallic paint pens all work for personalizing finished pieces, as long as the resin has fully cured first. Wrap a few in cellophane bags with ribbon to make an instant stocking stuffer set.
Little pieces like these are also the best way to use up leftover resin from a bigger project without wasting it.
Easy Resin Tricks for Clean, Shiny Results
A few habits make the difference between a cloudy piece and a glass-clear one. Most are simple and cost nothing.

Always follow the mixing ratio printed on your resin bottles, because guessing is the fastest way to get a sticky finish. Stir slowly and scrape the sides and bottom of the cup so everything blends evenly.
Warm, dry rooms help resin flow smoothly and release bubbles, but check the maker’s recommended temperature range before you start. Pour in thin layers when you embed flowers or glitter so nothing floats to the top.
For a flawless finish, cover your pieces with a box while they cure to keep out dust and pet hair. Mold release spray can also make demolding easier, so check your mold’s instructions.
If bubbles appear, many crafters pop them gently with a toothpick or a quick pass of a heat tool, as long as the resin maker says that is safe for the product. Always work patiently, because rushing is the most common cause of small flaws.
Safety Basics Before You Pour
Resin is a chemical product, so it deserves a little respect before the fun begins. The resin maker’s instructions and safety data sheet are the best source for how to protect yourself, your family, and your pets.
Read the label, wear the protective gloves and eye protection the manufacturer recommends, and work in a space with the ventilation they describe. Keep resin, hardener, and finished pieces away from children and pets until everything is fully cured.
If resin touches your skin, follow the manufacturer’s first aid guidance and contact a medical professional if irritation continues. Never throw liquid resin or cleanup materials down the drain, and ask your local waste service how to dispose of leftovers properly.
Cover your work surface with disposable paper or a silicone mat so spills never reach the table. Keep a stack of paper towels and the cleaning product the manufacturer recommends nearby, and wash your hands carefully when you finish.
A little preparation up front keeps the whole craft session calm and enjoyable.
Planning Your Christmas Resin Ideas So You Finish on Time
Resin takes patience because every layer needs time to cure according to the product instructions. That means the best way to enjoy Christmas resin ideas is to plan your projects early.
Start with the gifts that need the most steps, like photo ornaments and layered coasters. Save the one-pour projects, like tags and magnets, for the final week before Christmas.
Set up a cozy craft table with all your molds, pigments, and tools within reach. A simple schedule keeps the whole season relaxed and gives every piece time to cure fully before you wrap it.
Batch similar projects together so you only mix resin once for several molds. This saves product and time, and it keeps your color palette consistent across ornaments, tags, and charms.
Label each finished piece with a small sticky note listing the recipient and the date you poured it. That makes wrapping day much easier, especially when several pieces look similar.
Leave a little buffer in your schedule in case a pour needs to be redone.
Christmas Resin Ideas FAQ
What Resin Is Best for Christmas Ornaments?
Clear casting or craft epoxy resin sold for small molds is a popular choice for ornaments. Check the product label to make sure it fits the thickness of your project and follow the maker’s directions exactly.
Can Beginners Make Christmas Resin Ideas?
Yes, beginners can start with one-pour projects like tags, magnets, and flat ornaments. Small molds are forgiving, and a simple glitter pour looks impressive with very little technique.
How Do You Keep Dried Flowers From Turning Brown in Resin?
Make sure plants are fully dry and sealed before they go into the resin, and follow the manufacturer’s guidance for natural materials. Some color change can still happen over time, so choose sturdy flowers and greenery.
Can You Put Resin Ornaments on a Real Tree?
Cured resin ornaments are typically fine on a tree, but keep them away from hot string lights and open flame. LED lights are a safer pairing for any handmade ornament.
How Long Do Resin Pieces Take to Cure?
Cure time depends on the product, the layer thickness, and the room conditions. The resin bottle will tell you the working time and full cure time, so use that number instead of guessing.
Your Christmas Resin Ideas Starter Plan
You now have a full set of Christmas resin ideas for ornaments, coasters, gifts, and decor that fit almost any skill level. Pick one project, gather your mold and resin, and start with a small glitter ornament to build confidence.
Once your first piece pops out of the mold, try a coaster set or a batch of gift tags for the rest of your list. Your handmade resin pieces will be the gifts people remember long after the holiday season ends.
Love handmade ornaments? Try these salt dough Christmas ornaments.
Want another cozy craft? Make these pinecone ornament ideas next.


