Last updated: September 23, 2026
You just unboxed your machine and you want to start creating right away. These cricut projects for beginners are simple, forgiving, and use materials you likely already have on hand.
Start With a Vinyl Decal
Vinyl decals are the easiest entry point because the process is short and mistakes are easy to fix. You cut a simple shape or word from adhesive vinyl, weed away the extra pieces, and transfer the design onto a clean surface with transfer tape.
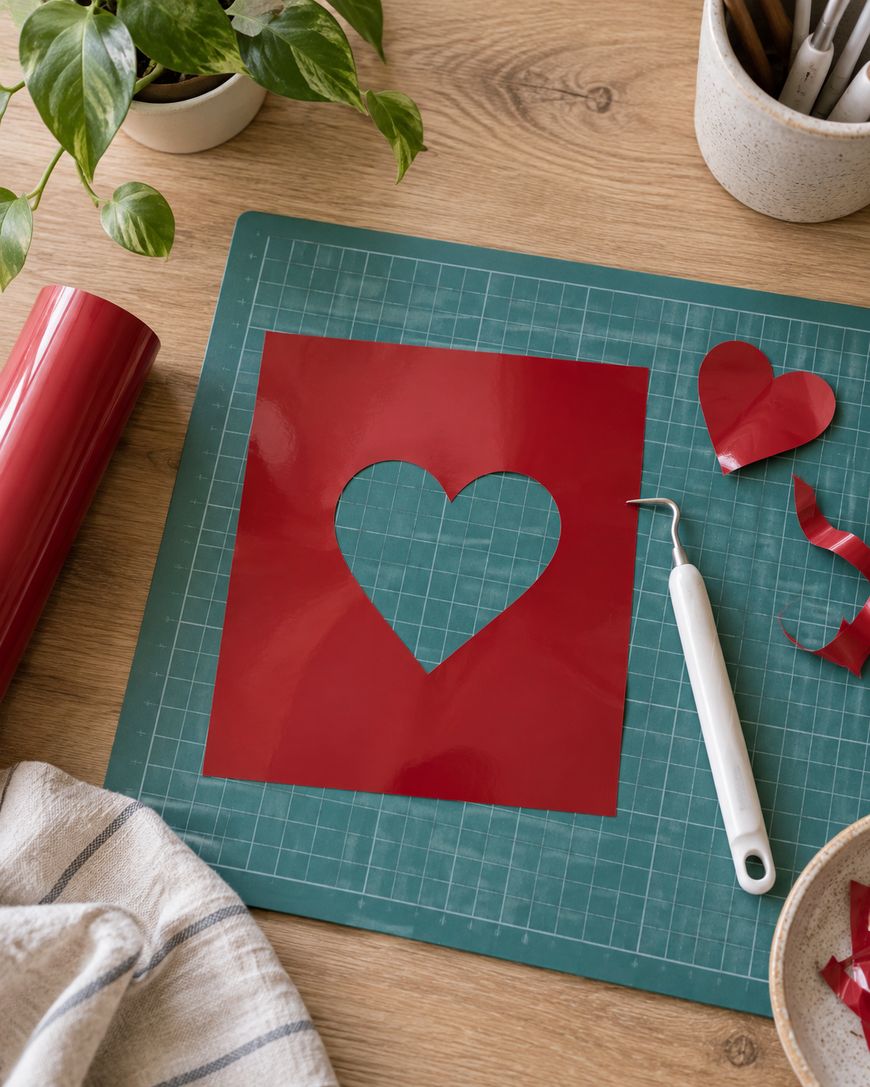
A water bottle, a notebook cover, or a small mirror all work well for this first project. Keep your first design simple, since intricate shapes are harder to weed until you get a feel for the tiny hook tool.
Stick to a single color for your first few decals. Once you feel comfortable weeding and transferring, you can layer colors for a more detailed look.
Try an Iron-On Shirt Design
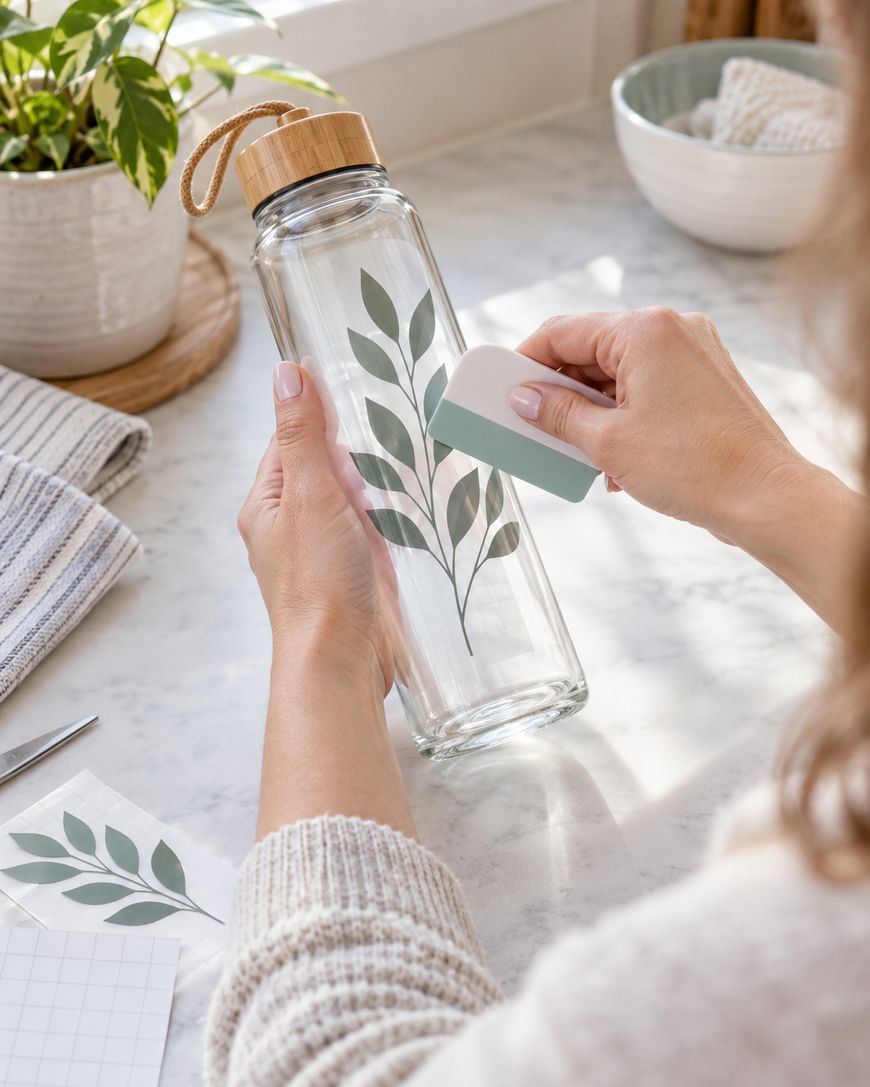
Iron-on vinyl, sometimes called heat transfer vinyl, works the same way as adhesive vinyl but finishes with heat instead of transfer tape. This makes it a natural second project once you have the cutting and weeding steps down.
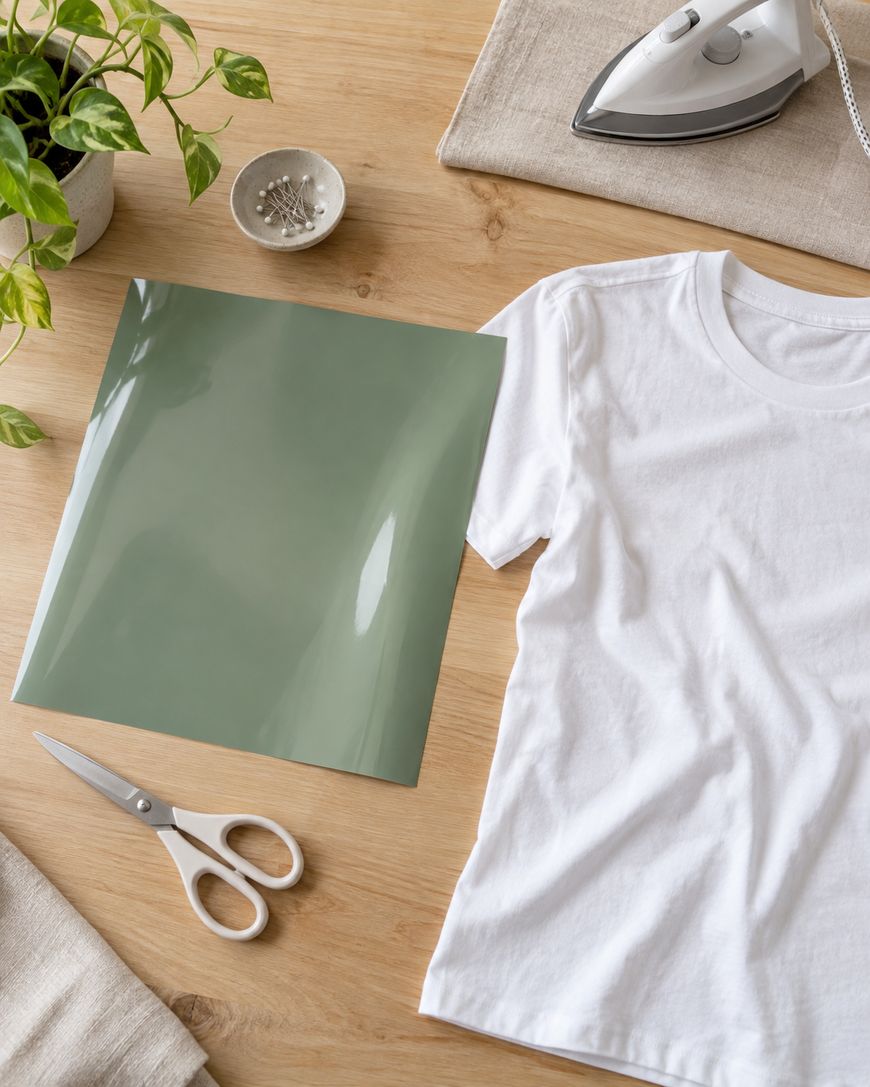
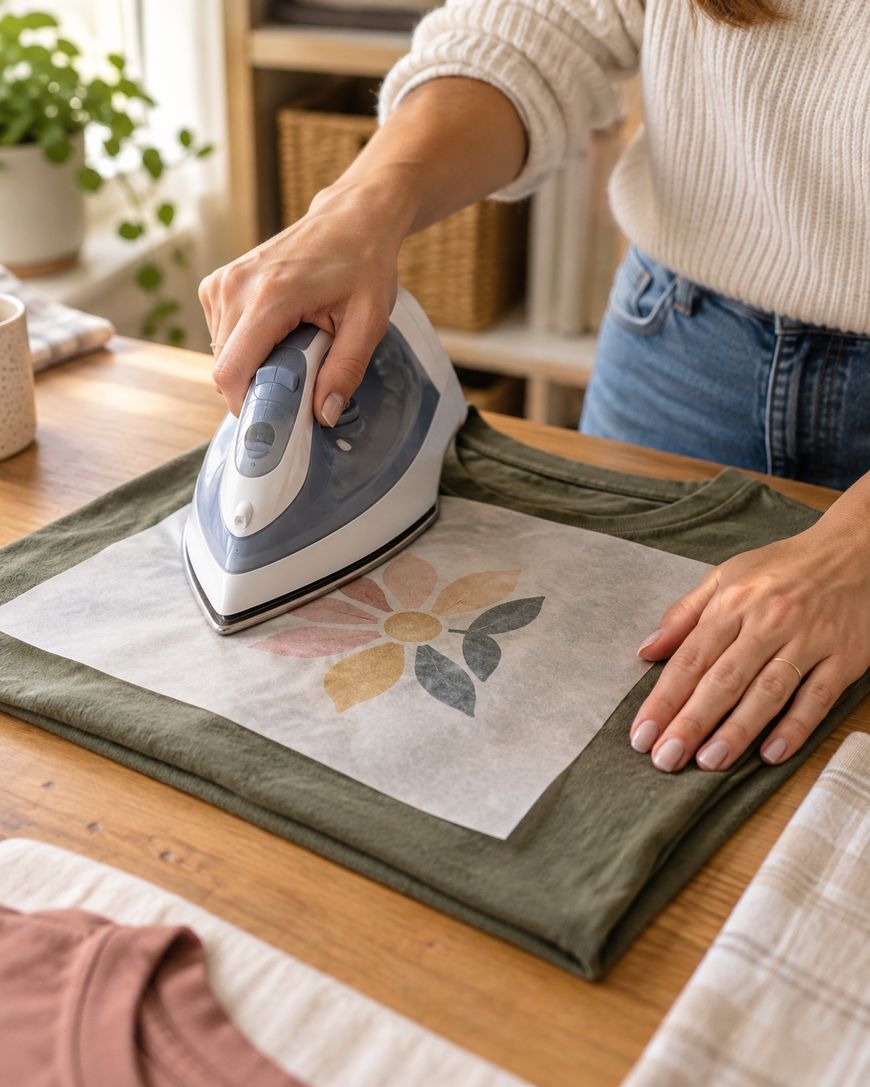
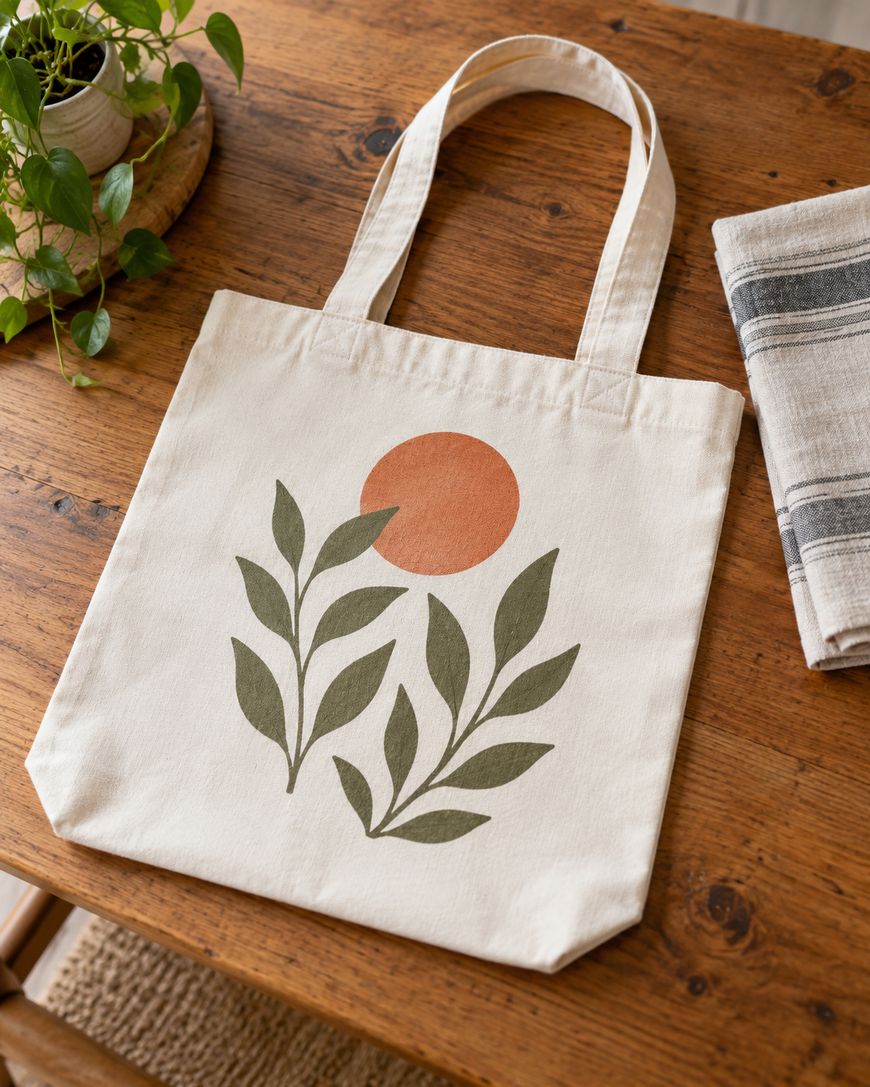
Cut your design onto the shiny side of the iron-on sheet, weed it, then apply it to a shirt with a household iron or a heat press according to the material’s instructions. A plain tote bag or tea towel are also forgiving surfaces if you would rather not risk a shirt on your first attempt.
Mirror your design before cutting so the text reads correctly once it is applied. This is one of the most common early mistakes, and checking it before you cut saves you a wasted sheet.
Make Greeting Cards
Cardstock is inexpensive and low pressure, which makes it a great material to practice with. You can cut simple shapes, layered designs, or even intricate cut-out patterns depending on how much detail you want to try.
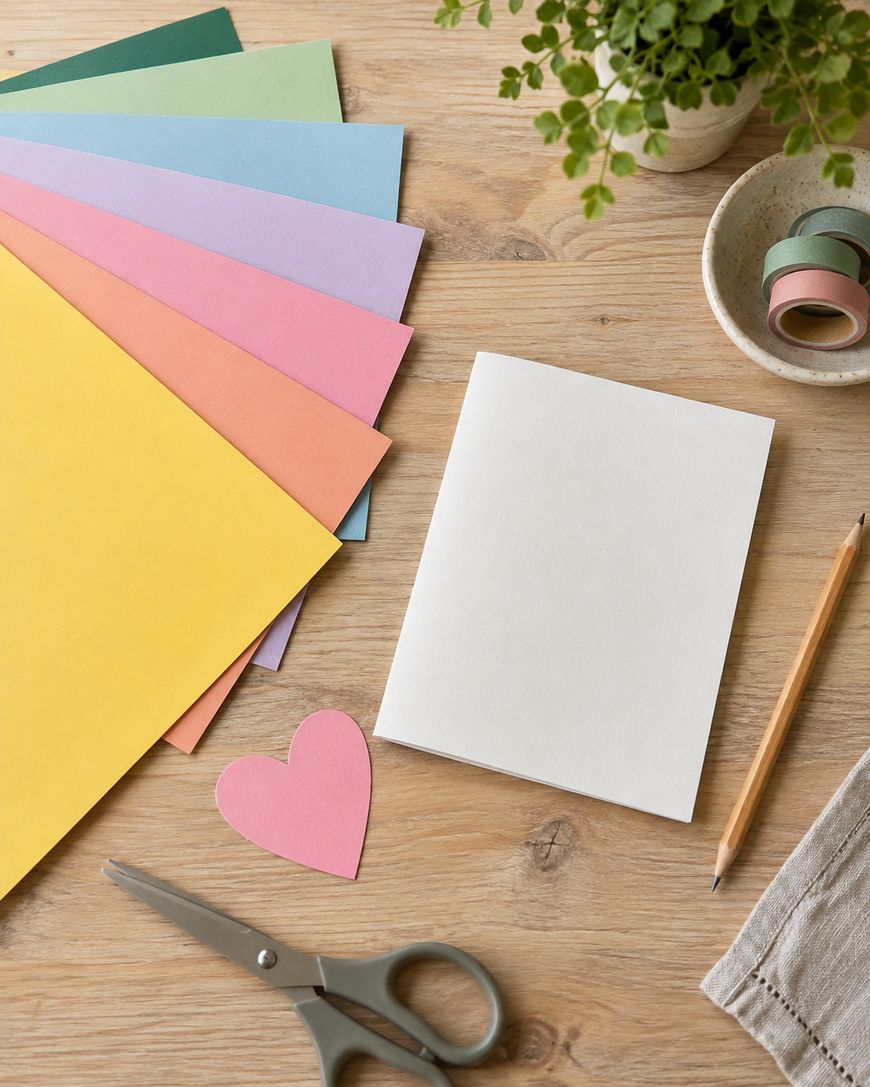
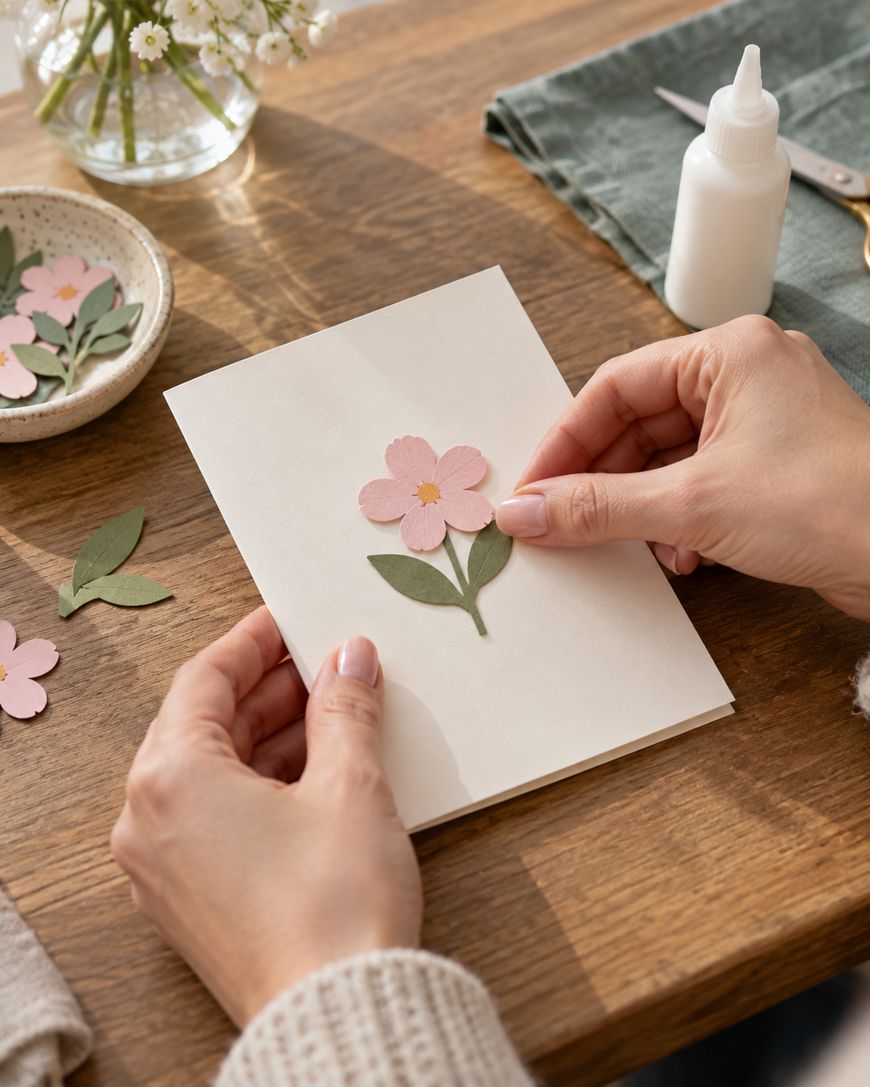
Start with a basic card blank and a single cut-out shape or phrase glued to the front. As you get more comfortable, you can experiment with layering different colors of cardstock or adding a printed background using the print then cut feature.
Card projects also teach you how your machine handles thinner materials, which is useful information before you move on to other paper crafts.
Design Custom Stickers
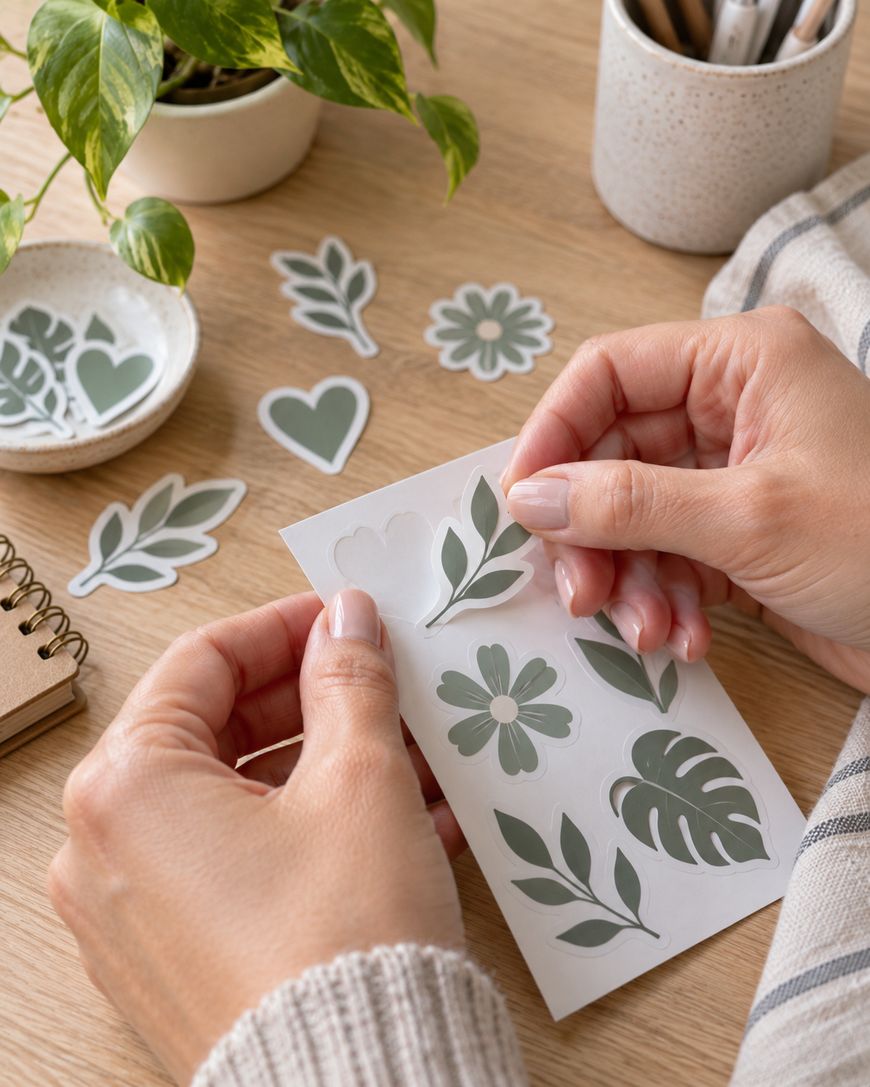
Stickers are a favorite beginner project because they come together quickly and use printable vinyl or sticker paper you can run through a home printer. You design or choose an image, print it on sticker sheets, then use the print then cut feature to cut around each shape precisely.
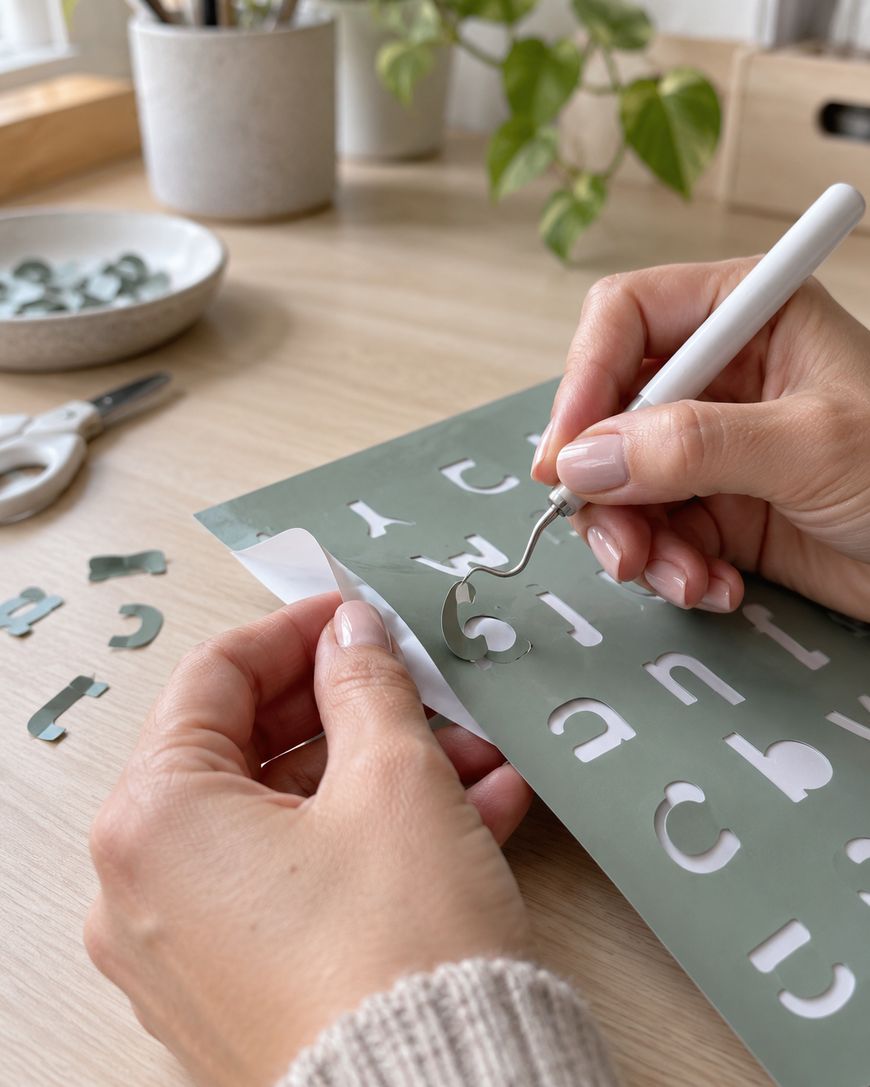
This project introduces you to registration marks, which the machine uses to line up the cut with your printed design. Keep your printer settings and paper size consistent with your software settings, since a mismatch here is the most common reason a print then cut project does not line up correctly.
Small batches of stickers also make thoughtful gifts and are a good way to test different images before committing to a bigger sheet.
Personalize a Tumbler
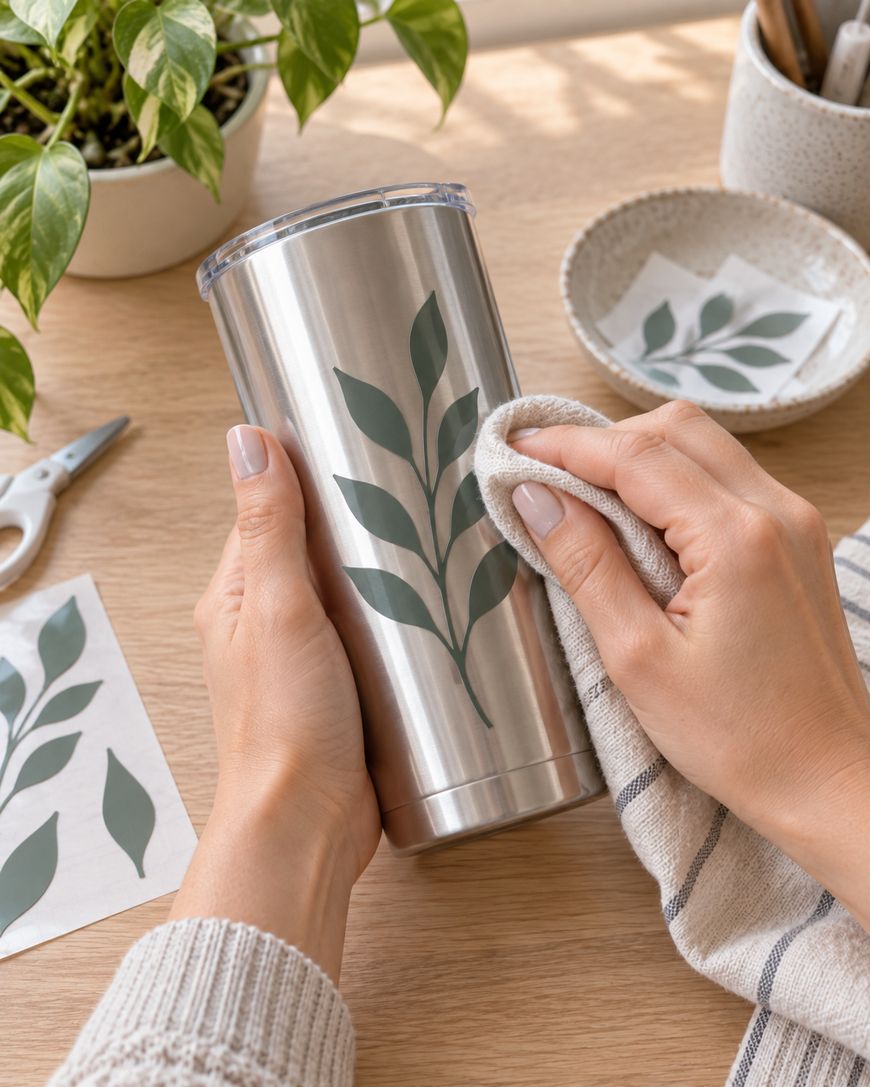
Tumblers and mugs give you practice cutting vinyl for a curved surface, which is a helpful skill once you move toward more advanced projects. Adhesive vinyl works well here, and you apply it the same way you would to a flat surface, just working carefully around the curve.
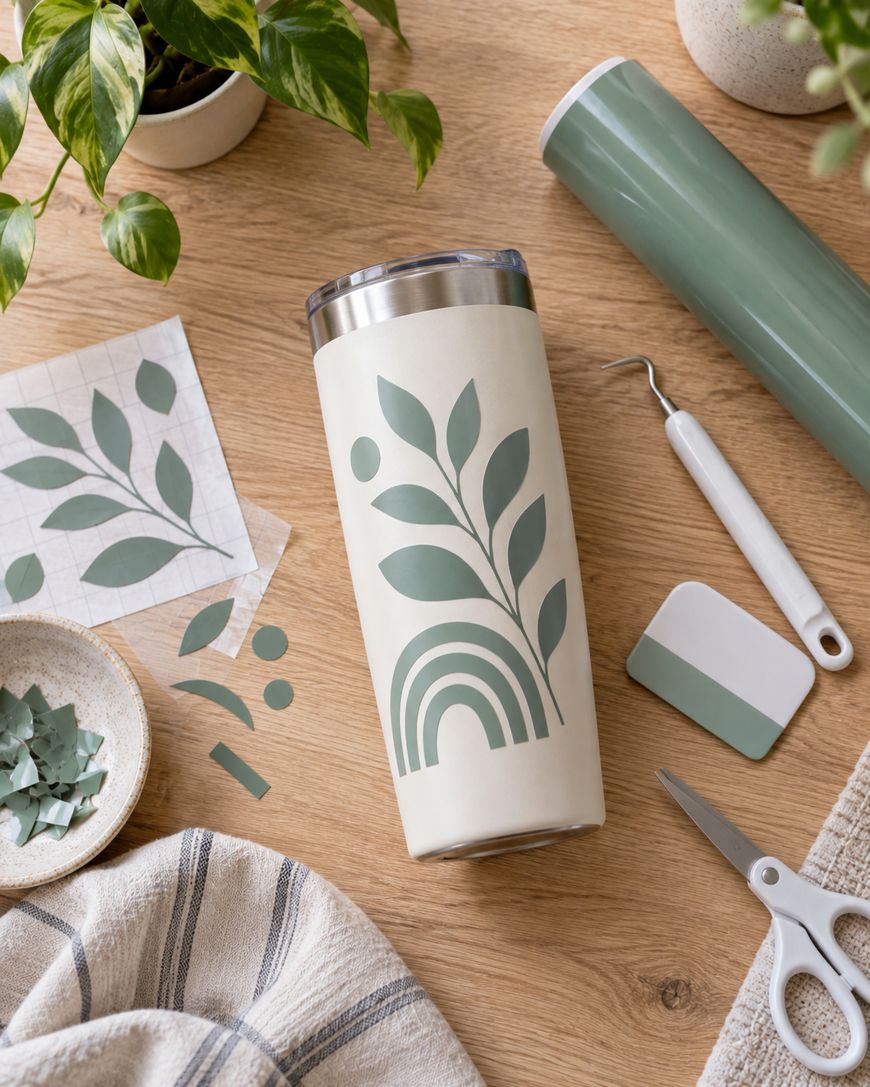
Choose a simple word, initial, or small graphic for your first tumbler so you are not fighting the curve with a large, complex design. Smoothing the vinyl down in small sections rather than all at once helps avoid air bubbles.
A finished tumbler also makes a nice gift, so this project doubles as a practical first attempt and something you can actually use afterward.
Why These Projects Work Well When You Are Starting Out
Each of these ideas uses a different material, which means you are building a well rounded set of skills rather than repeating the same technique five times. Vinyl teaches you weeding and transfer, cardstock teaches you how thinner materials behave, and print then cut introduces you to registration.
Working through a range of materials early on also helps you figure out which type of crafting you enjoy most before you invest in specialty tools or bulk supplies. Some beginners fall in love with paper crafting and card making, while others are drawn toward apparel and iron-on projects.
Keeping your first projects small and low cost matters too. A shirt or tumbler you have already personalized is much less stressful to practice on than an expensive blank you feel pressure to get right the first time.
Frequently Asked Questions
What machine settings should beginners start with?
Most cutting software includes a material setting specifically for the type of vinyl, cardstock, or iron-on you are using, and selecting that preset is the safest starting point. Adjust the pressure only if your test cut does not fully cut through or if it cuts too deep into the backing.
Do I need design software to get started?
Basic cutting software usually includes a simple design space with fonts, shapes, and free images, so you do not need separate design software for your first projects. As you get more advanced, some crafters bring in outside design files for more complex projects.
How do I know if I am using the right blade?
A fine point blade handles vinyl, cardstock, and iron-on materials, which covers everything in this list. You only need to switch blades once you move into thicker materials like chipboard or fabric.
What is weeding and why does it take so long at first?
Weeding is the process of removing the extra vinyl around your design so only the shape you want remains. It feels slow at first, but it gets much faster once you get a feel for the hook tool and learn to work in small, controlled sections.
Can I reuse mats and blades?
Cutting mats lose stickiness over time and can be refreshed with a light wash or replaced once they no longer hold material securely. Blades last through many projects, and you will usually notice a duller or tearing cut before it becomes a real problem.
What is the most common beginner mistake?
Skipping the test cut is the most common mistake, since it is the fastest way to catch a wrong material setting before you waste a full sheet. A quick test cut in the corner of your material only takes a moment and saves you time in the long run.
Ready to Start Your First Project
You do not need every tool or accessory to get started, just one material and a project small enough to finish in an afternoon. Pick one of these cricut projects for beginners, gather what you already have on hand, and get your first design cut today.