Last updated: June 4, 2026
If you’re looking for flower pot painting ideas that are actually doable and genuinely beautiful, you’ve come to the right place. We’re diving straight into 20 creative designs—from simple beginner-friendly patterns to show-stopping statement pieces—so you can get started today.
Whether you want a cozy cottage garden vibe or bold, modern color, painting your own pots is one of the easiest and most rewarding ways to personalize your outdoor space. Grab your brushes and let’s get into it.
What You Need Before You Start
Before exploring any flower pot painting ideas, gathering the right supplies will save you time and frustration. The good news is that most of what you need is inexpensive and easy to find at any craft store.
You’ll want acrylic craft paints, which are durable, water-resistant once dry, and come in every color imaginable. Foam brushes are great for base coats, while fine-tipped detail brushes help with intricate patterns. A good outdoor sealer or Mod Podge Outdoor is essential for protecting your finished design from rain and sun damage.
You’ll also want painter’s tape for clean geometric lines, a pencil for sketching designs directly onto the pot, and a cup of water for rinsing brushes. Terra cotta pots are the most popular choice because they’re porous and take paint beautifully, though ceramic and plastic pots also work well. Lightly sanding the surface of a terra cotta pot before painting helps the first coat adhere better and gives you a smoother finish overall.
Beginner Flower Pot Painting Ideas
Simple Solid Color Pots
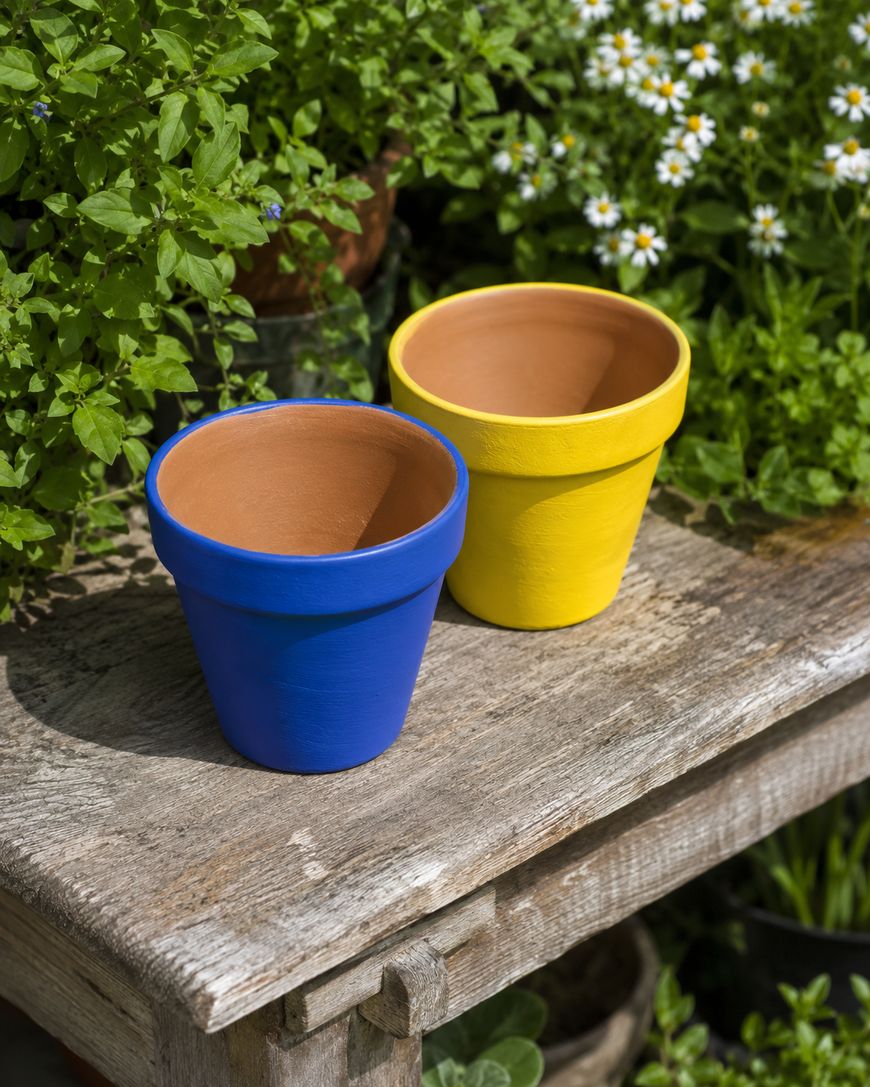
The most straightforward of all flower pot painting ideas is also one of the most effective. Painting a pot in a single bold color—think cobalt blue, sunny yellow, or deep terracotta orange—creates an instant focal point in any garden or on a patio.
Apply two to three coats of acrylic paint, letting each layer dry fully before adding the next. Finish with a clear outdoor sealer so your color stays vibrant season after season.
Two-Tone Dipped Pots
This technique mimics the look of a pot that has been dipped in paint, creating a clean horizontal line halfway up the pot. You paint the bottom half in one color and leave the top half natural or paint it a contrasting shade.
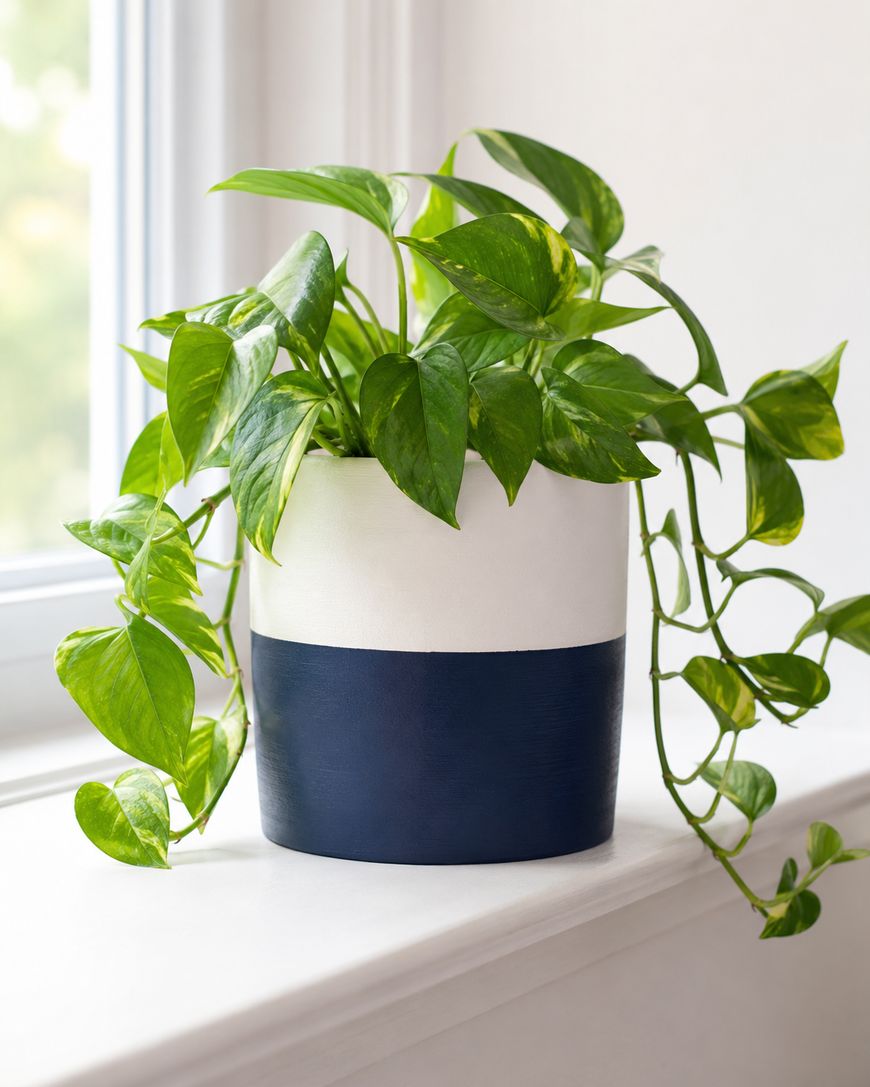
Use painter’s tape to get a crisp line where the two colors meet. This look works especially well with white on terra cotta, or a pastel paired with a deep jewel tone.
Polka Dot Patterns
Polka dots are endlessly cheerful and require zero artistic skill. All you need is the eraser end of a pencil or a round foam stamp dipped in paint.
Space your dots evenly or scatter them randomly for a more playful feel. Combine multiple colors of dots against a solid background for a result that looks far more intentional and polished than the effort involved.
Geometric Stripes
Painter’s tape is your best friend for this design. Apply strips of tape in parallel lines, chevrons, or diagonal angles, paint over the exposed sections, and peel the tape while the paint is still slightly wet for the cleanest lines.
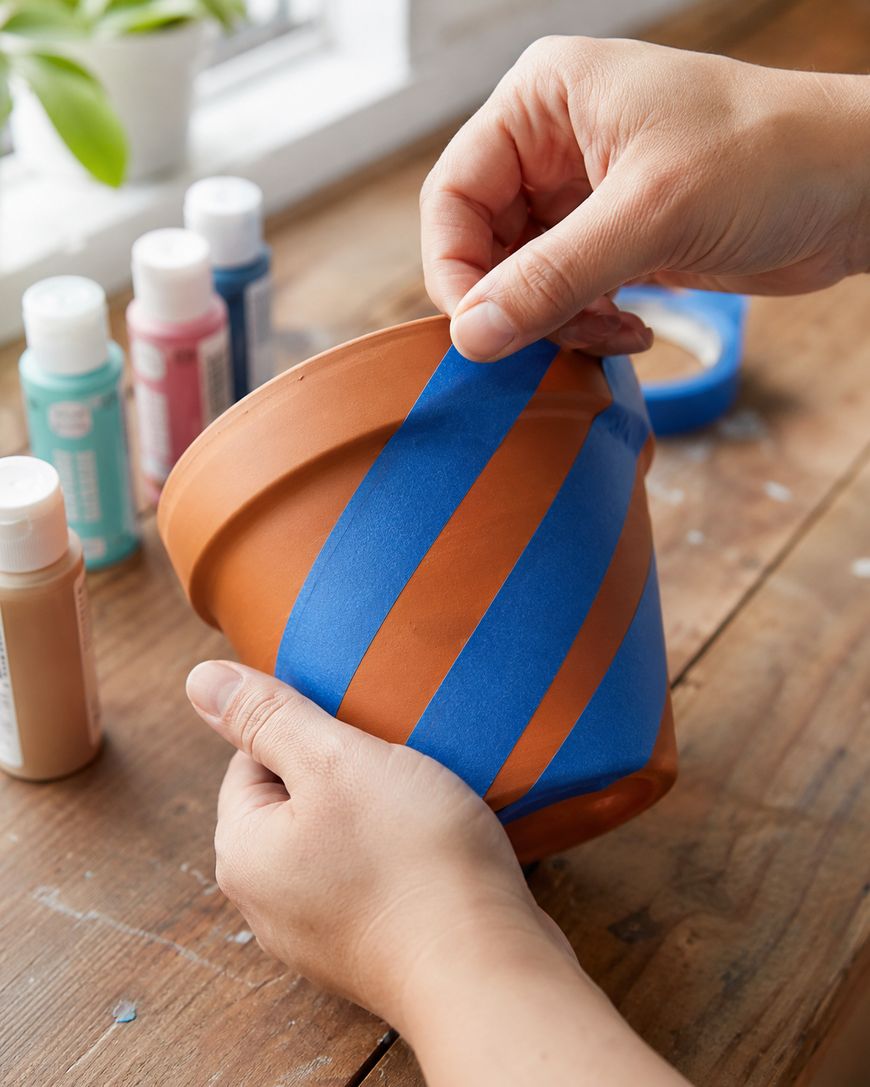
Stripes look stunning in black and white, earthy neutrals, or bright primary colors. Even a simple two-stripe band around the middle of a pot adds a modern, stylish touch.
Intermediate Flower Pot Painting Ideas
Watercolor Wash Effect
This technique creates a soft, dreamy look that mimics watercolor painting on paper. Dilute your acrylic paint with water until it’s very thin and almost translucent, then apply it with loose, flowing brushstrokes.
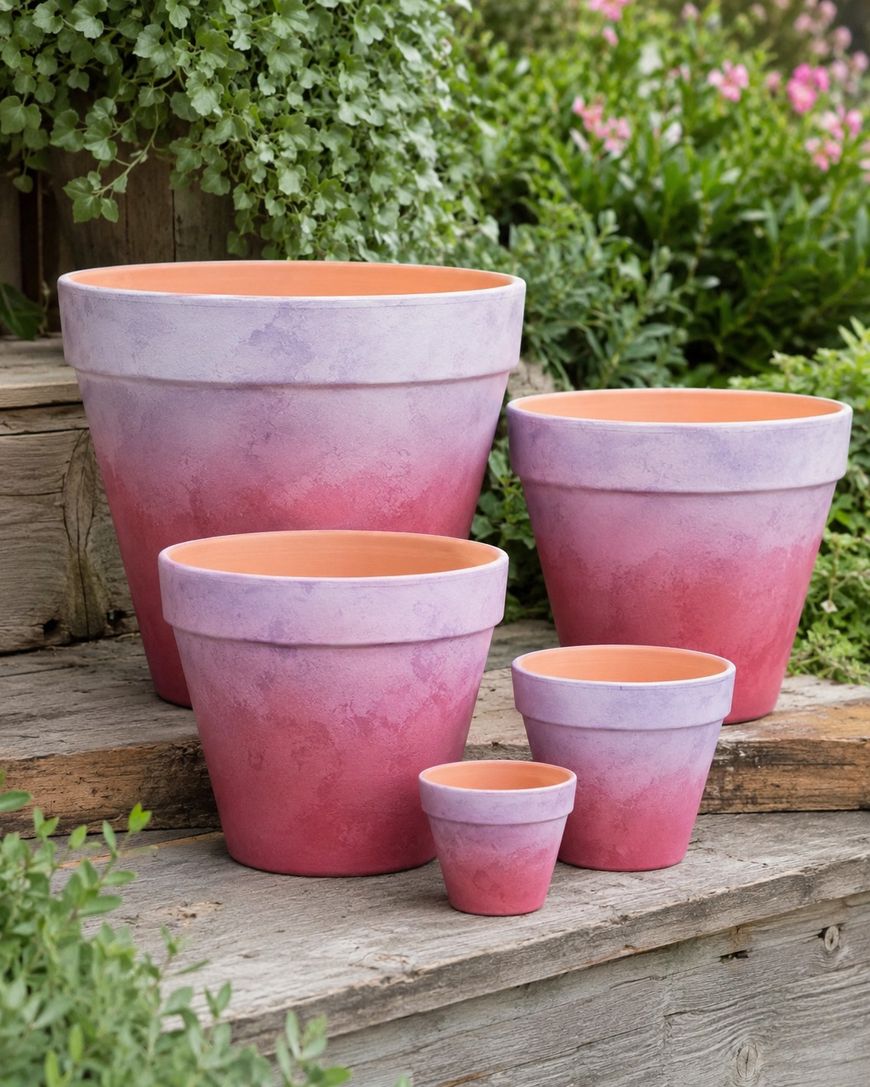
Layer different diluted colors over each other while still damp to let them bleed and blend naturally. Purples blending into pinks, or blues into greens, create a stunning ombre effect that looks gorgeous with lush greenery planted inside.
Floral Hand-Painted Designs
Simple flowers—daisies, sunflowers, and tulips—are among the most popular flower pot painting ideas for a reason. They’re forgiving, cheerful, and look beautiful even when they’re a little imperfect.
Start by sketching your design lightly in pencil, then fill in with paint. A few simple petals around a circle center and some leaf shapes are all it takes to create a design that looks like it came from a boutique garden shop.
Bohemian Mandala Patterns
Mandala designs on pots have become one of the trendiest flower pot painting ideas in recent years. The circular, symmetrical patterns are surprisingly easy to build up once you have a few basic tools.
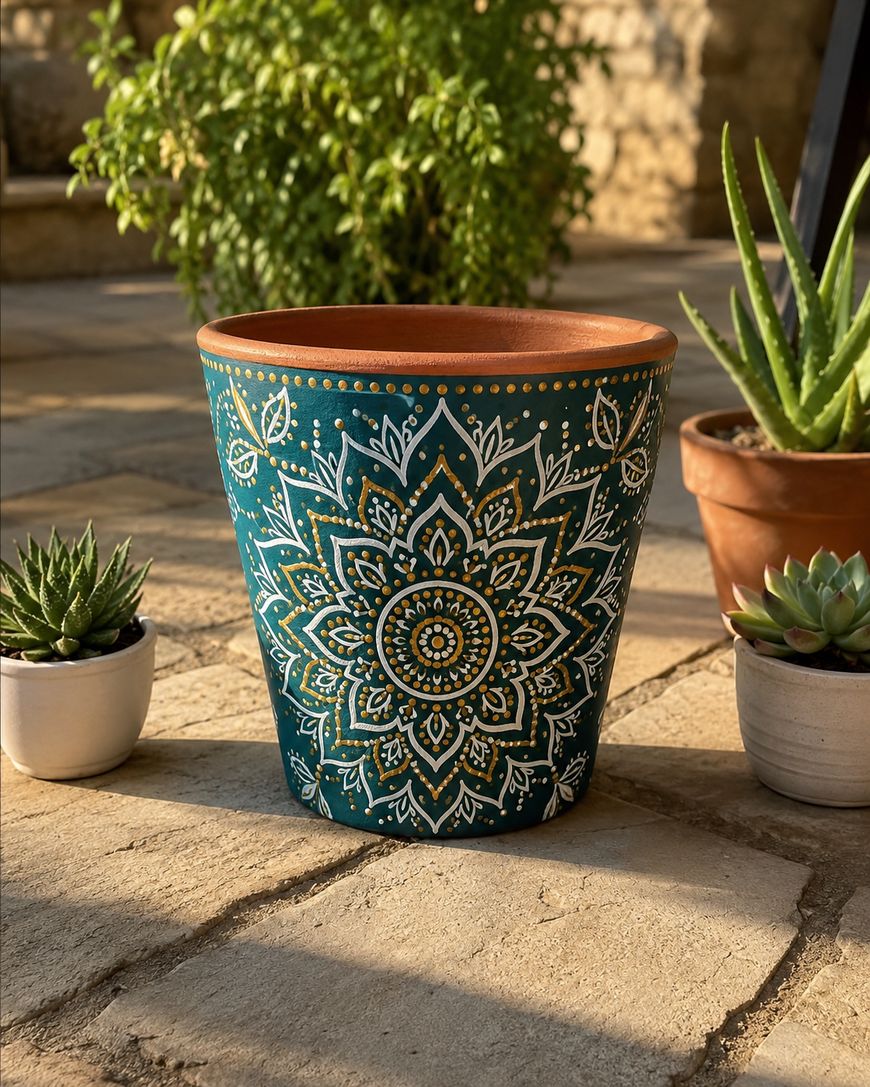
Use the ends of different-sized brushes, pencils, and dotting tools dipped in paint to build up layers of concentric circles and dots. Work from the center outward, adding detail rings as you go. These look incredible in white and gold on a dark painted pot.
Stencil Designs
Stencils are a game-changer if you love intricate patterns but aren’t confident in your freehand painting. You can find affordable stencils at craft stores in designs ranging from simple leaves to ornate Moroccan tiles.
Secure the stencil firmly against the pot surface with tape or repositionable adhesive spray. Dab paint through the stencil with a firm foam brush using a stippling motion rather than brushing side to side, which can cause paint to bleed under the edges.
Seasonal and Themed Flower Pot Painting Ideas
Fall Harvest Pots
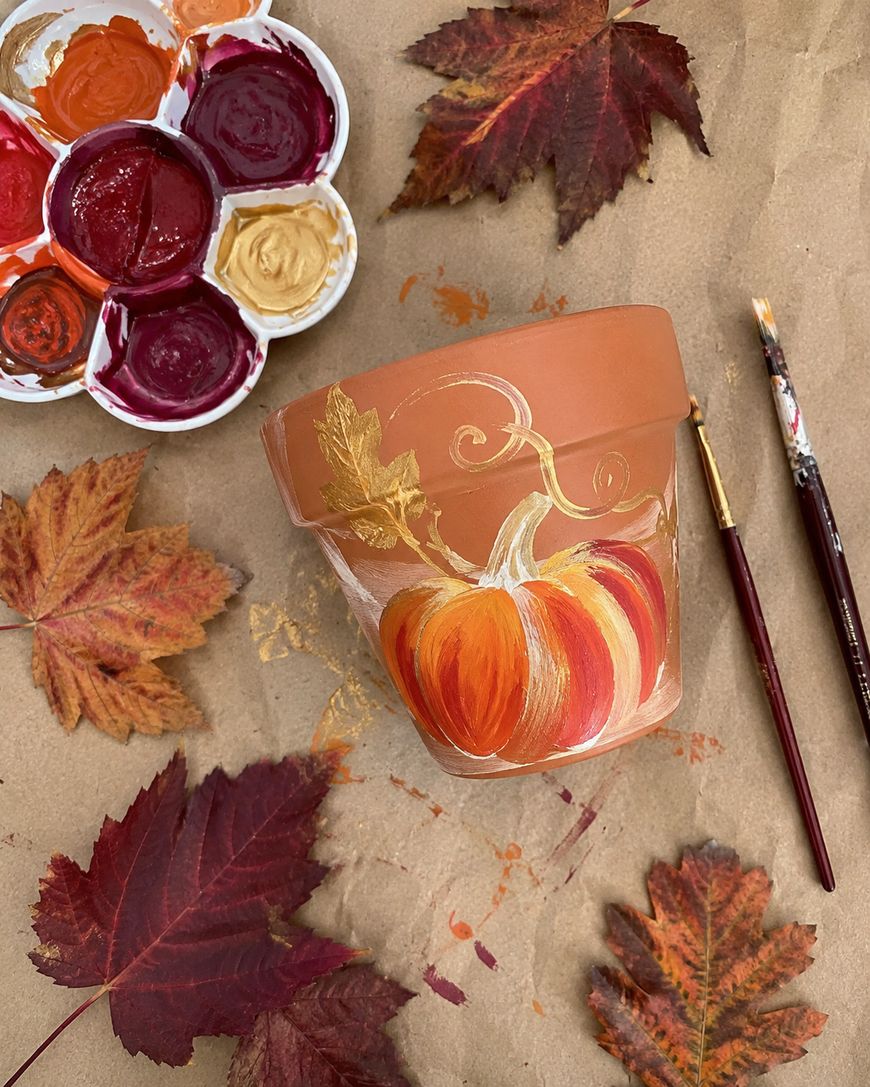
For fall, paint pots in warm burnt orange, deep burgundy, and golden yellow. Add painted pumpkins, fall leaves, or acorns using simple brushstrokes or a stencil.
These make beautiful front porch decor when planted with mums or ornamental cabbage and paired with actual pumpkins and gourds. Layer the seasonal palette with a matte sealer for a cozy, rustic finish.
Holiday Painted Pots
Painted pots make wonderful homemade holiday gifts and festive decor. For Christmas, try deep green with red berries and a simple plaid or checkered band painted around the rim.
For spring holidays, soft pastel pots with painted Easter eggs or simple chick designs are adorable planted with forced bulbs or small herbs. A set of coordinated holiday pots wrapped with a ribbon and filled with a small plant makes a thoughtful and personal gift.
Nautical and Coastal Designs
If your patio or garden has a beach or coastal theme, painted pots can reinforce that aesthetic beautifully. Navy blue and white stripes, painted anchors, starfish, or simple wave patterns are all classic nautical choices.
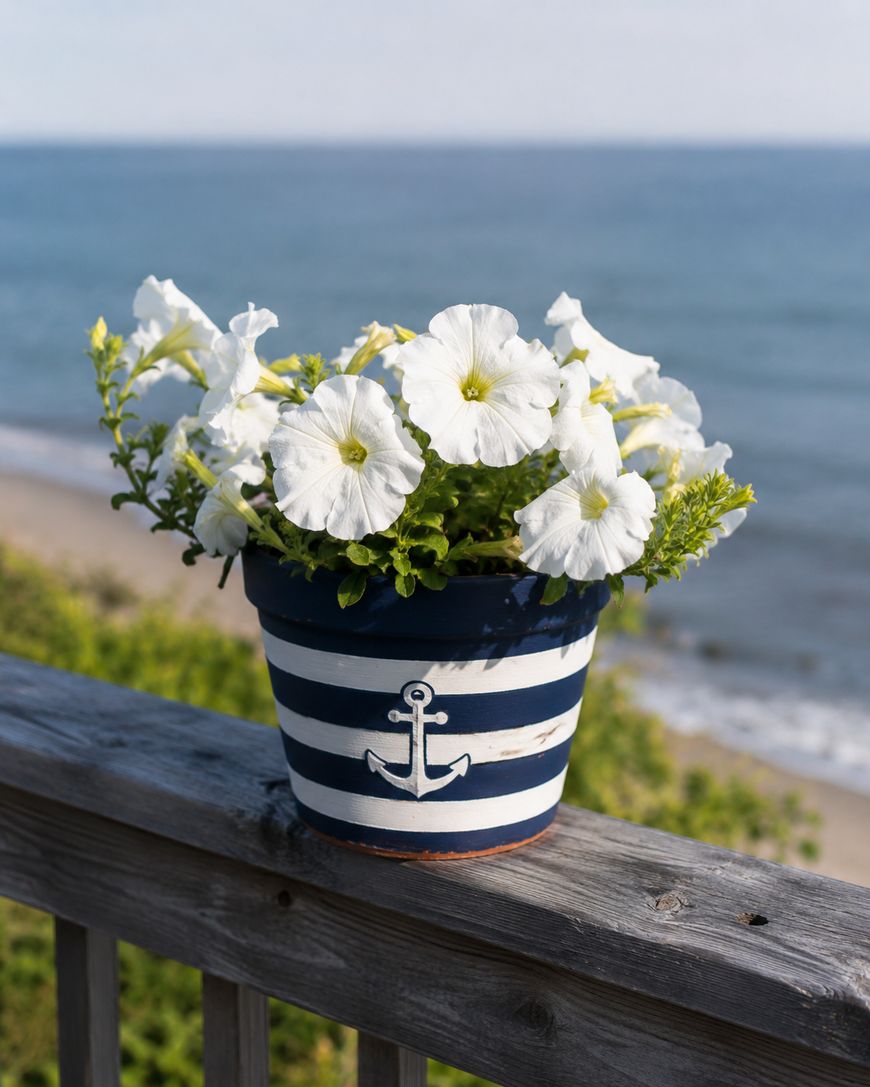
Sand-colored pots with painted seashells and coral are softer and more boho coastal in feeling. These look especially lovely grouped together on a deck or sunroom in varying sizes.
Whimsical Animal Faces
Turning a flower pot into a smiling animal face is one of the most fun flower pot painting ideas for families with kids. Terra cotta pots become hedgehogs, frogs, cats, bees, or ladybugs with just a few colors and simple shapes.
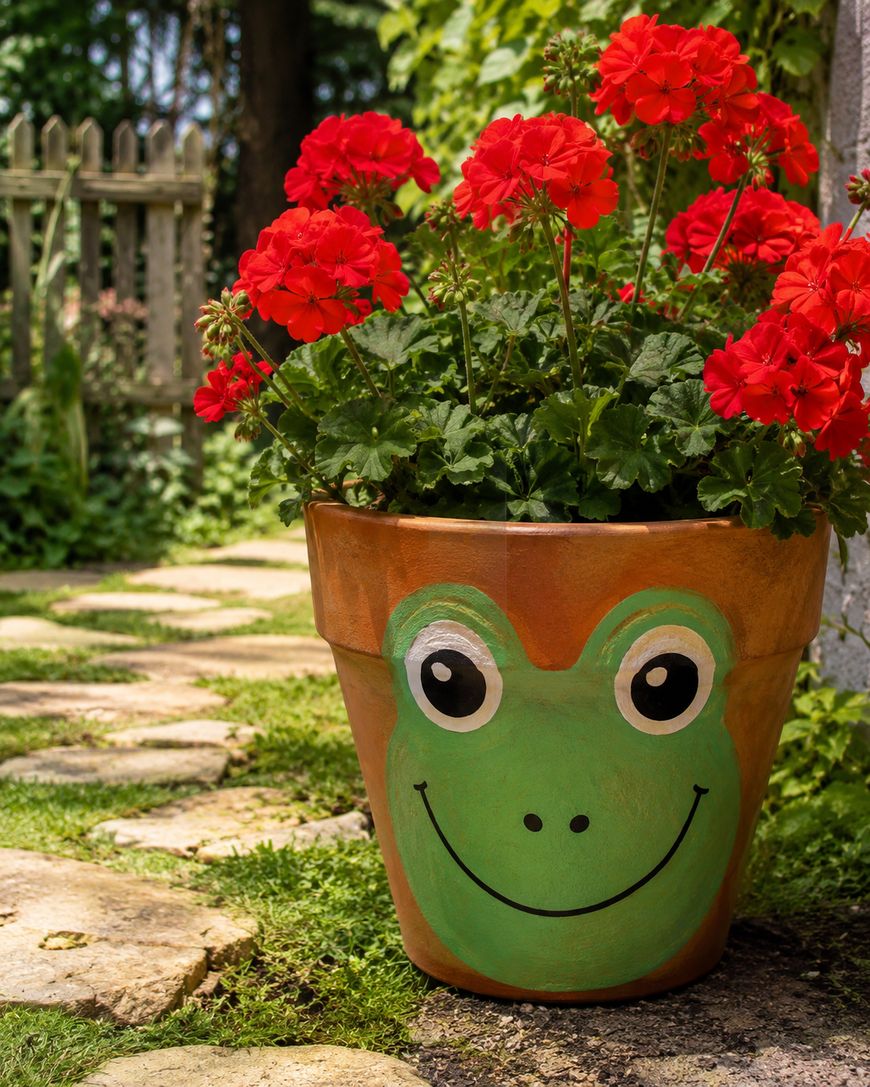
Paint the pot a base color that matches your animal, then add painted eyes, ears, and features. These are wonderful to display along a garden path or line up on porch steps for a charming and playful welcome.
Advanced Flower Pot Painting Ideas
Ombre Gradient Pots
A smooth ombre effect—where one color gradually fades into another—looks incredibly polished on a painted pot. The trick is to blend wet colors into each other while they’re still damp, using a dry brush to feather the transition zone.
Work in vertical sections from the base up, going from a deep saturated color at the bottom to a lighter tint at the top. Practicing blending on cardboard first helps you get the technique right before committing to the pot.
Mosaic Tile Effect
You can paint a pot to look like it’s covered in colorful mosaic tiles without using any actual tile. Use a fine-tipped brush to paint irregular geometric shapes in varied colors, then outline each shape with a thin black line to define the tiles.
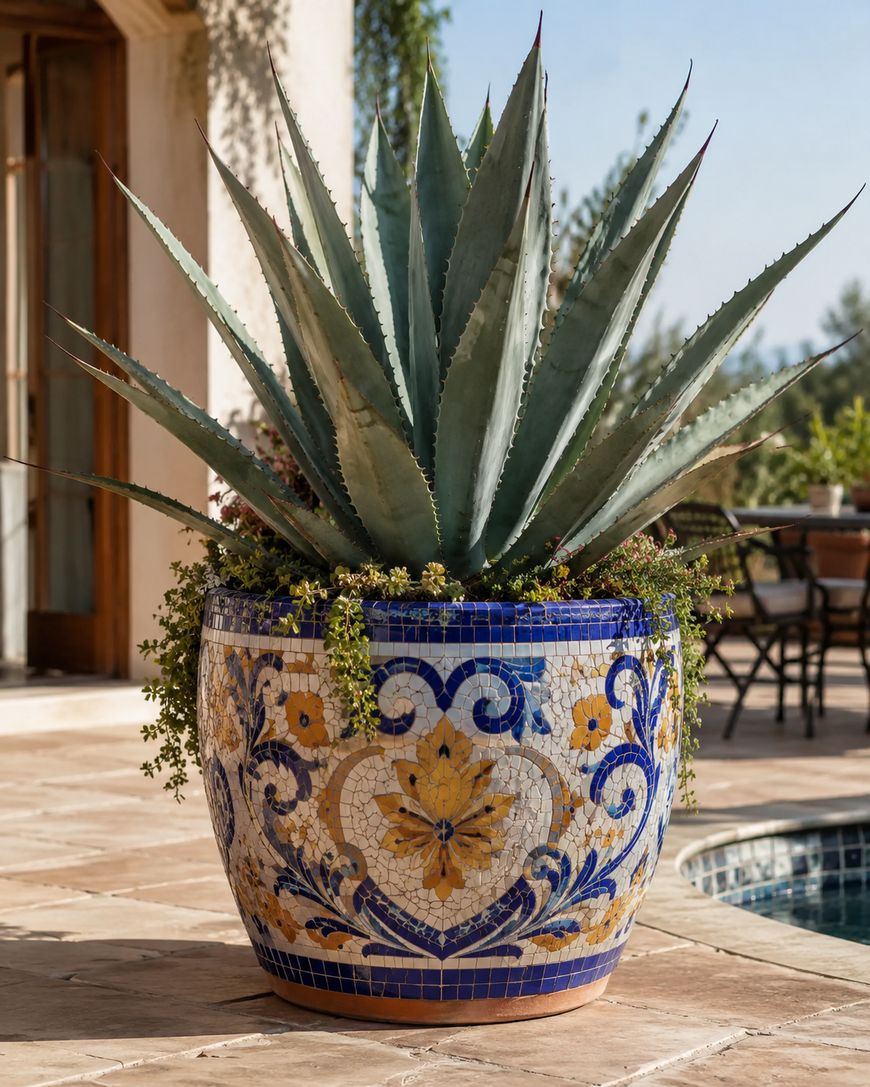
Fill the pot surface section by section, varying the colors within a complementary palette so the overall design feels cohesive. The effect is stunning, especially on larger pots used as statement planters.
Galaxy and Cosmic Designs
Galaxy-painted pots are among the most visually dramatic flower pot painting ideas you can attempt. A deep black or navy base coat is followed by sponged-on clouds of purple, blue, teal, and pink, then finished with tiny white dots for stars using a fine brush or a flicked toothbrush.
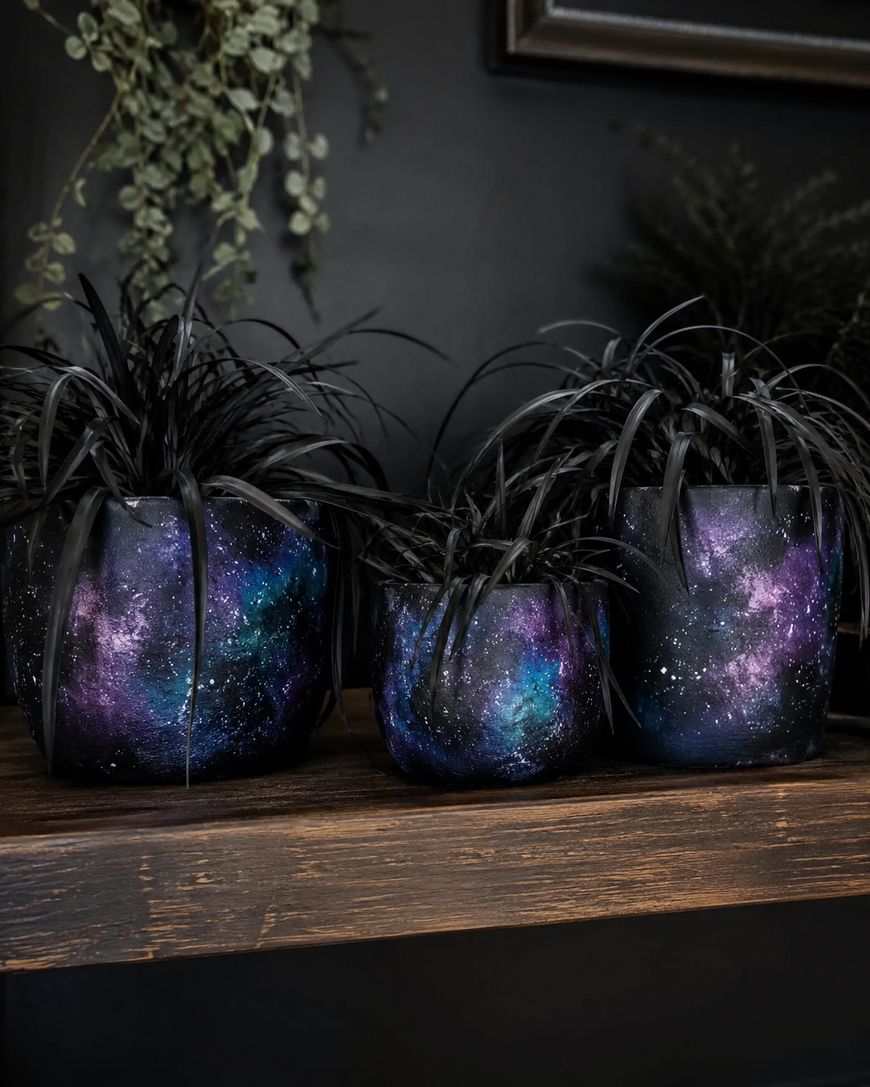
Metallic gold or silver details added at the end give the galaxy effect an extra dimension. These look especially striking planted with dark-leafed plants like black mondo grass or purple basil.
Nature-Inspired Botanical Prints
Using actual leaves and plants as stamps creates organic, layered botanical prints on pots. Brush paint onto a real leaf, press it firmly against the pot surface, and lift it carefully to reveal the print.
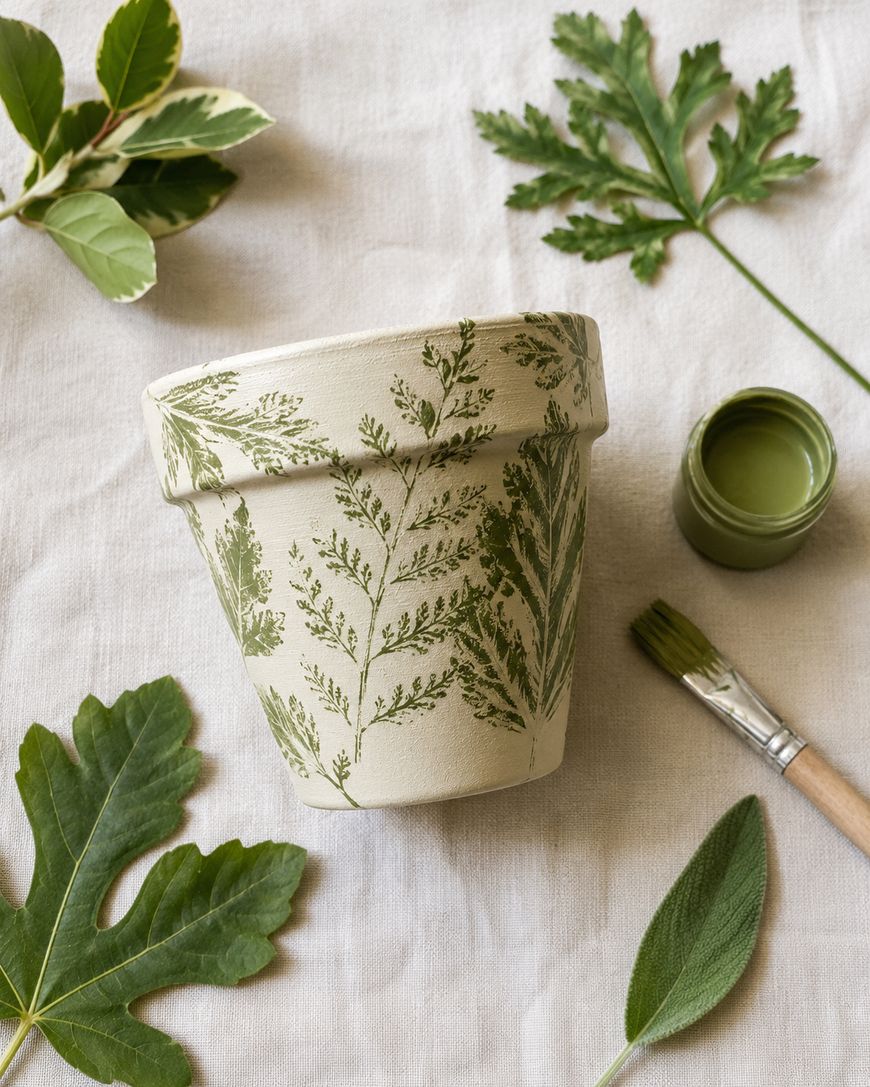
Layer multiple leaf prints in different colors for depth, or create a simple repeating pattern of the same leaf stamp in two alternating colors. The natural variations in each print give the finished pot a hand-crafted authenticity that’s hard to replicate by brush alone.
Quote and Lettering Pots
Painting an inspiring word, plant name, or short quote onto a pot personalizes it in a meaningful way. Use chalk or a pencil to lightly sketch your lettering first, then go over it with a fine brush and paint.
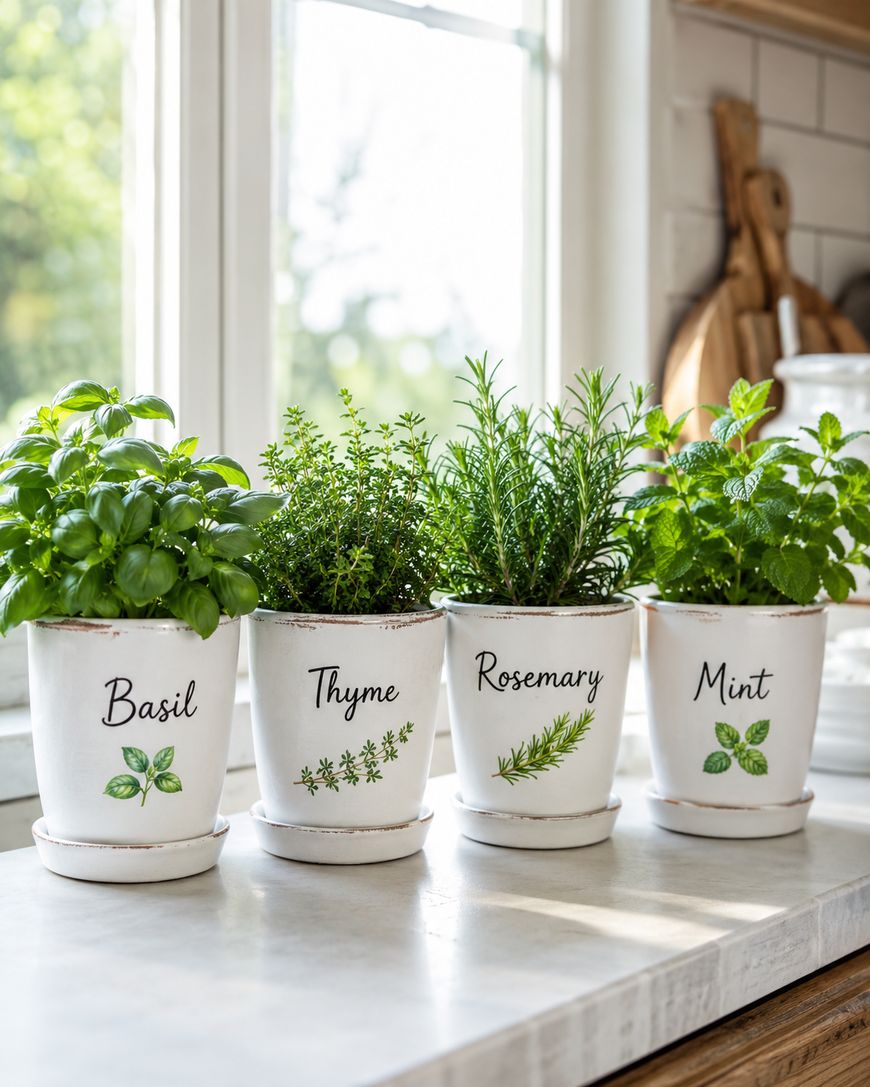
For a cleaner result, print your chosen text from a computer in the size you want, trace it with transfer paper onto the pot surface, and then paint over the traced lines. This technique works beautifully for herb garden pots labeled with each plant name.
Tips for Making Your Painted Pots Last
No matter which flower pot painting ideas you choose, proper sealing and care will determine how long your designs hold up outdoors. Always let paint cure fully—ideally for 24 to 48 hours—before applying sealer.
Apply at least two coats of outdoor-rated sealer, letting the first coat dry completely before adding the second. If your pots will sit in direct sun or rain, choose a UV-resistant sealer to prevent fading. Bringing painted pots inside or under cover during harsh winter weather also significantly extends their lifespan. Touch up any chips or worn spots with matching paint each spring to keep your collection looking fresh year after year.
Displaying Your Painted Pots
Once you’ve worked through a few of these flower pot painting ideas, grouping your finished pots together creates a more impactful display than scattering them individually. Cluster pots in sets of three or five in graduated sizes for a layered, intentional look.
Mix textures and heights by using pot stands, upturned crates, or stacked bricks to elevate some pots higher than others. A collection of coordinated but varied painted pots along a fence, up porch steps, or clustered around a garden bench turns functional planters into a real design feature.
Q&A: Flower Pot Painting Ideas
What kind of paint works best on flower pots?
Acrylic craft paints are the best choice for painting flower pots because they adhere well to porous surfaces, dry quickly, and are water-resistant once fully cured. For outdoor pots, look for paints labeled as multi-surface or outdoor formulas, which have added durability. Always follow up with an outdoor sealer regardless of which acrylic paint you use.
Do I need to seal painted flower pots?
Yes, sealing is essential if your painted pots will be outdoors. Without a sealer, rain, sun, and watering will gradually wash away or fade your design. Apply two coats of a clear outdoor sealer or Mod Podge Outdoor formula after the paint has fully dried to protect your work.
Can you paint pots with plants already in them?
Technically yes, but it’s far easier to paint pots before planting. If the plant is already inside, protect it by covering it with a plastic bag while you work. You’ll also need to be careful not to get paint on the soil or plant roots, as some acrylic paints contain additives that may not be ideal for plant health.
How do you get clean lines when painting pot designs?
Painter’s tape is the most reliable method for achieving clean, sharp lines. Apply the tape firmly, paint over it, and peel it back while the paint is still slightly wet rather than waiting for it to dry completely. This prevents paint from flaking off along with the tape edge and gives you the crispest possible line.
What’s the easiest flower pot painting idea for complete beginners?
A solid color pot with a painted polka dot pattern is the most approachable starting point. There’s no drawing skill required—just a base coat in your chosen color and dots made with the eraser end of a pencil dipped in paint. It looks cheerful and intentional with very little effort.
Can children do flower pot painting?
Absolutely—flower pot painting is a wonderful creative activity for kids. Solid colors, hand prints, simple animal faces, and polka dots are all perfectly suited to younger crafters. Use non-toxic acrylic craft paints and supervise the sealing step, which should be done by an adult since spray sealers require ventilation.
Start Your Painted Pot Collection Today
There’s never a wrong time to try out flower pot painting ideas, whether you’re refreshing your patio for summer or adding a handmade touch to your holiday decor. Start with one simple design, see how much you enjoy the process, and build from there.
Your garden, porch, or windowsill deserves a little color and creativity—and painted pots are one of the most satisfying and affordable ways to make that happen. Pick a design that excites you, gather your supplies, and get painting.