Last updated: August 4, 2026
Learning how to make freezer corn is a really easy job. This a simple method for preserving fresh corn by blanching it briefly, cooling it fast, then freezing it in airtight packaging so it tastes sweet and “just-picked” later. Most people should use the blanch-and-freeze method because it keeps the best flavor and texture with the least guesswork.
If you want the easiest default: shuck the corn, blanch it, ice-bath it, cut it off the cob, portion it into freezer bags, and freeze flat so it stacks.
Get the exact times and step-by-step instructions in the recipe card below.
How To Make Freezer Corn
1. Pick The Right Corn And Plan Your Timing
Use sweet corn that’s as fresh as possible, ideally cooked or frozen within 6–12 hours of picking for the sweetest flavor.
If you can’t do it same day, keep ears cold (in the fridge) and process within 24–48 hours so the sugars don’t turn starchy.
2. Decide Your Freezer Style Before You Start
Choose one format: kernels only, corn-on-the-cob pieces, or whole cobs (kernels are the most space-efficient).
If you’re unsure, kernels are the best “use anywhere” option for soups, casseroles, skillet meals, and salads.
3. Set Up A Blanching Station
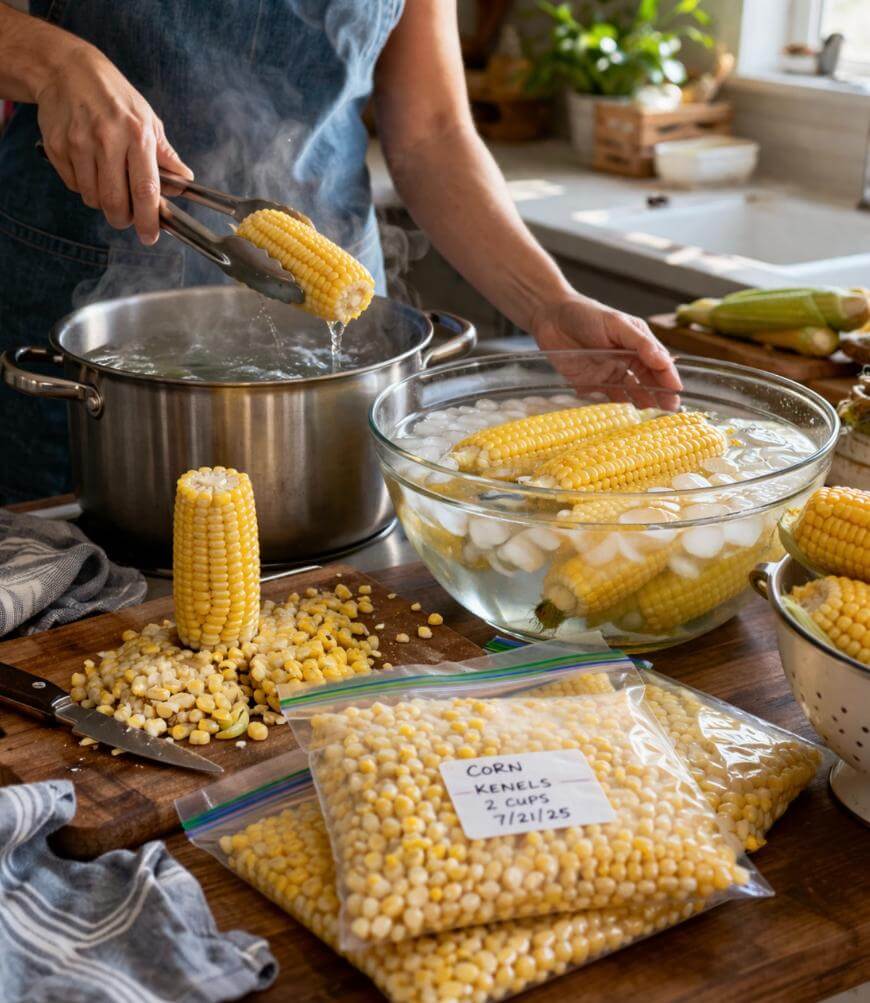
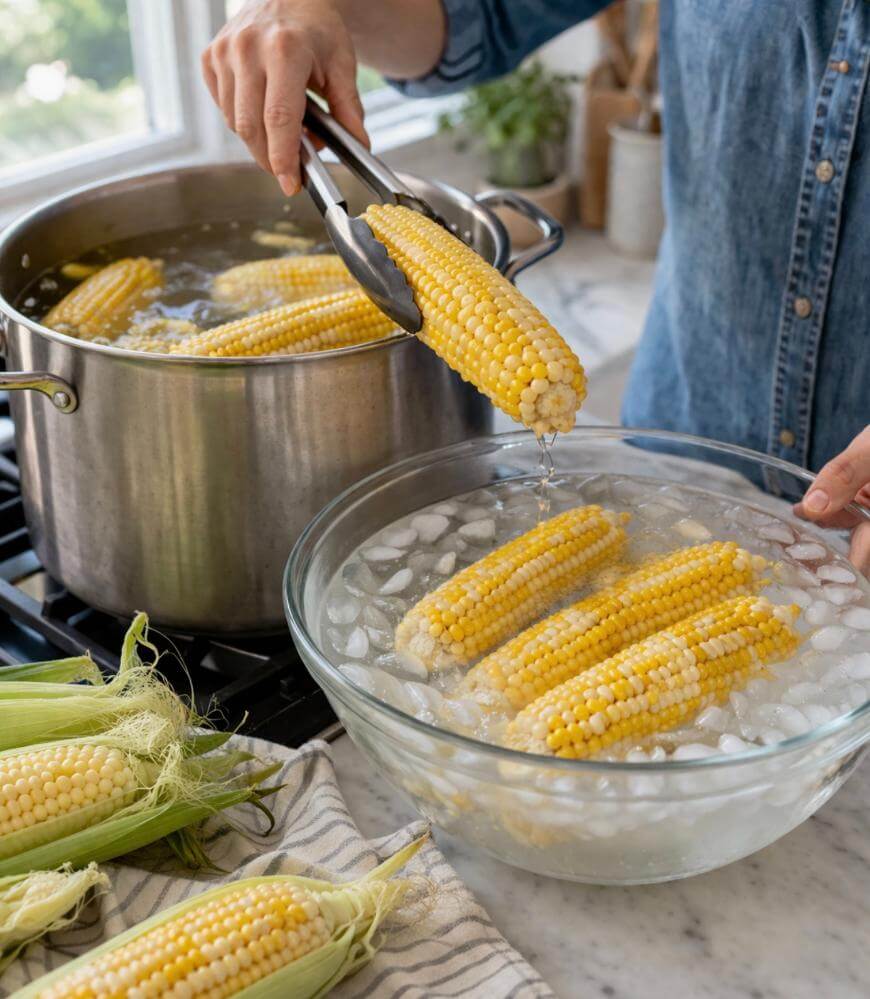
Fill a large pot with water and bring it to a rolling boil, and set up a big bowl (or clean sink) full of ice water nearby.
This hot-to-cold setup matters because blanching stops enzymes that cause off-flavors, and the ice bath stops the cooking so corn stays crisp.
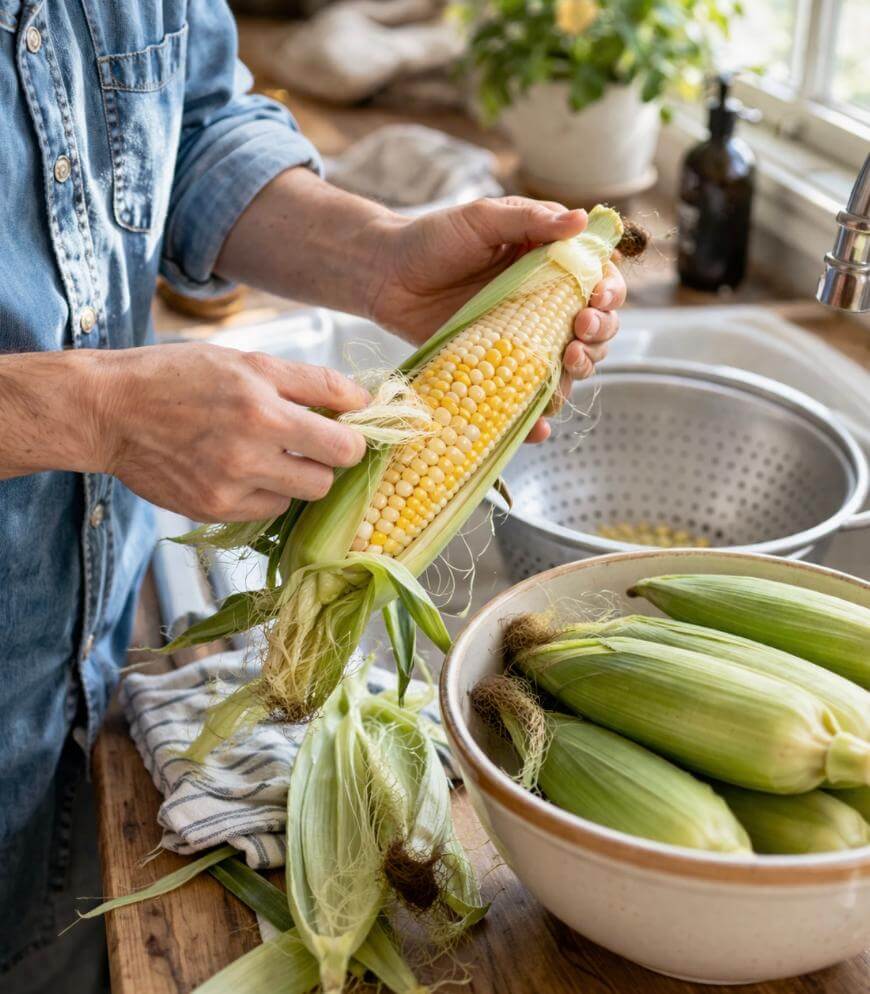
4. Shuck And Clean The Corn Thoroughly
Remove husks and silk completely, then rinse the ears so no silk strands end up in your bags later.
A quick silk-cleaning trick is rubbing the ear with a clean kitchen towel to pull off the last fine strands.
5. Blanch The Corn For The Right Amount Of Time
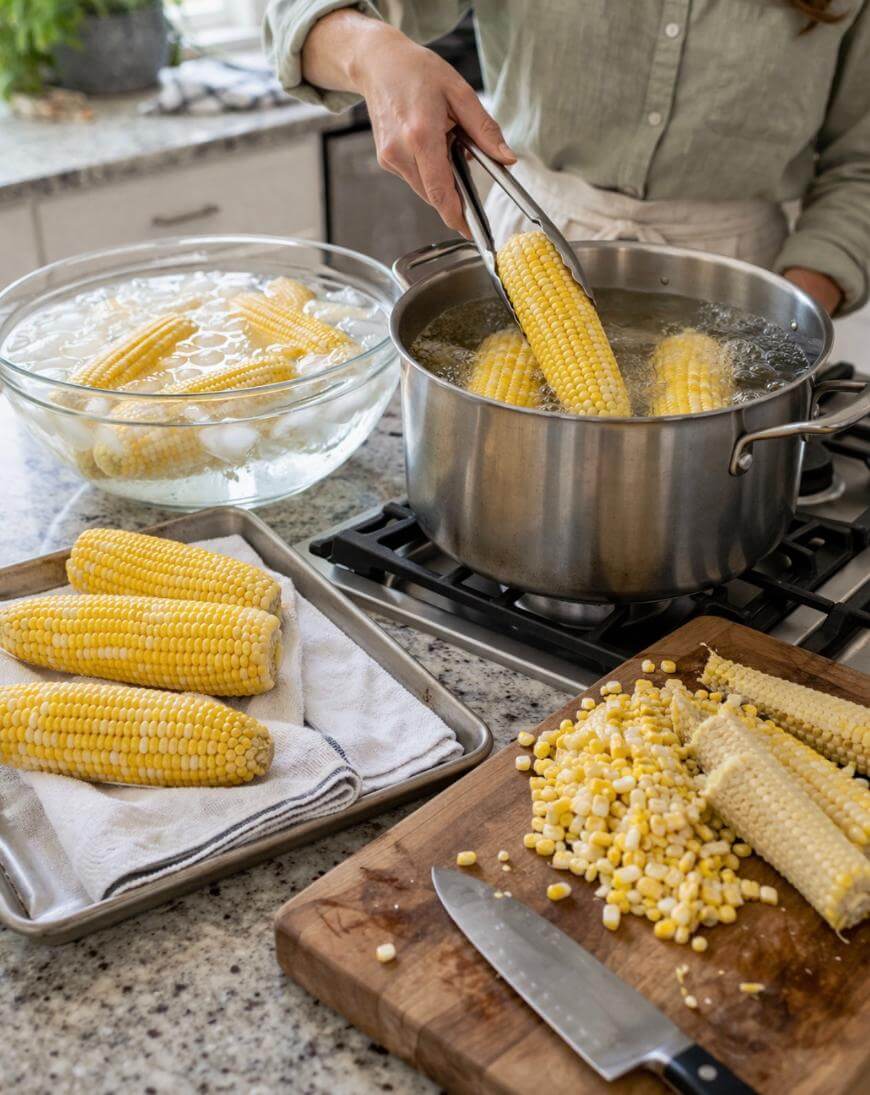
Blanch whole ears in boiling water for 4 minutes for standard-sized ears (add 1 extra minute for very large ears).
Keep the water at a steady boil; if you overload the pot, the temperature drops and you’ll get uneven blanching.
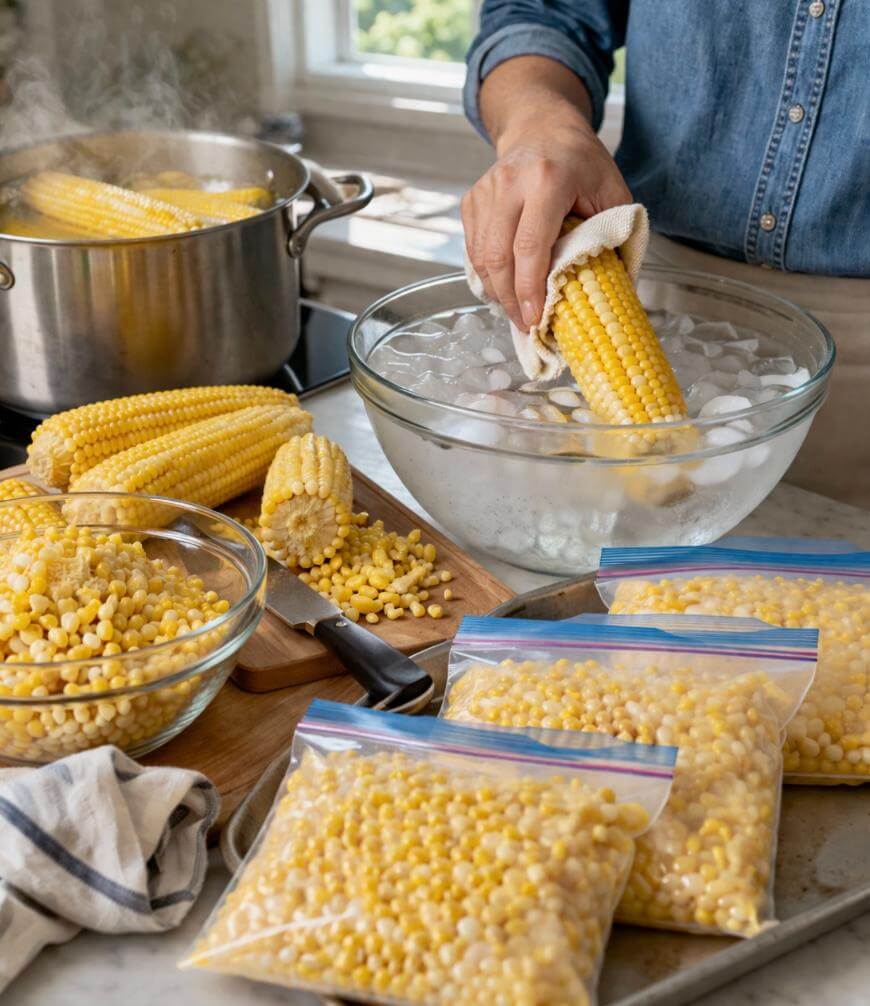
6. Chill Immediately In An Ice Bath
Move the corn straight from boiling water into ice water for the same amount of time you blanched it (about 4 minutes).
If the ice melts fast, add more ice—this step is what keeps the corn from turning soft.

7. Drain And Dry So You Don’t Freeze Extra Ice
Drain well, then pat ears dry with a clean towel so you don’t trap water that turns into freezer burn-prone ice crystals.
Drying also helps your bags seal better and keeps kernels from clumping as much.
8. Cut Kernels Off The Cob Cleanly
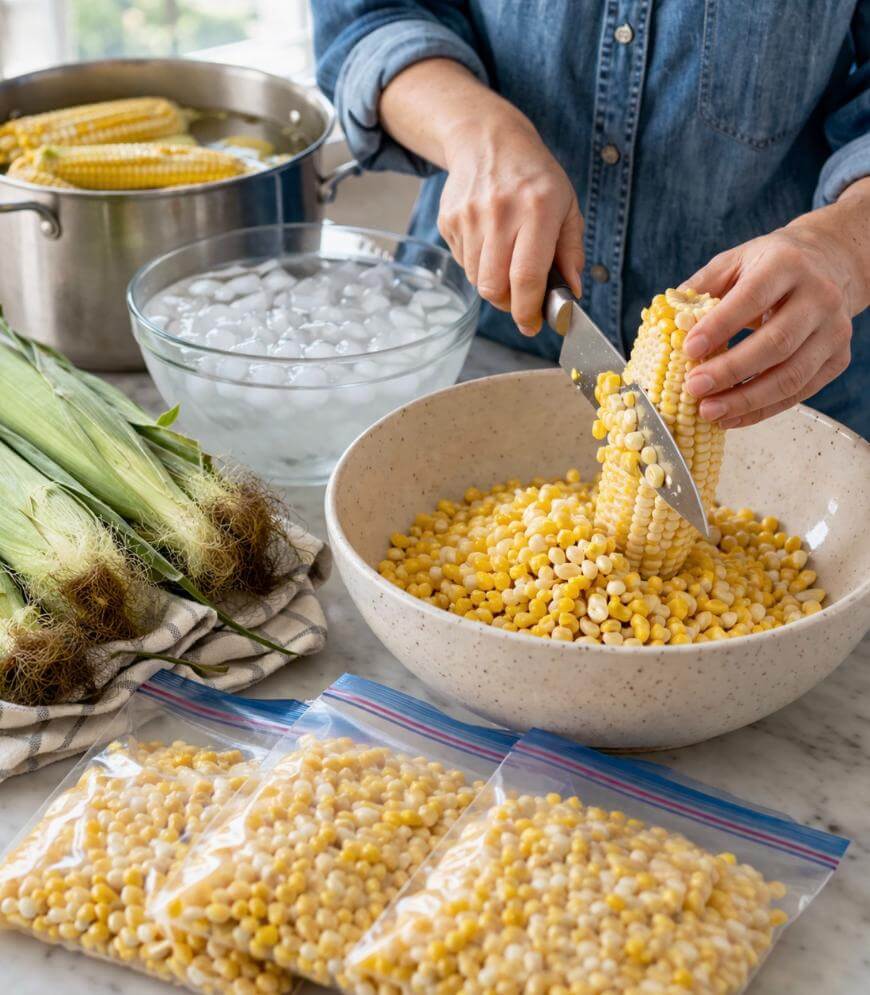
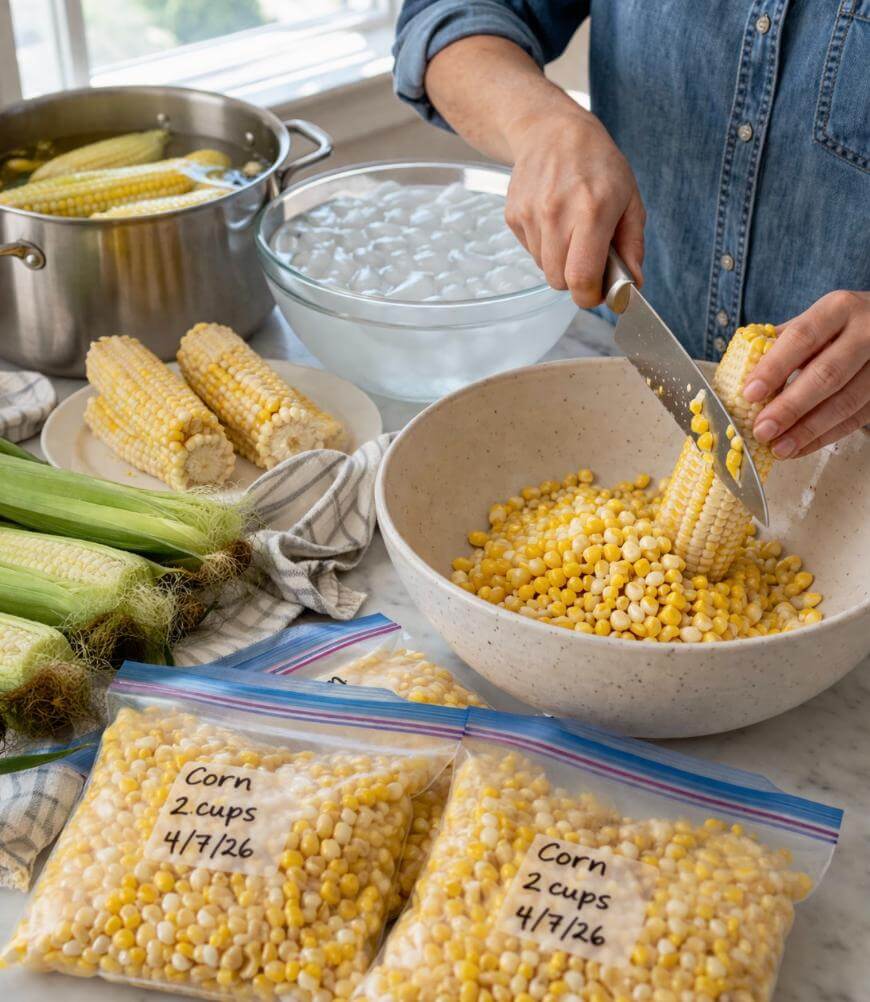
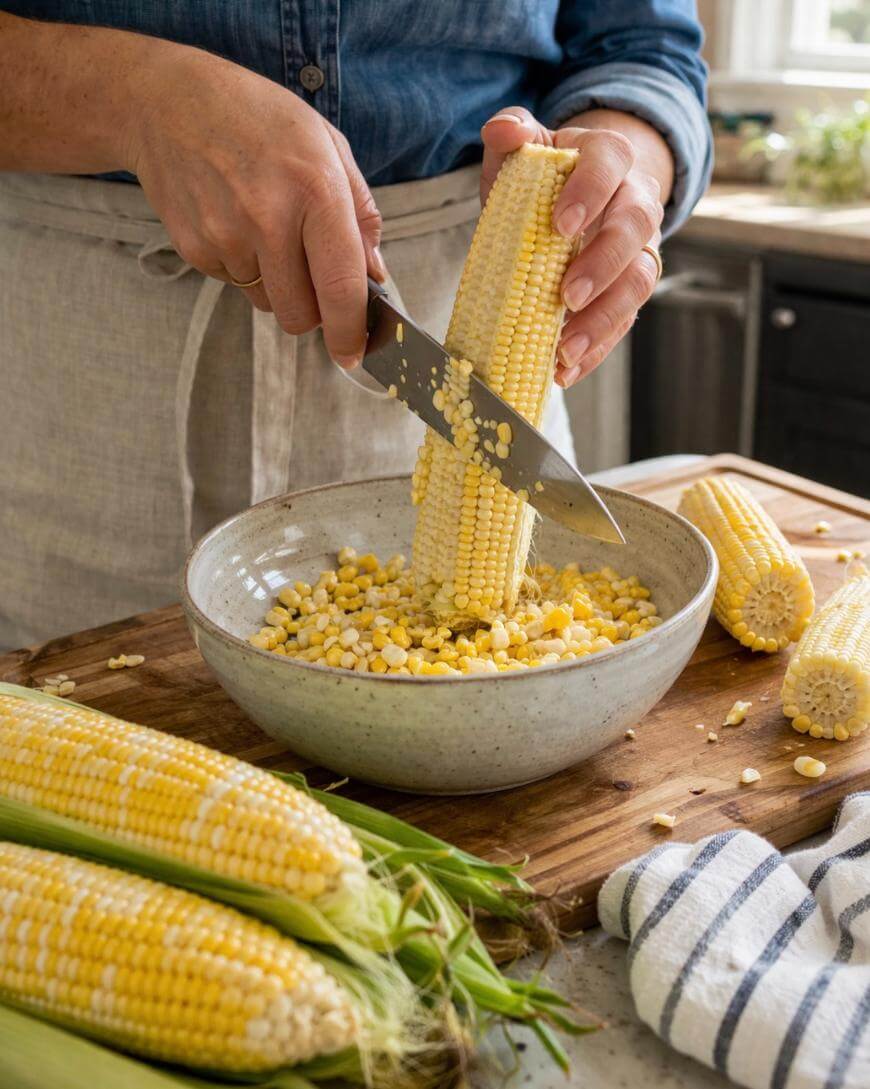
Stand the cob upright in a large bowl and slice downward with a sharp knife, cutting close to the cob without shaving off too much tough cob.
For less mess, set the cob in the center hole of a Bundt pan so the kernels fall into the pan instead of bouncing around your counter.
9. Choose A Packing Method That Matches How You Cook
For flexible cooking, pack in 1–2 cup portions so you can grab the amount you need without thawing a huge bag.
If you often cook for one or two, 1-cup portions are the sweet spot for quick meals and reduce waste.
10. Remove Air To Prevent Freezer Burn
Use freezer bags (not thin sandwich bags), press out as much air as possible, and seal tightly.
If you have one, a vacuum sealer gives the best long-term quality, but “press and seal” works well for most home freezers.
11. Freeze Flat For Faster Freezing And Easy Stacking
Lay bags flat in a single layer on a sheet pan until frozen, then stack them like files.
Faster freezing makes smaller ice crystals, which helps the corn stay more tender when you cook it later.
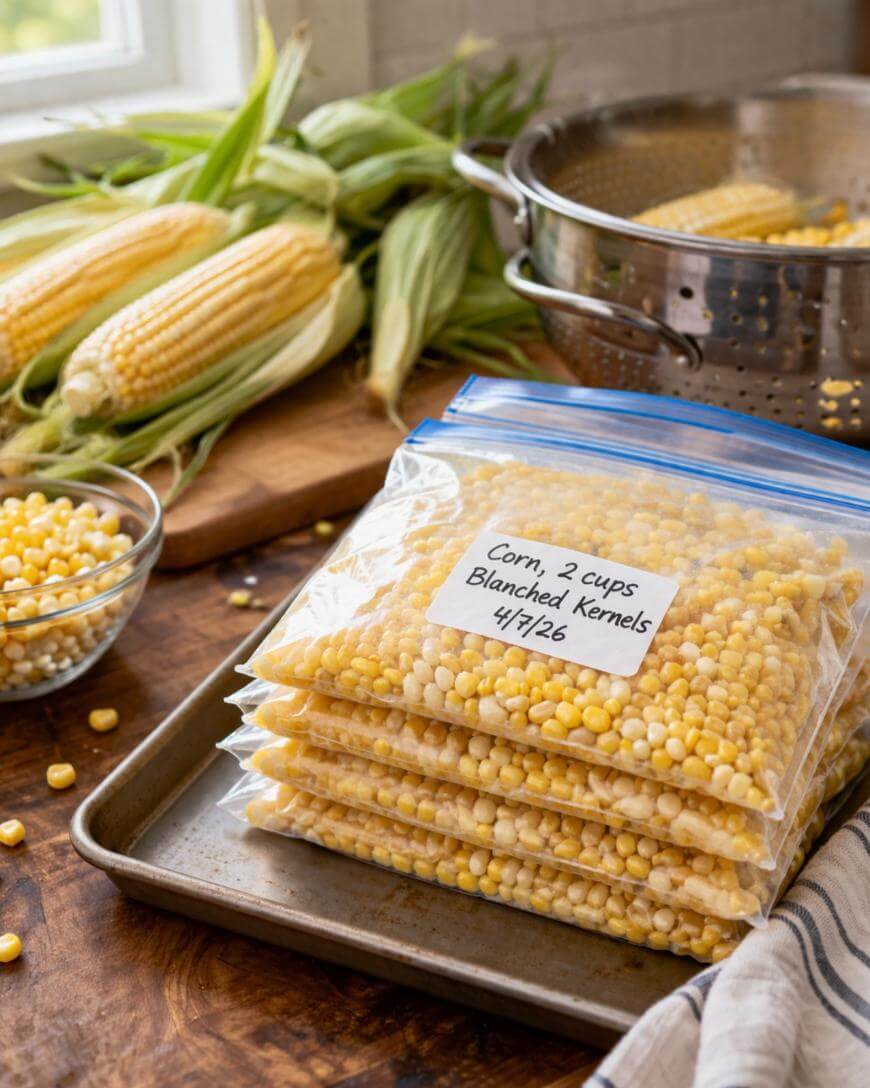
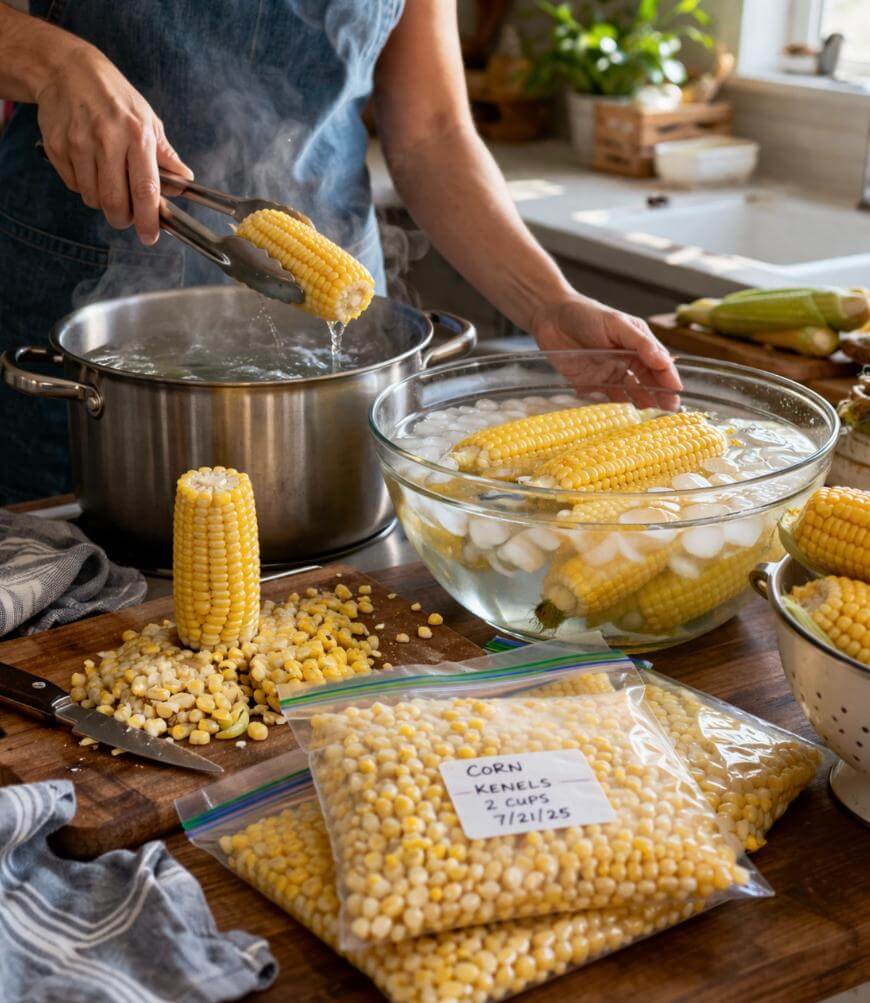
12. Label Like You Actually Want To Use It Later
Write the date, portion size, and “blanched kernels” on each bag so you’re not guessing in three months.
A simple label like “Corn, 2 cups, 4/7/26” saves you time and prevents mystery bags.
13. Know Your Best-Quality Storage Window
For best flavor and texture, use within 8–12 months, though it can remain safe longer if kept consistently frozen.
If your freezer temperature fluctuates often, aim for the shorter end of that window.
14. Cook It Straight From Frozen For The Best Texture
Most of the time, you don’t need to thaw—just add frozen kernels directly to soups, skillet dishes, or boiling water.
If you thaw in the fridge, drain any liquid before cooking so you don’t water down your recipe.
15. Use A Quick Seasoning Upgrade When Serving
When reheating, a simple combo of butter + salt + a pinch of sugar can bring back that peak-summer sweetness.
If you like a savory twist, try butter + garlic + a squeeze of lime for a fast side dish.
16. Avoid The Most Common Freezer Corn Mistakes
Skipping blanching often leads to “old freezer” flavor even if you package well.
Over-blanching makes the kernels mealy, so stick to the timing and cool quickly.
17. Optional: Freeze Corn On The Cob In Portions
Blanch, chill, dry, then cut cobs into halves or thirds, wrap tightly, and bag.
This is great if you like quick corn sides, but it takes more freezer space than kernels.
Key Takeaways
Blanch corn for about 4 minutes to lock in flavor and color.
Ice-bath immediately for the same amount of time to stop cooking.
Dry well and remove air to reduce freezer burn.
Pack in 1–2 cup portions so it’s easy to use.
Freeze bags flat so they stack and freeze faster.
Use within 8–12 months for best quality.

How To Make Freezer Corn
A simple blanch-and-freeze method for preserving fresh sweet corn so it tastes just-picked all year.
Ingredients
- 6 ears fresh sweet corn, husked
- Water, for blanching
- Ice, for the ice bath
Instructions
- Shuck the corn completely and rinse the ears to remove silk strands.
- Blanch the whole ears in boiling water for 4 minutes, adding 1 extra minute for very large ears.
- Transfer immediately to an ice bath for about 4 minutes to stop the cooking.
- Drain well and pat the ears dry with a clean towel.
- Stand each cob upright and slice downward with a sharp knife to cut the kernels off close to the cob.
- Portion the kernels into 1 to 2 cup freezer bags, press out excess air, and seal.
- Freeze flat so the bags stack easily, and use within 10 to 12 months.
Notes
Process corn within 24 to 48 hours of picking for the sweetest flavor, and dry the kernels thoroughly before freezing to prevent ice crystals.
Nutrition Information:
Yield:
8Serving Size:
1/2 cupAmount Per Serving: Calories: 66Total Fat: 1gSaturated Fat: 0gSodium: 1mgCarbohydrates: 15gFiber: 2gSugar: 3gProtein: 2g
This site provides estimated nutritional information. This information comes from online calculators. Although we try to provide accurate nutritional information, these figures are only estimates.
FAQ
Can You Freeze Corn Without Blanching?
Yes, but quality drops faster. Blanching helps prevent off flavors and texture changes, so it’s the better choice for most people.
How Do You Keep Frozen Corn From Getting Freezer Burn?
Use freezer-grade bags, remove as much air as possible, and keep the freezer at a steady cold temperature. Freezing flat also helps because it freezes faster.
How Much Corn Do You Get From One Ear?
A typical ear yields about 1/2 to 3/4 cup of kernels. For 4 cups of kernels, plan on roughly 6–8 ears depending on size.
Do You Need To Thaw Frozen Corn Before Cooking?
No, you can cook it straight from frozen. Thawing is optional, but if you do thaw, drain it so your dish doesn’t get watery.