Last updated: July 17, 2026
Setting up a lemonade bar is one of the easiest ways to wow your guests and keep drinks flowing all day long. In this guide, you will find everything you need to know — from the supplies to buy, to the flavors to offer, to the little styling details that make it look beautiful.
Whether you are hosting a summer birthday party, a bridal shower, a baby shower, or a casual backyard cookout, a lemonade bar fits right in. Read on for a complete, step-by-step walkthrough so you can set yours up with confidence.
Essential Supplies for Your Lemonade Bar Set Up
Before anything else, gather your supplies. Having everything ready the day before takes the stress out of party day.
Here is what you will need to set up a lemonade bar that runs smoothly from start to finish.
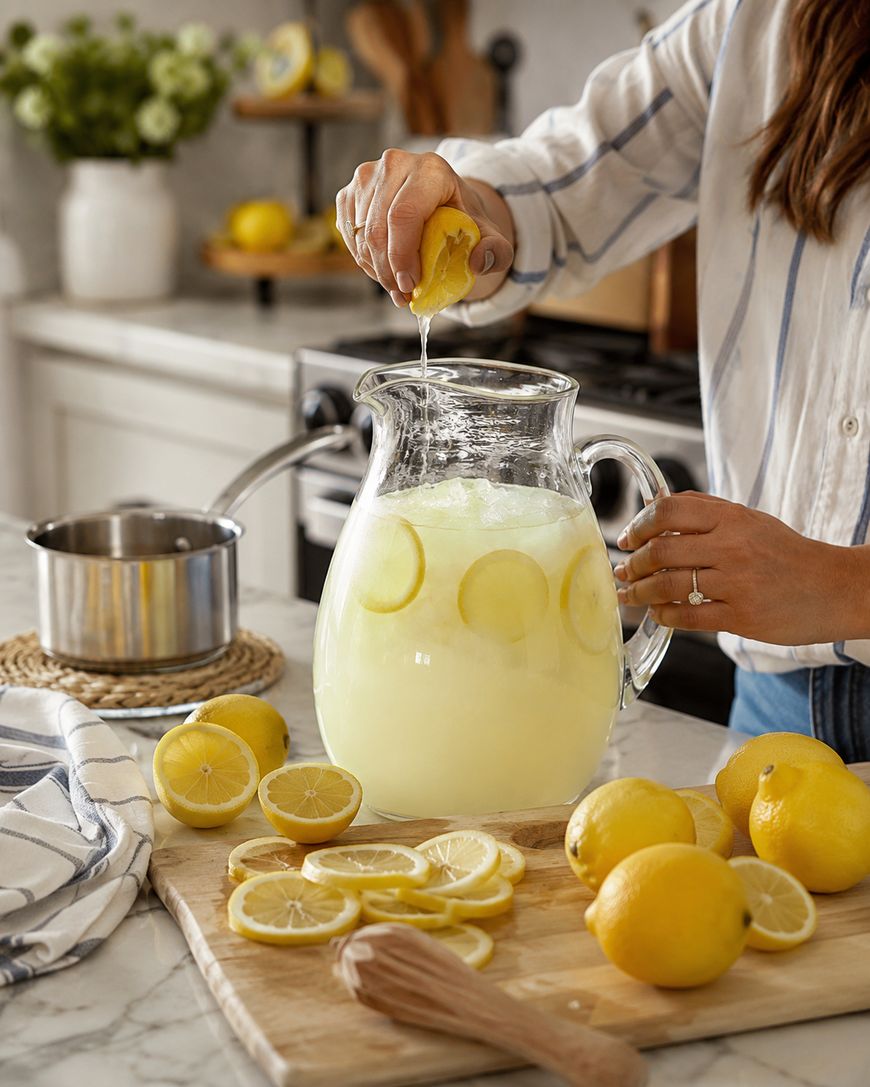
Start with a large drink dispenser or pitcher of base lemonade. You want to make a big batch — plan for about eight ounces per guest per hour, and make extra because people always go back for more.
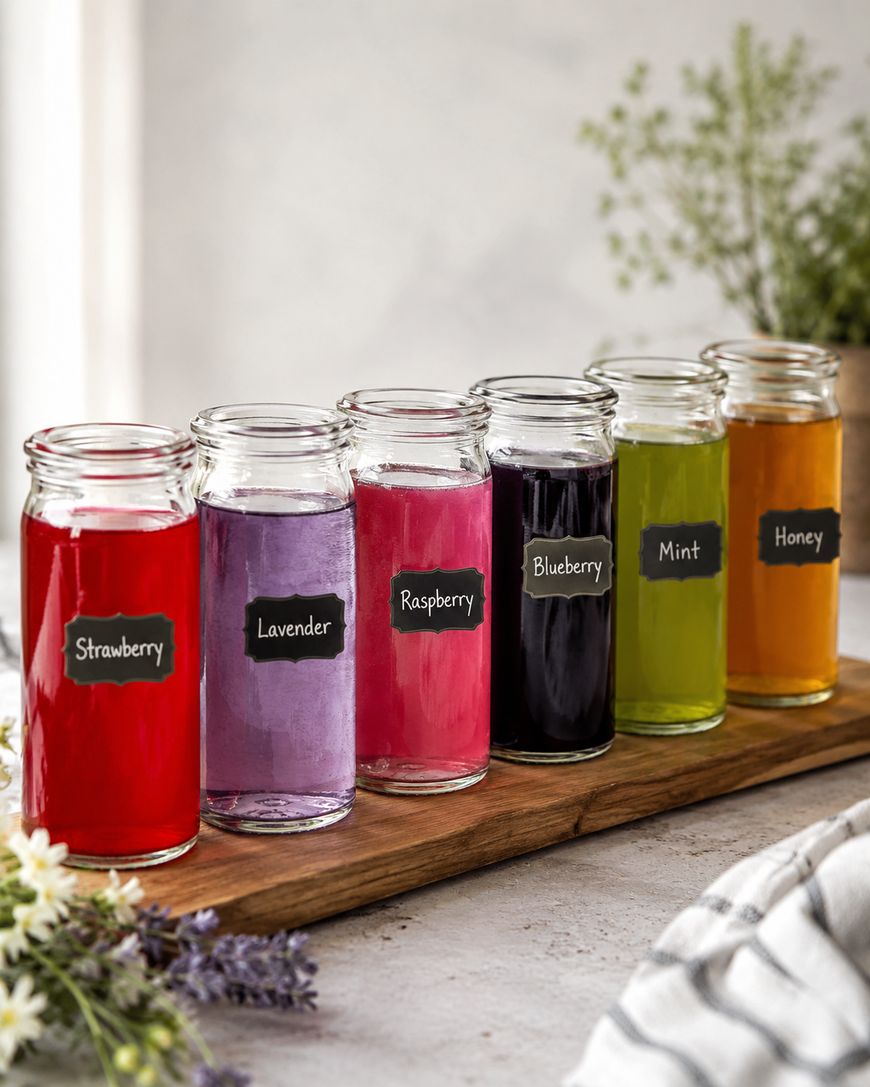
Next, you will need a selection of flavored simple syrups. These are the heart of your lemonade bar because they let guests customize their drinks. Popular options include strawberry, lavender, raspberry, blueberry, and mint. You can buy these pre-made or make them at home with just sugar, water, and fresh fruit or herbs.
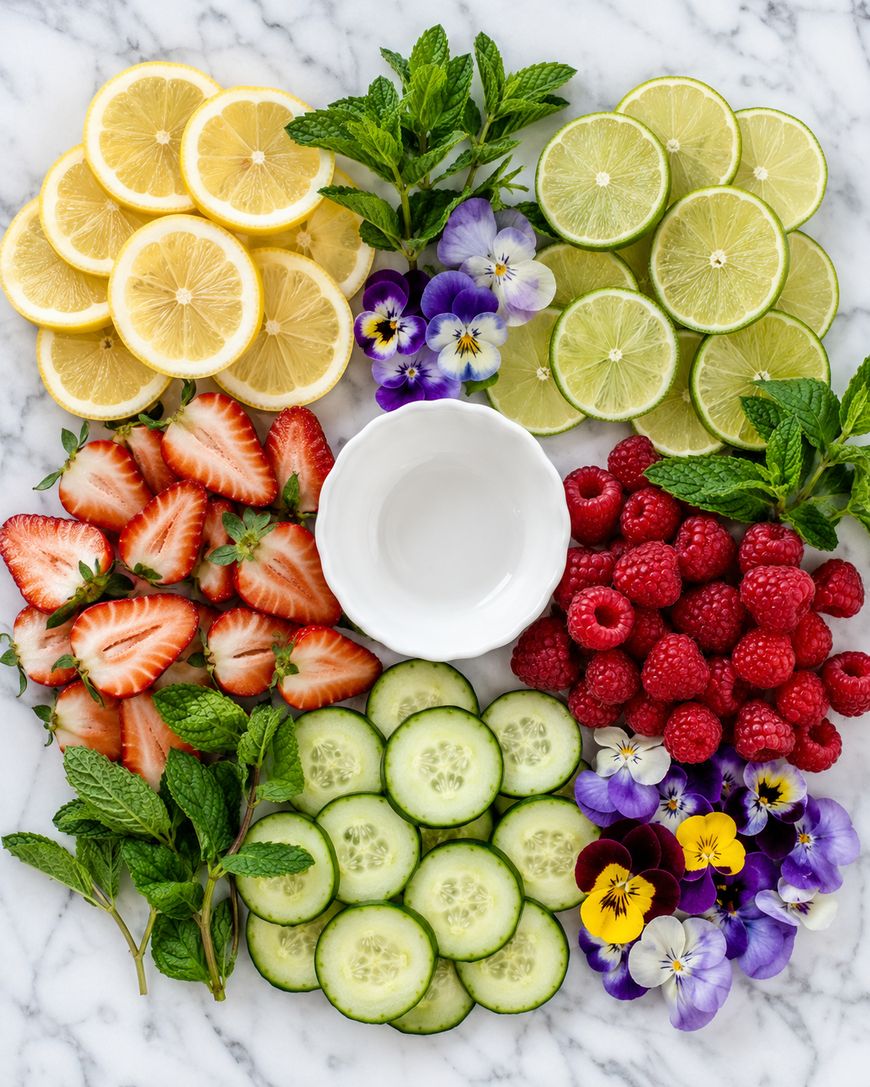
You will also want fresh fruit for garnishes and stirring in. Sliced strawberries, lemons, limes, oranges, and raspberries all work beautifully. Put them in small bowls or ramekins with little spoons or tongs so guests can serve themselves easily.
Ice is non-negotiable. Use a large ice bucket or bin and keep it well-stocked throughout the party. Crushed ice works well for aesthetics and keeps drinks cold faster, but regular cubed ice is perfectly fine.
Cups, straws, and stirrers round out your supply list. Clear plastic cups let the colorful drinks show through, which adds to the visual appeal. Paper straws in bright colors or patterns add a festive touch that guests will love.
How to Make the Base Lemonade for a Crowd
The base lemonade is the foundation of your whole station, so it is worth making it fresh rather than using store-bought. Fresh-squeezed lemonade tastes noticeably better, and your guests will notice.

For a crowd-sized batch, use this simple ratio that you can scale up or down as needed.
- 2 cups fresh lemon juice (about 10 to 12 lemons)
- 1 cup plain simple syrup (equal parts sugar and water, heated until dissolved)
- 6 cups cold water
- Pinch of salt
- Juice your lemons and strain out the seeds.
- Combine lemon juice, simple syrup, and water in a large pitcher or drink dispenser.
- Add a pinch of salt to brighten the flavor.
- Stir well and taste. Adjust sweetness or tartness by adding more syrup or lemon juice.
- Refrigerate until ready to serve, then pour over ice.
This makes about eight servings. For a party of twenty to thirty, multiply the recipe three to four times and keep extras in the refrigerator until needed.
Flavored Syrups That Take Your Lemonade Bar to the Next Level
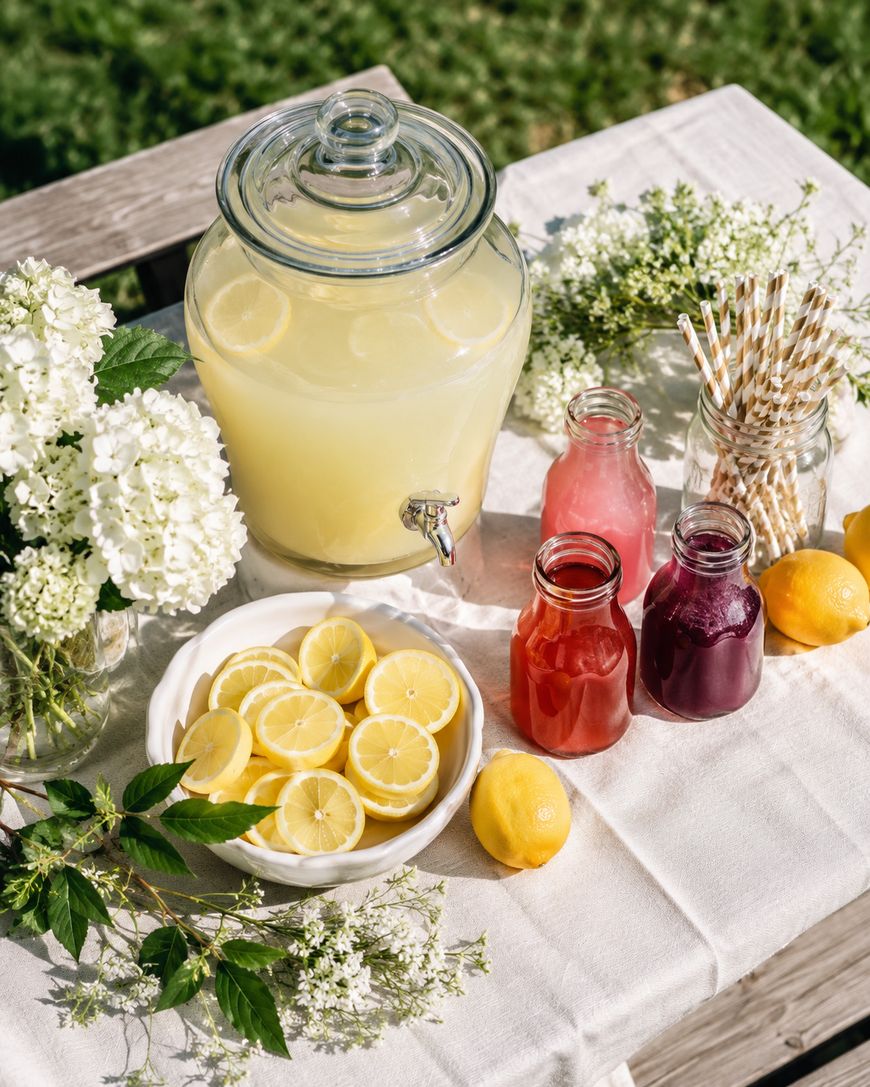
The syrups are what make a lemonade bar feel truly special. When guests see five or six little bottles or jars lined up, each a different jewel-toned color, they immediately get excited.
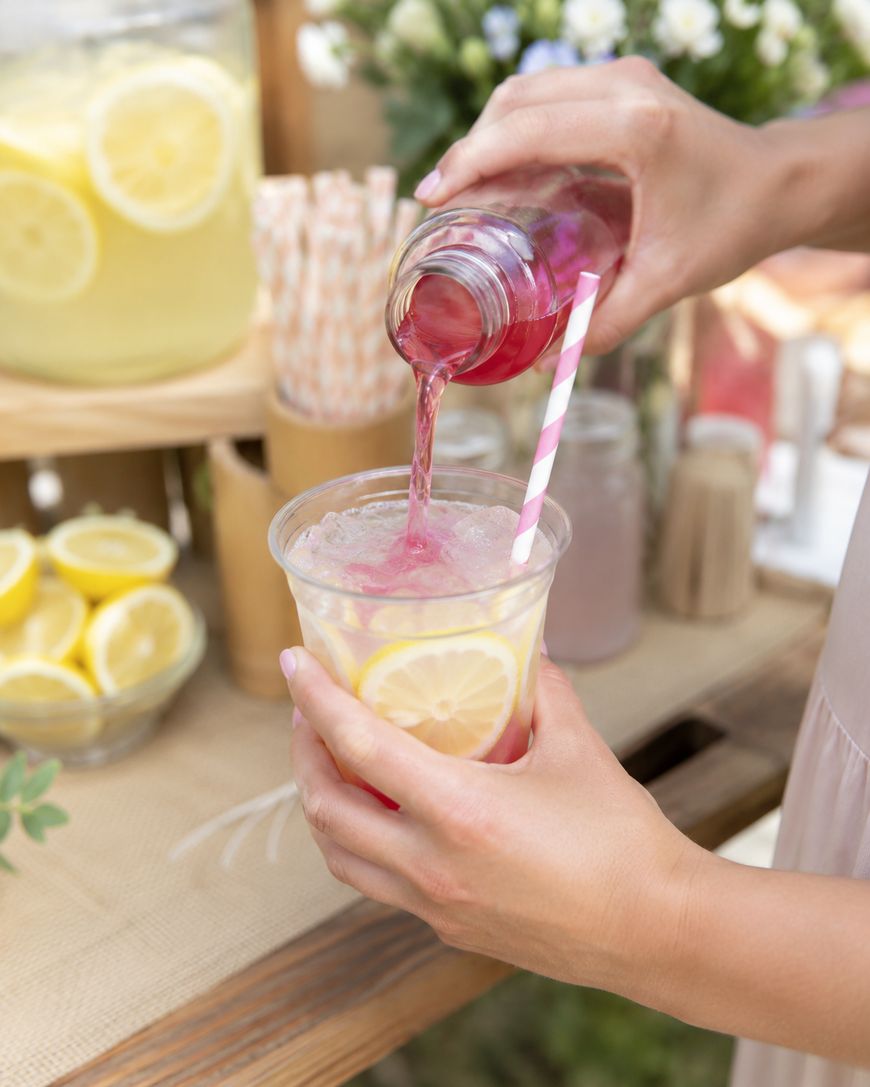
You can absolutely buy flavored syrups from a grocery store or online — brands like Torani and Monin make great options. But if you have a little extra time, homemade syrups are easy to make and taste even better.
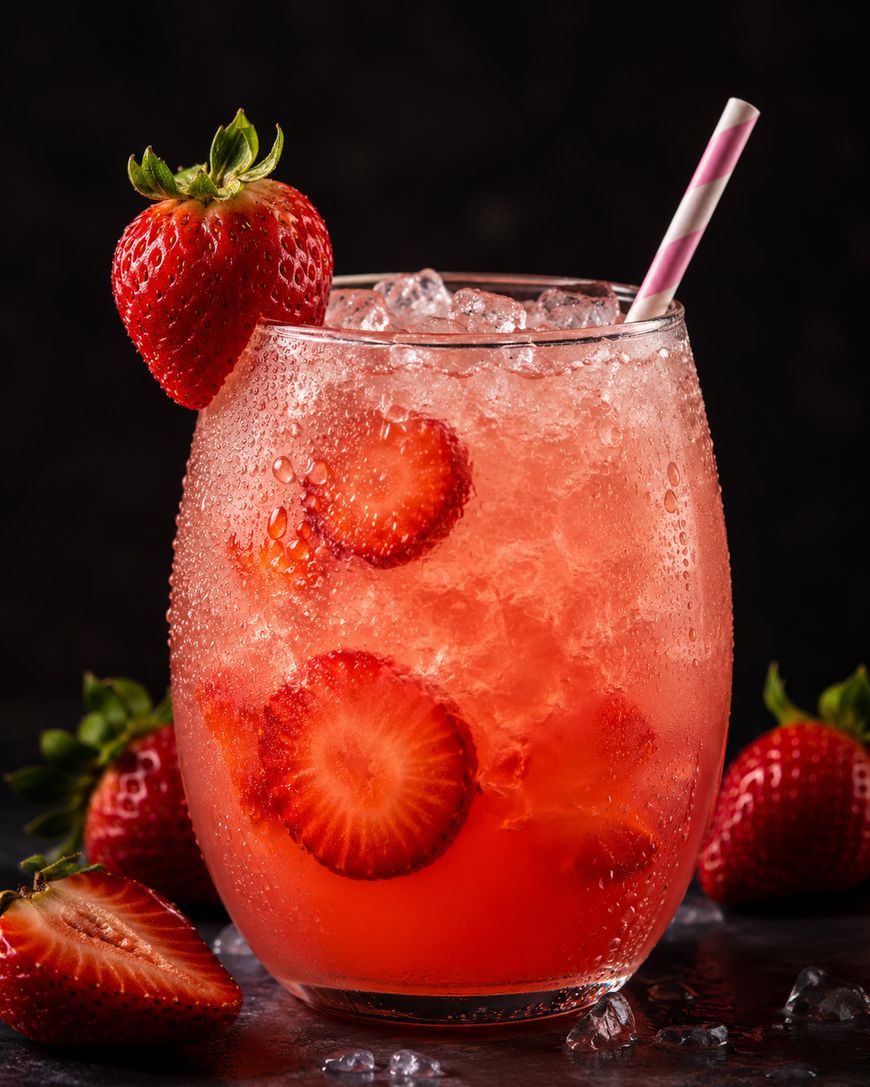
For strawberry syrup, combine one cup of hulled strawberries with one cup of sugar and one cup of water in a saucepan. Simmer over medium heat for ten minutes until the strawberries break down, then strain and cool.
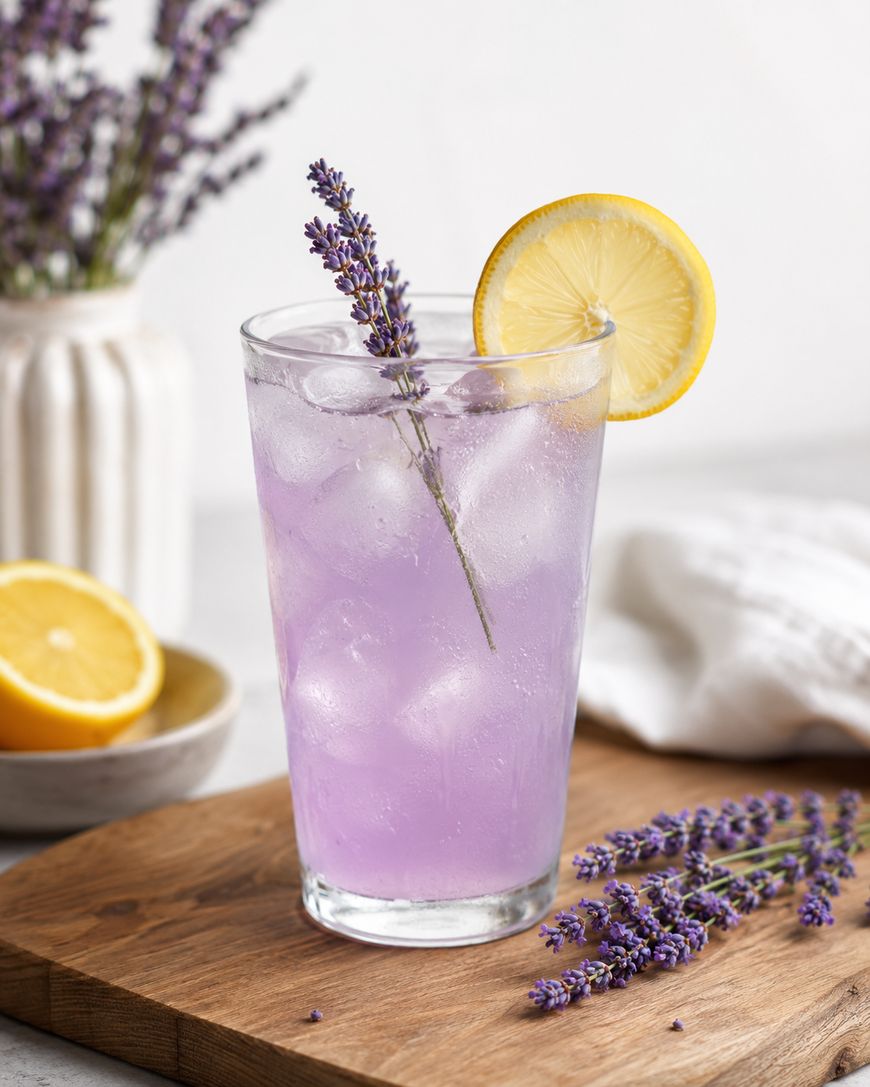
Lavender syrup follows the same process. Use two tablespoons of dried culinary lavender in place of fruit, simmer for five minutes, then strain carefully. The color will be a soft golden-purple that looks stunning in lemonade.
Raspberry syrup is a crowd-pleaser that turns lemonade a gorgeous deep pink. Use the same method as strawberry but with one cup of fresh or frozen raspberries.
Mint syrup works differently since you do not simmer mint for long. Bring sugar and water to a boil, turn off the heat, add a large handful of fresh mint leaves, and steep for twenty minutes before straining.
Label each syrup clearly with a small card or chalkboard tag so guests know what they are choosing. Include a small spoon or pour spout in each container so the station stays tidy.
How to Style Your Lemonade Bar Like a Pro
The visual presentation of your lemonade bar matters almost as much as the drinks themselves. A well-styled station invites guests in and makes them want to linger.

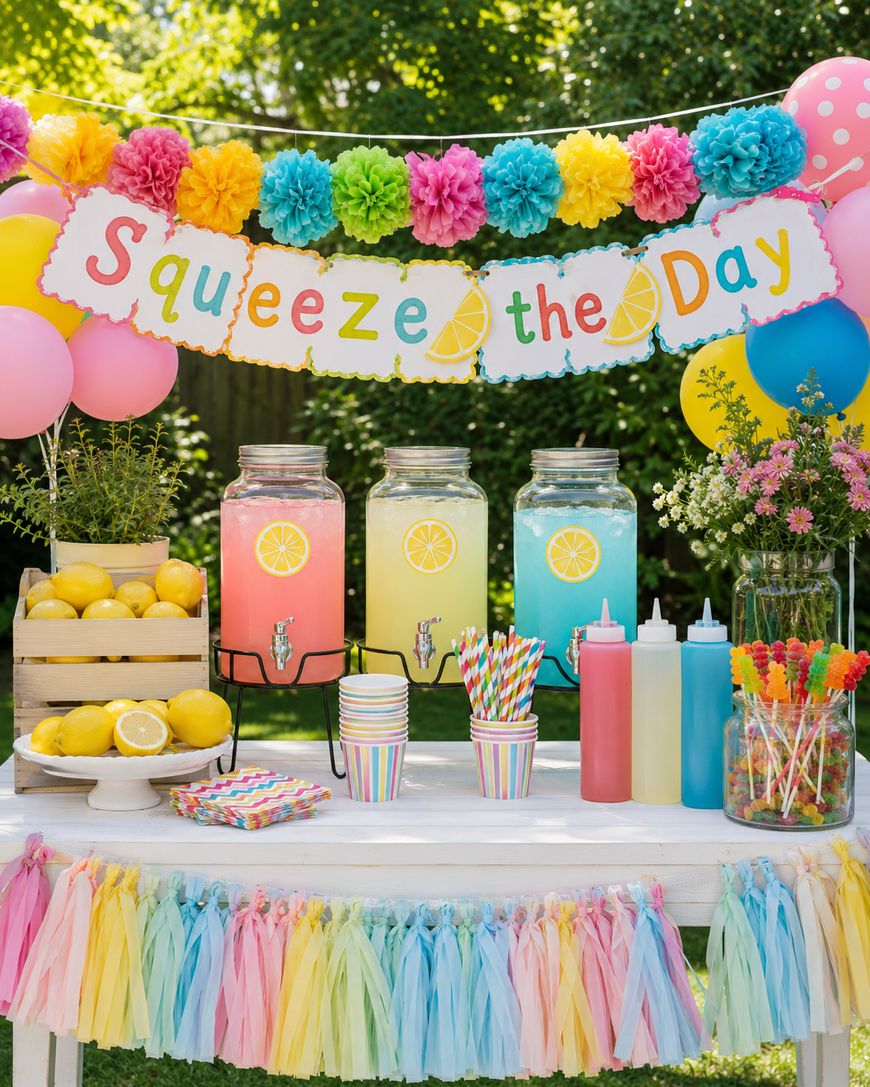
Start with a consistent color palette. For a summer party, bright yellows, greens, and pinks feel fresh and festive. For a bridal shower, soft whites, blush, and gold look elegant. For a fall event, warm amber, orange, and burgundy tones feel cozy and seasonal.
Use varying heights to create visual interest. Place your drink dispenser on a wooden box or cake stand to elevate it. Surround it with medium-height syrup bottles, then line small garnish bowls at the front. This layered look makes the station feel curated rather than cluttered.
Add a hand-lettered sign or printed banner that says something like “Lemonade Bar” or “Squeeze the Day.” This ties the station together and helps guests understand what they are looking at right away.
Fresh flowers in a small vase add a beautiful finishing touch. Choose flowers that match your color palette and place them at the back or side of the table so they do not interfere with the drinks.
Line the table with a linen tablecloth, kraft paper runner, or a simple cotton cloth in your color scheme. Even a plain white tablecloth looks polished when everything on top of it is thoughtfully arranged.
Lemonade Bar Ideas for Different Occasions
A lemonade bar can be adapted for almost any event with small tweaks to the flavors, styling, and extras you include.
For a kids’ birthday party, keep the syrups fruity and sweet — think watermelon, strawberry, and blue raspberry. Add fun extras like gummy candy stirrers, colorful straws, and rainbow sprinkles around the rims of cups.
For a bridal shower or baby shower, focus on elegance. Offer lavender, rose, and elderflower syrups. Use glass pitchers instead of plastic, and garnish with edible flowers and cucumber slices. The soft, pretty colors will photograph beautifully.
For a Fourth of July or patriotic party, use strawberry syrup for red and blueberry syrup for blue to let guests make red, white, and blue lemonades. Add star-shaped fruit cutouts and patriotic straws for the full effect.
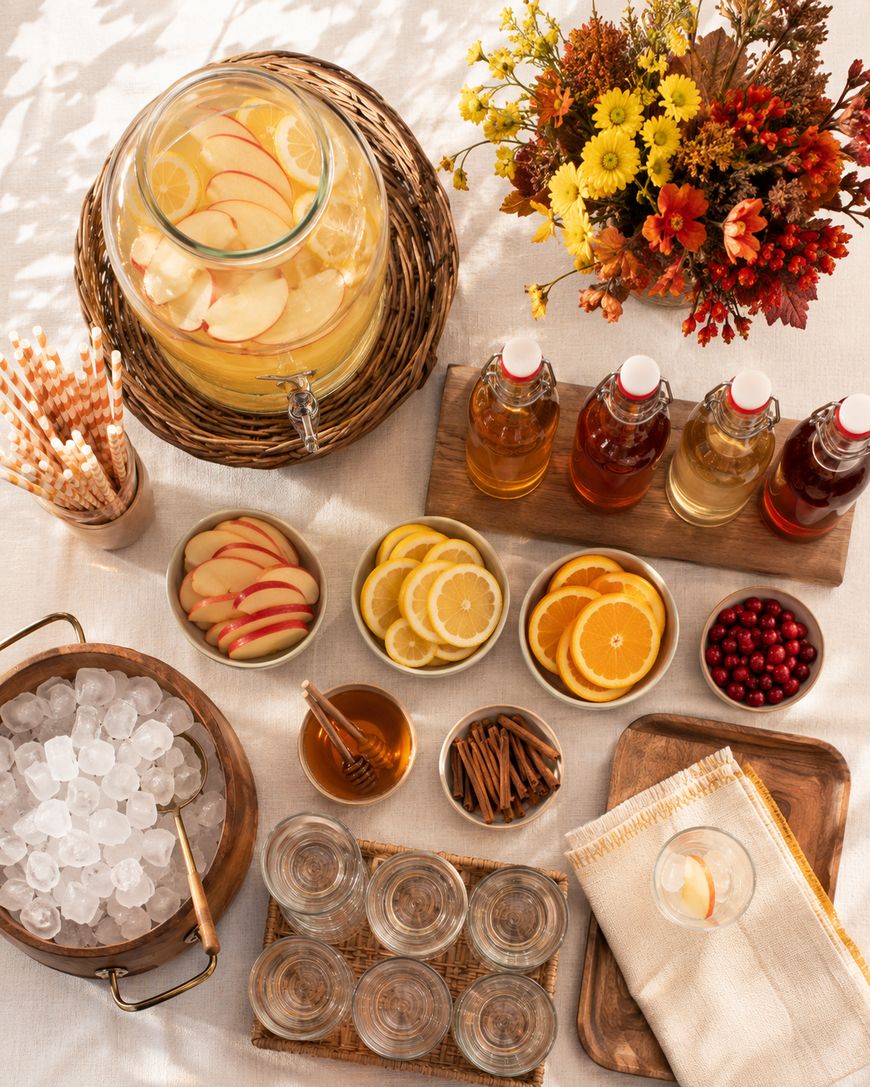
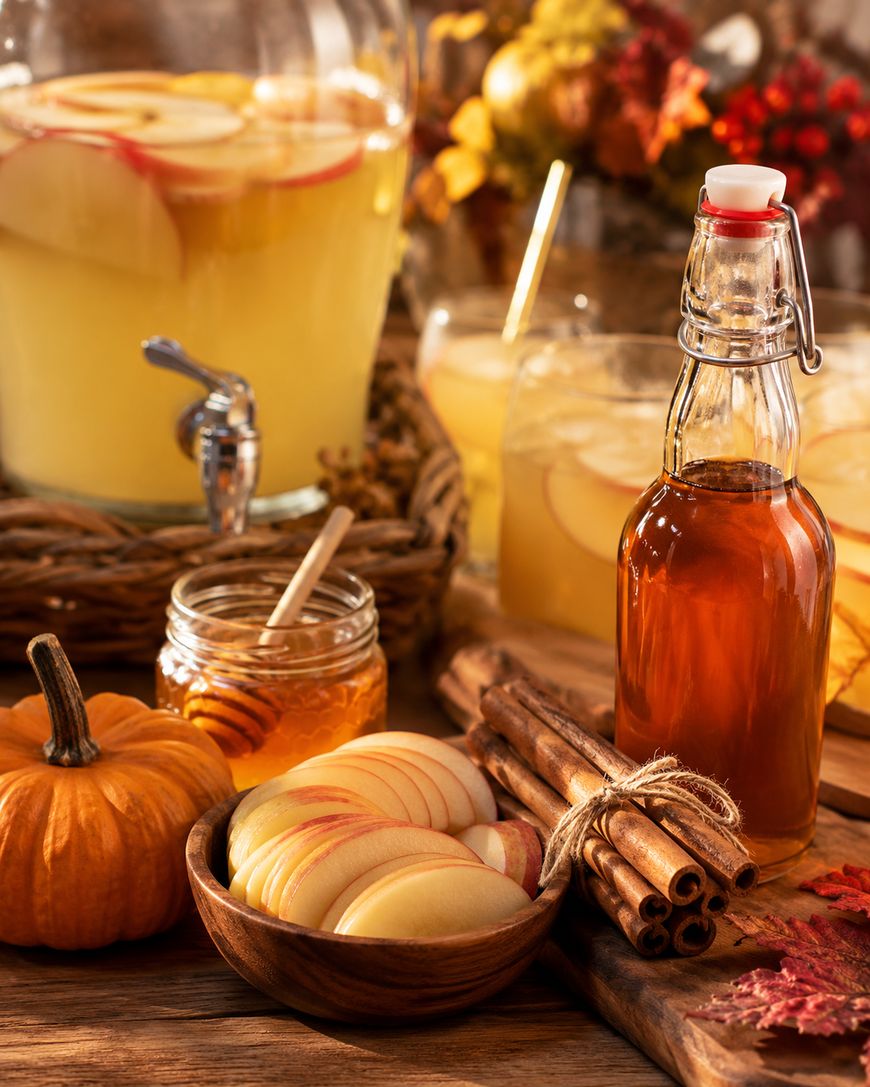
For a fall gathering or harvest party, warm up the flavor options with apple cider syrup, cinnamon syrup, and honey. Swap fresh citrus garnishes for apple slices and cinnamon sticks. The station will feel cozy and seasonal without losing the lemonade theme.
For adult gatherings, consider adding a small side table or basket with optional spirits like vodka, prosecco, or rum so guests can make lemonade cocktails. Label this section clearly and keep it separate from the non-alcoholic setup.
What Is a Lemonade Bar and Why You Should Set One Up
A lemonade bar is a self-serve drink station where guests can customize their own lemonade with different flavors, syrups, fruits, and garnishes. It is part drink station, part interactive experience.
What makes it so popular is that it works for every kind of crowd. Kids love the bright colors and sweet flavors, while adults appreciate the option to add herbs, sparkling water, or even a splash of something stronger.
You do not need a caterer or a fancy event planner to pull one off. With a little prep work and the right setup, you can create a lemonade bar that looks like it took hours — even if it only took thirty minutes to assemble.
A lemonade bar also doubles as a centerpiece. Place it on a farmhouse table, a folding table with a linen cloth, or even an outdoor bar cart, and it instantly becomes a focal point of your event space.
Q&A: Lemonade Bar Set Up Questions Answered
How far in advance can I make the base lemonade?
You can make the base lemonade up to two days ahead and store it in the refrigerator. Do not add ice until you are ready to serve, as it will dilute the lemonade over time.
How much lemonade do I need per person?
Plan for about eight to twelve ounces per person per hour. For a two-hour party with twenty guests, that works out to roughly five gallons of base lemonade. It is always better to make a little extra than to run out.
Can I make flavored syrups ahead of time?
Yes, all simple syrups can be made up to two weeks ahead and stored in sealed glass jars in the refrigerator. This is actually one of the best ways to reduce party prep stress — make all your syrups days in advance.
What size drink dispenser do I need?
A two-gallon dispenser works well for parties up to twenty guests. For larger groups, either use a three-gallon dispenser or set up two dispensers side by side with slightly different base lemonade recipes, such as regular and sparkling.
How do I keep the garnishes fresh during the party?
Keep cut fruit on ice to slow browning. Nest your small garnish bowls inside a larger tray filled with crushed ice. Herbs like mint stay freshest in a small cup of water, similar to how you would keep cut flowers.
What is the best way to label the syrups?
Chalkboard labels, small folded tent cards, or wooden tag labels tied with twine all look great. Write the flavor name and, if you like, a brief description such as “lavender — floral and light” to help guests who might be unfamiliar with the flavor.
Conclusion: Set Up a Lemonade Bar That Steals the Show
A lemonade bar set up does not have to be complicated to be impressive. With a big batch of fresh lemonade, a handful of colorful syrups, plenty of ice, and some thoughtful styling, you can create a drink station that becomes the highlight of your event.
Start simple with two or three syrup flavors, then add more as you get comfortable. Let your guests customize their drinks, and watch how much fun they have mixing and matching flavors.
Now that you have everything you need to set up a lemonade bar, it is time to start planning. Pick your occasion, gather your supplies, and make it happen — your guests are going to love it.