Last updated: October 19, 2026
When most people first start their machine embroidery path, they often turn to ready-made designs. This makes sense, as it’s a great way of getting used to the machine. However, to truly make the most of an embroidery machine and take your projects to the next level, you should move beyond ready-made designs to create something entirely unique and even personal to you. Are you ready to start bringing your own designs to life? If so, these are the steps to follow.
Step 1: Get an Embroidery Machine
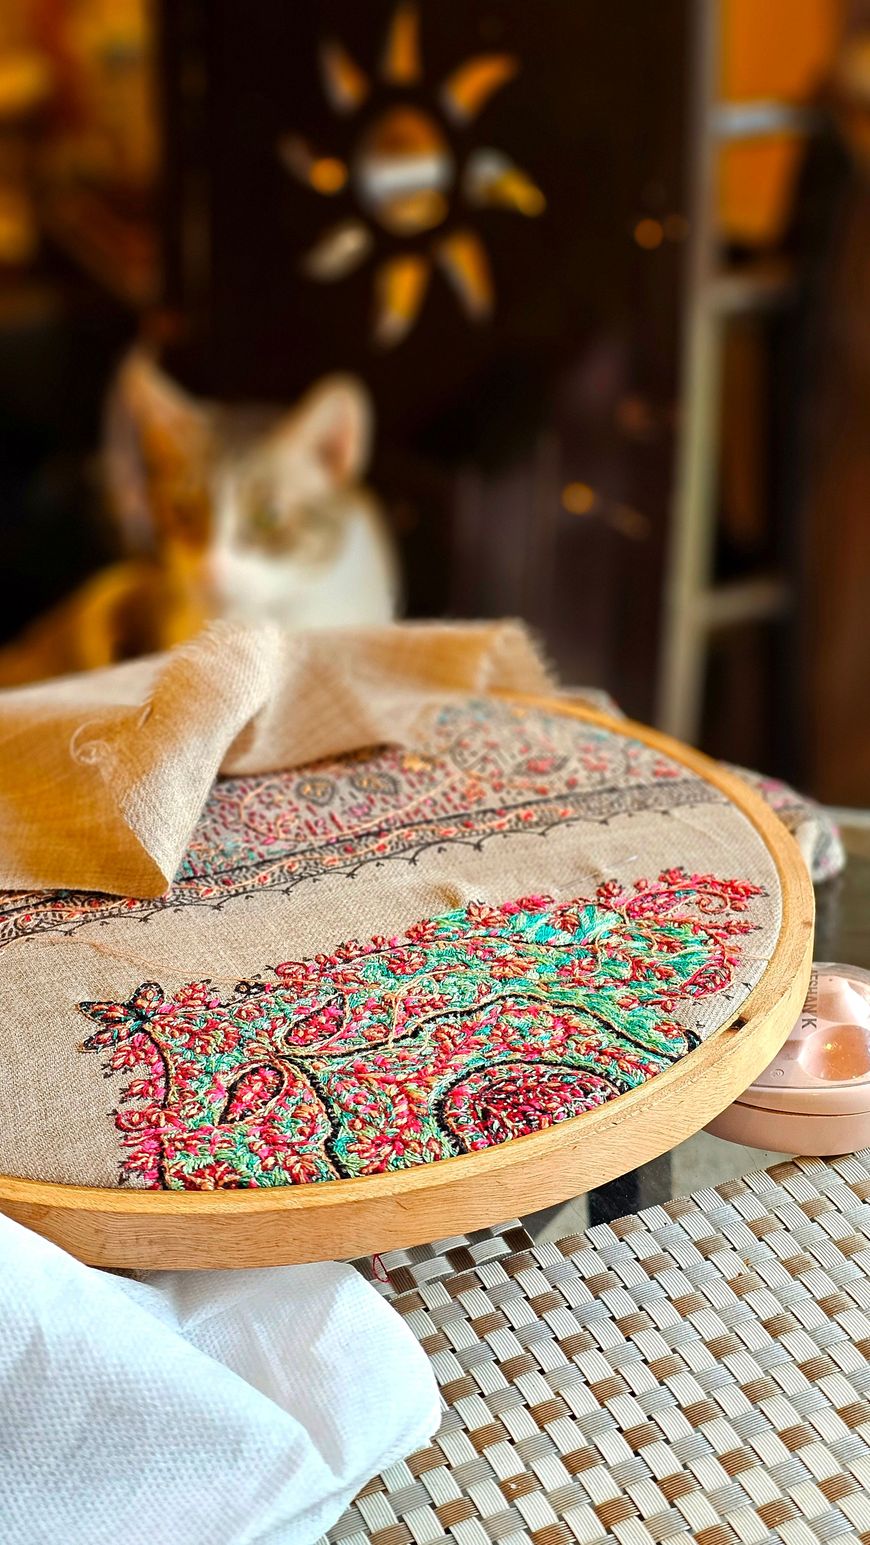
Of course, if you haven’t already, the first stage is to actually purchase an embroidery machine and become comfortable with how it operates. You need to learn the basics here, such as choosing the right hoops and needles for a project. The more you understand the machine, the easier you will find the next stages.
Step 2: Find the Right Embroidery Machine Software
The next and arguably most important step is actually finding the right embroidery machine software. When looking at software, consider:
- Is it beginner-friendly?
- Does it offer a clean, intuitive interface?
- Does it give you complete control?
One that ticks all of these boxes is the embroidery machine software from Embroidery Legacy. The key part here is that it is scalable. When you first start using this software, you will be taken through each step carefully as you learn, as it’s completely beginner-friendly. However, the more comfortable you become, the more this embroidery digitizing software lets you go above and beyond, so you gain absolute control over stitch type, stitch direction, density, pull compensation, lettering, and much more. Over time, you’ll find your designs become much more intricate.
Step 3: Learn About the Digitizing Embroidery Functions
There are many levels to being a digital embroiderer. Some people keep things simple when they are beginners, and then move onto more complex projects down the line. If you want to get to the point where you have complete control over your designs, then you need to learn all of the main digitizing fundamentals. There are several to consider here, including:
- The different stitch types and when to use them
- The right stitch direction to use at each moment
- Pull compensation, which is when you can adjust how much the thread pulls the fabric
Step 4: Experiment with Simple Art Made By You
The easiest way to become overwhelmed is by jumping off the deep end and trying to do something too complicated early on. Don’t worry, if you keep at it, you will eventually get there, but you need to experiment with simpler designs first.
So, after using ready-made designs, begin by creating simple art pieces. A basic shape or logo is best here, as it will mean you get to grips with how your designs turn out on the actual fabric. It is also a good idea to always test your new stitches on scrap pieces of fabric (get used to having these lying around!), as that means you’ll be sure of the result when you try it on the real fabric.