Last updated: August 4, 2026
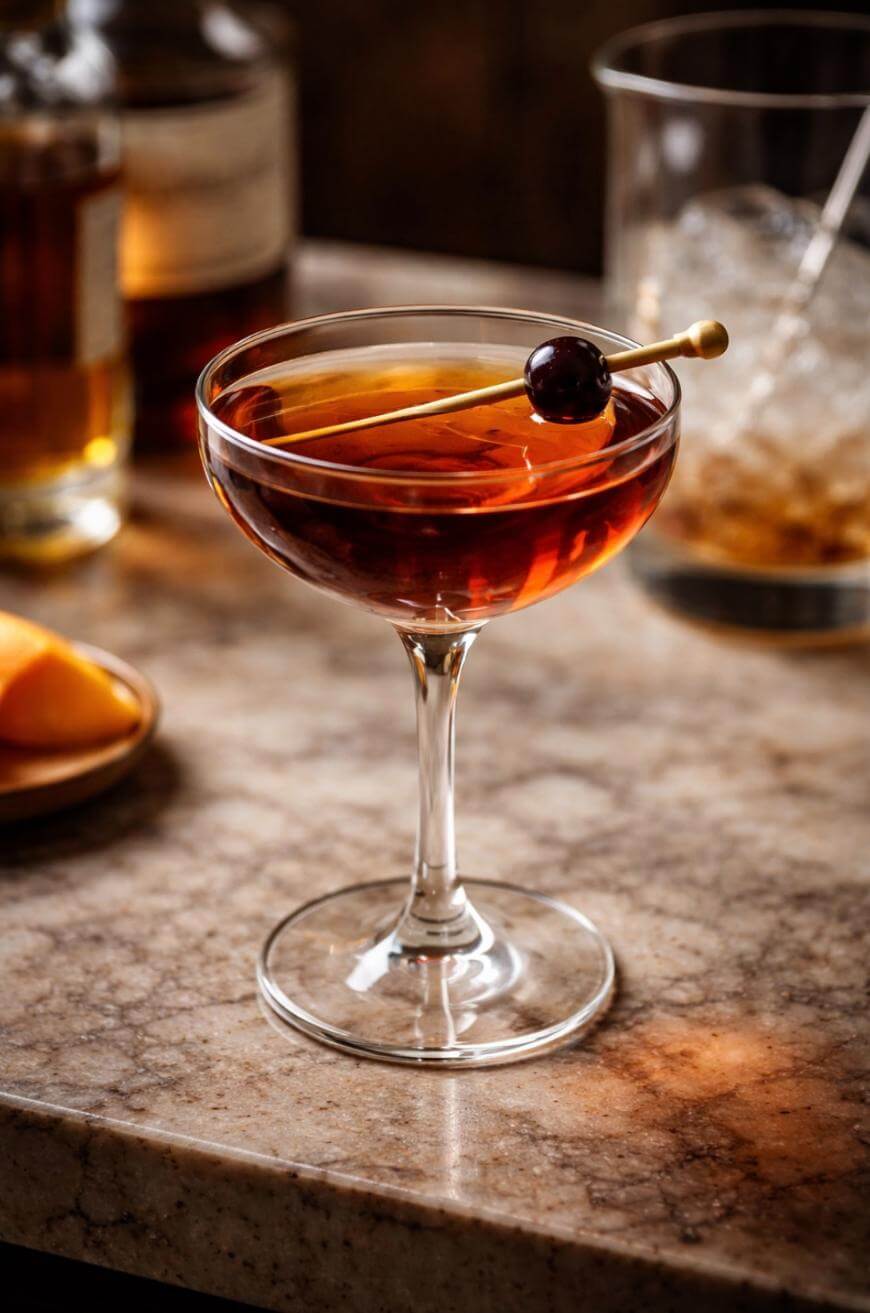
A Manhattan cocktail is a classic whiskey-and-vermouth drink, usually stirred with ice and finished with aromatic bitters. It’s quite easy to make: use a reliable 2:1 ratio of rye whiskey to sweet vermouth, add 2 dashes of bitters, stir well with plenty of ice, then strain into a chilled glass.
If you do nothing else, buy a decent rye, a fresh bottle of sweet vermouth, and a big bag of ice, then focus on chilling and dilution.
Ready to make it? Grab the full recipe card below with exact measurements and steps.
How To Make A Manhattan Cocktail At Home
1. Start With The Classic Manhattan Cocktail Ratio
The easiest starting point is 2 parts whiskey to 1 part sweet vermouth. In ounces, that’s typically 2 oz whiskey and 1 oz vermouth.
If you want a slightly drier drink, shift to 2.5 oz whiskey and 0.75 oz vermouth. If it tastes thin, you usually under-measured vermouth or over-diluted.

2. Choose Rye For A Spicier, More Traditional Profile
Rye whiskey gives you peppery spice that keeps the drink from feeling too sweet. It’s a safe default if you’re unsure what to buy.
A solid bottle in the $25–$45 range is more than enough for great results. If your rye is very high-proof, you may prefer a touch more vermouth for balance.
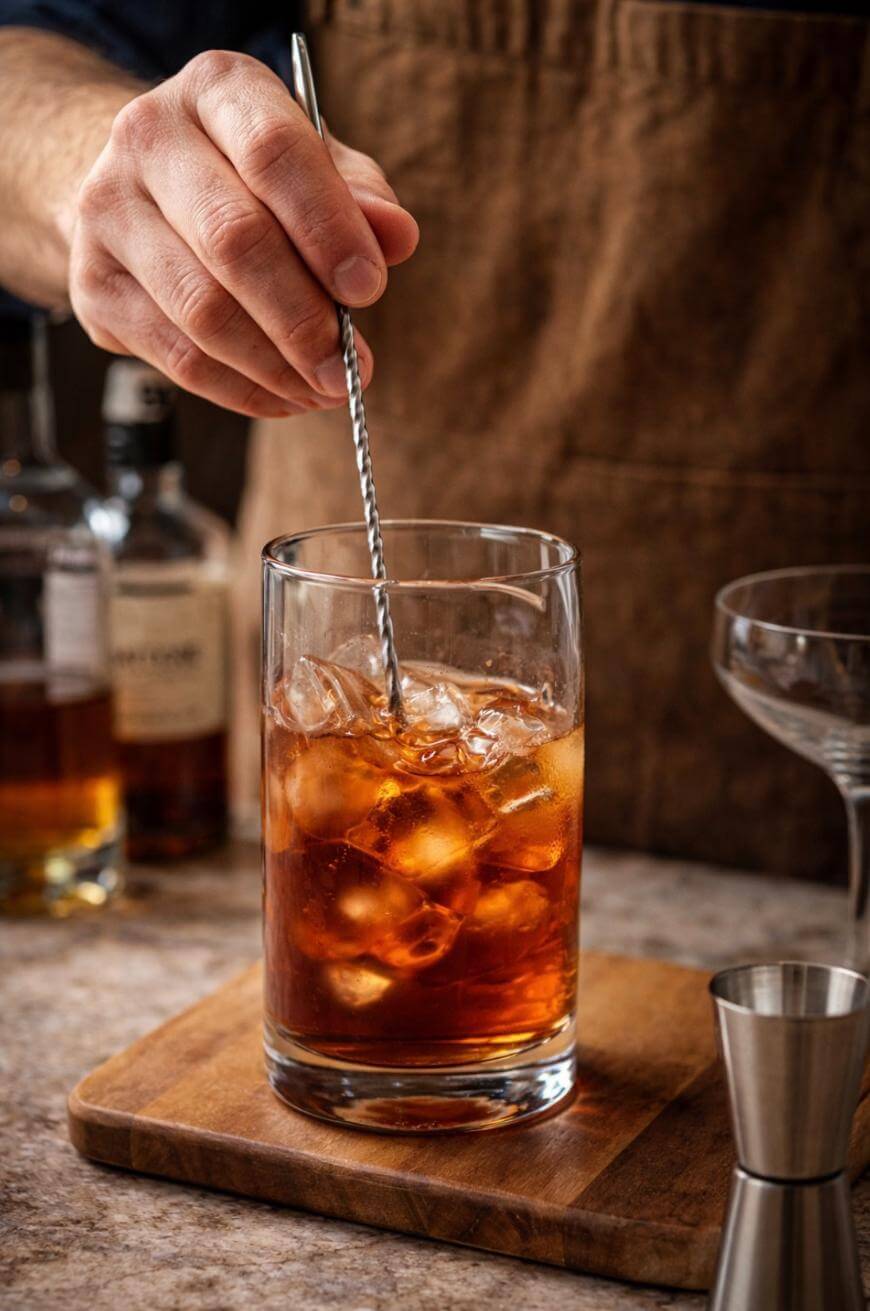
3. Use Bourbon When You Want A Rounder, Sweeter Finish
Bourbon makes the drink softer and more caramel-forward. It’s a good move if you like dessert-like notes.
If the drink starts tasting cloying with bourbon, reduce vermouth slightly or use a more bitter aromatic bitters. One small adjustment beats changing everything at once.
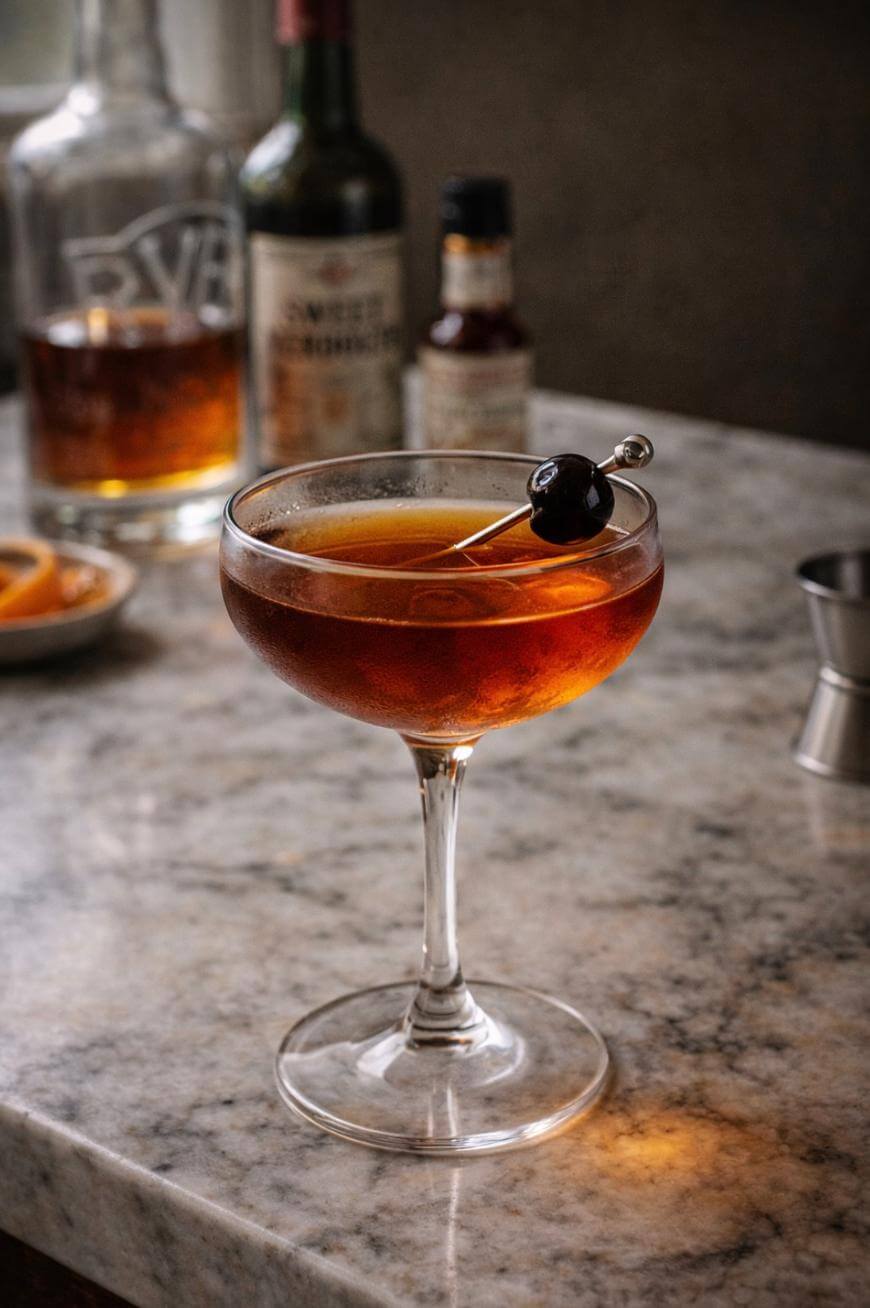
4. Treat Sweet Vermouth Like A Perishable Ingredient
Sweet vermouth is fortified wine, not a shelf-stable syrup. Once opened, keep it in the fridge and aim to use it within 4–8 weeks for best flavor.
If your drink suddenly tastes flat, metallic, or vaguely sour, old vermouth is often the reason. Replacing it can instantly “fix” your results without changing your technique.
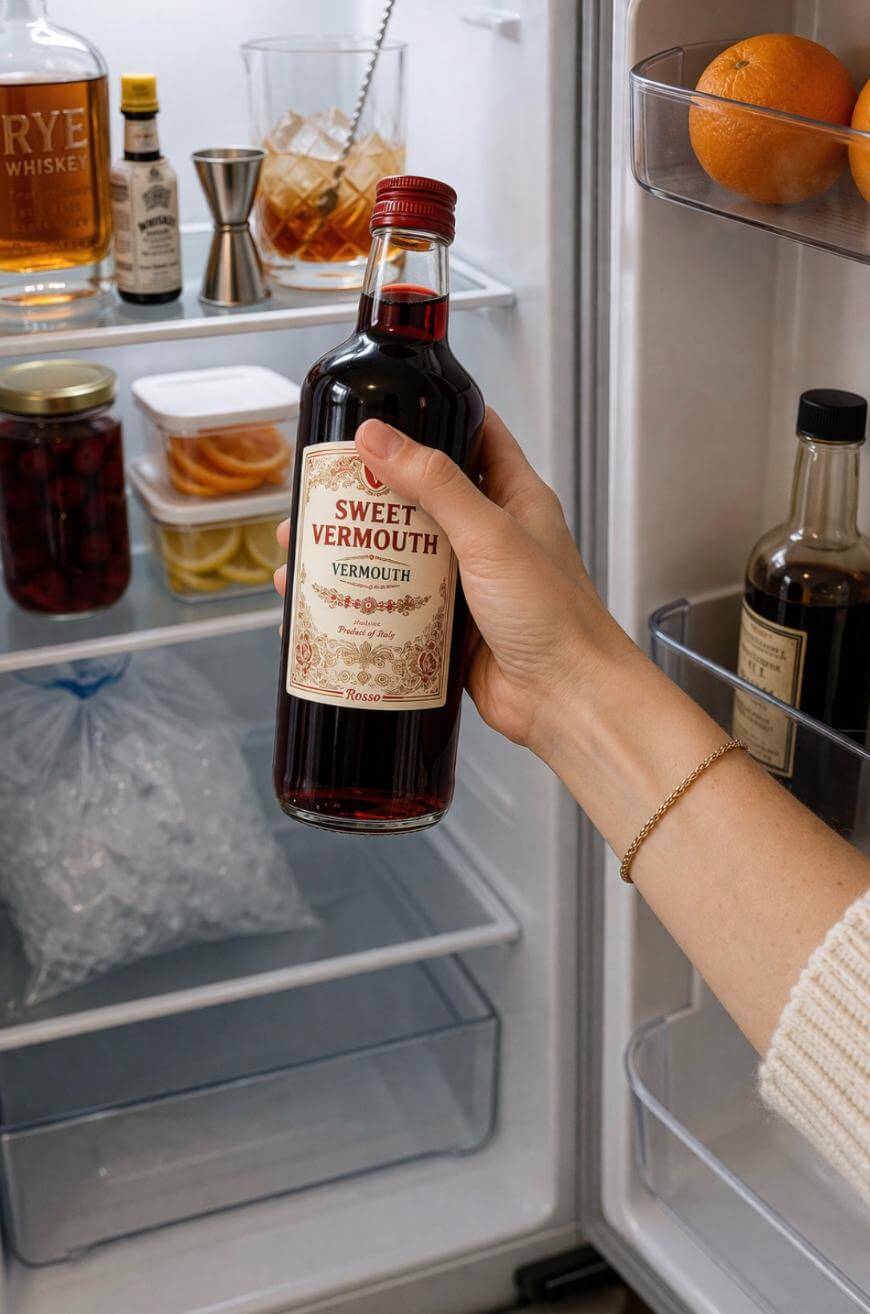
5. Buy One Dependable Vermouth Before You Chase Niche Bottles
A versatile sweet vermouth lets you learn your baseline before you experiment. You’ll get more consistency and fewer variables.
Plan on spending about $12–$25 for a bottle you can trust. If you go premium, do it after you’ve nailed your stirring and dilution.
6. Measure Everything, Even If You Think You Don’t Need To
This drink is simple, which means small mistakes show up fast. A jigger keeps your ratios repeatable and your tweaks meaningful.
If you’re “eyeballing” and it’s inconsistent, you’re not crazy—you’re just missing the feedback loop. Measure for a week and you’ll know exactly what you like.
7. Use Aromatic Bitters As A Structural Ingredient, Not A Decoration
Bitters add bitterness, spice, and a faint medicinal edge that makes the drink taste complete. Two dashes is the classic starting point.
If your bitters bottle varies in dash size, test it once: aim for roughly 0.8–1.2 ml total bitters. If it’s too bitter, reduce to 1 dash rather than skipping bitters entirely.
8. Stir, Don’t Shake, If You Want The Classic Texture
Stirring keeps the drink clear and silky instead of cloudy and frothy. It also helps you control dilution more precisely.
A good target is 20–30 seconds of steady stirring with plenty of ice. If it tastes hot, stir longer; if it tastes watery, shorten the stir or use larger ice.
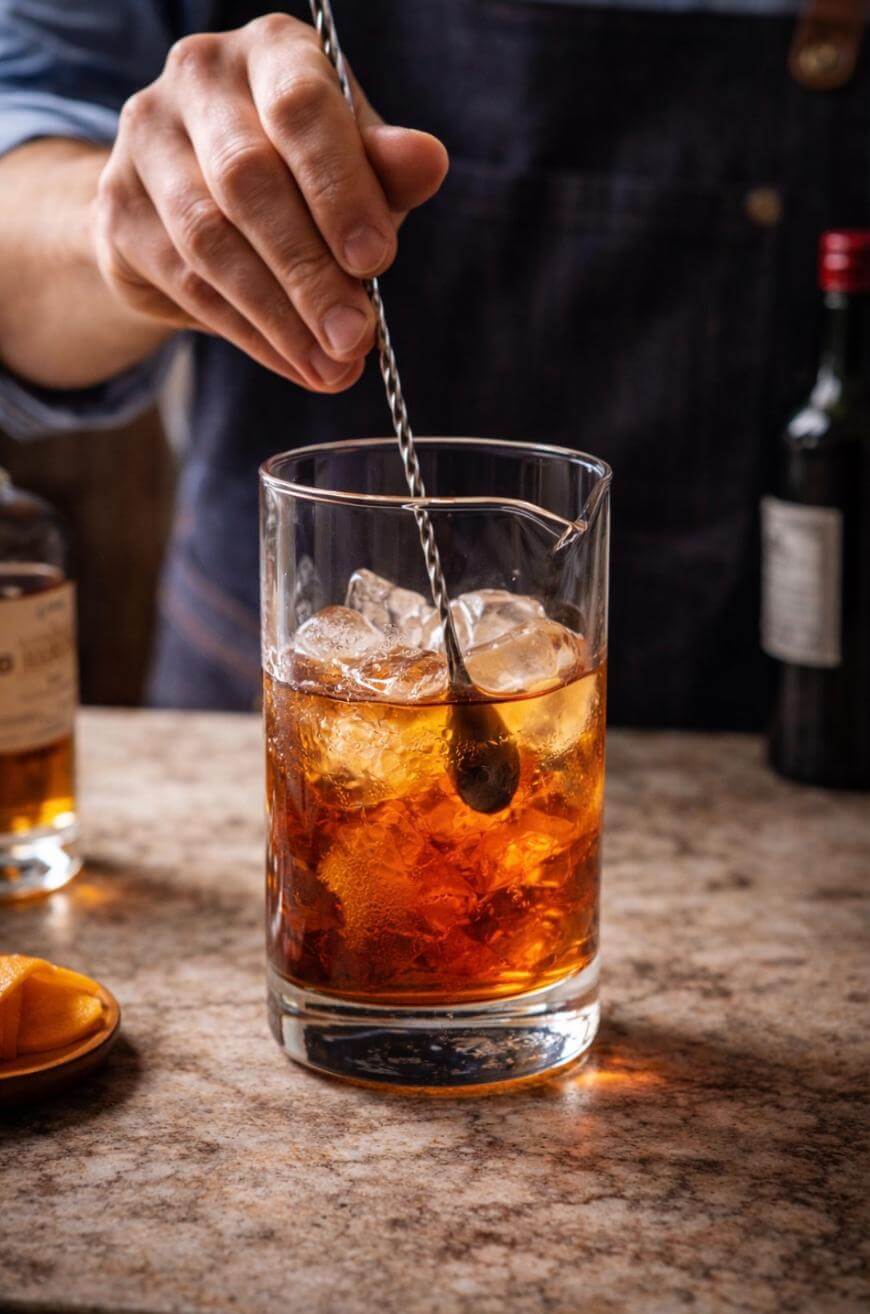
9. Chase A Real Dilution Target Instead Of Guessing
A well-made version usually lands around 20%–30% water dilution from melting ice. That dilution is what makes the drink smooth.
If you want a simple home rule, stir until the outside of the mixing glass is very cold and slightly frosty. When your hands start to ache from the chill, you’re close.
10. Use A Mixing Glass Or A Metal Tin With A Solid Base
A mixing glass makes stirring easier and keeps the temperature stable. A metal tin works too, as long as it’s sturdy and not too narrow.
If you use a thin glass and it feels fragile, swap it out. No drink is worth broken glass on your counter.
11. Pick Big, Hard Ice For Better Control
Large cubes melt slower and give you smoother control over dilution. Small or wet ice melts fast and can water things down before the drink is properly chilled.
If you’re buying ice, look for “party cubes” or larger cubes when possible. If you’re making ice at home, even slightly larger cubes can noticeably improve consistency.
12. Pre-Chill Your Serving Glass For A Cleaner Finish
A chilled coupe or Nick & Nora helps the drink stay cold longer. It also makes your first sip taste like the last sip.
You can chill the glass in the freezer for 5–10 minutes or fill it with ice and water while you stir. Dump the ice water right before straining.
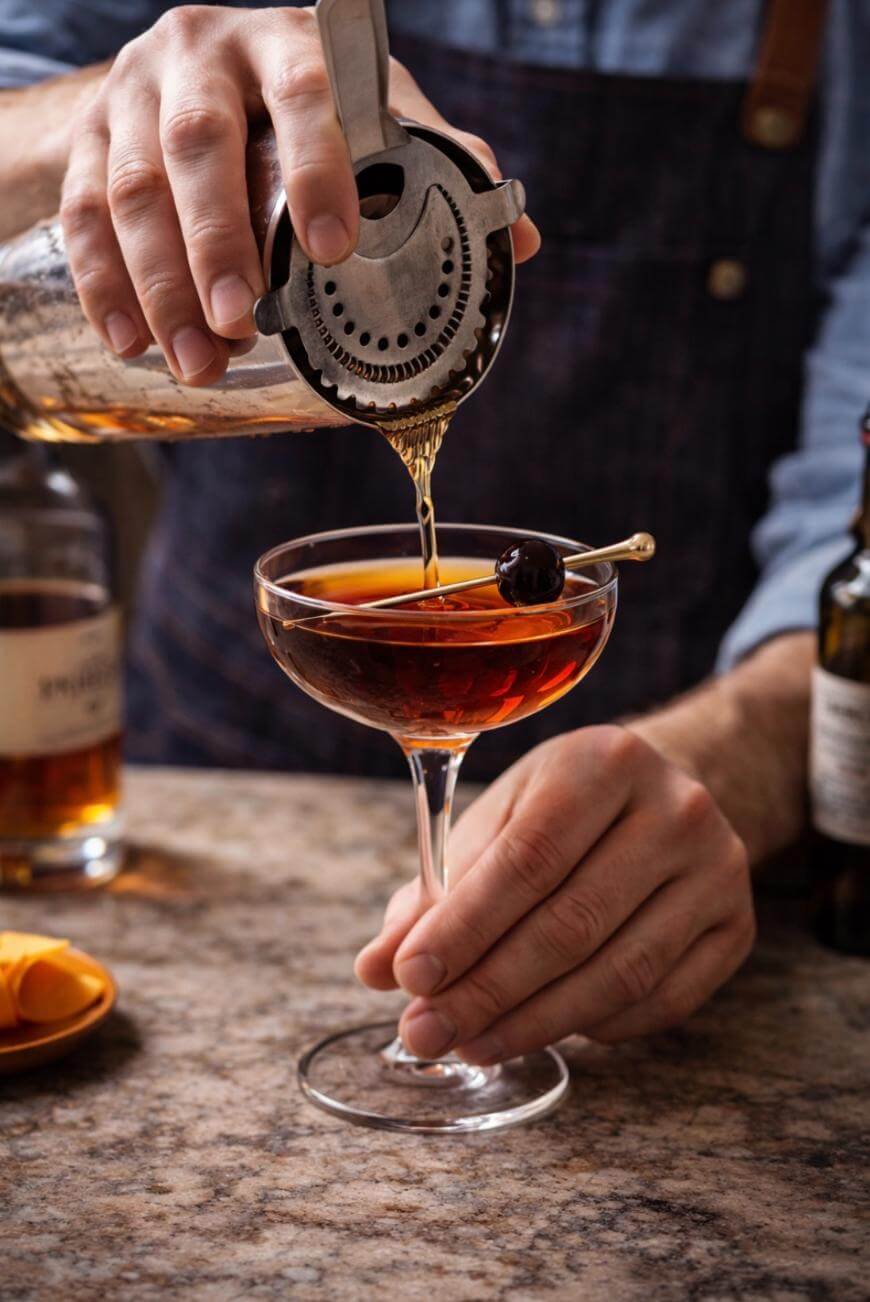
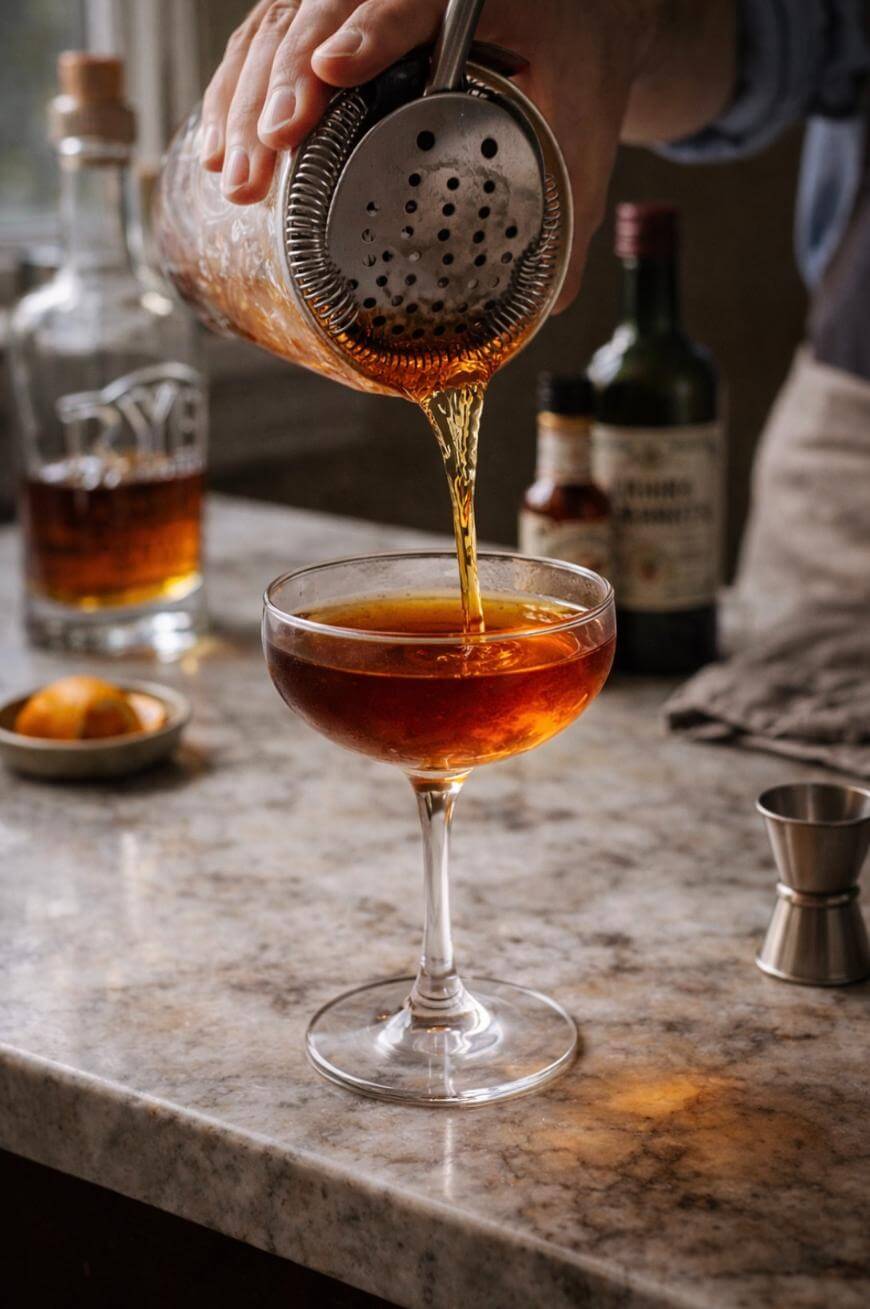
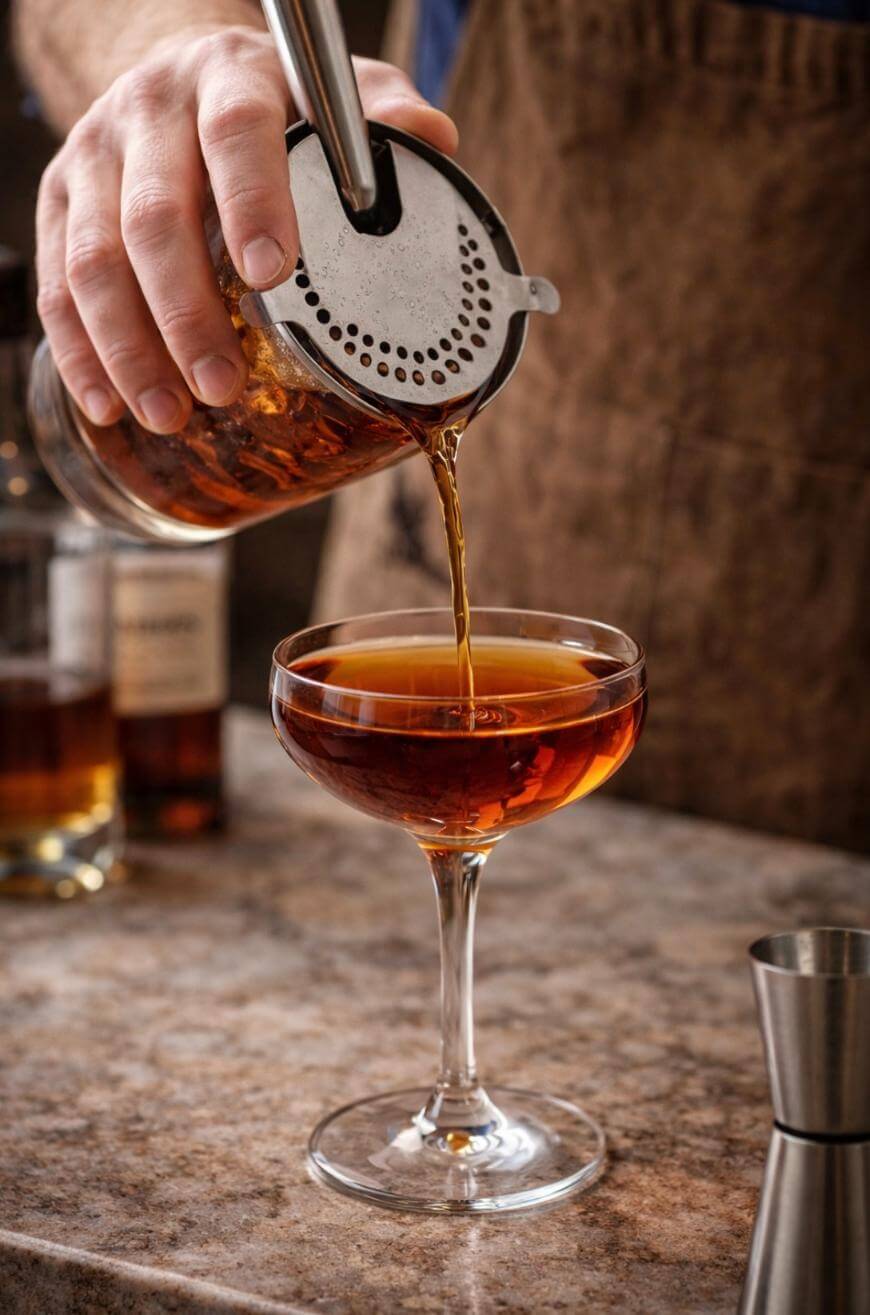
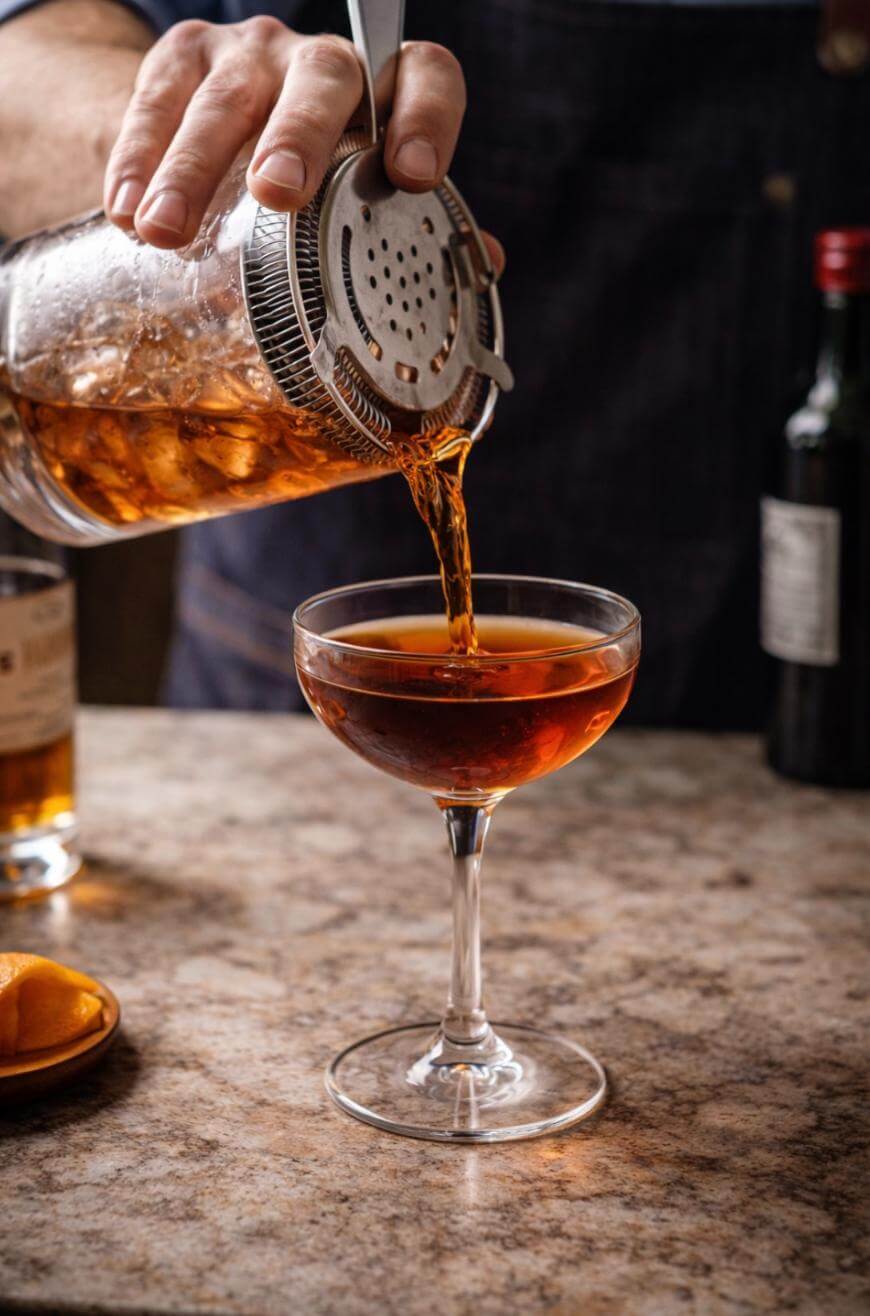
13. Strain Cleanly To Keep The Texture Silky
Use a Hawthorne or julep strainer so you don’t pour tiny ice shards into the glass. Those shards keep melting and can make the drink taste progressively weaker.
If you want extra polish, double-strain through a fine mesh strainer. It’s a small step that makes the drink feel “bar-level.”
14. Decide On A Cherry Strategy And Stick To It
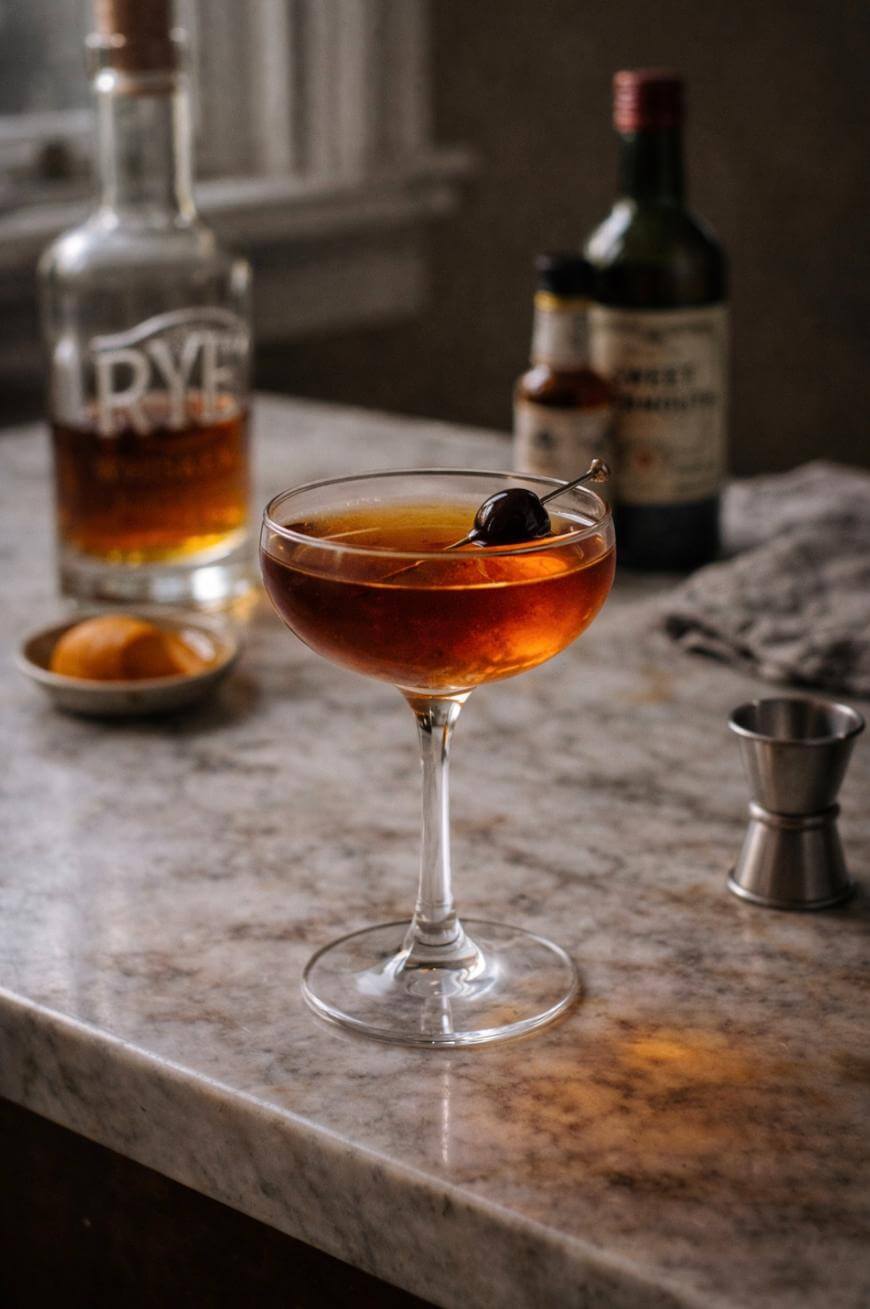
A good cocktail cherry adds aroma and a subtle sweetness. A bad cherry tastes like candy and can overpower the drink.
If you’re upgrading, spend $8–$20 on a jar of better cherries and keep them sealed. If you’re keeping it simple, skip the cherry and focus on chilling and dilution.
15. Try An Orange Peel When You Want A Brighter Aroma
An expressed orange peel adds citrus oils that lift the whiskey. It’s especially helpful with richer bourbons.
Express the peel over the drink, wipe it around the rim, and discard or drop it in. If you use a thick peel with too much pith, the aroma can turn bitter fast.
16. Use The “Perfect” Variation To Balance Sweetness
A “Perfect” version uses half sweet vermouth and half dry vermouth. It keeps the drink aromatic while dialing back sweetness.
Start with 2 oz whiskey, 0.5 oz sweet vermouth, and 0.5 oz dry vermouth. If it tastes sharp, add a touch more sweet vermouth next time.
17. Use A “Dry” Variation When Your Vermouth Feels Too Rich
A drier version reduces sweet vermouth or swaps to dry vermouth. It can make the drink feel more crisp and less dessert-like.
Try 2.5 oz whiskey and 0.5–0.75 oz dry vermouth with bitters. If it becomes too austere, add one extra dash of bitters for roundness rather than adding sugar.
18. Keep Sugar Out Unless You Have A Specific Reason
The classic build doesn’t need simple syrup. Sugar usually covers up imbalance rather than fixing it.
If you truly need it, limit yourself to 0.1–0.25 oz simple syrup and measure it. If you’re adding more than that, the real issue is usually vermouth choice or dilution.
19. Learn One Reliable “House Spec” And Repeat It Ten Times
Consistency is how you learn what changes matter. Pick a spec you enjoy and make it the same way repeatedly.
For example, commit to 2 oz rye, 1 oz sweet vermouth, 2 dashes bitters, stirred 25 seconds. After ten reps, you’ll know exactly what you want to tweak.
20. Make One Change At A Time So You Can Taste The Difference
If you change whiskey, vermouth, bitters, and garnish all at once, you won’t know what helped. One variable at a time keeps your learning clean.
A simple sequence is to adjust vermouth by 0.25 oz, then adjust stirring time by 5 seconds, then change bitters brand. Tiny steps add up to a drink you can repeat on demand.
21. Use Proof And Body As Your Shortcut For Adjustments
Higher-proof whiskey can feel “hot” unless it’s properly chilled and diluted. Lower-proof whiskey can feel thin unless you dial in the ratio.
If your whiskey is 100 proof or higher, consider slightly longer stirring or a touch more vermouth. If it’s 80–90 proof, keep the classic ratio and avoid over-stirring.
22. Control Temperature Like It’s A Main Ingredient
Cold is part of the flavor. The drink should be very cold when served, not “cool.”
If your kitchen is warm, use more ice and a slightly longer stir. If your ice is small, pre-chill your mixing glass for a few minutes to compensate.
23. Batch For A Small Group Without Losing Quality
You can batch multiple servings in a bottle and keep it in the fridge. This makes hosting easier and keeps results consistent.
A practical method is to batch whiskey, vermouth, and bitters, then add 20% water by volume for dilution before chilling. For 10 oz of mixed spirits, add 2 oz water, refrigerate, then pour.
24. Price Your Home Bar So It Makes Sense
You don’t need luxury bottles to get a great result. A realistic starter setup is a $30 whiskey, a $15 vermouth, a $10 bitters, and a $12 jigger.
That’s roughly $67 total, and you’ll get many drinks out of it. If you want one upgrade, prioritize better vermouth storage and better ice over a pricier whiskey.
25. Know The Two Most Common Mistakes And Fix Them Fast
The first mistake is warm, under-diluted drinks from short stirring or too little ice. The second mistake is stale vermouth that flattens everything no matter what whiskey you use.
Fix those first: stir 20–30 seconds with lots of ice and keep vermouth refrigerated and fresh. Once those are handled, your results jump dramatically.
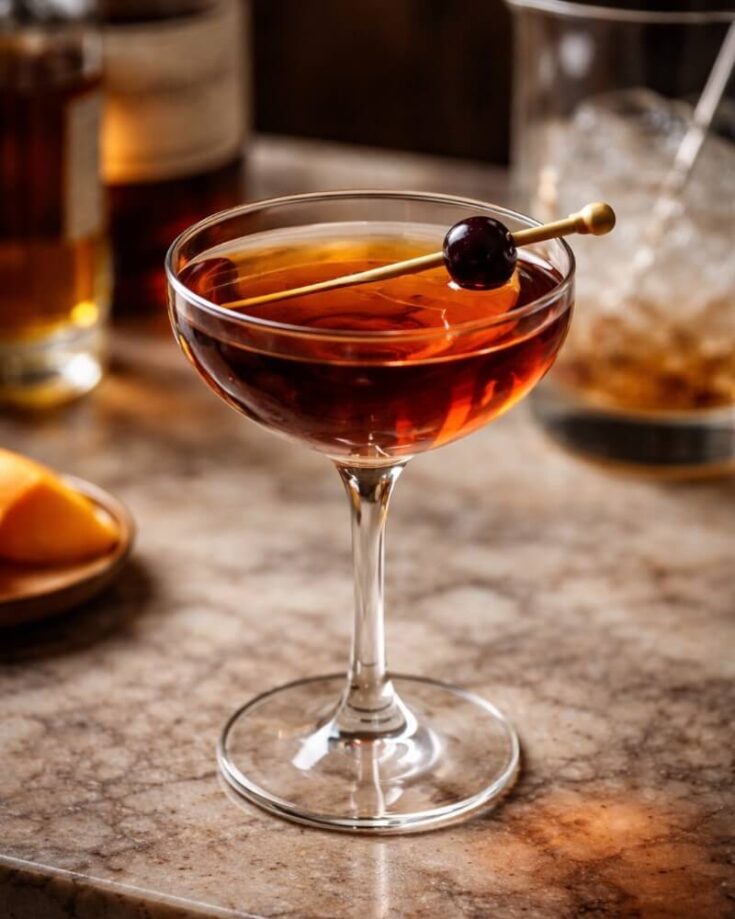
Manhattan Cocktail
A classic Manhattan made with rye whiskey, sweet vermouth, and aromatic bitters, stirred with ice and strained into a chilled glass.
Ingredients
- 2 oz rye whiskey
- 1 oz sweet vermouth
- 2 dashes aromatic bitters
- Ice, for stirring
- Maraschino cherry, for garnish
Instructions
- Fill a mixing glass with ice, then add the rye whiskey, sweet vermouth, and bitters.
- Stir for about 30 seconds until well chilled and diluted.
- Strain into a chilled coupe or rocks glass.
- Garnish with a maraschino cherry and serve.
Notes
Use a good rye whiskey for a spicier, drier drink, or bourbon for a sweeter, rounder Manhattan.
Nutrition Information:
Yield:
1Serving Size:
1 cocktailAmount Per Serving: Calories: 170Total Fat: 0gCarbohydrates: 5gSugar: 5gProtein: 0g
This site provides estimated nutritional information. This information comes from online calculators. Although we try to provide accurate nutritional information, these figures are only estimates.
Key Takeaways
Use a 2 oz to 1 oz ratio as your default, then adjust by 0.25 oz at a time.
Keep sweet vermouth refrigerated and use it within 4–8 weeks after opening.
Stir for about 20–30 seconds with plenty of big, hard ice for controlled dilution.
Two dashes of aromatic bitters is the classic baseline that holds the flavor together.
Chill your serving glass for 5–10 minutes so the drink stays cold longer.
Change only one variable at a time so you can actually taste your improvements.
FAQ
Can You Make It Without Sweet Vermouth?
Yes, but it will no longer taste like the classic version. Use dry vermouth and expect a sharper, lighter profile.
If it feels too lean, increase bitters by one dash and consider an orange peel for aroma.
What If Your Drink Tastes Too Sweet?
Reduce sweet vermouth by 0.25 oz on the next round. Also check that your vermouth is fresh, because old vermouth can taste oddly sweet and dull.
If you’re using bourbon, switching to rye is often the simplest fix.
How Far Ahead Can You Batch It?
You can batch it 2–3 days ahead if it’s refrigerated in a sealed bottle. Flavor stays bright enough for most home hosting.
If you add dilution water in advance, keep it cold and don’t leave it at room temperature during service.
Do You Need A Specific Glass?
No, but a chilled coupe or Nick & Nora improves the experience. The key is that the glass is cold and clean.
If you only have rocks glasses, use them and skip ice in the serving glass for the classic feel.