Last updated: August 31, 2026
You want a keepsake that captures exactly how small your kiddo’s feet are right now, and salt dough footprint ornaments make that easy. This simple dough recipe hardens into a sturdy ornament that will last for years on your tree. Grab a few pantry staples and you can have your first one drying by the end of the afternoon.
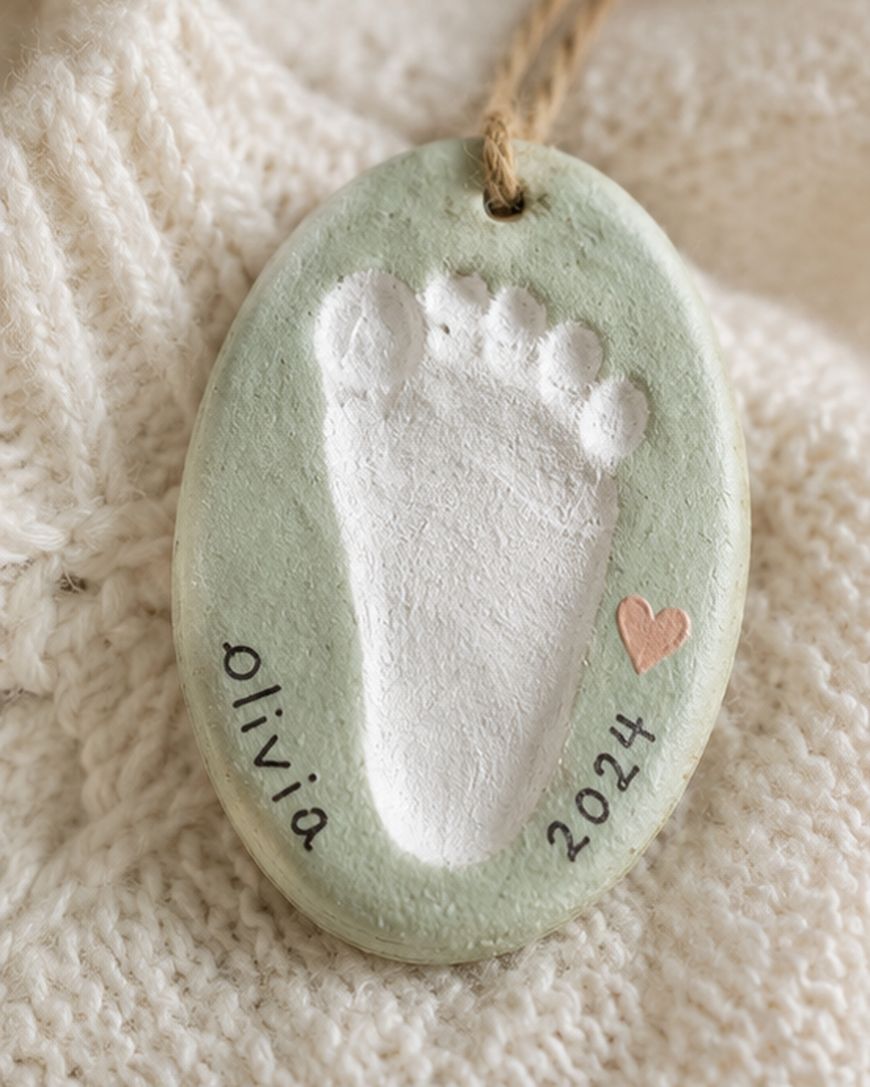
What You Need for Salt Dough Footprint Ornaments
Making salt dough footprint ornaments starts with three ingredients you probably already have in your kitchen.
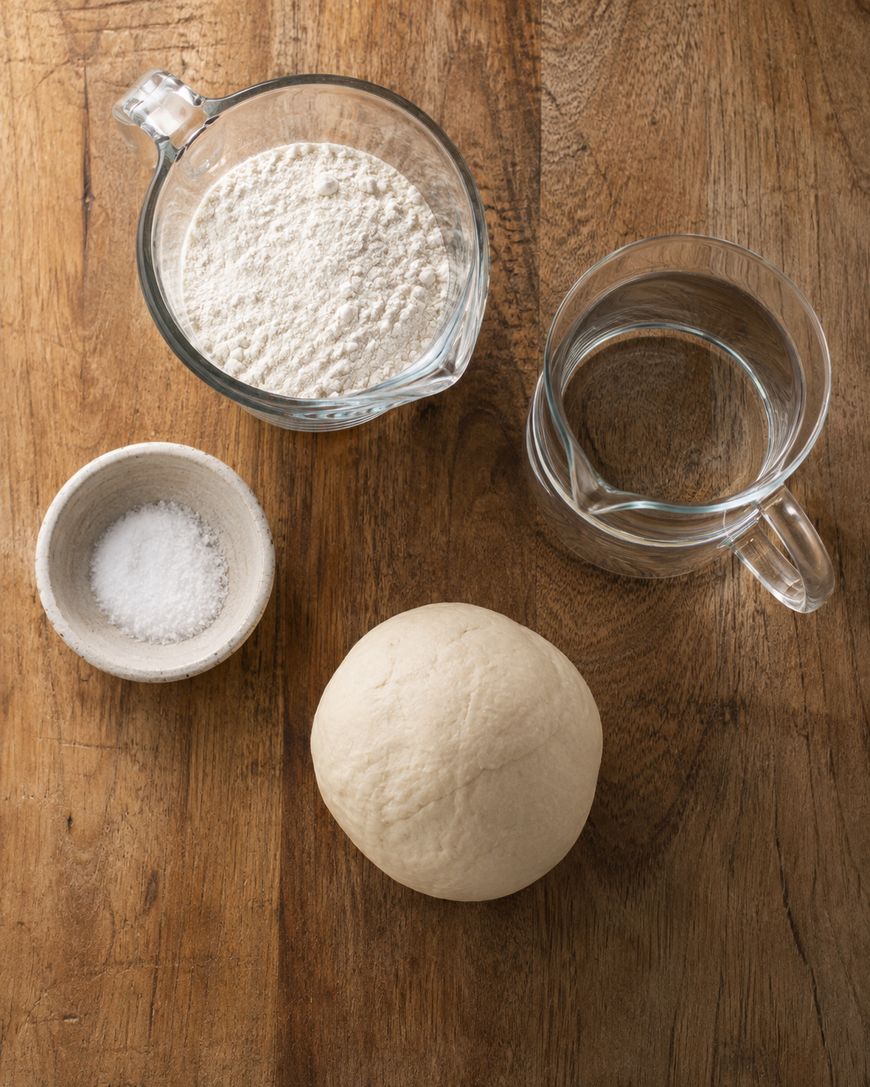
You’ll need one cup of all-purpose flour, half a cup of salt, and about a half cup of warm water. Mix the water in slowly so you can stop as soon as the dough comes together, since adding too much water at once makes the dough sticky and hard to work with.
Beyond the dough itself, you’ll want a rolling pin, a butter knife or skewer for smoothing edges, and a straw or chopstick for poking the hanging hole. Parchment paper on your baking sheet keeps the ornament from sticking as it bakes.
Step-by-Step: Making the Dough
Combine the flour and salt in a mixing bowl before adding any liquid.
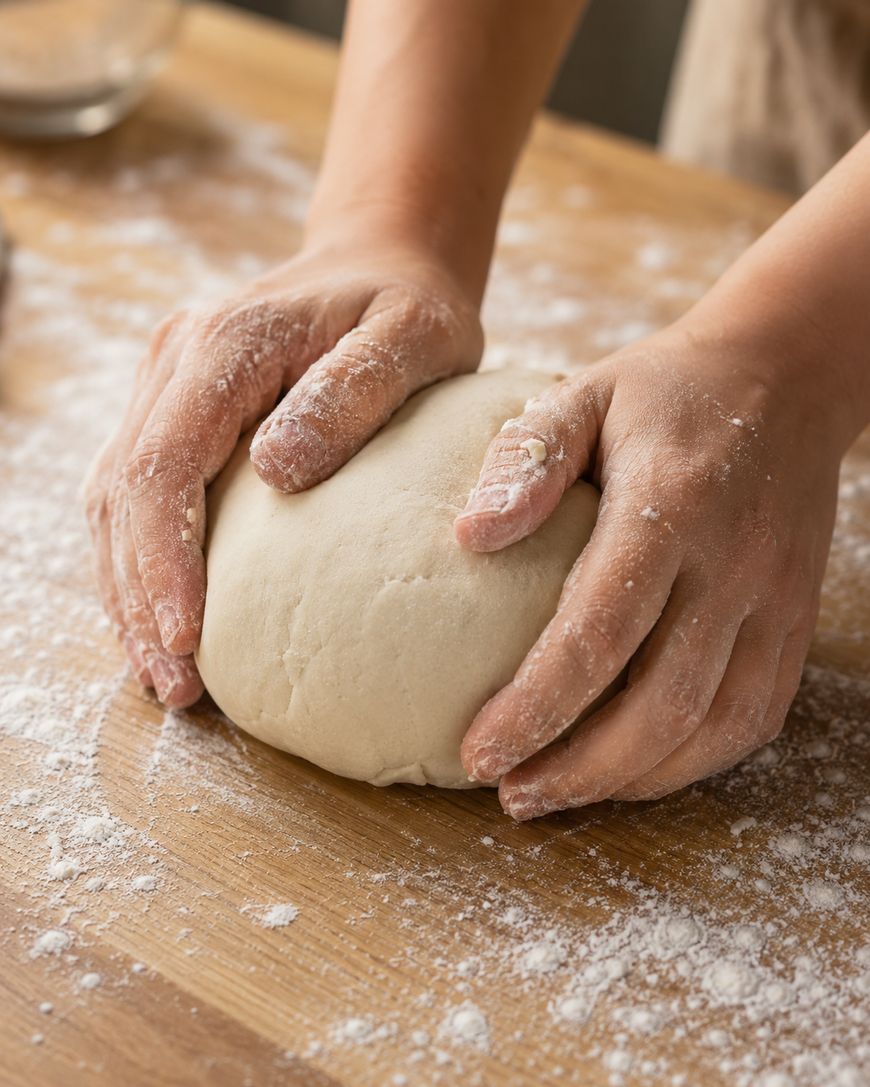
Whisk them together so the salt is evenly distributed, which keeps the dough from drying unevenly later. Add the warm water a little at a time, stirring as you go.
Once the mixture starts clumping, turn it out onto a floured surface and knead it by hand. You’re looking for a smooth, pliable ball that doesn’t crack when you bend it, similar in texture to bread dough.
If the dough feels too dry and keeps crumbling, add water literally a teaspoon at a time. If it feels too sticky, sprinkle in a little more flour until it firms up.
Rolling and Shaping the Ornament
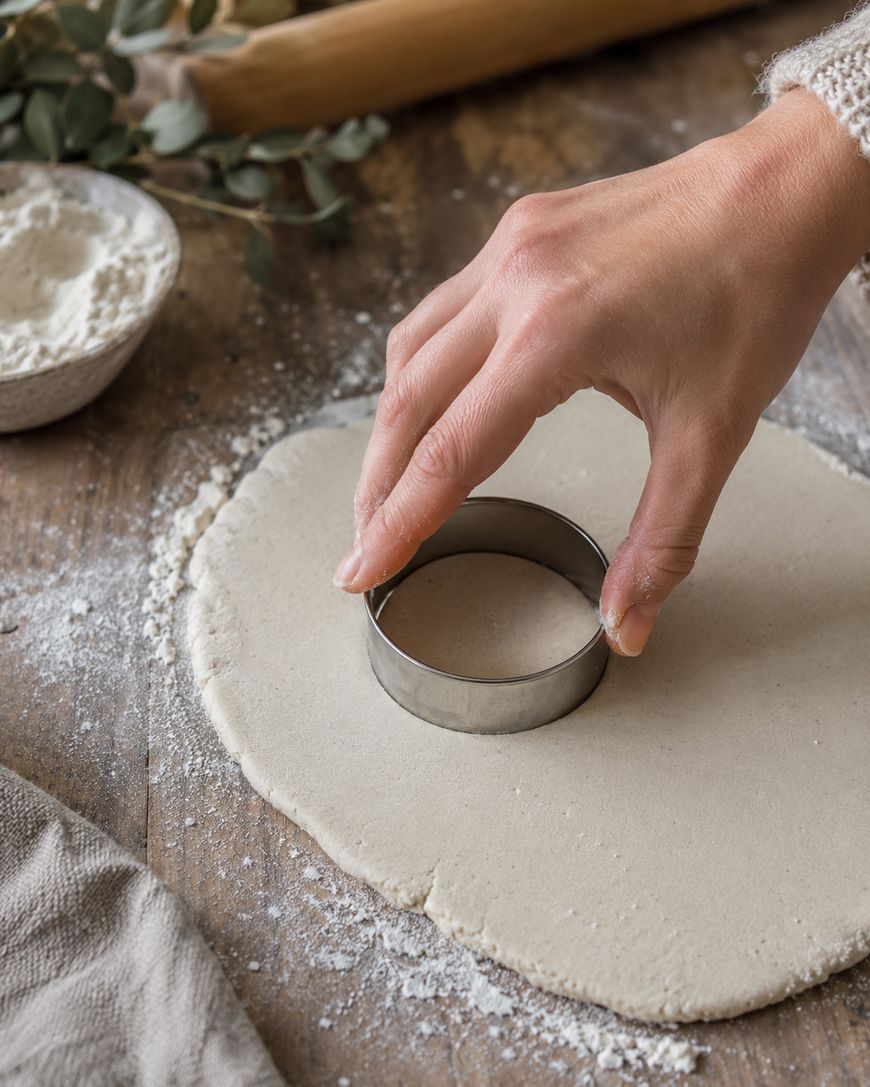
Roll the dough out to about a quarter inch thick on your parchment-lined baking sheet.
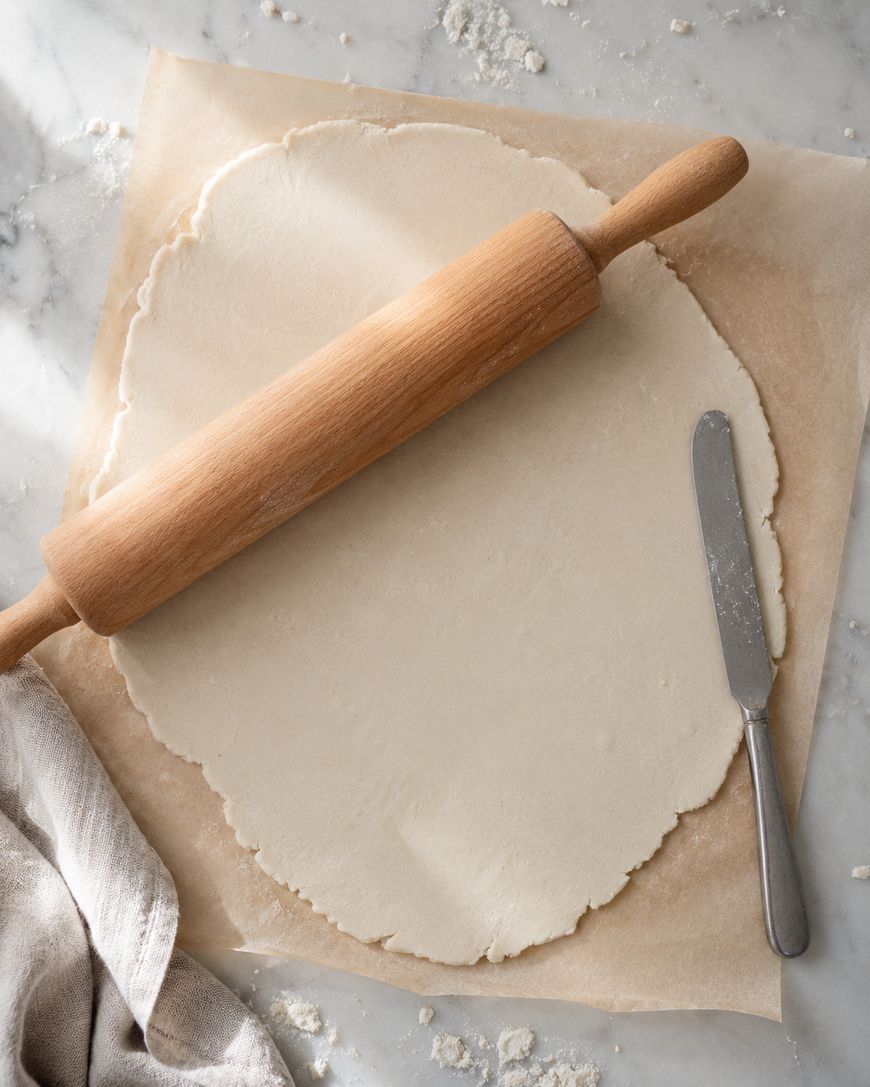
Any thinner and the ornament becomes fragile once baked. Any thicker and it takes much longer to dry all the way through, which raises the risk of cracking.
Use a cup or a cookie cutter to cut a circle, heart, or other simple shape around the space where the footprint will go. Smooth the cut edges with your finger or a damp fingertip so there are no jagged lines once it bakes.
Taking the Footprint Impression
This is the step that turns a plain dough shape into a treasured keepsake.
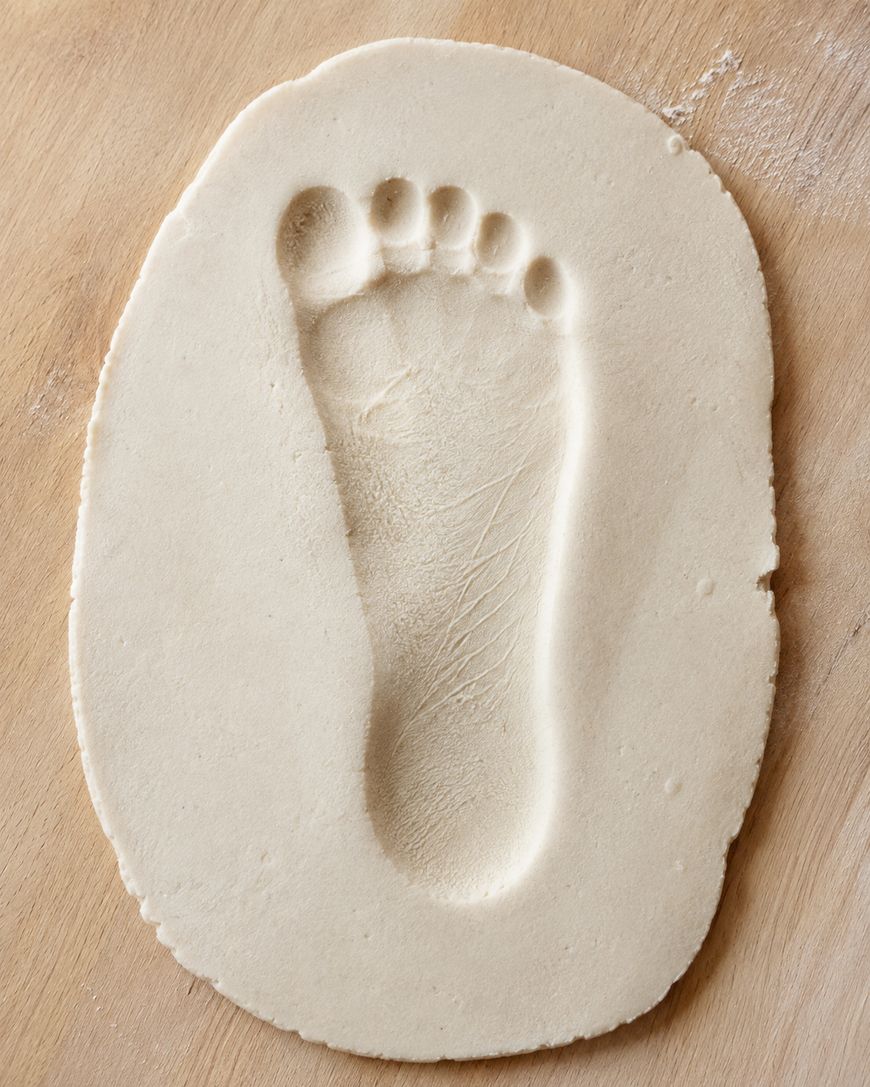
Press your child’s foot firmly and evenly into the dough, holding their heel steady so the whole print transfers cleanly. For babies and toddlers who won’t sit still, it often works better to press the dough up around their foot instead of pressing their foot down into it.
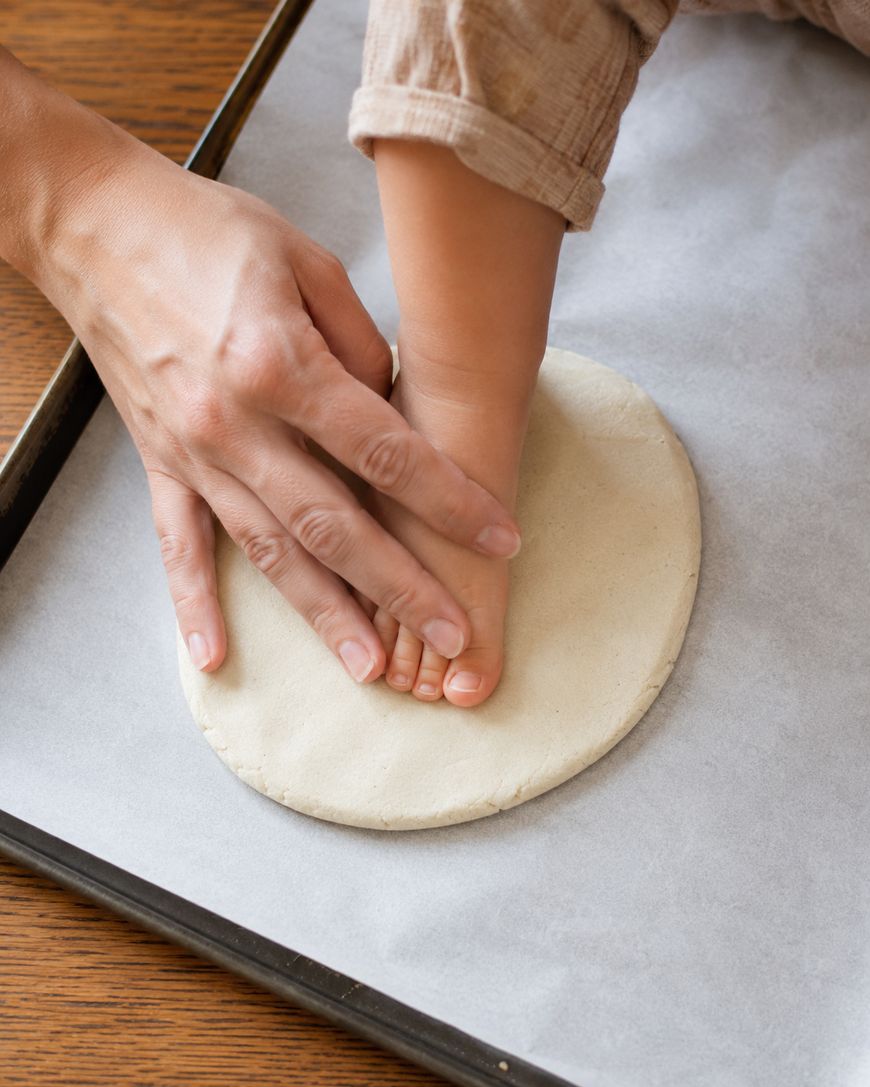
Lift straight up and out rather than dragging the foot sideways, since dragging smudges the print and blurs the toe detail. If the first attempt doesn’t turn out clean, simply re-roll the dough and try again.
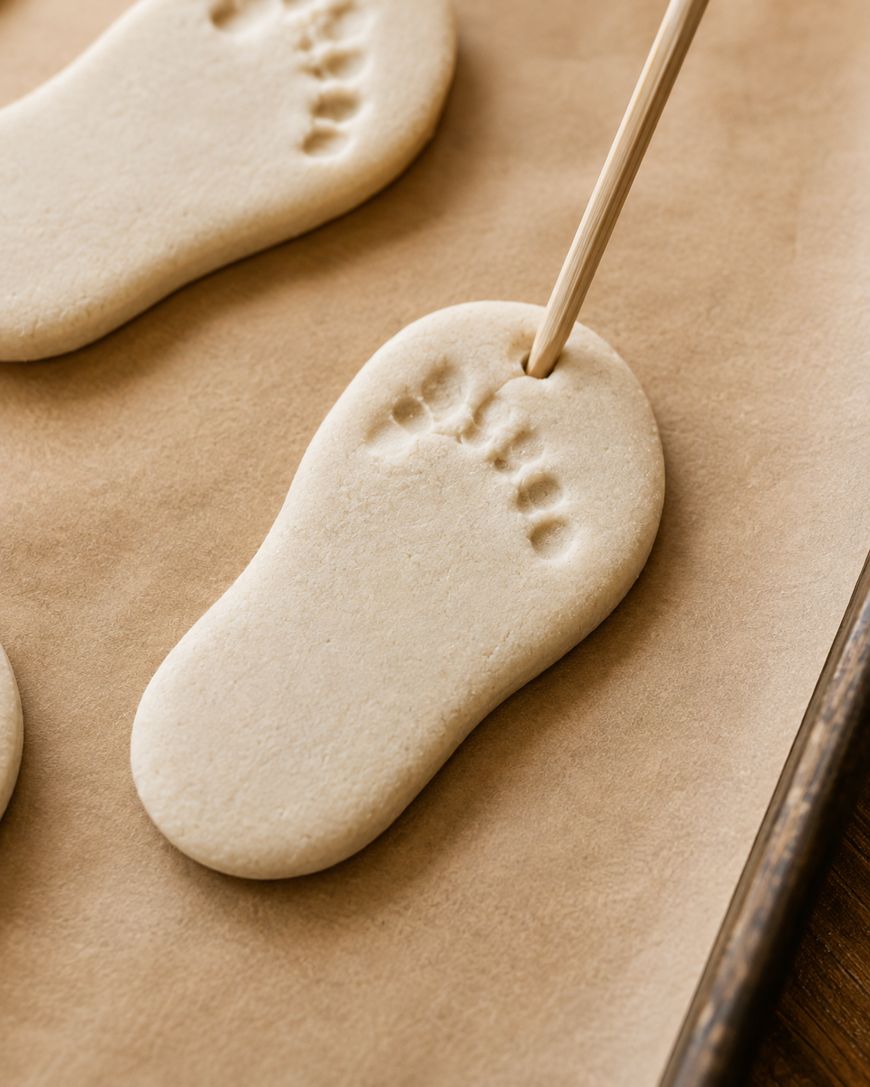
Before baking, use your straw or chopstick to poke a hole near the top edge for the ribbon or ornament hook. Make the hole a little larger than you think you need, since the dough puffs slightly as it dries and can shrink the opening.
Baking or Air-Drying the Dough
You have two ways to harden the dough, and both work well.
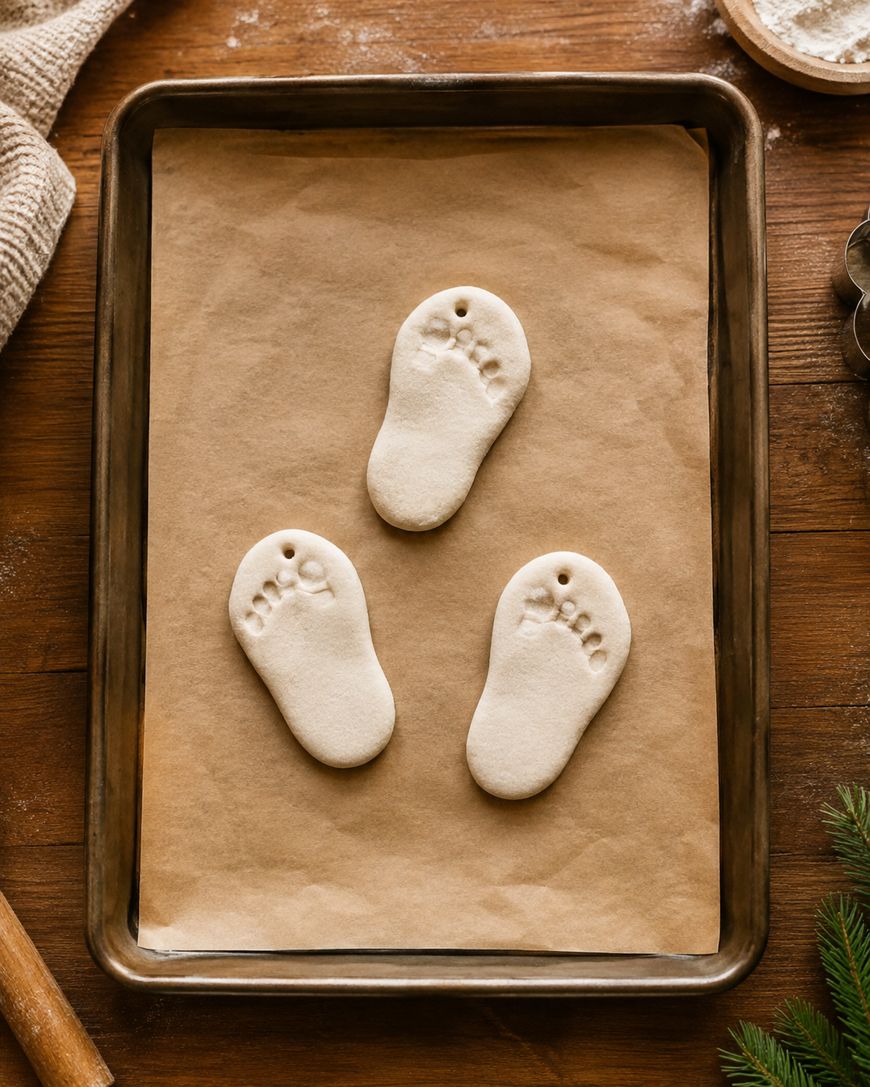
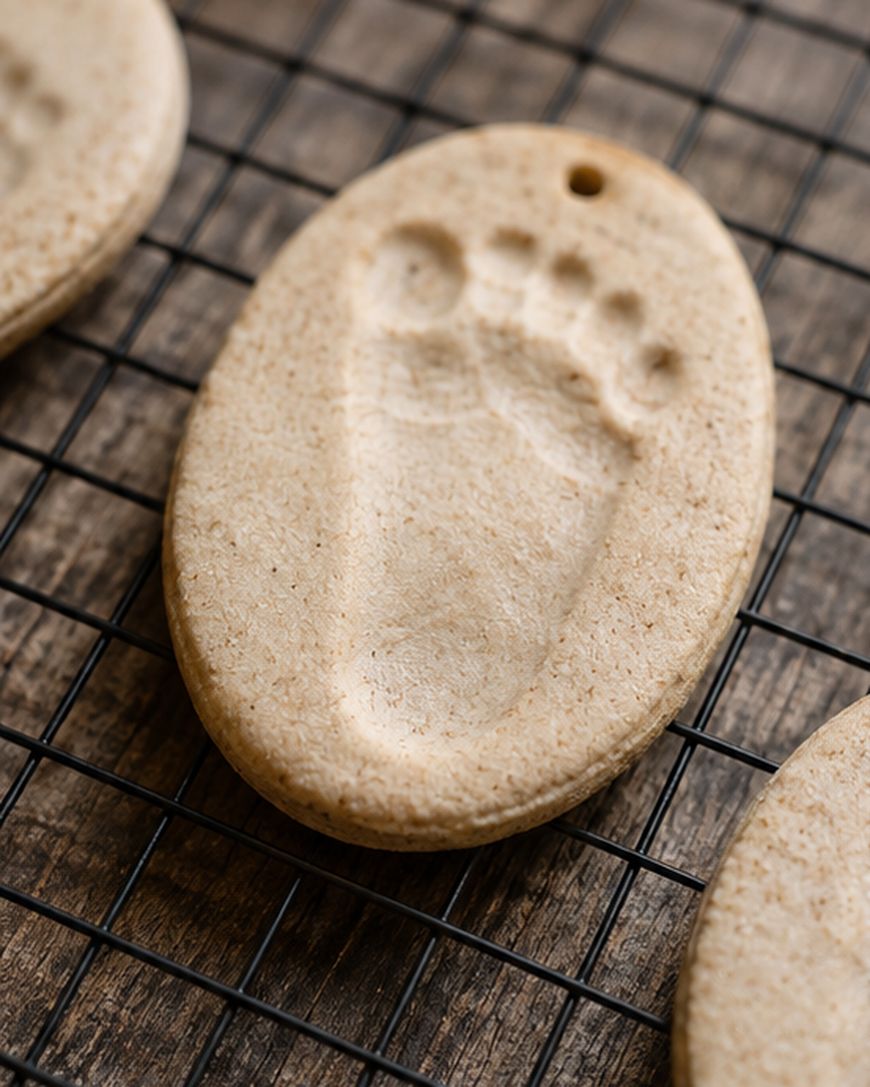
For the oven method, bake at 200 to 250 degrees Fahrenheit for two to three hours, checking every 30 minutes once you’re past the first hour. The ornament is done when it feels completely rigid and sounds hollow when you tap it, with no soft or doughy spots left in the center.
For air-drying, leave the ornament on the parchment paper somewhere dry for two to three days, flipping it once a day so it dries evenly. Air-drying takes longer but avoids any risk of the edges browning in the oven.
Let the ornament cool completely on the baking sheet before you handle it, since warm dough is still soft enough to dent or crack.
Painting and Sealing Your Ornament
Once the ornament is fully cooled and hardened, you’re ready to add color.
Acrylic craft paint works best because it covers well and dries quickly between coats. Paint the background first, let it dry, then go back in with a contrasting color for the footprint itself so the impression stands out.
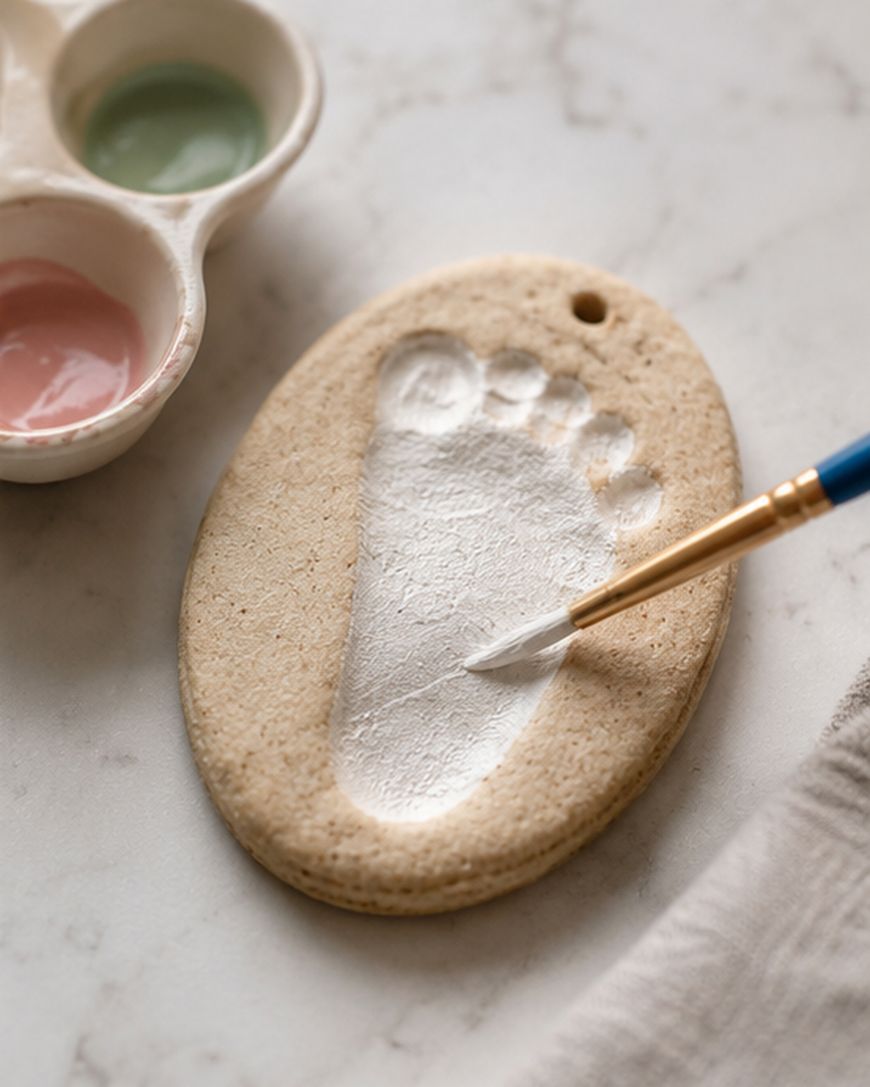
A thin paintbrush is helpful for adding the child’s name and the year along the border, which turns a simple ornament into a dated keepsake you can compare year after year. Once the paint is fully dry, seal the whole ornament with a clear acrylic sealer or a few coats of Mod Podge.
Sealing is what keeps the ornament from absorbing moisture over time, so don’t skip this step even if you’re only planning to display it indoors.
Why Salt Dough Ornaments Make Such Meaningful Keepsakes
Salt dough footprint ornaments hold up as a tradition because they change every single year.
Unlike a photo, the ornament captures the actual size and shape of your child’s foot at that exact age, which becomes more striking to look back on as the years pass. Many families make one every December and hang the whole set on the tree side by side, turning the ornaments into a visual timeline of growth.
The materials cost next to nothing, which makes this an easy craft to repeat annually without a big investment. It’s also a project babies, toddlers, and older kids can all take part in, so it grows with your family instead of aging out.
Frequently Asked Questions
How long do salt dough ornaments actually last?
With a proper acrylic sealer, salt dough ornaments can last for many years, even decades, as long as they’re kept away from excess moisture. Store them somewhere dry between seasons, ideally in a padded box rather than a plastic bag.
Can I use this dough for handprints instead of footprints?
Yes, the same one cup flour, half cup salt, and half cup water recipe works well for handprints too. You’ll just want to roll the dough slightly larger to leave room for spread fingers.
Why did my ornament crack while baking?
Cracking usually happens when the dough is rolled too thick or the oven temperature is too high. Keep the dough at a quarter inch thick and bake low and slow, checking it regularly in the final hour.
Can I skip the paint and leave the ornament natural?
Absolutely, a natural unpainted ornament has a rustic look that some families prefer. Just make sure to still seal it with a clear coat, since unpainted dough is even more porous and prone to absorbing moisture.
What’s the best way to add the ribbon for hanging?
Thread a thin ribbon or twine through the hole you poked before baking, then tie it in a simple loop or bow. A jute or baker’s twine gives a rustic look, while a thin satin ribbon feels more polished on the tree.
Can toddlers help with the whole process?
Toddlers can absolutely help mix and roll the dough, and pressing their own foot in is part of the fun. Just expect to supervise the poking of the hanging hole and the oven step, since those parts aren’t toddler-friendly on their own.
Start Your Salt Dough Footprint Ornaments Tradition Today
Salt dough footprint ornaments are simple enough to finish in an afternoon and meaningful enough to keep for a lifetime. Gather your flour, salt, and water, press that little foot into the dough, and start a keepsake tradition your family will look forward to every year.

More salt dough ornament ideas: Salt Dough Christmas Ornaments
More Christmas craft ideas: Christmas Pinecone Crafts You Can Make This Weekend