Last updated: May 17, 2026
This Big Sur California itinerary is a step by step plan for driving the Big Sur coast, choosing stops in the right order, and timing each stage so you are not rushed. The easiest way to do it is to start in Carmel early, drive south, stop at 4 to 6 places, do one short hike, and finish before dark.

Big Sur California Itinerary: The Day-Trip Steps In Order
1. Check Highway 1 Conditions Before You Leave
Make checking the road your first step, even if you “already planned everything,” because closures and delays can change what is realistic that day.
Tip for this stage: Look for notes about closures, one-way traffic controls, or delays, and build a backup plan that stays north if needed.
2. Start In Carmel Or Monterey And Leave By 7:30 To 8:30 AM
Leaving early is the easiest way to avoid parking chaos, slow traffic behind RVs, and feeling like you are constantly behind schedule.
Tip for this stage: If you want the calm version of Big Sur, treat this as a “morning drive” itinerary, not a midday start itinerary.
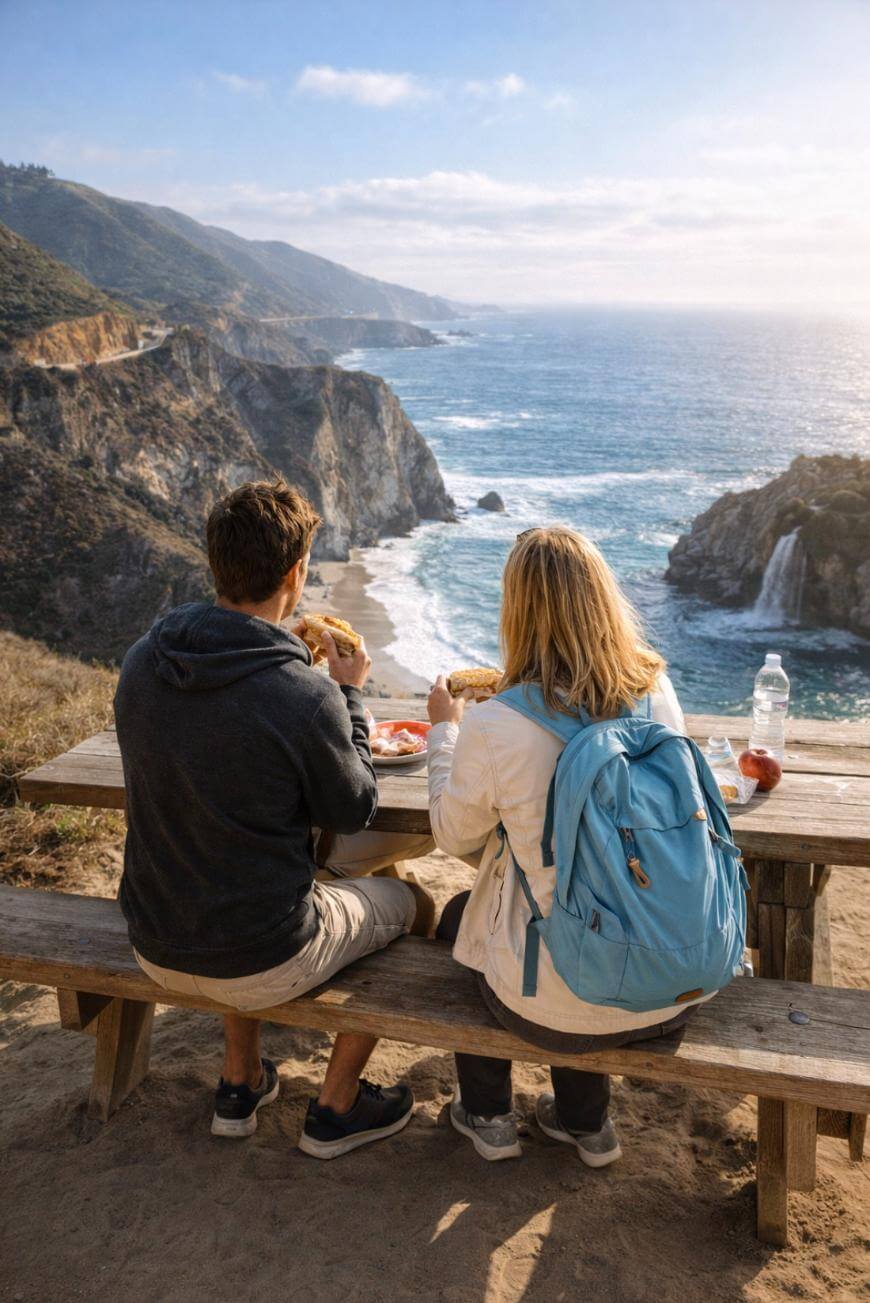
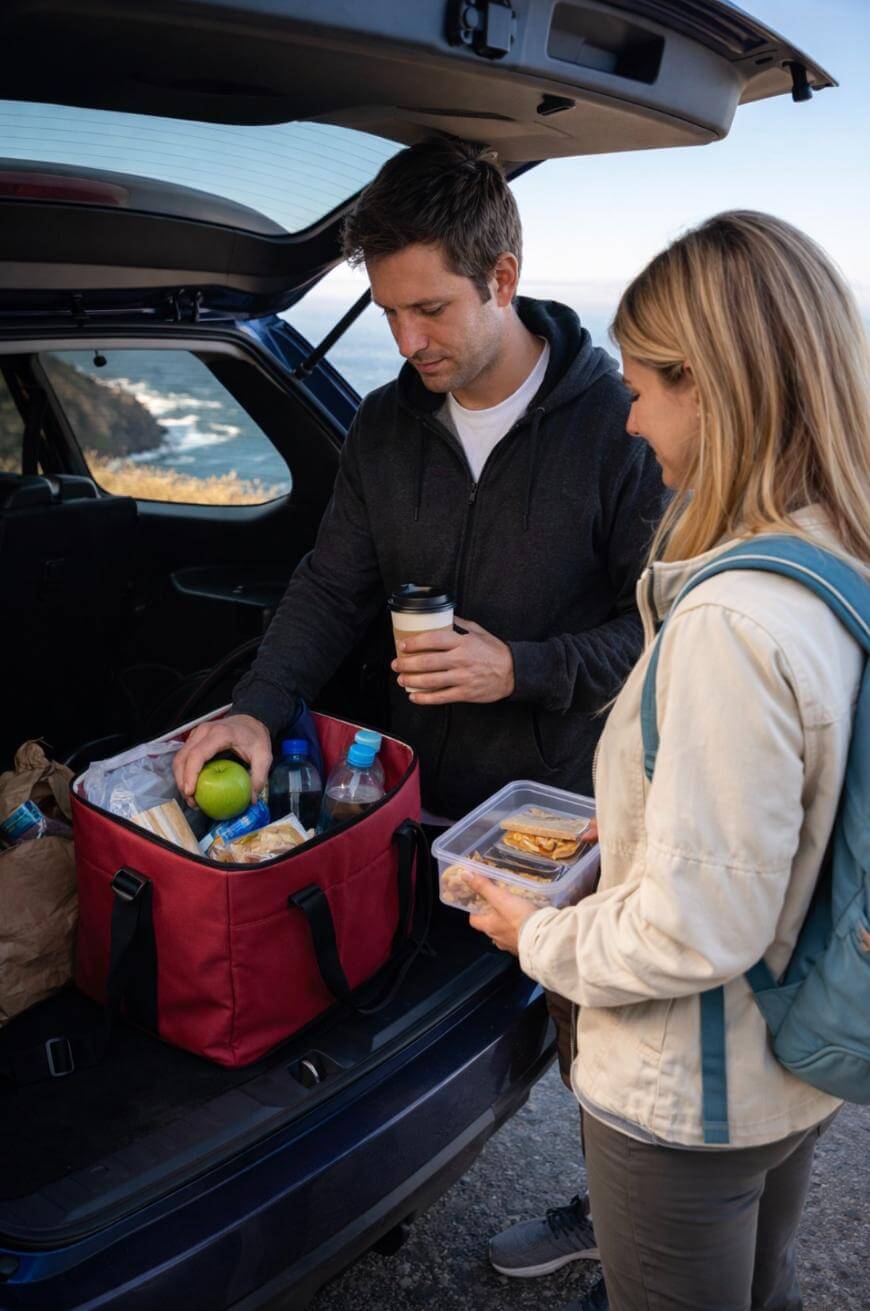
3. Grab Coffee And A Picnic Lunch Before You Hit Highway 1
Food options are limited once you are deep into the coast, and waiting for a table can quietly steal your best daylight hours.
Tip for this stage: Pack one lunch and two snacks per person so you can stop when the views are perfect instead of when your stomach forces you.
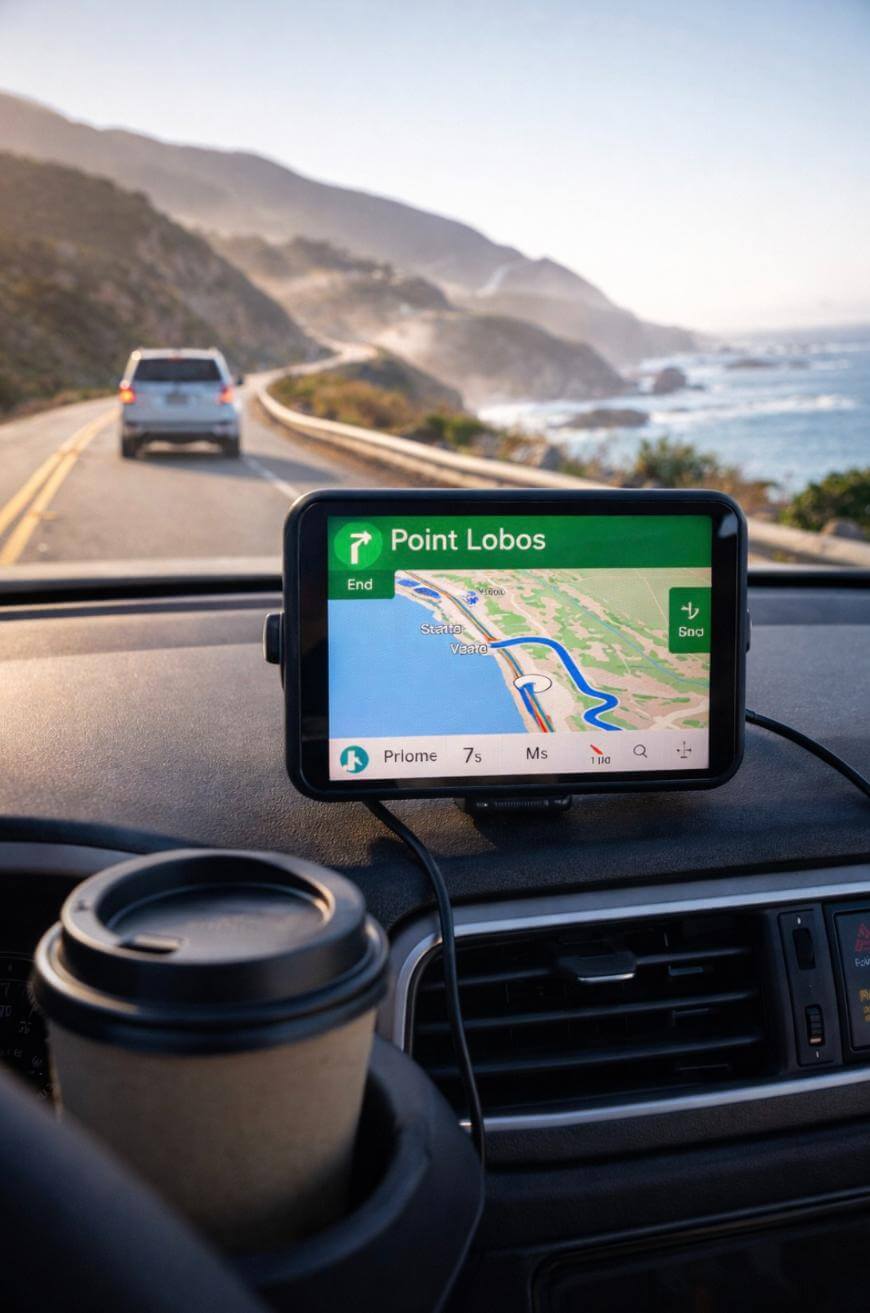
4. Set Your Navigation For “Point Lobos” As Your First Major Stop
Point Lobos is a great first stop because it gives you a huge scenery payoff early, and it works as a confidence boost for the rest of the day.
Tip for this stage: Arriving earlier often means easier parking and a more peaceful walk, which is exactly what you want on a day with a lot of driving.
5. Do A Short Loop Hike At Point Lobos
Choose one short loop and stick to it so you get a real nature break without burning half your day on trails.
Tip for this stage: A good day-trip target is a hike that keeps you moving for about 45 to 75 minutes, so you still have energy for later stops.
6. Get Back In The Car With A “Stop Limit” Mindset
Big Sur is full of tempting pullouts, but too many quick stops can make the day feel choppy and stressful.
Tip for this stage: Tell yourself you will do “yes” to only the most spectacular pullouts, and “no” to anything that is crowded or unsafe to park at.

7. Stop At Garrapata State Park For Your First Open-Coast Walk
Garrapata is a perfect early coastal stop because it gives you space to breathe and stretch out without turning into a major time commitment.
Tip for this stage: Give yourself 20 to 40 minutes here, and use it as a reset before the most famous photo locations.

8. Drive To Bixby Creek Bridge And Treat It Like A Quick Photo Stop
Bixby is iconic, but it can become a time trap if you wait for the perfect parking moment or try to “win” the crowds.
Tip for this stage: Take your photos, enjoy the view, and move on quickly so this stop stays fun instead of frustrating.
9. Add One High Viewpoint Pullout When The Coast Is Clear
A high overlook is your best chance for sweeping views, and it is also your best insurance if fog rolls in later.
Tip for this stage: Keep this stop to 10 to 15 minutes and use it as a simple “wow” moment, not a full session.

10. Plan A Midmorning Rest Stop Before You Feel Tired
The road is winding, and driver fatigue can sneak up faster than you expect, especially if you are stopping constantly.
Tip for this stage: Use one stop as your intentional “rest stop” where you hydrate, snack, and reset your focus before continuing.
11. Drive South With A Realistic Time Buffer
This is where people get overly optimistic, because the miles look short but the road speed is slow and stop-and-go is common.
Tip for this stage: Assume every hour of driving will turn into 75 to 90 minutes once you add curves, traffic, and safe pullouts.

12. Head To Pfeiffer Beach For Your Main Beach Stop
Pfeiffer Beach is a strong “signature stop” because it feels distinct from viewpoints, and it gives you true time out of the car.
Tip for this stage: Treat it as a scenic beach, not a swimming beach, and stay conservative near the water if conditions look rough.

13. Spend 45 To 75 Minutes At Pfeiffer Beach And Then Leave On Purpose
Beach time expands fast, which is great, but it can accidentally erase your afternoon itinerary if you do not choose an end time.
Tip for this stage: Decide your exit time when you arrive, and set an alarm so you still have daylight for your next highlight.
14. Eat Your Picnic Lunch After Your Beach Stop
Eating after the beach keeps your afternoon smoother because you are already stopped, already relaxed, and not hunting for food while hungry.
Tip for this stage: Choose a lunch spot that feels safe and comfortable, not just “the first place you can sit.”
15. Choose One Afternoon Hike Or One Afternoon Viewpoint, Not Both
Afternoon energy is usually lower, and trying to stack too many “big” experiences late in the day is how people end up driving tired.
Tip for this stage: If you hike, keep it under 3 miles round trip for a day itinerary, and save your legs for future trips.
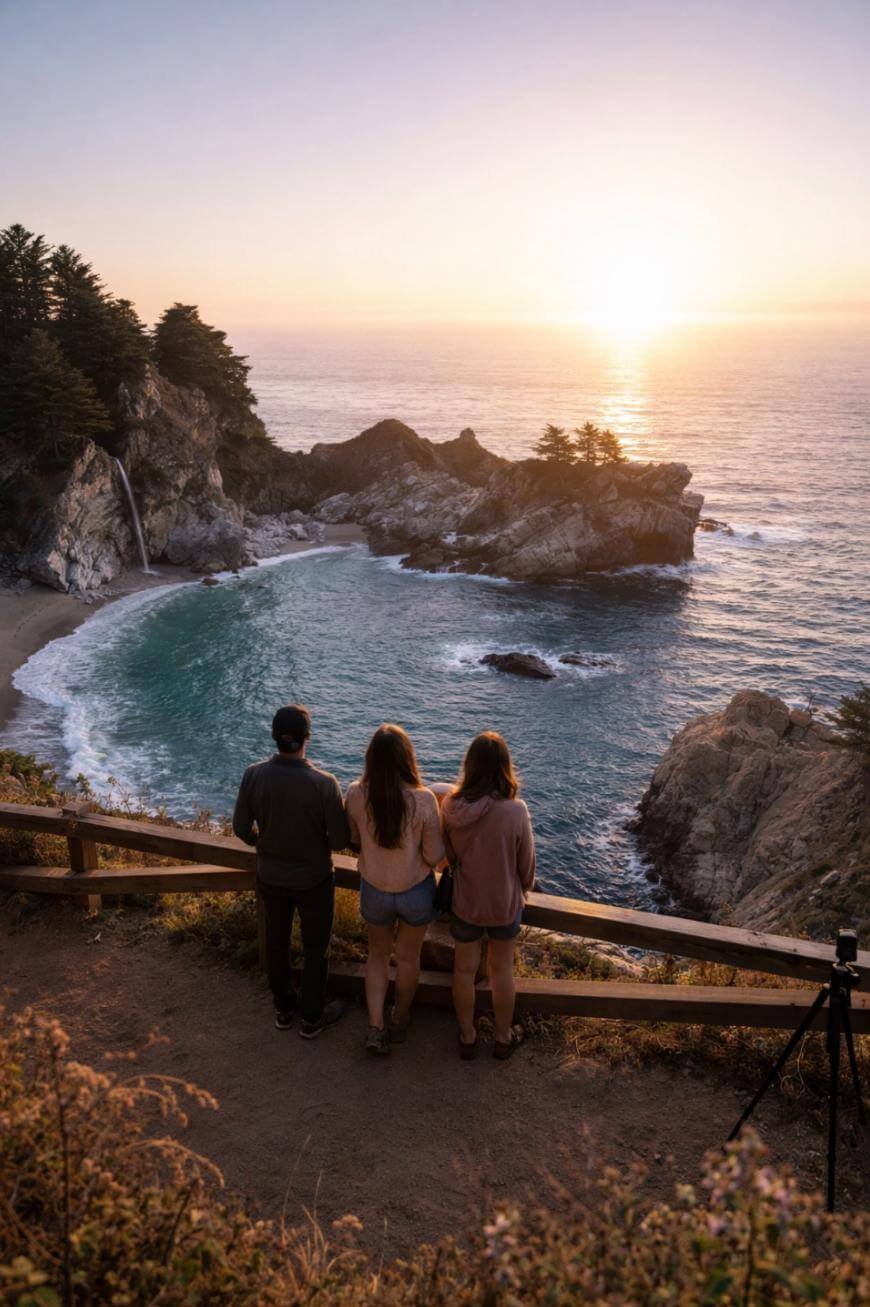
16. If You Can Access McWay Falls, Make It Your Afternoon “Wow” Stop
This is a classic high-payoff viewpoint because the walk is short and the result looks like a postcard even if you are not a hardcore hiker.
Tip for this stage: If you are short on time, prioritize quick, high-impact stops like this instead of adding another beach.
17. Keep Your Viewpoint Stops Short In The Late Afternoon
Late afternoon is when you want to protect your timeline, because every extra 20 minutes now increases the chance you drive the toughest stretches in fading light.
Tip for this stage: Give yourself 10 to 15 minutes per viewpoint and move on, even if you feel like you could linger.
18. Decide Your Turnaround Point And Commit To It
A classic Big Sur mistake is drifting farther south “just because,” then realizing you have created a long return drive at the worst time of day.
Tip for this stage: Pick a firm turnaround time, like 3:30 or 4:30 PM depending on season, and treat it as non-negotiable.
19. Start The Drive Back Before Sunset Starts
Even if you are a confident driver, the safest and calmest version of this itinerary ends with daylight still on your side.
Tip for this stage: Aim to be heading back with at least 60 to 90 minutes of daylight remaining so you are not rushing curves in the dark.
20. Stop One Last Time For A “Golden Hour” View If Conditions Are Good
If the weather cooperates, one final photo stop can be a perfect capstone, but it should be optional, not required.
Tip for this stage: Skip this stop if parking looks sketchy or traffic is heavy, because safety beats a final photo.
21. Keep Your Return Drive Simple And Skip Extra Detours
On the way back, the best choice is usually fewer stops, not more, because you are already satisfied and your body is ready to be done.
Tip for this stage: Save “extra exploration” for a second day trip, when it can feel exciting instead of exhausting.
22. End Your Day With A Real Meal In Carmel, Monterey, Or Your Hotel Area
Finishing the drive first and then eating is usually better than trying to force a long sit-down meal mid-coast.
Tip for this stage: Your “reward meal” feels more rewarding when you are not watching the clock or stressing about the next winding stretch.
23. If You Are Staying Overnight, Do A Quick Next-Day Reset Plan
If you have a second day, you can use it for one longer hike or a slower beach morning without repeating the whole drive.
Tip for this stage: Choose just one main focus for the next day, because the coast is more fun when you are not cramming.
24. Use This Simple Budget Baseline So Costs Do Not Surprise You
For a one-day trip, a practical baseline is $40 to $120 for two people, depending on how many day-use fees you pay and whether you buy meals or pack food.
Tip for this stage: If you are trying to stay on the low end, pack food and limit paid entry stops to one or two.
Key Takeaways
Start early, because parking and traffic get harder later.
Limit yourself to one short hike and one beach stop for the smoothest day.
Assume driving takes longer than your map suggests on this road.
Pick a turnaround time so you do not end up driving tired in the dark.
Budget $40 to $120 for two people for a simple day trip.
FAQ
Is one day enough for Big Sur?
Yes, one day is enough for a classic highlights drive with 4 to 6 stops. You will enjoy it more if you keep your stop count realistic and finish before dark.
What time should you start a Big Sur day trip?
You should start by 7:30 to 8:30 AM for the easiest parking and the calmest pace. A later start usually means more crowds and slower progress.
Can you do Big Sur without hiking?
Yes, you can do Big Sur without hiking by focusing on viewpoints and a beach stop. Swap the short hike step for an extra scenic pullout or a longer beach window.
What is the biggest itinerary mistake to avoid?
The biggest mistake is adding too many stops and losing control of time. Your day improves instantly when you protect a turnaround time and keep late afternoon stops short.