Last updated: November 1, 2026
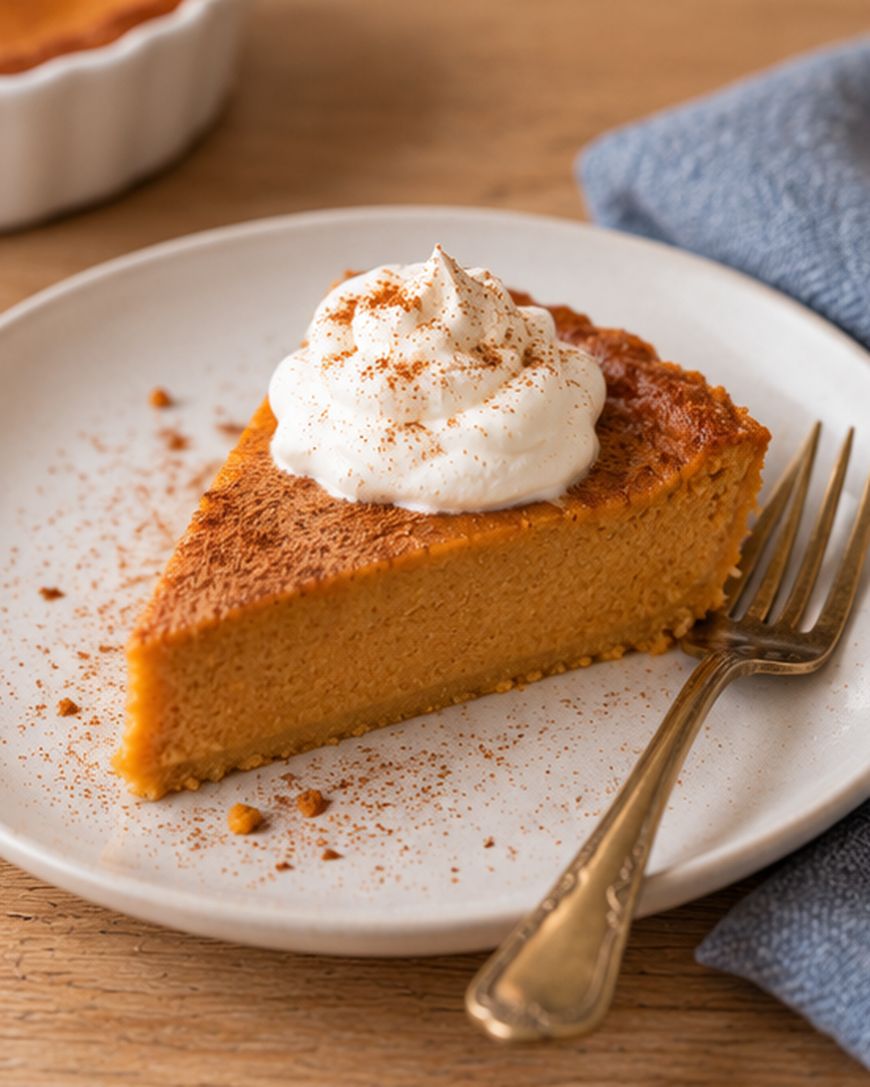
This crustless pumpkin pie gives you all the creamy, spiced filling of the classic with zero dough to roll, chill, or blind bake. Scroll down for the full walkthrough, or jump to the recipe card below if you only want the quantities.
What You Need to Make Crustless Pumpkin Pie
Crustless pumpkin pie needs one can of pumpkin puree, one can of evaporated milk, two eggs, and a handful of pantry spices. Everything fits into a single bowl, and the whole list can be gathered in about five minutes.
The Pumpkin and Milk Base
The base starts with one 15-ounce can of 100% pure pumpkin puree and one 12-ounce can of evaporated milk. Libby’s pumpkin puree and Carnation evaporated milk are the two cans most bakers reach for, and either one works well here.

Check the pumpkin label carefully, because canned pumpkin pie filling already contains sugar and spices and will throw off the recipe. Evaporated milk gives the filling its signature richness, so regular milk is not a good swap.
Eggs, Sugar, and Cornstarch
You need 2 large eggs, 3/4 cup of granulated sugar, and 1 tablespoon of cornstarch. The eggs set the custard, and the cornstarch adds just enough structure for the slices to hold their shape without a crust to lean on.
The Spices and Vanilla
The spice blend is 1 teaspoon of ground cinnamon, 1/2 teaspoon of ground ginger, 1/4 teaspoon of ground nutmeg, 1/8 teaspoon of ground cloves, and 1/2 teaspoon of salt. A teaspoon of vanilla extract rounds out the flavor and softens the earthy edge of the pumpkin.
If you keep pumpkin pie spice on hand, you can use 2 teaspoons of it in place of the cinnamon, ginger, nutmeg, and cloves.
The Pie Dish
Use a standard 9-inch glass or ceramic pie dish that is about 1 1/2 inches deep. Because there is no crust to protect the filling, you also need 1 tablespoon of softened unsalted butter to grease the dish thoroughly.
How to Make Crustless Pumpkin Pie Step by Step
Making crustless pumpkin pie takes about 10 minutes of hands-on work and roughly 1 hour in the oven. The rest of the time is a hands-off cool down, which is what gives the filling its clean, sliceable texture.
Heat the Oven and Grease the Dish
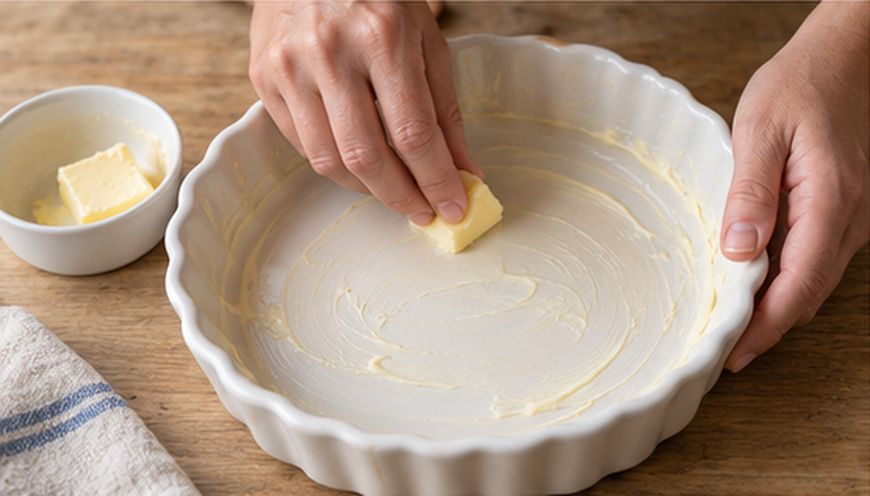
Place a rack in the middle of the oven and heat it to 425°F. Rub the softened butter over the bottom and up the sides of the pie dish, making sure to coat the corners where the base meets the wall.
Mix the Dry Ingredients
Whisk the sugar, cornstarch, cinnamon, ginger, nutmeg, cloves, and salt together in a small bowl. Mixing the spices with the sugar first spreads them evenly, so you never bite into a pocket of cloves.

Build the Filling
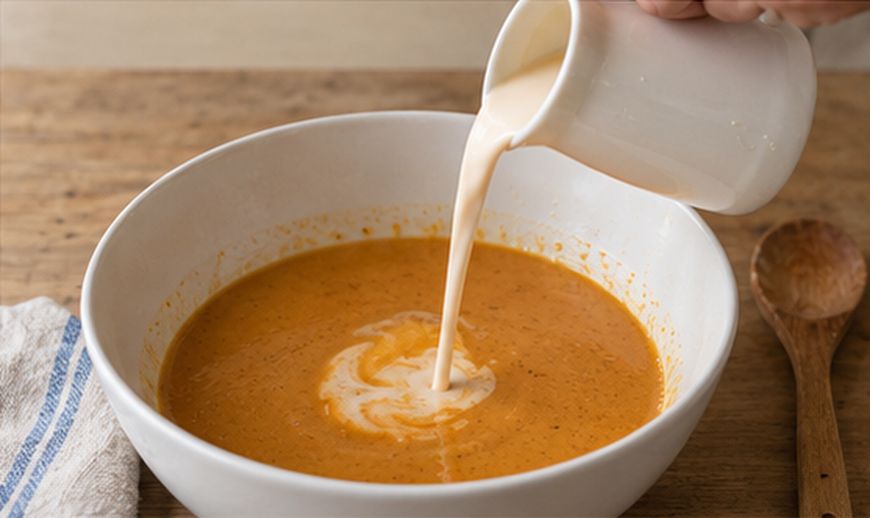
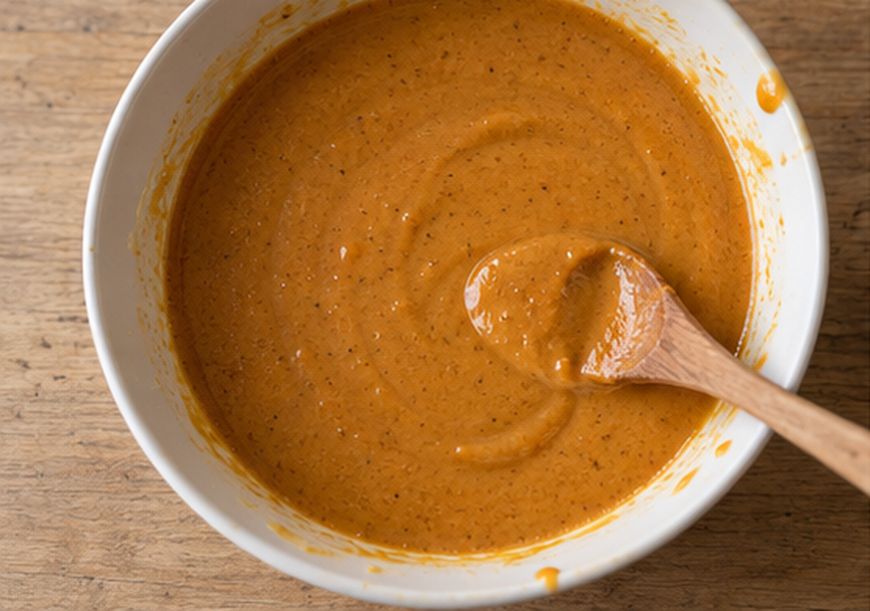
Lightly beat the eggs in a large bowl, then stir in the pumpkin puree and the sugar and spice mixture until smooth. Gradually stir in the evaporated milk and vanilla until the filling is uniform with no streaks.
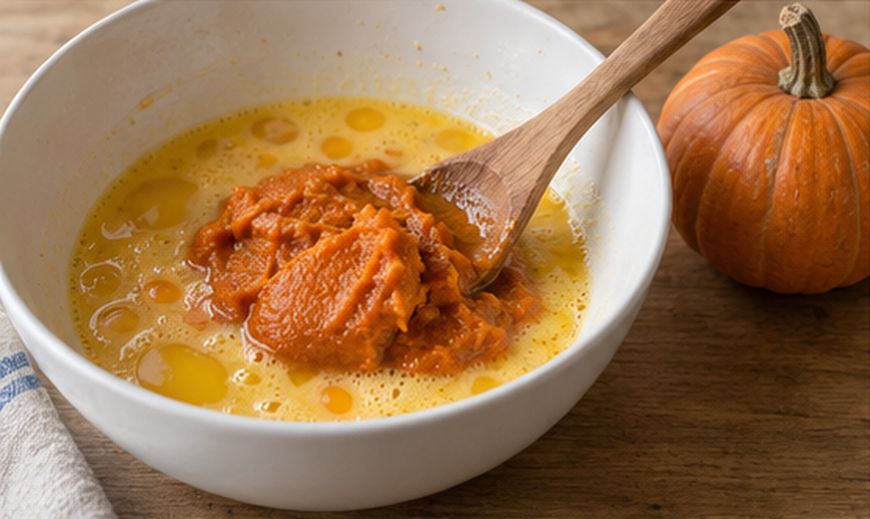
Stir gently rather than whisking hard, because too much air creates bubbles that can puff up and crack as the pie bakes.
Bake in Two Stages
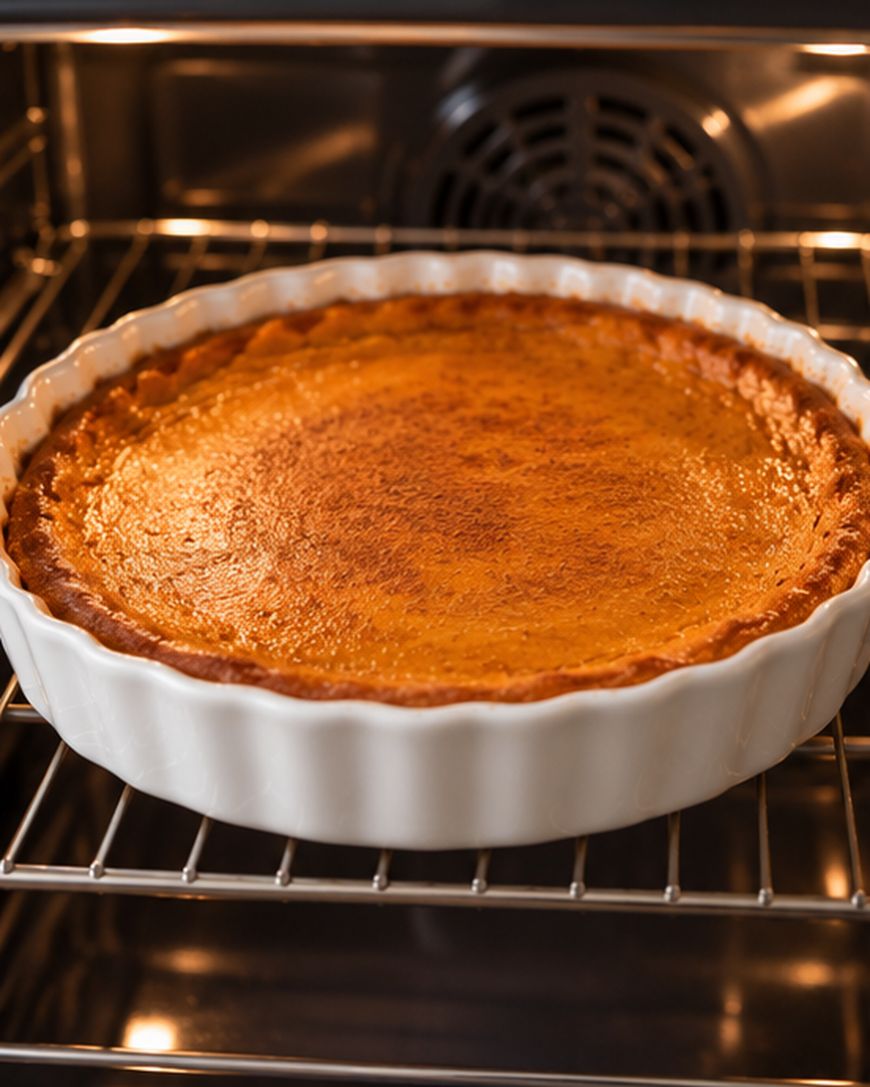
Pour the filling into the prepared dish and bake at 425°F for 15 minutes. Reduce the oven to 350°F and bake for 35 to 45 more minutes, until a knife inserted near the center comes out clean.

The center should still have a very slight wobble, and a thermometer in the middle should read at least 160°F, which is the USDA safe temperature for egg dishes.
Cool and Chill Before Slicing
Set the pie on a wire rack and let it cool for 1 hour. Then cover it and refrigerate for at least 3 hours before you slice.
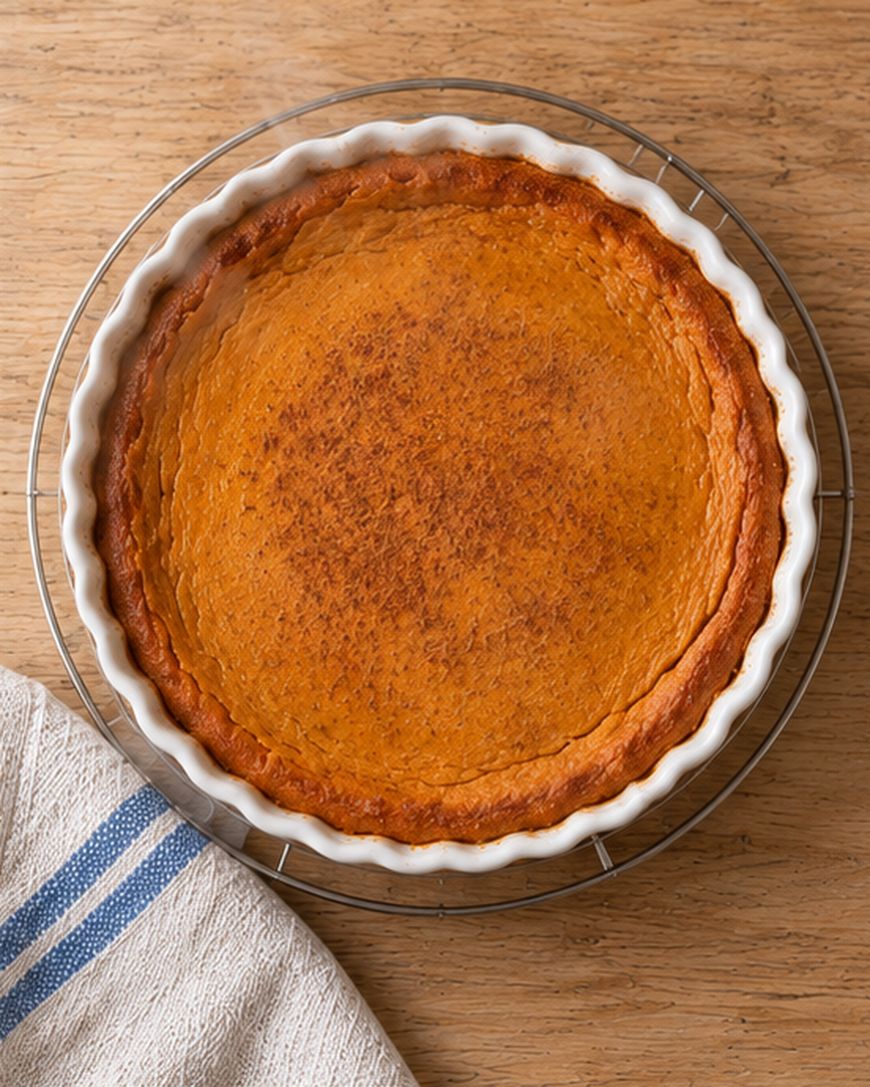
Do not leave the pie at room temperature for more than 2 hours total, because the USDA Food Safety and Inspection Service recommends refrigerating egg-rich pies promptly.
Tips for Crustless Pumpkin Pie That Slices Clean
The two things that decide whether crustless pumpkin pie slices cleanly are how it bakes and how long it chills. Get both right and you can lift out neat wedges with a standard pie server.
Know When the Pie Is Done
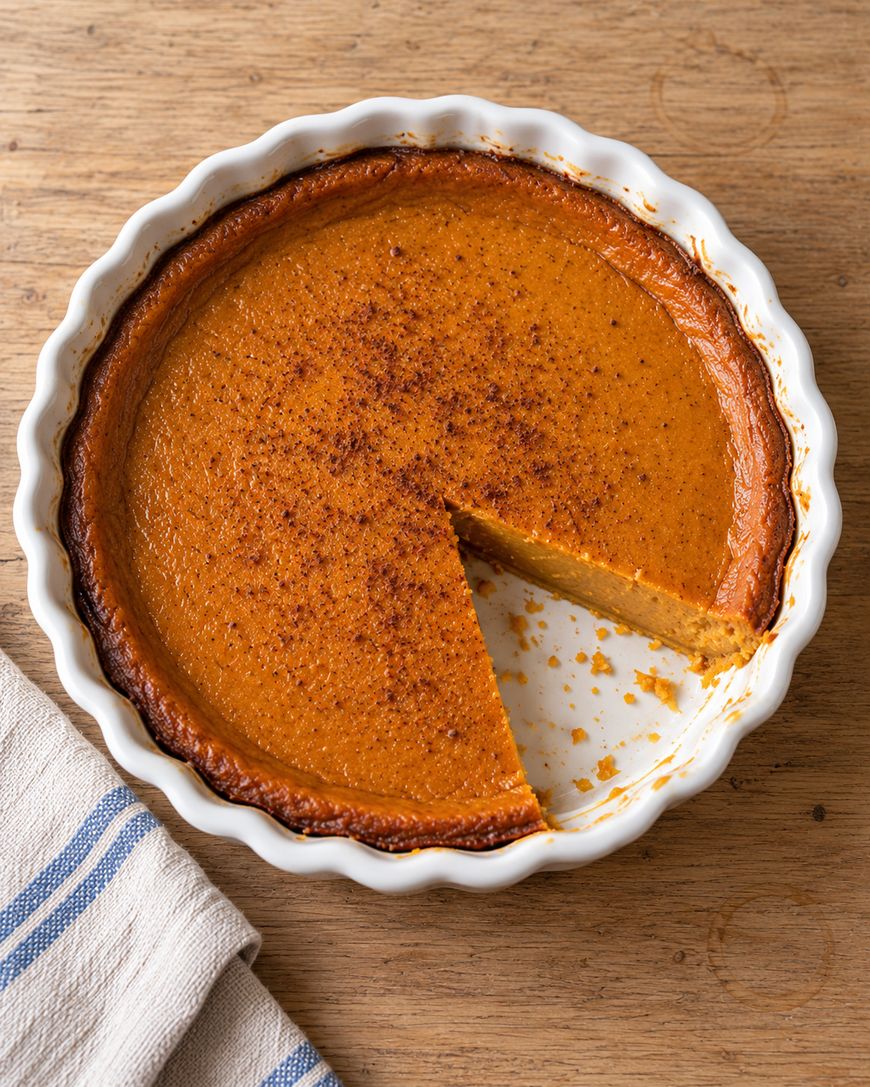
Pull the pie from the oven when a knife slid near the center comes out clean and the edges look set. Overbaking is what causes cracks and a grainy, weepy texture, so it is better to stop a few minutes early than a few minutes late.
Prevent Cracks and Sticking
The two-stage bake helps here, since the hot start sets the edges and the lower temperature finishes the center gently. Thorough greasing handles the sticking, and running a thin knife around the edge after the pie has chilled helps each slice release.
Do Not Skip the Chill
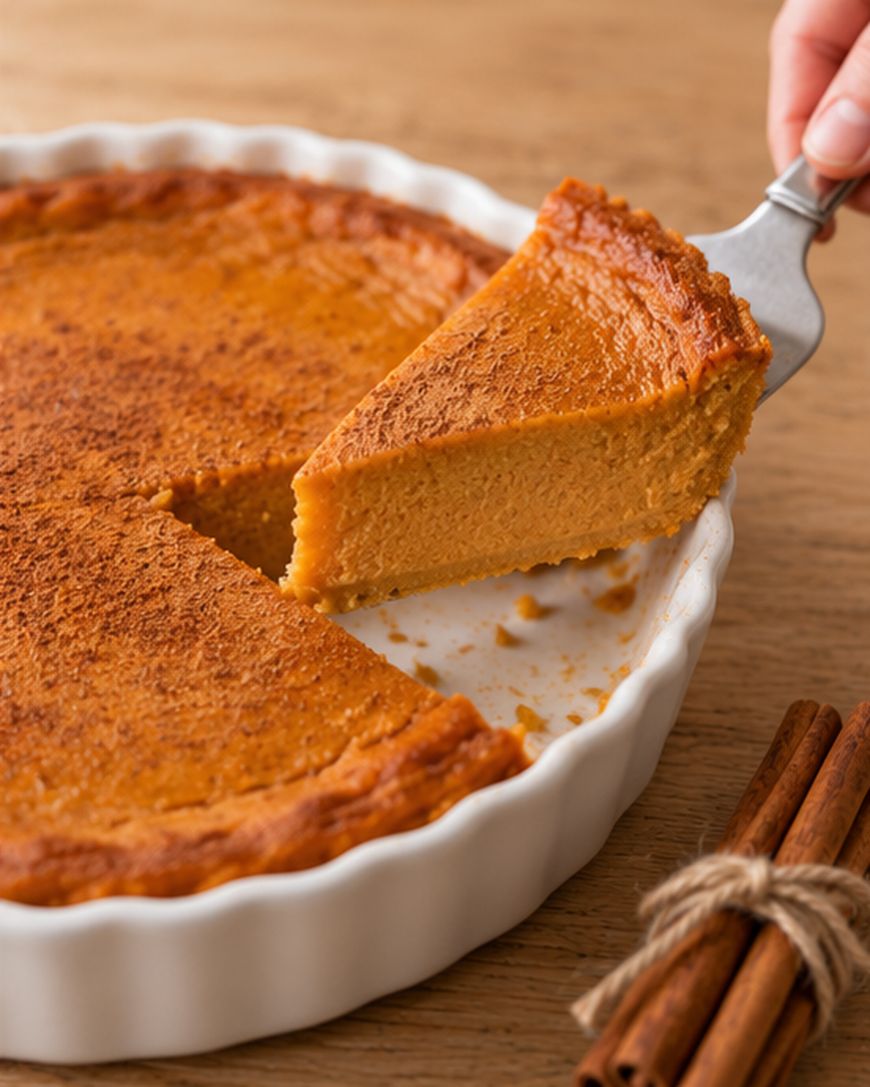
A warm crustless pie looks soft and slumps when you cut it. After 3 hours in the refrigerator the custard firms up completely and the slices stand tall.
Variations and Substitutions
Crustless pumpkin pie is forgiving, and a few small changes let you tailor it to what is in your pantry or to your guests.
Swap the Sweetener
Packed light brown sugar can replace the granulated sugar for a deeper, molasses-like flavor. The card below uses granulated sugar, so treat the brown sugar version as an optional twist.
Make It Dairy Free
Full-fat canned coconut milk can stand in for the evaporated milk, using 1 1/2 cups. The card below leaves this out, so treat it as optional, and expect a slightly softer set and a faint coconut flavor.
Dress It Up
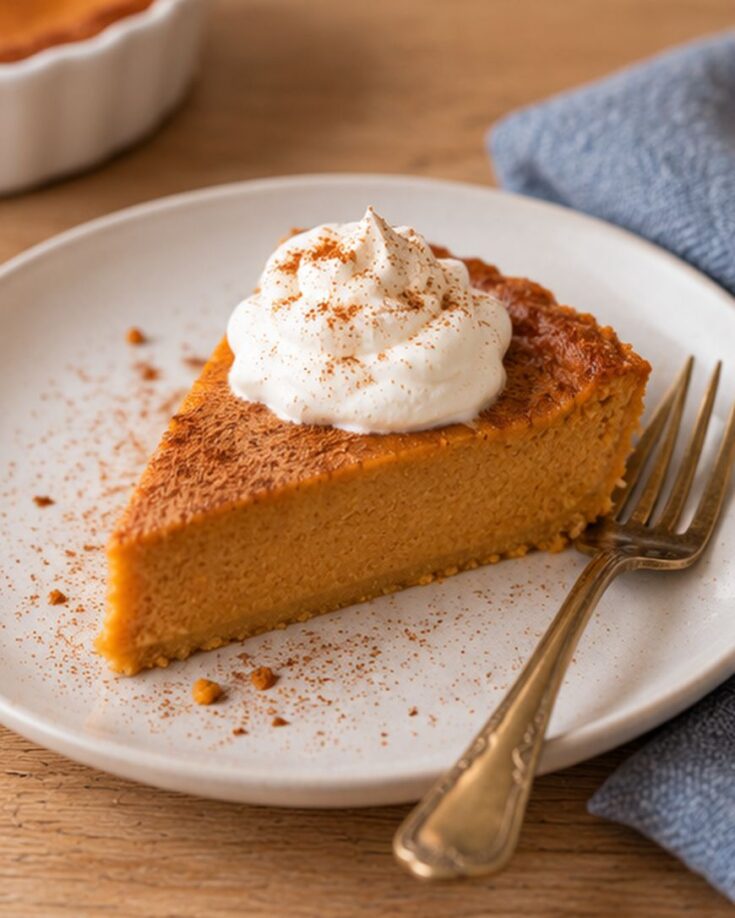
Whipped cream is the classic topping, and a pinch of cinnamon on top looks pretty. Toasted pecans, a drizzle of caramel sauce, or a spoonful of vanilla ice cream also work well beside a chilled wedge.
How to Store and Serve Crustless Pumpkin Pie
Store crustless pumpkin pie covered in the refrigerator, where it keeps for 3 to 4 days. That timing matches USDA Food Safety and Inspection Service guidance for pumpkin pie.
Make It Ahead
This pie is ideal for holiday prep because it tastes best after a long chill. Bake it a day or two before Thanksgiving, keep it covered in the refrigerator, and add the whipped cream just before serving.
Freezing
Freezing is not recommended, because the custard releases water as it thaws and the texture turns watery. Plan to bake it fresh within a few days of serving instead.
Where Crustless Pumpkin Pie Comes From
Pumpkin pie is one of the oldest dishes on the American holiday table, and the crustless version is a natural offshoot. It is essentially a baked pumpkin custard, the same filling that has been poured into pastry for generations, simply baked on its own.
Crustless versions became popular as home bakers looked for faster, lighter, and gluten-free options. Today the recipe is a staple for anyone who loves the filling most and has no need for the dough.
Here is the recipe card, so you can print it or save it for later.
Crustless Pumpkin Pie
A silky, spiced pumpkin custard baked in a pie dish with no crust to roll, so it comes together in one bowl and slices clean once chilled.
Ingredients
- 1 tablespoon unsalted butter, softened, for greasing the dish
- 3/4 cup granulated sugar
- 1 tablespoon cornstarch
- 1 teaspoon ground cinnamon
- 1/2 teaspoon ground ginger
- 1/4 teaspoon ground nutmeg
- 1/8 teaspoon ground cloves
- 1/2 teaspoon salt
- 2 large eggs
- 1 can (15 ounces) 100% pure pumpkin puree
- 1 can (12 ounces) evaporated milk
- 1 teaspoon vanilla extract
- Whipped cream, for serving (optional)
Instructions
- Place a rack in the middle of the oven and heat it to 425°F. Grease a 9-inch glass or ceramic pie dish, about 1 1/2 inches deep, thoroughly with the softened butter.
- Whisk the sugar, cornstarch, cinnamon, ginger, nutmeg, cloves, and salt together in a small bowl.
- Lightly beat the eggs in a large bowl. Stir in the pumpkin puree and the sugar and spice mixture until smooth.
- Gradually stir in the evaporated milk and vanilla until the filling is uniform with no streaks.
- Pour the filling into the prepared dish and bake at 425°F for 15 minutes.
- Reduce the oven to 350°F and bake for 35 to 45 more minutes, until a knife inserted near the center comes out clean and a thermometer in the center reads at least 160°F.
- Cool on a wire rack for 1 hour, then cover and refrigerate for at least 3 hours before slicing.
- Slice and serve chilled with whipped cream, if you like.
Notes
Do not leave the pie at room temperature for more than 2 hours. Store covered in the refrigerator for 3 to 4 days, per USDA Food Safety and Inspection Service guidance for pumpkin pie. Freezing is not recommended. Optional: swap the granulated sugar for packed light brown sugar, or use 1 1/2 cups full-fat canned coconut milk in place of the evaporated milk for a dairy-free version (the set will be slightly softer).
Nutrition Information:
Yield:
8Serving Size:
1 sliceAmount Per Serving: Calories: 185Total Fat: 5gSaturated Fat: 3gSodium: 235mgCarbohydrates: 28gFiber: 1gSugar: 24gProtein: 4g
Crustless Pumpkin Pie Questions Answered
Why is my crustless pumpkin pie not setting?
The most common reason is that the pie came out of the oven too soon or was sliced before it chilled. Bake until a knife near the center comes out clean, then refrigerate for at least 3 hours.
Do you need to grease the pie dish for crustless pumpkin pie?
Yes, grease it generously with softened butter. Without a crust, the filling will cling to the glass or ceramic and tear when you try to lift out a slice.
Can you use sweetened condensed milk instead of evaporated milk?
No, sweetened condensed milk is far sweeter and thicker, and it would change the texture and flavor completely. Stick with unsweetened evaporated milk for the right balance.
Can you make crustless pumpkin pie ahead of time?
Yes, it actually benefits from being made ahead. Bake it, cool it for 1 hour, and refrigerate it covered for up to 3 to 4 days.
Is crustless pumpkin pie gluten free?
The recipe has no wheat flour, since the only thickener is cornstarch, so it is naturally gluten free. Check the labels on your spices and vanilla if you are serving someone with celiac disease.
Can you freeze crustless pumpkin pie?
Freezing is not recommended, because the custard turns watery after thawing. Refrigerate it instead and enjoy it within 3 to 4 days.
Why This Crustless Pumpkin Pie Recipe Works
Evaporated milk is the secret to a rich, silky filling. It has less water than regular milk, so the custard sets creamy instead of loose, and it brings a gentle caramelized sweetness that suits pumpkin perfectly.
Just 1 tablespoon of cornstarch gives the crustless pie the structure it needs to slice cleanly. Without a crust to hold the edges, that small amount of starch keeps each wedge standing tall.
The two-stage bake does the rest. Starting at 425°F sets the outside quickly, and dropping to 350°F lets the center finish gently so the surface does not crack.
Thorough greasing and a full chill finish the job, since the butter helps the pie release and the cold firms the custard.
Make Crustless Pumpkin Pie Your New Holiday Tradition
This crustless pumpkin pie delivers a silky, spiced custard with no dough to fuss over and clean slices every time. Mix the filling, bake it in two stages, and let it chill so it is ready when you are.
Leave a star rating and a comment below to tell us how it turned out, and share the recipe with someone who loves pumpkin pie more than the crust.
Pumpkin Pie With a Silky, Crack-Free Filling You Can Make Ahead
Easy Pumpkin Custard That Bakes Up Silky, Creamy, and Crust-Free