Last updated: June 21, 2026
You don’t need to drive to a farm or pay admission fees to enjoy a stunning pumpkin patch this fall. These DIY pumpkin patch ideas will show you exactly how to create a magical, photo-worthy display right in your own yard, from simple front porch setups to elaborate backyard experiences your family will talk about for years.
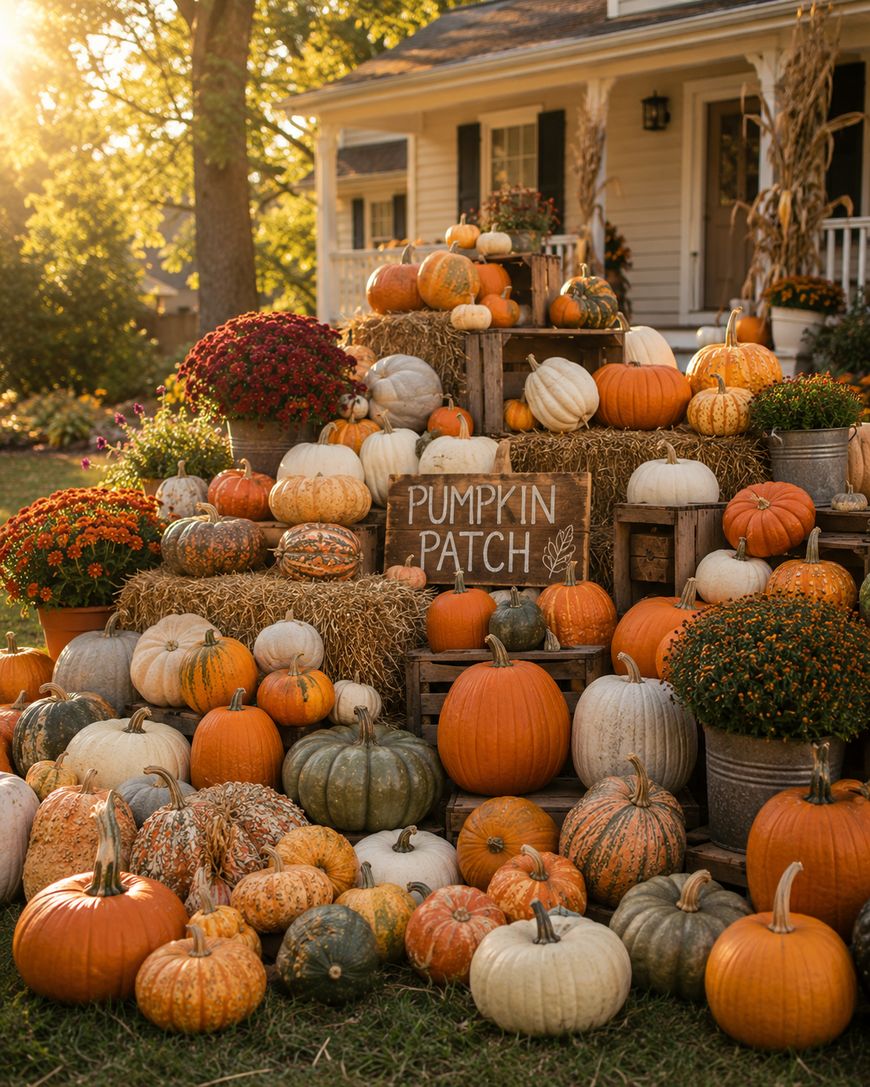
Choosing the Right Pumpkins for Your DIY Patch
The foundation of any great DIY pumpkin patch is, of course, the pumpkins themselves, and variety is everything. A mix of sizes, colors, and textures immediately creates visual interest and makes your display look intentional rather than last-minute.
Start by choosing a handful of large statement pumpkins to anchor the scene. These are your focal points, the ones that draw the eye first and set the scale for everything around them. Classic orange giants like Howden or Atlantic Giant varieties work perfectly for this role.
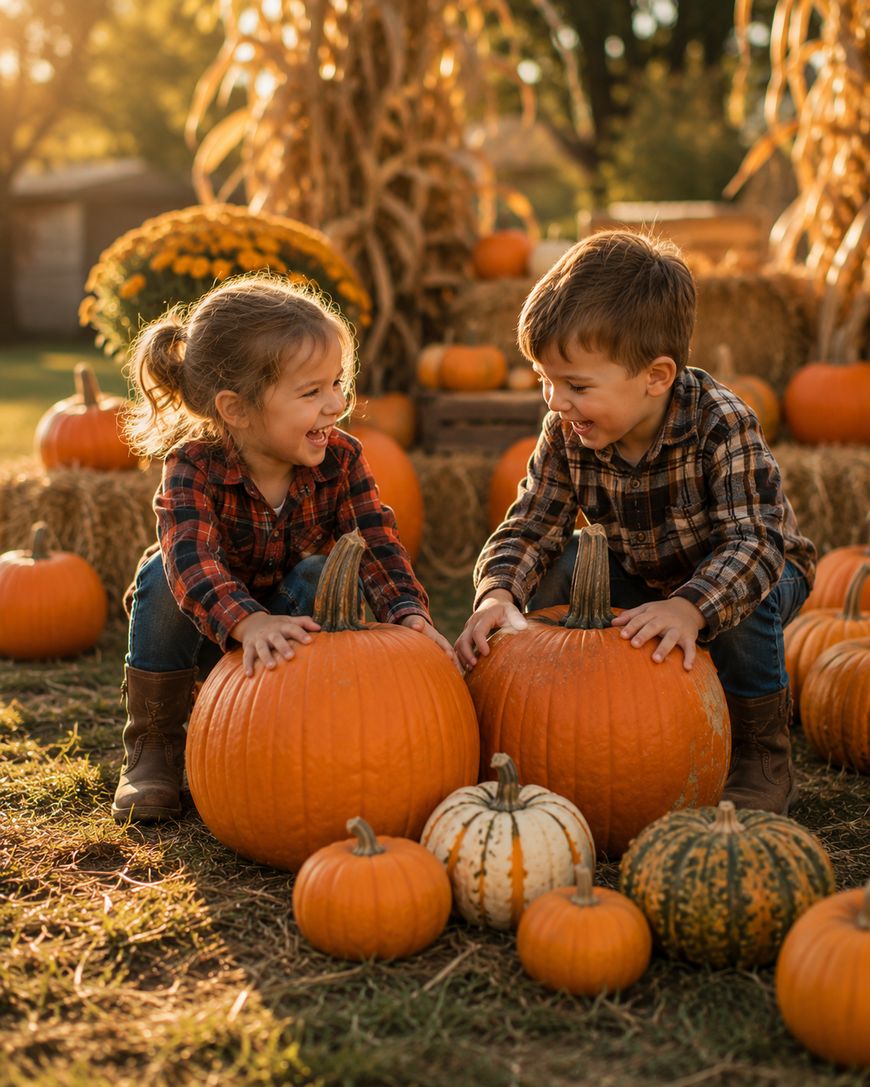
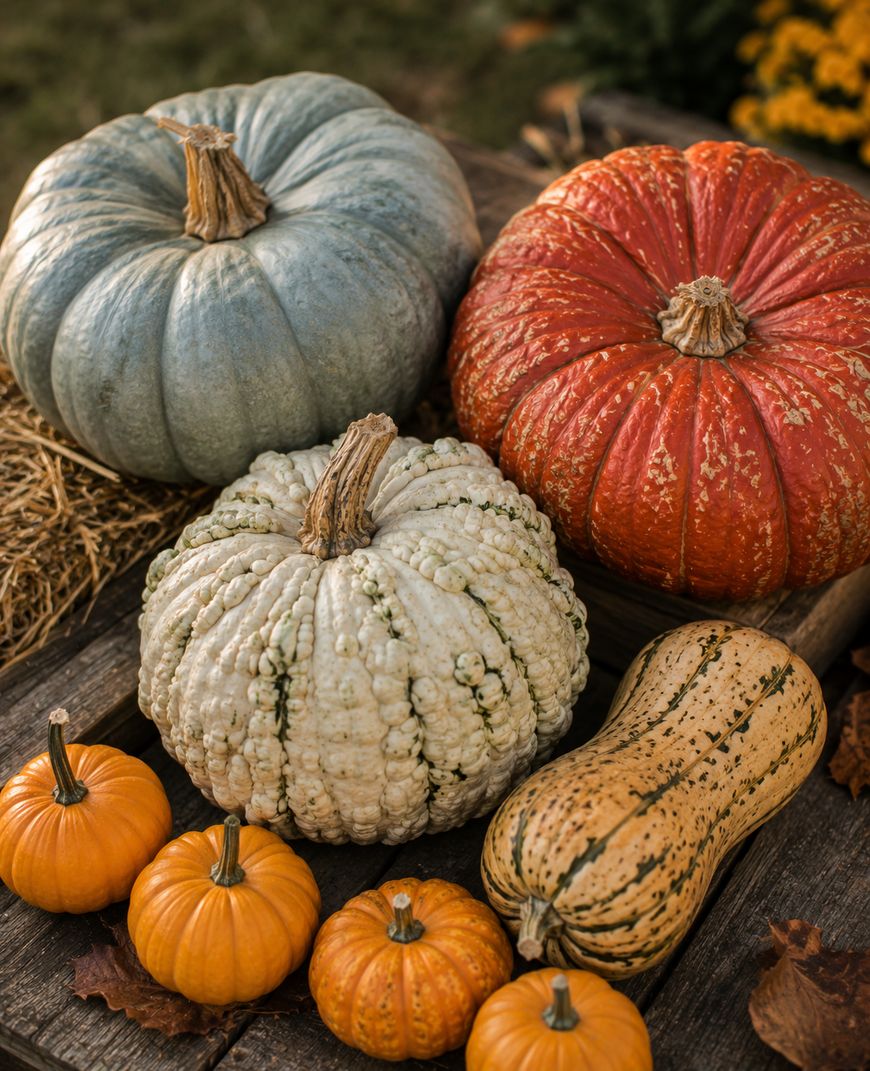
From there, layer in medium pumpkins in unexpected colors. Cinderella pumpkins in dusty rose, Blue Hubbard squash in sage green, and Jarrahdale pumpkins in slate blue all add dimension without requiring any extra effort. You can find these at most garden centers and farm stands starting in mid-September.
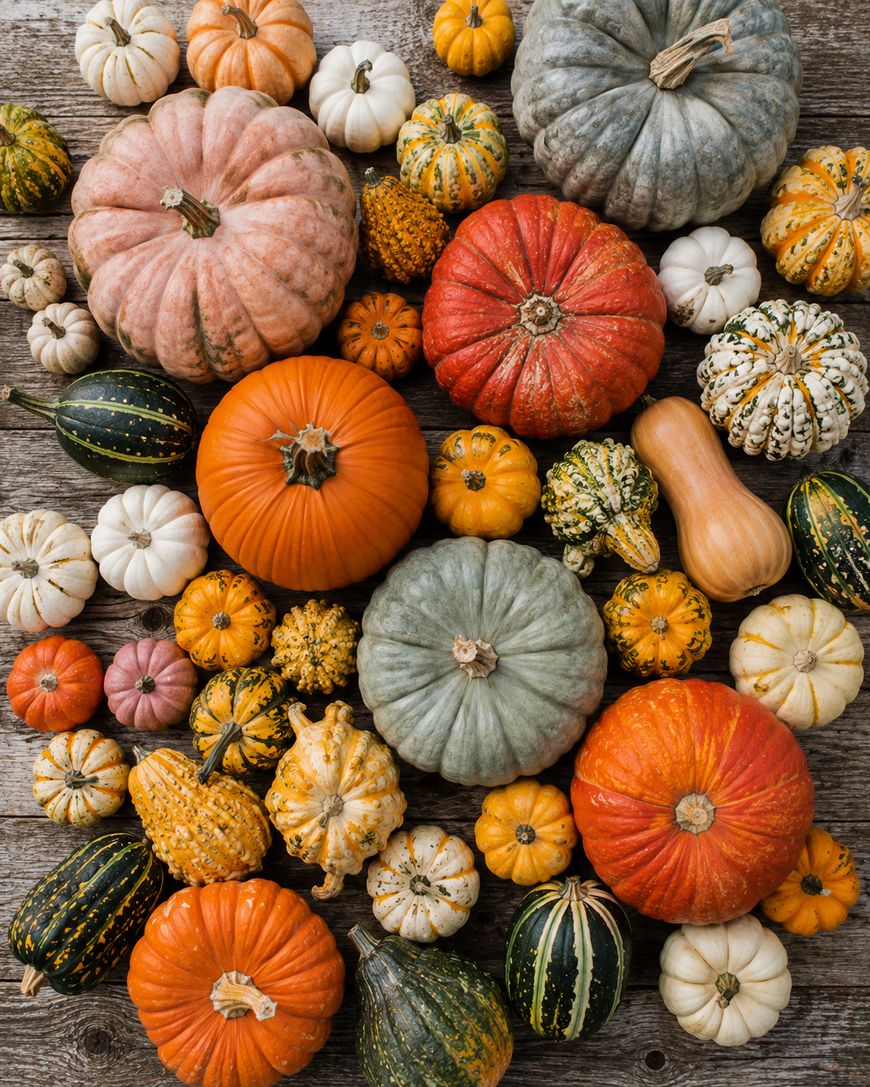
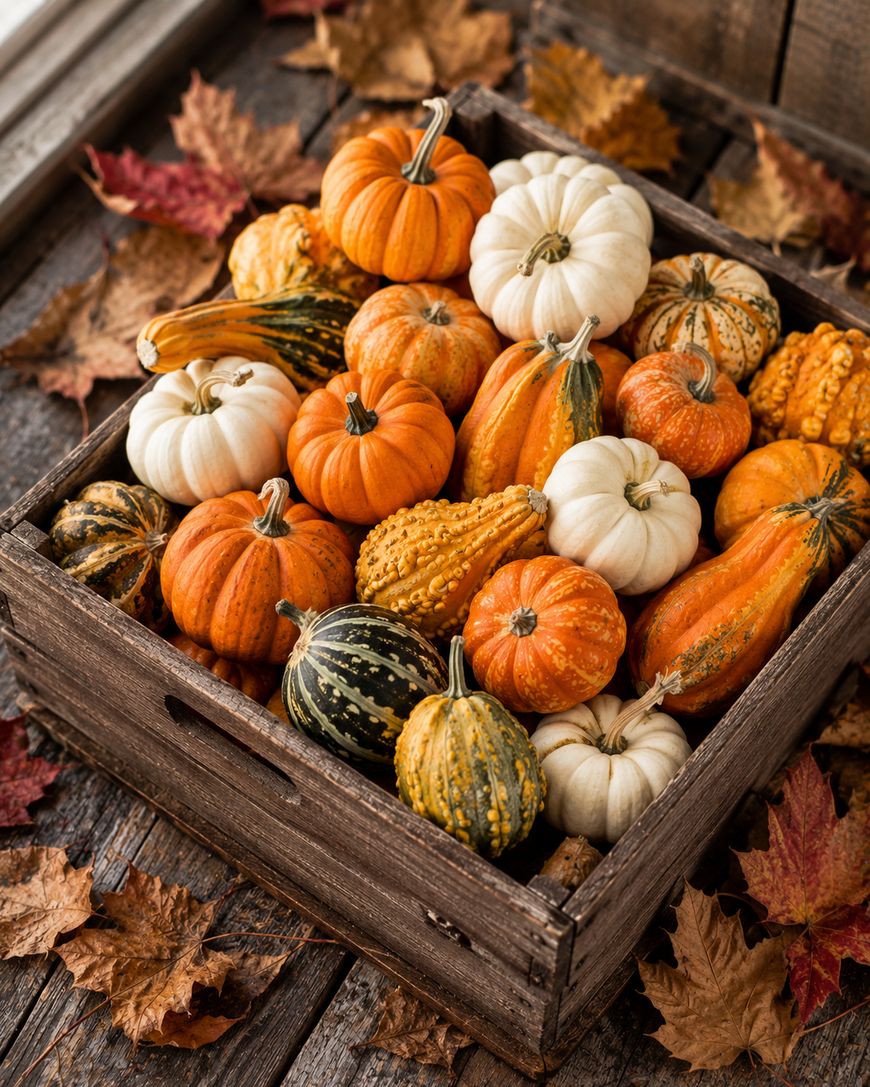
Finally, fill in with mini pumpkins, gourds, and decorative squash to complete the look. These small elements are what give a pumpkin patch its sense of abundance and overflow, which is the feeling you are really going for. Cluster them in odd numbers of three or five for a naturally balanced composition.
Setting the Scene: Layout and Staging Tips for DIY Pumpkin Patch Ideas
How you arrange your pumpkins matters just as much as which ones you choose. A thoughtful layout transforms a simple collection of gourds into a genuine destination that feels worth lingering in.
The most effective DIY pumpkin patch layouts use height variation as a core design principle. Place taller elements at the back or center of your display, then step down to medium-height pieces, and finally let the smallest pumpkins and gourds spill forward onto the ground. This tiered effect creates depth and makes the whole scene feel lush.
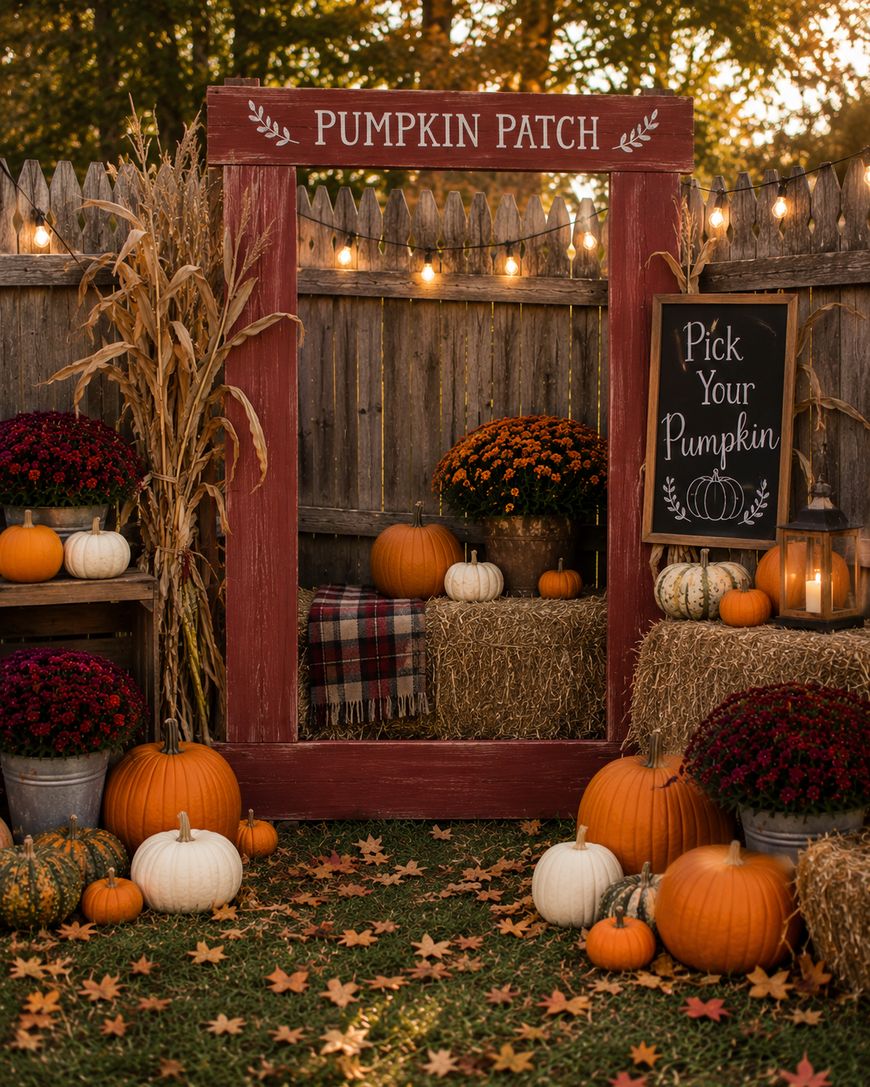
Wooden crates, old barrels, hay bales, and vintage ladders are your best friends here. Stack a few wooden crates at different heights and nestle pumpkins on top and around them for a farmhouse look that photographs beautifully. A single well-placed hay bale can anchor an entire vignette on its own.
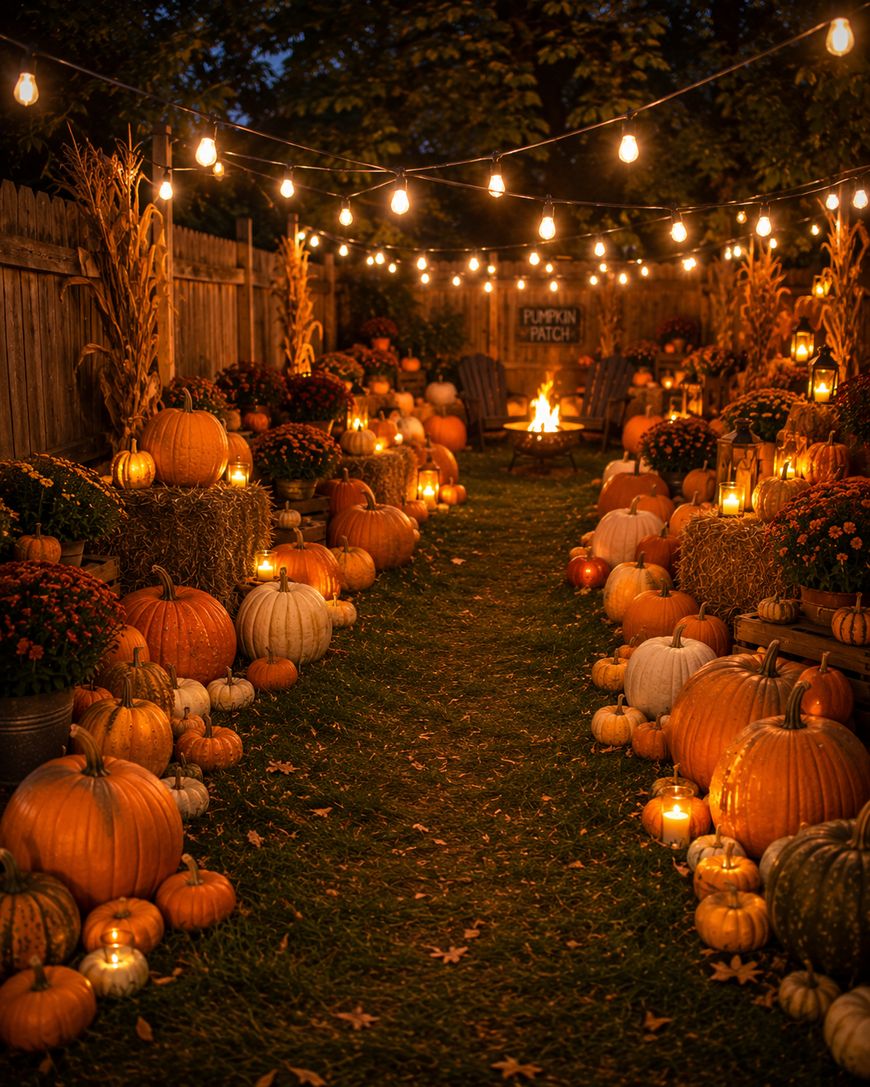
Pathways add another layer of charm and also serve a practical purpose: they invite visitors to walk through the space rather than just look at it from a distance. Line a simple garden path with alternating pumpkin sizes and a few lanterns to create that magical walking-through-the-patch feeling even in a modest backyard.
For front yard setups, frame your porch steps with graduated pumpkin groupings. Place your largest pumpkins at the base of the steps and get progressively smaller as you move up, drawing the eye upward toward your door. Add a simple “Pumpkin Patch” sign made from a painted wood board to make it feel official and shareable.
Growing Your Own: How to Grow Pumpkins for Next Year’s Patch
If you want the full DIY pumpkin patch experience, growing your own pumpkins takes the project to a completely different level. It requires some advance planning but the payoff, both in satisfaction and in savings, is significant.
Pumpkin seeds go into the ground after the last frost, typically late May to early June depending on your climate zone. Choose a sunny spot with well-draining soil and give each vine at least six to eight feet of horizontal space to spread, because pumpkin plants are enthusiastic growers. Raised beds work especially well if your yard space is limited.
Sugar Pie and Baby Boo are excellent choices for first-time growers because they mature relatively quickly and produce reliably. If you want those large, dramatic jack-o’-lantern pumpkins, go with Howden or Connecticut Field varieties, but know they need a longer growing season of around 100 to 120 days.
Water your plants deeply two to three times a week rather than shallow daily watering, which encourages stronger root systems. Once flowers appear, you can hand-pollinate using a small paintbrush to transfer pollen from male to female flowers, which significantly increases your yield. By mid-September to October, you will have a genuine homegrown harvest ready for your display.
Even if you only grow a few pumpkins yourself, mixing homegrown with store-bought fills out your patch beautifully while still giving you that genuine farm-to-yard satisfaction.
Fall Decorations to Enhance Your DIY Pumpkin Patch
Pumpkins alone are wonderful, but layering in complementary fall decorations is what transforms your yard from decorated to genuinely immersive. Think of the pumpkins as your canvas and everything else as the finishing touches that make it complete.
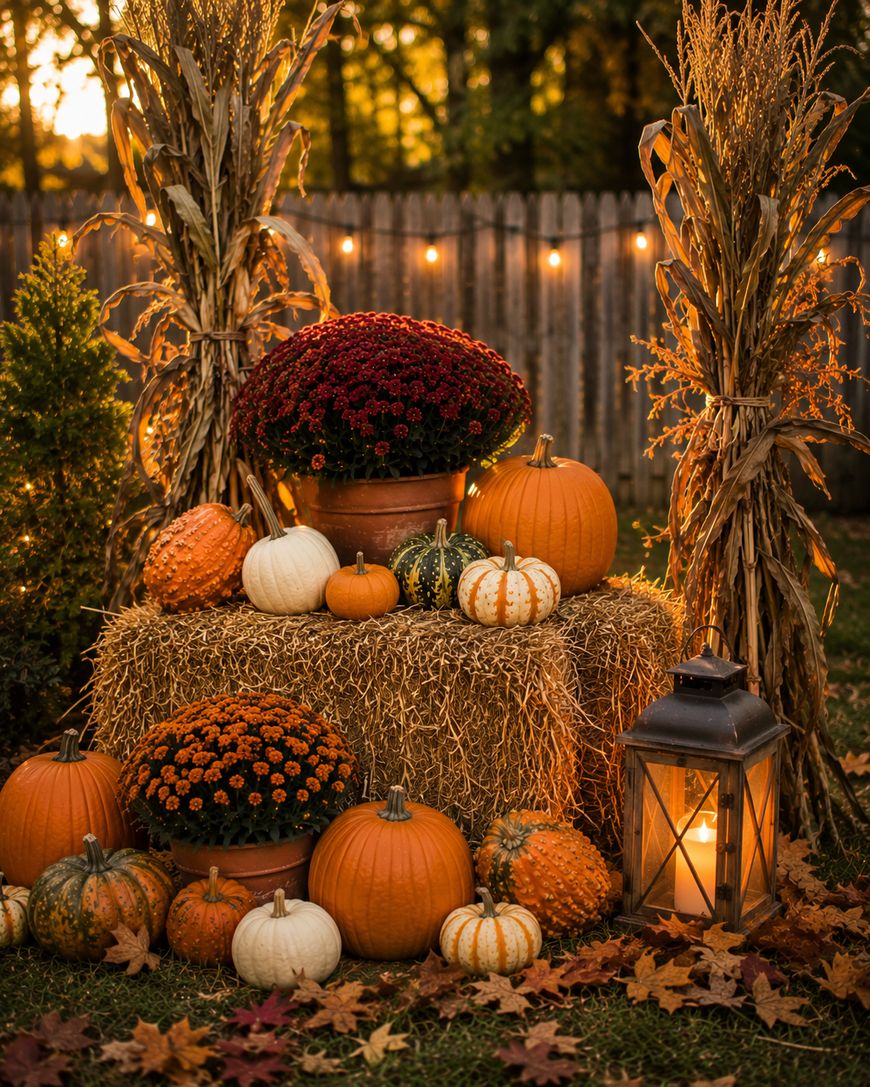
Cornstalks tied in bundles and leaned against fence posts or mailboxes add vertical drama and an undeniably rustic feel. You can buy dried cornstalks at garden centers and farm stands for just a few dollars each, and they last the entire season with minimal care. Pair them with hanging dried corn and Indian corn for an authentic harvest look.
Mums are a natural partner for any pumpkin patch setup. Deep burgundy, orange, and golden yellow mums complement the pumpkin palette perfectly and add soft, rounded texture that contrasts nicely with the hard edges of the gourds. Plant them in simple terracotta pots or galvanized buckets to keep the rustic theme cohesive.

String lights turn your daytime pumpkin patch into an evening attraction. Warm white Edison bulbs strung through nearby shrubs or along a fence create a cozy, glowing atmosphere after dark that makes the whole display feel like something out of a fairy tale. Battery-powered options mean you do not need to run extension cords across your yard.
Chalkboard signs, wooden crate labels, and small handwritten tags add a personal and playful element that visitors of all ages respond to. Write funny pumpkin names, label different varieties, or post a little “Pick Your Pumpkin” sign to lean into the patch experience fully.
DIY Pumpkin Patch Photo Opportunities and Kid-Friendly Touches
One of the biggest reasons people love visiting commercial pumpkin patches is the built-in photo opportunities, and you can absolutely recreate that magic at home. A few well-placed props make your DIY pumpkin patch ideas come to life for photos that your family will genuinely treasure.
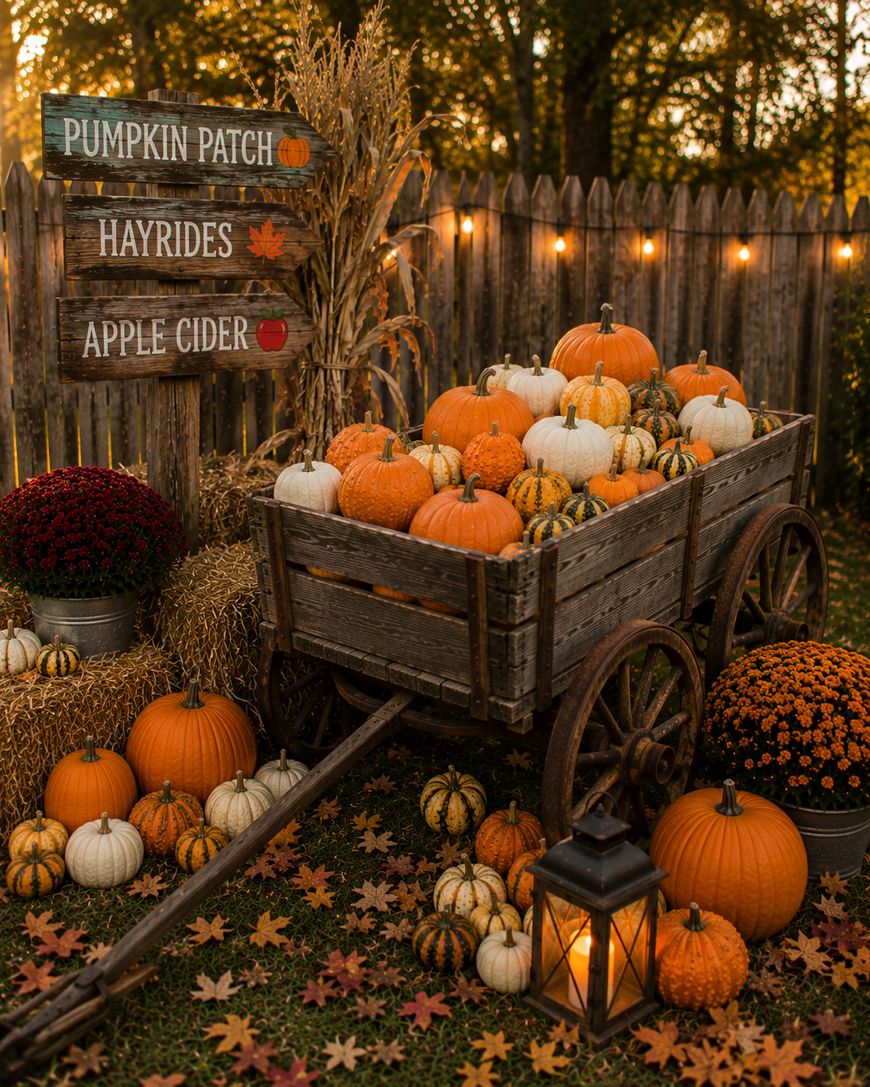
A simple wooden frame or painted backdrop propped against a fence gives everyone a natural place to stand for photos. You can build a basic frame from 2×4 lumber, paint it white or barn red, and lean it among your pumpkin groupings for an instant photo station. Add a printable banner above it and you have a complete photo spot for about $20.
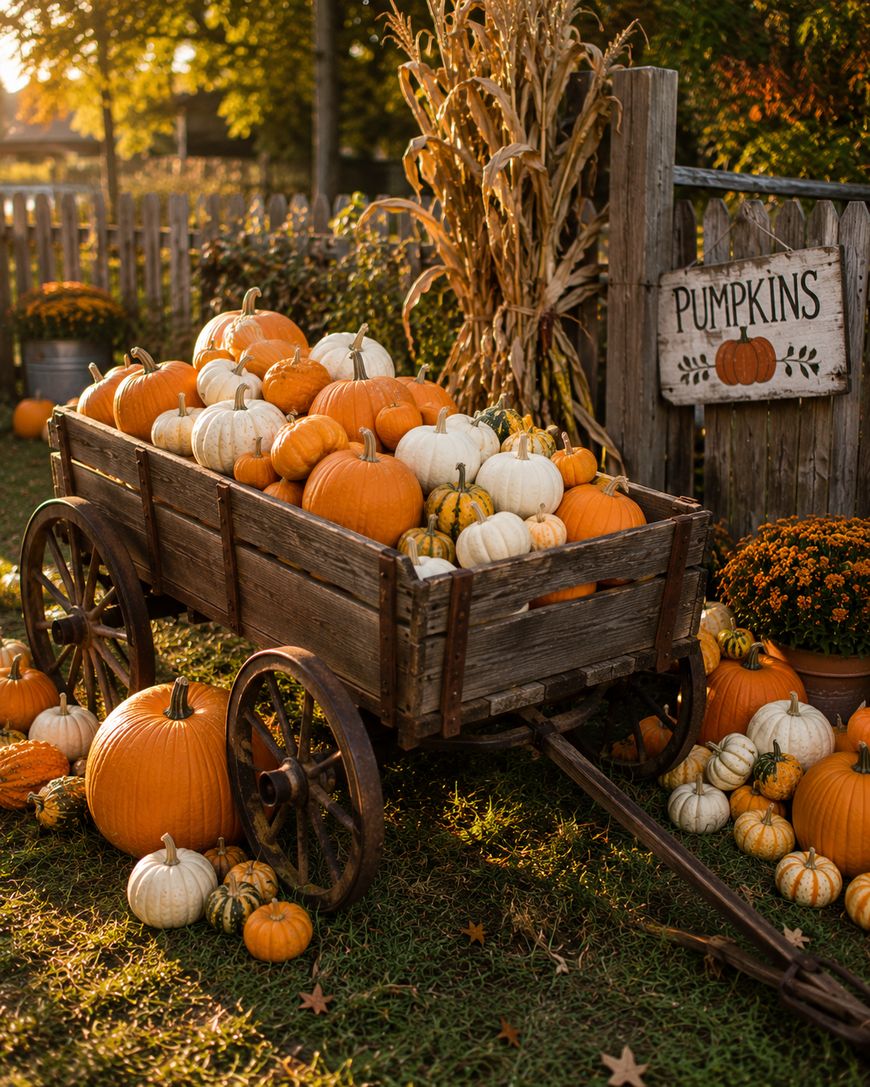
Wagon wheelbarrows are another crowd-pleasing prop. Fill an old wooden wagon or rustic wheelbarrow with small pumpkins and let kids climb in for photos, it is one of those classic fall images that never gets old. Check thrift stores and estate sales in late summer for affordable finds.
For the kids, add interactive elements that make the experience feel like a real outing. A simple “Pumpkin Hunt” where you hide mini pumpkins around the yard for children to find creates a game-like atmosphere that keeps them engaged and excited. Set out a craft table with paint and brushes so they can decorate their chosen pumpkins on the spot.

A cozy seating area with a few hay bales or a wooden bench tucked into the corner of your display gives parents a place to sit while children explore. Add a small thermos of hot apple cider on a nearby table and you have created a full fall experience that feels genuinely special.
Why a DIY Pumpkin Patch Is Worth Every Bit of Effort
Creating your own pumpkin patch at home gives you something a commercial farm never can: total creative control over every single detail. You get to decide the size, the style, the extras, and the vibe, whether that’s rustic and cozy or polished and Pinterest-perfect.
A homemade pumpkin patch also saves your family real money. Admission fees, parking, and overpriced on-site pumpkins can easily run $50 to $100 for a family of four, and that’s before you even pick a single pumpkin. When you build your own, you keep every dollar and create something you can add to year after year.
Beyond the savings, there is something genuinely special about watching your kids run through a pumpkin display you built with your own hands. It becomes a tradition, a touchstone moment in your family’s fall calendar that kids look forward to as much as trick-or-treating.
The good news is that you do not need a large yard, a green thumb, or a big budget to pull this off. All you need is a plan, a little creativity, and the ideas you are about to read.
Q&A: Your Top DIY Pumpkin Patch Questions Answered
How many pumpkins do I need for a DIY pumpkin patch?
For a front porch display, even 10 to 15 pumpkins in mixed sizes can look abundant and full. For a larger yard setup meant to feel like a real patch, aim for 30 or more pumpkins supplemented with gourds and squash to fill out the scene. You can always start smaller and add more as you find deals throughout the season.
When should I set up my DIY pumpkin patch?
Most people set up their pumpkin patches in late September or early October. Whole pumpkins kept out of direct sunlight will typically last four to eight weeks, so setting up around October 1 keeps your display looking fresh through Halloween. Avoid setting out carved pumpkins more than one to two weeks before Halloween or they will deteriorate quickly.
What is the cheapest way to create a DIY pumpkin patch?
Shop for pumpkins at grocery stores, discount stores, and farm stands rather than specialty shops, where prices tend to be significantly higher. Buy the bulk of your display pumpkins in mid-October when prices often drop. Supplement with gourds and decorative squash, which are typically cheaper than pumpkins but add just as much visual appeal.
Can I create a DIY pumpkin patch in a small space?
Absolutely. A small front porch, a strip of lawn along a walkway, or even a collection of potted pumpkins on a balcony can all feel patch-like with the right arrangement. Focus on height variation and layering, even in tight spaces, to create the sense of abundance that defines a great pumpkin patch.
How do I keep pumpkins from rotting outside?
Keep pumpkins off the bare ground by setting them on a piece of cardboard, a wooden pallet, or a bed of straw, which improves airflow and slows moisture buildup underneath. Avoid placing them in standing water or in spots that get prolonged afternoon sun. Whole, uncarved pumpkins are much more weather-resistant than carved ones.
Can I use fake pumpkins in my DIY pumpkin patch?
You can, and mixing high-quality foam or resin pumpkins with real ones is a smart budget strategy. Use realistic-looking faux pumpkins for the base of your display and for spots that get heavy rain or are hard to swap out, then place real pumpkins in the foreground where they will be touched and noticed up close.
Bring Your DIY Pumpkin Patch Ideas to Life This Fall
There has never been a better time to skip the crowded farm and create your own fall tradition right at home. Whether you start with a simple front porch cluster or go all-in on a full backyard pumpkin patch experience, the effort you put into your DIY pumpkin patch ideas pays off every single time someone stops to take a photo, every time your kids squeal with excitement, and every cozy October evening you spend enjoying what you built.
Start small, build year after year, and watch your homemade patch become the fall tradition your family looks forward to most. Grab your pumpkins, pull out the hay bales, and let’s make this the year your yard becomes the most festive spot on the block.