Last updated: October 21, 2026
Frozen grapes are the easiest no-cook snack you can make, and they taste like tiny sorbet bites straight from the freezer.
This post walks you through the full method in prose, and the recipe card below keeps everything in one place.
How to Make Frozen Grapes Step by Step
Frozen grapes need just three things: dry fruit, a single layer, and at least 2 hours in the freezer.
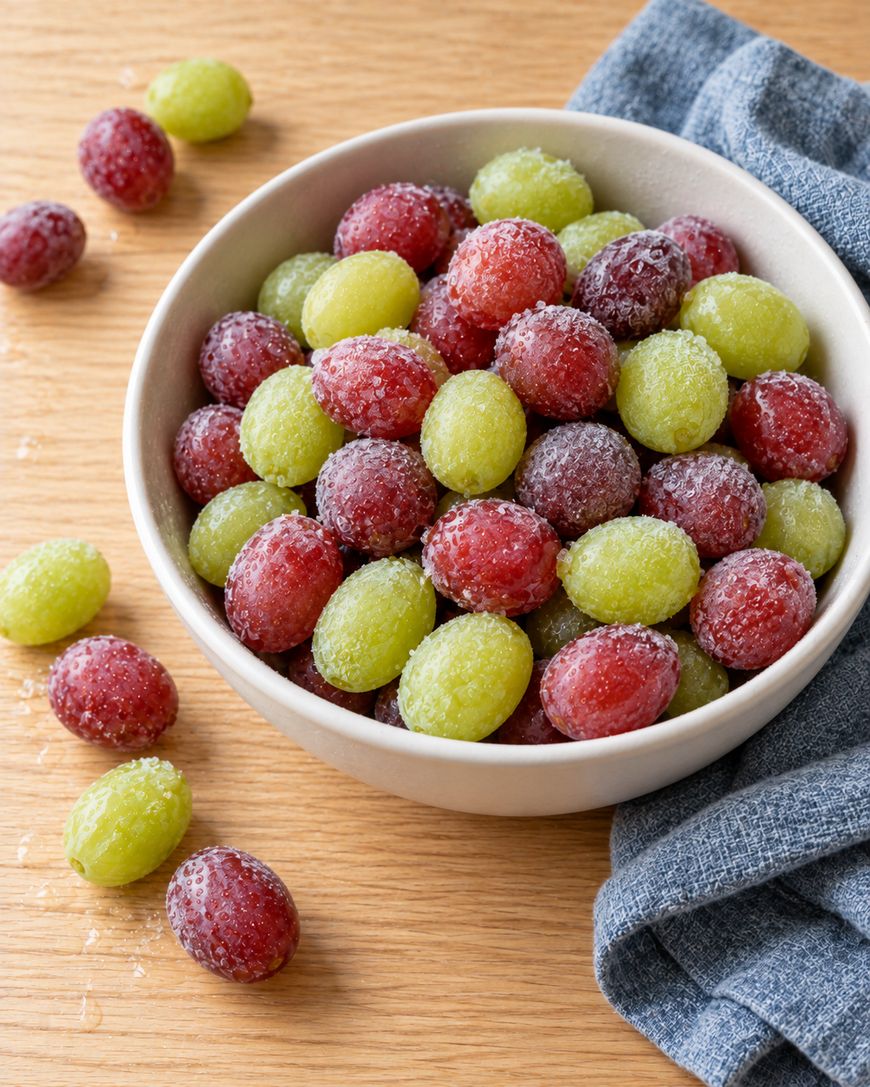
Everything else on this page is a bonus you can take or leave.
Choose the Right Grapes
Start with 2 pounds of seedless grapes, which comes to about 6 cups.
Red, green, or a mix of both all work well, so pick whatever looks plump and tastes sweet at the store.
Freezing dulls sweetness a little, which makes flavor the most important thing to check before you buy. Taste one grape from the bag if the store allows it, and look for firm, smooth skins attached to green, flexible stems.
Thompson, Flame, and Crimson seedless grapes are all reliable choices, and they freeze with a crisp, icy bite.
Wash and Dry Every Grape
Pull the grapes off the stems and toss any that are soft, wrinkled, or bruised.

Rinse the rest in a colander under cold running water, which is the method the FDA recommends for fresh produce.

Drying is the step that decides how your frozen grapes turn out. Spread the rinsed grapes on a clean kitchen towel and pat them until no water beads remain.
Wet grapes freeze with a rough ice crust and stick to the pan, while dry grapes freeze smooth and release easily.

Freeze in a Single Layer
Line a rimmed half sheet pan with parchment paper and arrange the grapes in one layer so none of them touch.

A standard 18 by 13 inch pan holds 2 pounds of grapes comfortably.
Slide the pan into the freezer on a flat shelf and leave it for at least 2 hours. The grapes are ready when they feel rock hard all the way through, with a light frosty bloom on the skins.

Bag and Store the Frozen Grapes
Once the grapes are frozen solid, pour them into a freezer-safe zip-top bag or airtight container.
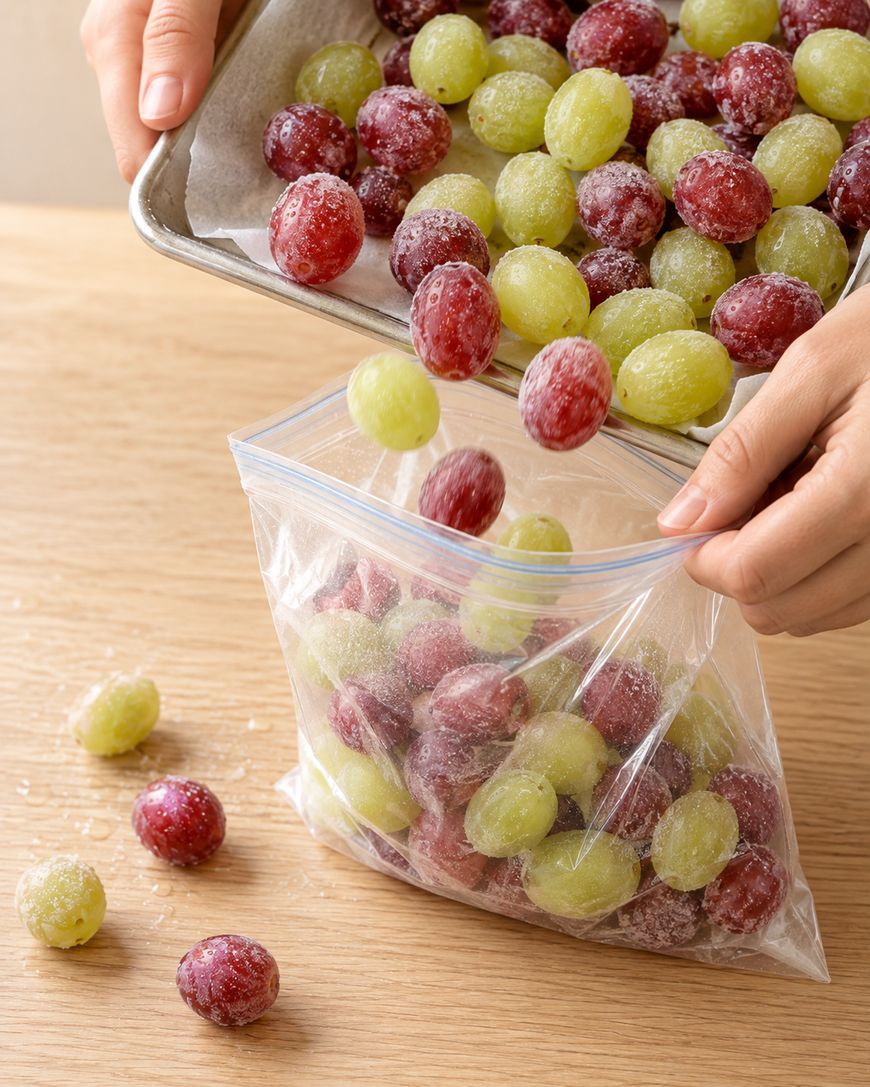
Press out as much air as you can and seal it tightly.
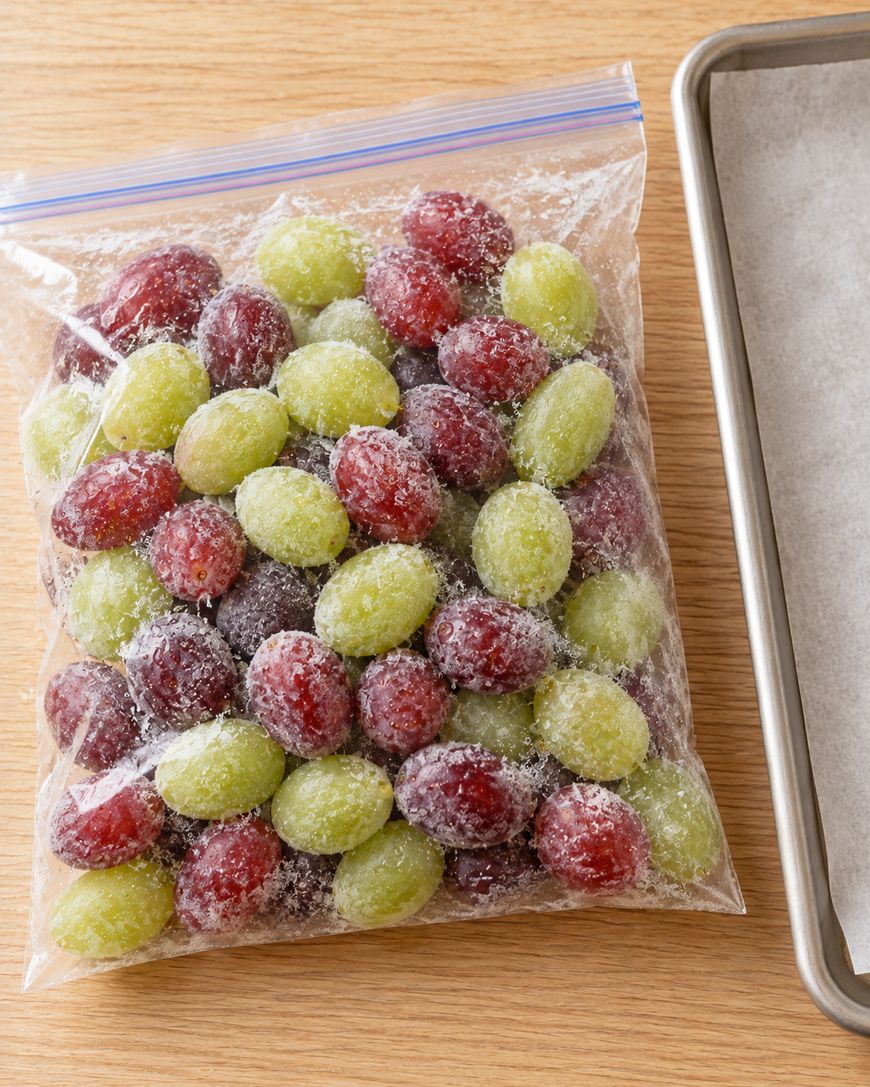
Keeping the grapes loose in the bag means you can scoop out a handful whenever you want. For the best flavor and texture, plan to eat them within 3 months.
Easy Ways to Flavor and Serve Frozen Grapes
Plain frozen grapes are already great, but a few simple add-ons turn them into a snack that feels a little more special.
The card below keeps the recipe to just grapes, so treat every idea in this section as optional.
Lime and Sugar Frozen Grapes
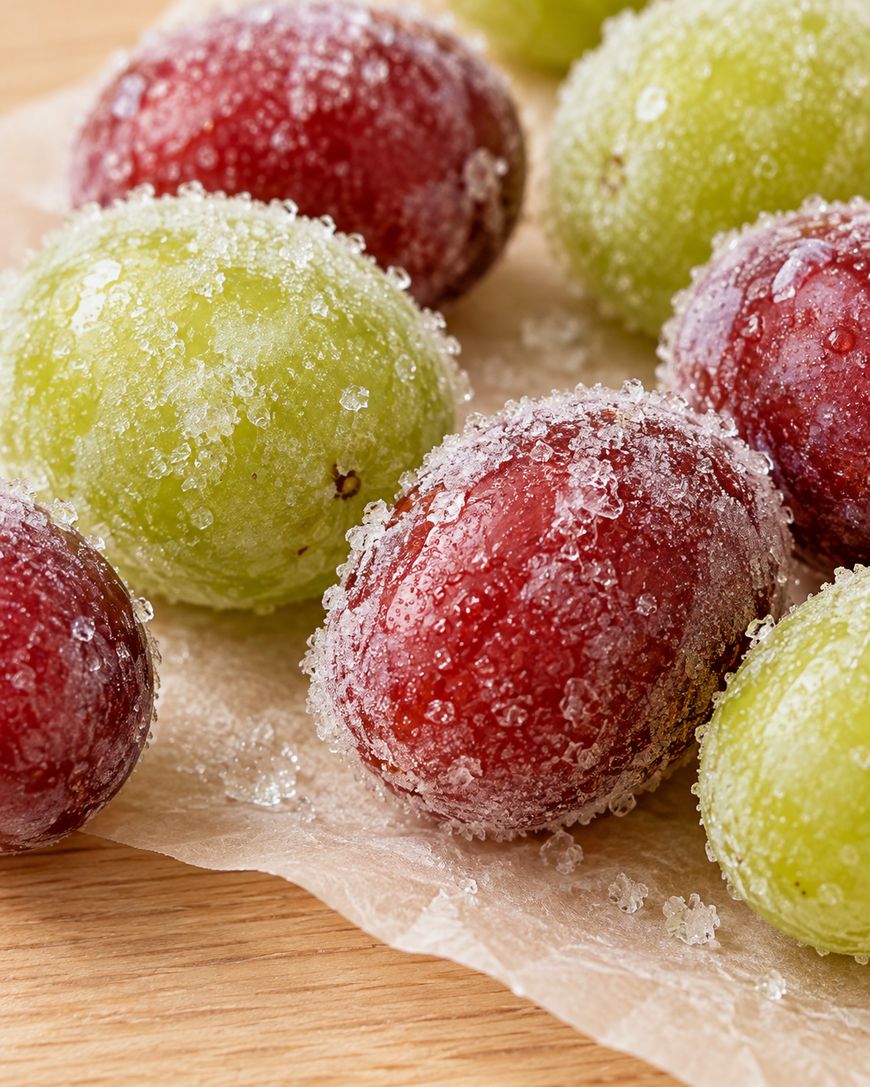
For a sweet and tart version, toss the dry grapes with a squeeze of lime juice and a spoonful of sugar before they go on the pan.

The sugar sticks to the skins and freezes into a thin crunchy shell that tastes a bit like a sour candy.
Chili Lime Frozen Grapes
If you like a savory kick, sprinkle the frozen grapes with a chili lime seasoning blend right before serving.
Adding it after freezing keeps the seasoning from clumping and dissolving into the ice.
Frozen Grapes as Ice Cubes
Frozen grapes make a pretty, flavorful swap for ice in white wine, sparkling water, lemonade, and iced tea.
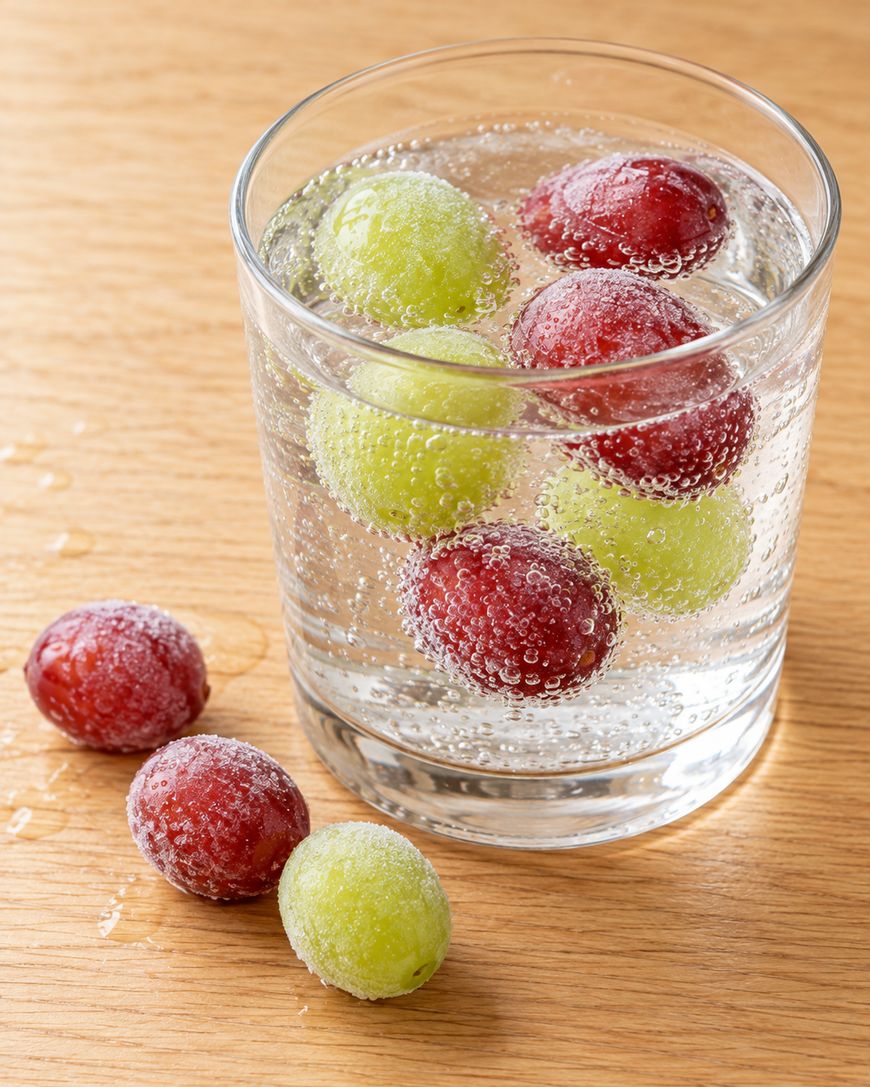
They chill the glass without watering anything down, and you can eat them when the drink is gone.
Frozen Grapes on a Snack Board
A bowl of mixed red and green frozen grapes looks great next to cheese, crackers, and nuts.

They also work well on a summer party table, where they stay cold longer than fresh fruit.
Storage and Make-Ahead Tips for Frozen Grapes
Frozen grapes are one of the easiest make-ahead snacks because they need no thawing and no cooking.
You can freeze a batch on the weekend and have a ready snack for the next 3 months.
Always freeze the grapes on the pan first, then bag them. Skipping that step leaves you with one solid clump that is nearly impossible to separate.
Label the bag with the date so you know when it is time to start a fresh batch.
If ice crystals build up inside the bag, it usually means moisture got in at some point. The grapes are still safe to eat, but they will taste a little less crisp and sweet.
Serve frozen grapes straight from the freezer, or let them sit on the counter for about 1 minute if you prefer a slightly softer bite.
Who Should Skip Frozen Grapes
Whole grapes are a well-known choking hazard for young children, and freezing makes them even harder.
The American Academy of Pediatrics advises keeping round, firm foods like whole grapes away from children under 4 and cutting them into small pieces for older toddlers.
Because frozen grapes are rock hard, skip them for young children and offer a softer fruit instead.
Grapes are also toxic to dogs, according to the ASPCA, so keep the bag out of reach of pets and clean up any grapes that roll off the counter.
Where Frozen Grapes Come From
Freezing fruit is one of the oldest kitchen shortcuts around, and grapes are an especially good candidate because they are roughly 80 percent water.
That high water content is what gives frozen grapes their sorbet-like texture.
In recent years, frozen grapes have become a favorite on social media as a fuss-free alternative to candy. The appeal is simple, since the only ingredient is fruit and the only equipment is a pan and a freezer.
Ready to make a batch? Use the recipe card below for the exact amounts and steps.

Frozen Grapes
Frozen grapes are a simple no-cook snack with a crisp, icy bite that tastes like sorbet. Wash, dry, and freeze seedless grapes in a single layer, then bag them for snacking all week.
Ingredients
- 2 pounds seedless red or green grapes (about 6 cups)
Instructions
- Pull the grapes off the stems and discard any that are soft, wrinkled, or bruised.
- Rinse the grapes in a colander under cold running water.
- Spread the grapes on a clean kitchen towel and pat them completely dry until no water beads remain.
- Line a rimmed half sheet pan (18 by 13 inches) with parchment paper and arrange the grapes in a single layer so none of them touch.
- Freeze for at least 2 hours, until the grapes are rock hard all the way through.
- Transfer the frozen grapes to a freezer-safe zip-top bag or airtight container and press out as much air as possible.
- Serve straight from the freezer, or let the grapes sit on the counter for about 1 minute for a slightly softer bite.
Notes
Store frozen grapes in the freezer for up to 3 months for the best flavor and texture. Always freeze them on the pan before bagging so they do not clump.
Optional add-ons that are not part of the ingredient list: toss the dry grapes with a squeeze of lime juice and a spoonful of sugar before freezing, or sprinkle the frozen grapes with chili lime seasoning just before serving.
Whole frozen grapes are a choking hazard for young children, so skip them for children under 4. Grapes are toxic to dogs, so keep them away from pets.
Nutrition Information:
Yield:
6Serving Size:
1 cupAmount Per Serving: Calories: 104Total Fat: 0.2gSaturated Fat: 0.1gSodium: 3mgCarbohydrates: 27gFiber: 1gSugar: 23gProtein: 1g
Frozen Grapes Questions and Answers
Do you have to wash grapes before freezing them?
Yes. The FDA recommends rinsing fresh produce under running water, and washing before freezing means you can eat the grapes straight from the bag.
Just make sure the grapes are completely dry before they hit the pan.
Why are my frozen grapes sticking together?
Clumping almost always comes from wet grapes or a crowded pan.
Dry the fruit well and space it out in a single layer so each grape freezes on its own.
How long do frozen grapes last in the freezer?
For the best flavor and texture, eat them within 3 months.
Keep them in a sealed freezer-safe bag with as much air pressed out as possible.
Can you freeze grapes on the stem?
You can, but grapes freeze more evenly and store more neatly once they are off the stems.
Stems also trap water and take up room on the pan, which leads to icy patches and clumps.
Do you need to thaw frozen grapes before eating them?
No. Frozen grapes are meant to be eaten straight from the freezer.
If the bite feels too hard, let them sit on the counter for about 1 minute.
Why This Frozen Grapes Recipe Works
The method is simple because each step solves a specific problem.
Patting the grapes completely dry keeps surface water from turning into a rough ice shell, so the skins stay smooth and crisp.
Freezing them in a single layer on parchment lets every grape harden on its own. That means they pour out of the bag like marbles instead of coming out in a block.
The thin skin of a grape holds the juice in while the water-rich flesh freezes into a firm, icy center. The result is a snack that tastes like sorbet with nothing added at all.
Make a Batch of Frozen Grapes Today
Frozen grapes take about 10 minutes of hands-on work and a couple of hours in the freezer, which makes them one of the simplest snacks you will ever make.
Grab a bag of seedless grapes, wash and dry them well, and get a pan into the freezer tonight so you have a cold, sweet snack waiting tomorrow.