Last updated: October 26, 2026
If you want homemade clay ornaments ideas that look charming and do not take a craft degree, you are in the right place. Below you will find designs for every skill level, plus the tools, finishing tips, and answers to the questions people ask most.
Grab a block of clay and let’s make something worth hanging on the tree.
Homemade Clay Ornaments Ideas to Make First
The best way to begin is with a few simple shapes that need very little equipment. These homemade clay ornaments ideas rely on a rolling pin, a cutter or two, and a straw for the hanging hole.
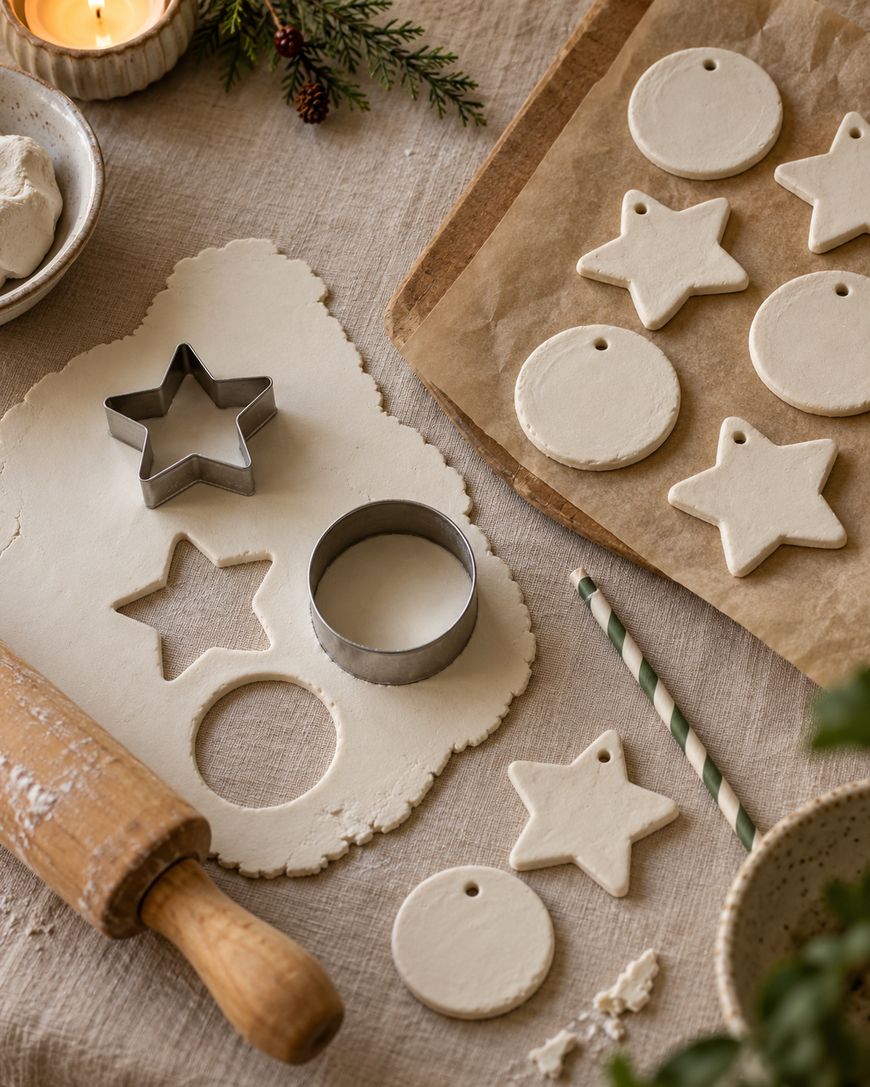
Roll your clay to an even thickness so every ornament dries flat and hangs well. Smooth the cut edges with a fingertip dipped in a little water before you set them aside.
Stamped Winter Rounds
Cut circles with a cup or round cutter, then press a stamp, a button, or a piece of lace into the surface. The pattern leaves a soft raised design that looks like fine ceramic once it is painted white or cream.

Poke a hole near the top before the clay hardens. Try a snowflake stamp for a classic look or a rustic textured button for something more farmhouse.
Pressed Leaf and Botanical Ornaments
Lay a small sprig of pine, rosemary, or a dried leaf on the clay and roll gently over it. Lift the sprig away and you are left with a detailed impression that needs no painting at all.
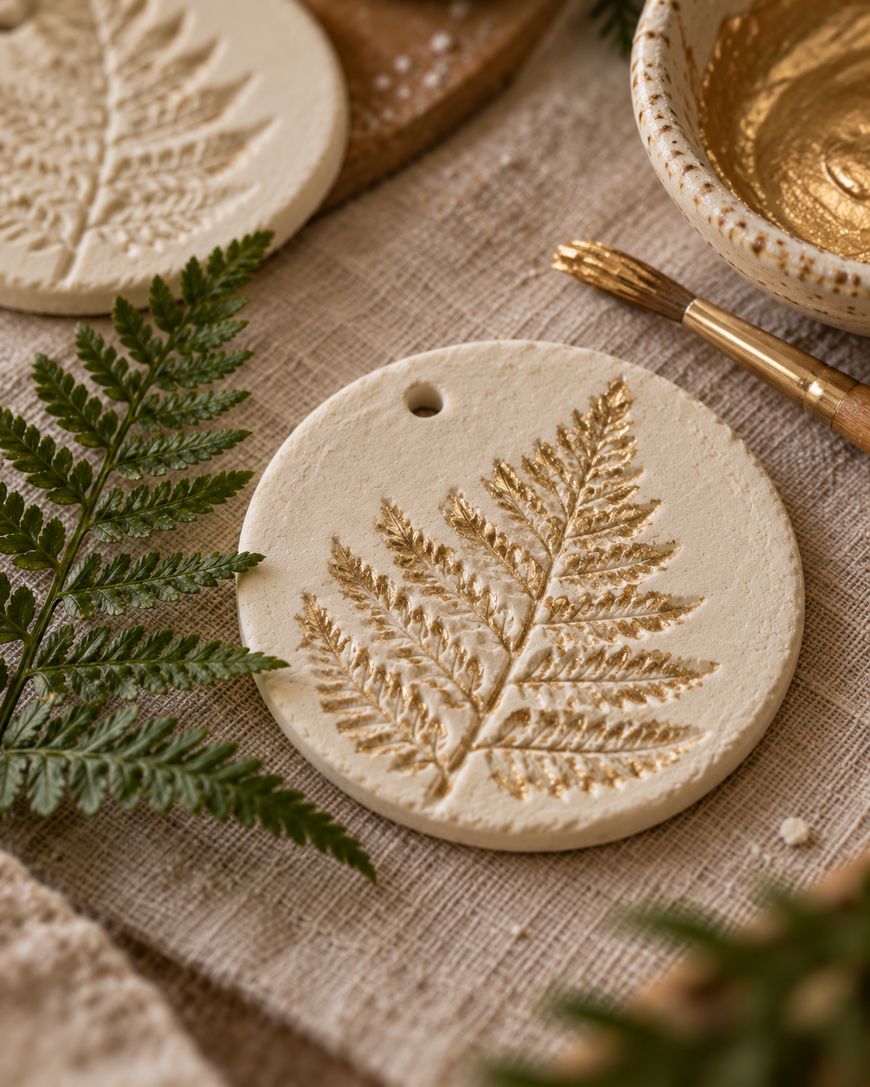
Leave the clay plain for a natural look or brush a little paint over the raised areas. Fern fronds and eucalyptus leaves make especially pretty prints because their shapes are so delicate.
Handprint and Footprint Keepsakes
Press a small hand or foot into a thick round of clay for a keepsake your family will want to pull out every year. Write the name and year on the back once the ornament has hardened.
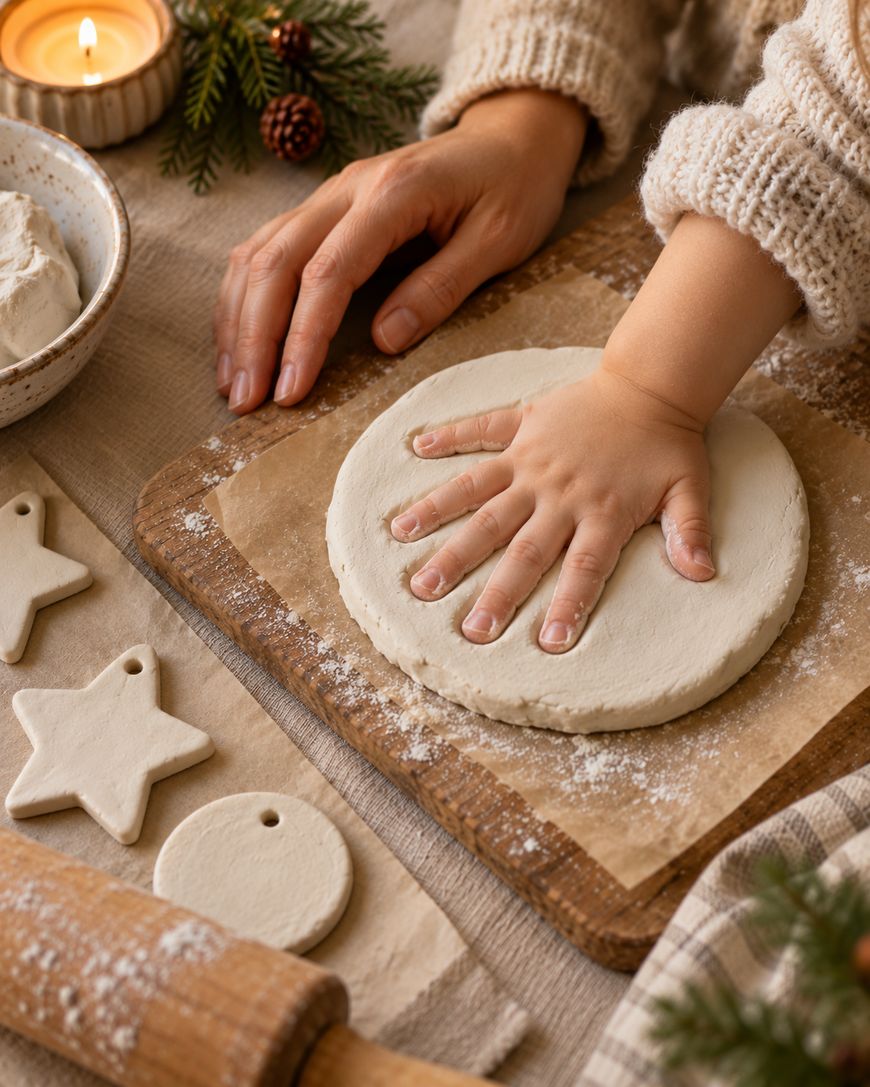
These are wonderful for grandparents and new parents. Always follow the clay package directions for drying or baking, and keep little hands away from the oven.
Mini Clay Houses
Cut a house shape with a small knife or a cutter, then press in windows and a door with the end of a pencil. Add a tiny roof line with a toothpick for extra detail.
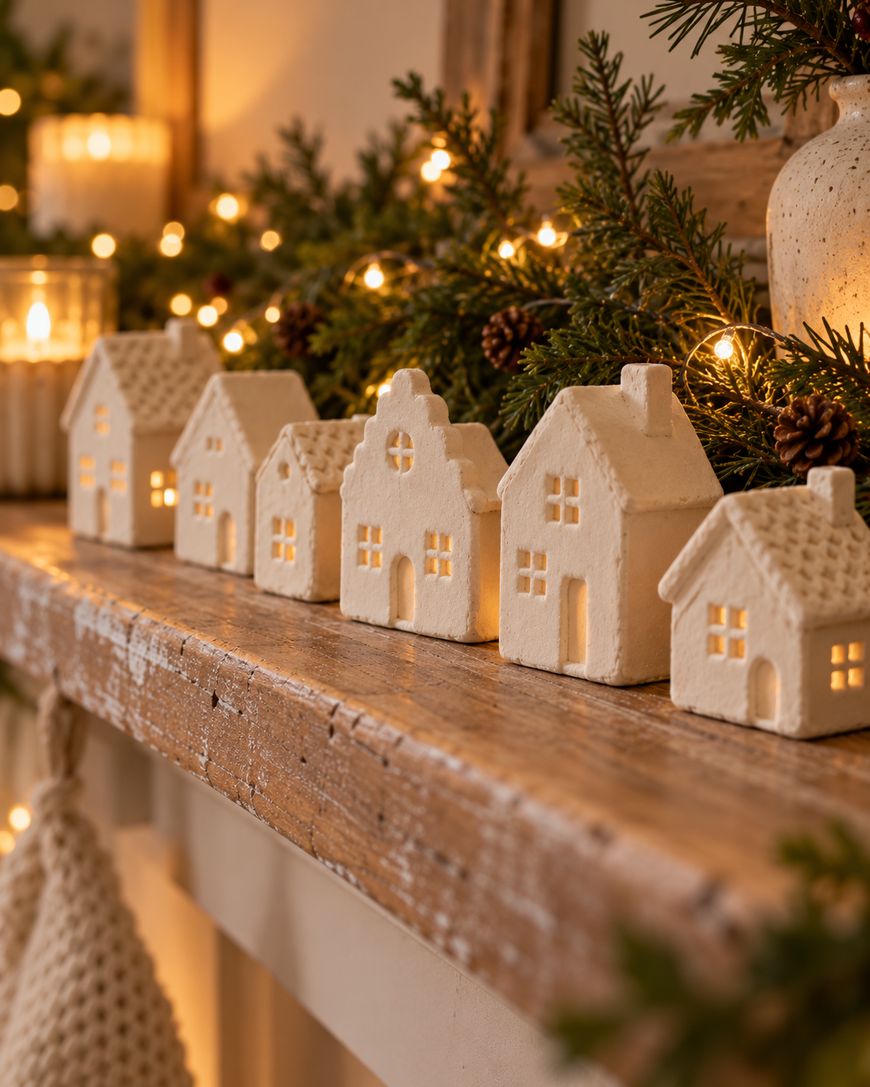
Paint the houses in soft whites and warm neutrals for a snowy village feel. A line of these across a mantel garland looks lovely and costs very little.
Marbled Swirl Ornaments
Twist two or three colors of clay together without fully blending them, then roll the swirl flat. Cut your shapes from the marbled sheet and you have unique ornaments that need no paint.
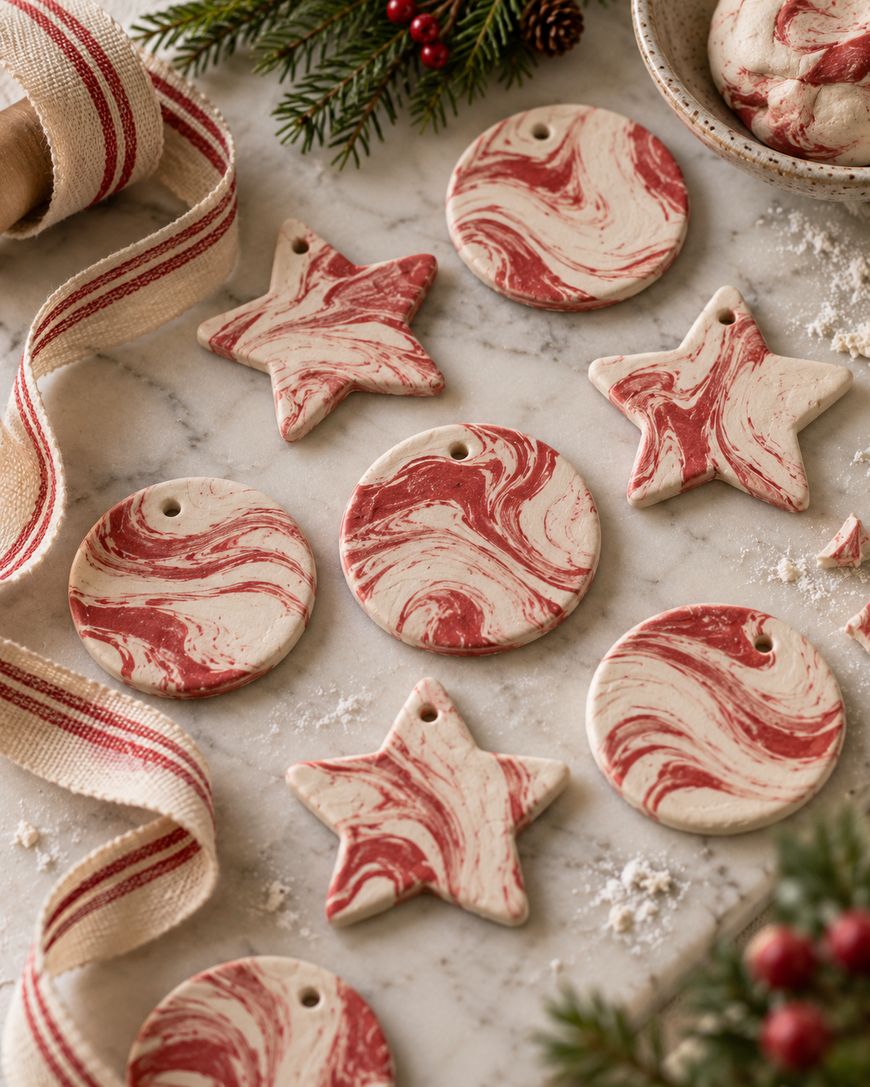
Red and white gives a peppermint look, while green and gold feels like a vintage ornament. Metallic clay mixed with white adds a subtle shimmer.
Choosing the Best Clay for Homemade Ornaments
Not every clay behaves the same way, so it helps to pick one that matches your project and your patience. The three most common options are air dry clay, polymer clay, and a homemade salt dough.
Air dry clay hardens on its own, which makes it a good match for kids and for anyone without much oven space. Polymer clay is baked to harden and holds fine detail, but you need to follow the manufacturer instructions for temperature and time exactly.
Salt dough is the budget option, made from pantry ingredients. It is not food, and it can be harmful to pets, so keep it out of reach of dogs and cats at every stage.
Whichever clay you choose, read the label before you begin. The package is the best source for drying times, baking guidance, and any age or safety notes, and those details vary from brand to brand.
Tools and Supplies for Homemade Clay Ornaments
You do not need a full studio to make clay ornaments, and most of what you need is already in your kitchen or craft drawer. A rolling pin, a set of cookie cutters, and a drinking straw cover the basics.
Parchment paper keeps your work surface clean and stops the clay from sticking. A toothpick or skewer helps with fine details, and a bit of sandpaper smooths rough edges after the ornaments have hardened.
For painting, acrylic craft paint works well on most air dry and baked clays. Soft brushes in a few sizes let you handle both broad coats and tiny details.
For hanging, ribbon, twine, or thin gold cord all look beautiful. Cut your loops a little longer than you think you need so the ornaments sit comfortably on thick branches.
How to Make Homemade Clay Ornaments Step by Step
Start by kneading the clay until it feels soft and smooth. Roll it out on parchment paper to an even thickness, then cut your shapes with a cutter or a knife.
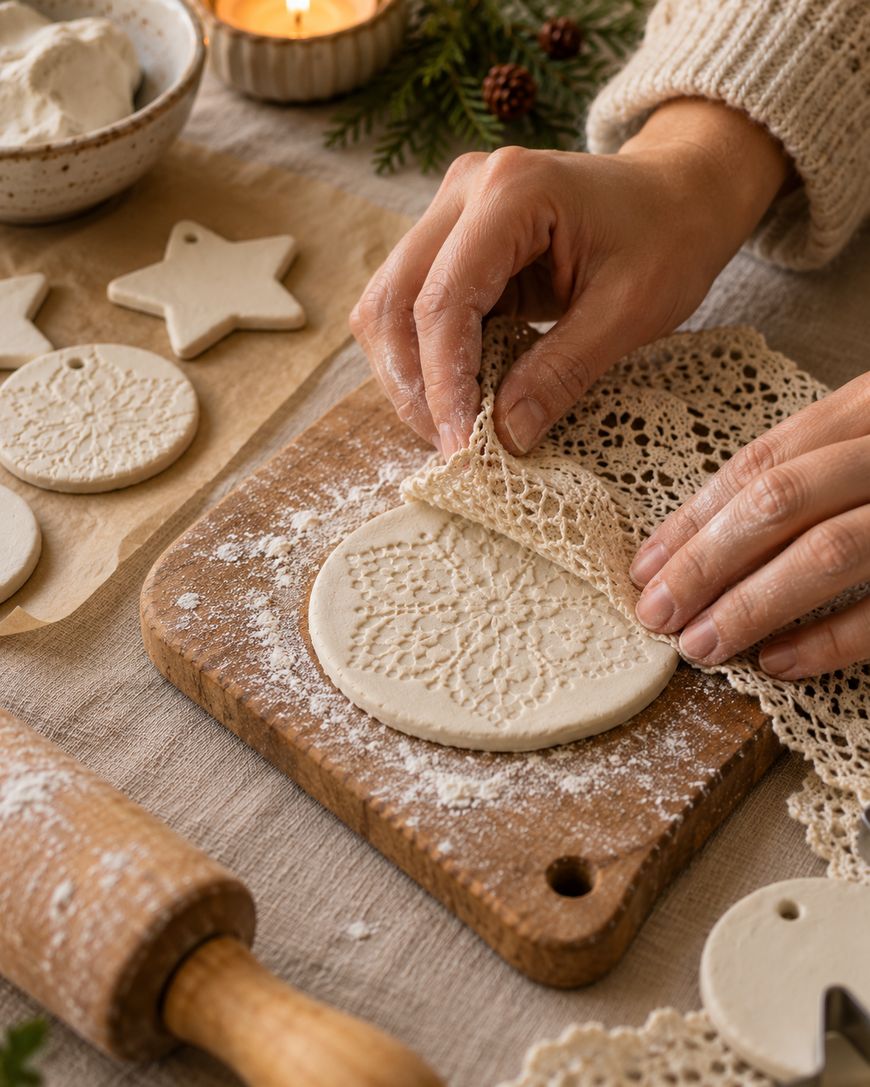
Use a straw to make a hanging hole near the top of each ornament. Add any stamped patterns or pressed leaves while the clay is still soft.
Let the ornaments harden according to the directions on your clay package. Flip them partway through drying so they stay flat and do not curl at the edges.
Once they are fully hardened, sand any rough spots and wipe away dust. Now you are ready to paint, seal, and add ribbon.
Painting and Finishing Ideas for Clay Ornaments
A simple coat of white paint turns stamped clay into something that looks like fine porcelain. Dry brushing a touch of gold over the raised design adds depth with almost no effort.

You can also leave ornaments unpainted and tint them with a light wash of watered down paint. This gives a soft, aged look that fits a cozy cottage tree.
Finish with a clear sealer that is suited to your type of clay so the paint stays put year after year. Check the sealer label for drying times and ventilation advice before you use it.
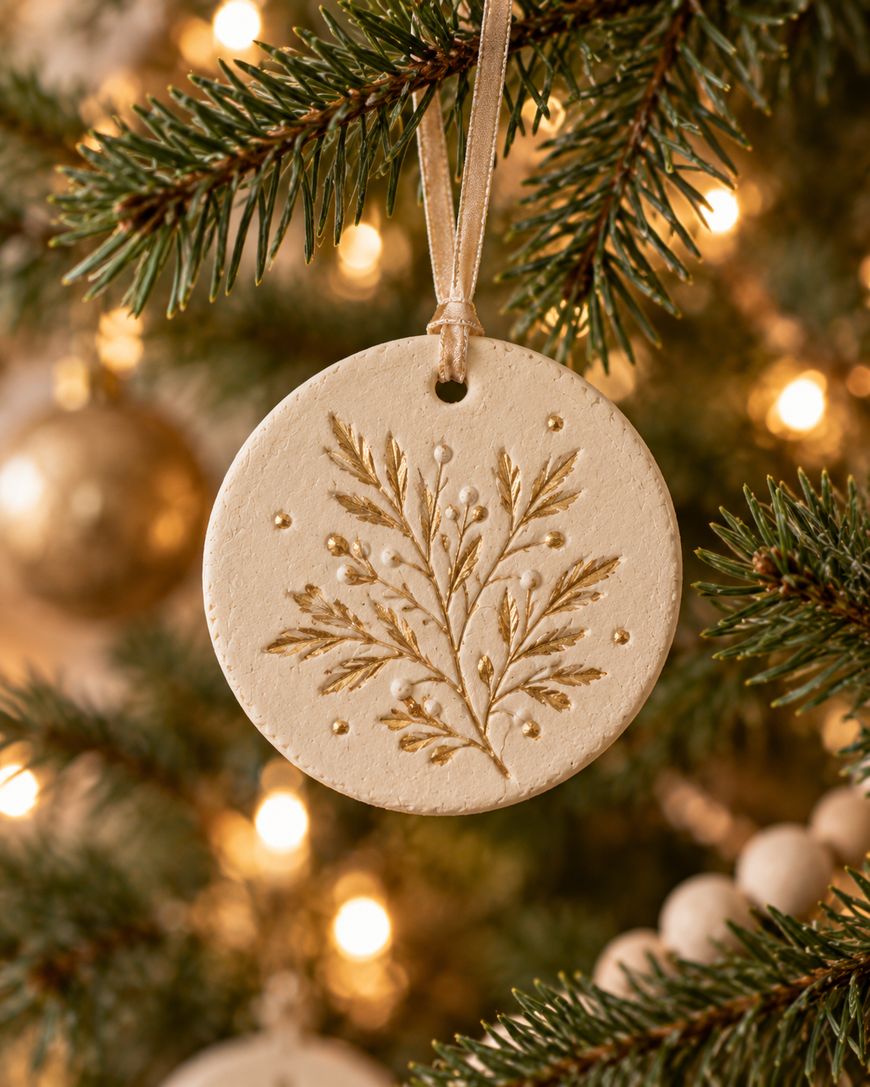
Add a little personality with a ribbon bow, a sprig of faux greenery, or a handwritten name in a fine paint pen. Gold paint pen details on the edges make even the plainest shape feel special.
Why Homemade Clay Ornaments Make Great Keepsakes
Handmade ornaments carry memories in a way that store bought decorations cannot. Every thumbprint and slightly wonky edge tells the story of the afternoon you made it.

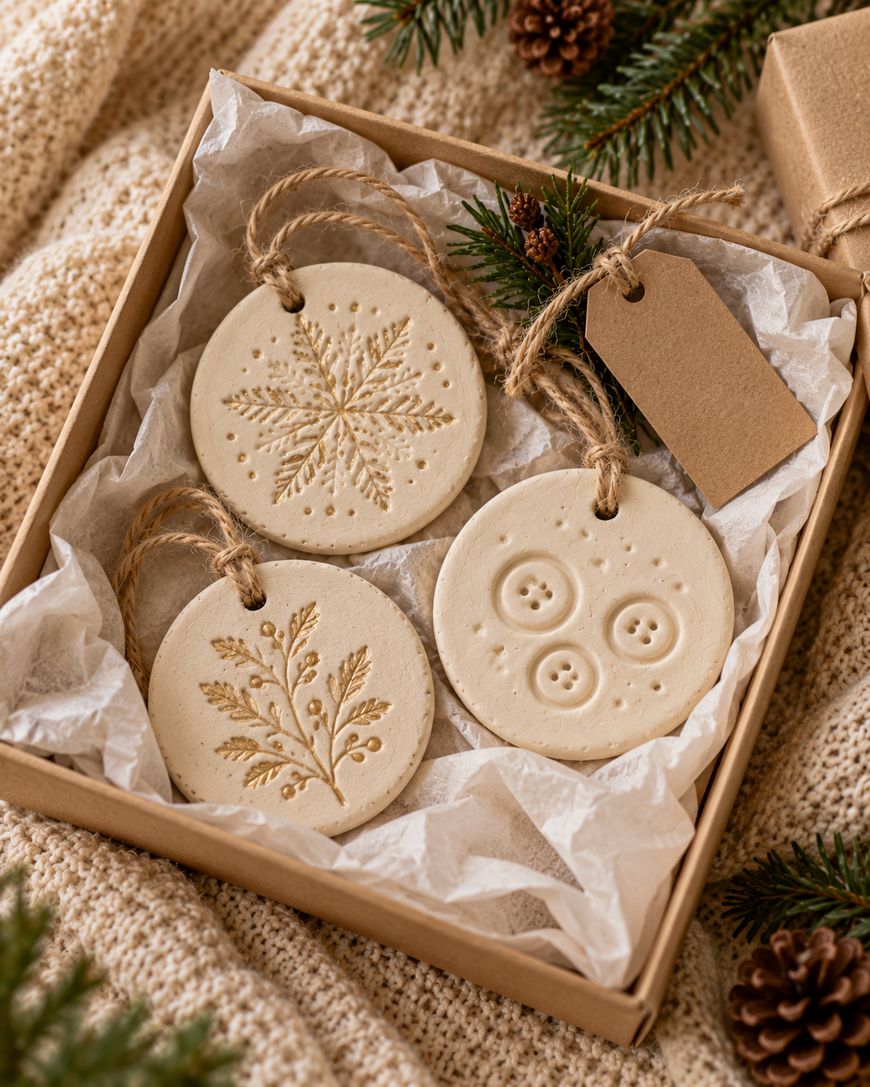
Clay ornaments also make thoughtful gifts. Wrap a few in tissue paper with a note and you have a present that costs very little but feels personal.
Because they are sturdy once hardened, they last for years when stored in a padded box. Many families add a new batch each season until the tree is full of history.

They are also a lovely way to spend time together. Kids, teens, and adults can all enjoy shaping and painting, and the results go straight onto the tree.
Homemade Clay Ornaments Questions Answered
Can kids help make clay ornaments?
Yes, kids usually love rolling, stamping, and painting. Choose a clay labeled for their age, supervise closely, and keep any oven steps for an adult.
How do you hang clay ornaments?
Poke a hole near the top with a straw or skewer while the clay is still soft. Once the ornament has hardened, thread ribbon, twine, or cord through the hole and tie a knot.
Do you need to seal clay ornaments?
Sealing is optional but helpful for painted ornaments, because it protects the color and makes dust easier to wipe away. Use a sealer that matches your clay and follow the label directions.
How do you store clay ornaments?
Wrap each one in tissue or soft paper and keep them in a sturdy box in a dry spot. Avoid damp basements or garages, since moisture can soften some types of clay.
Are salt dough ornaments safe around pets?
Salt dough can be harmful to pets, so keep it out of reach of dogs and cats while it is being made, drying, and hanging on the tree. If you have pets, air dry or polymer clay kept higher on the tree is a safer choice.
Start Your Homemade Clay Ornaments Ideas Today
Now you have plenty of homemade clay ornaments ideas to choose from, whether you love stamped rounds, pressed leaves, or tiny clay houses. Pick one design, gather your supplies, and set aside an afternoon to make a small batch.
Once your first ornaments are on the tree, you will want to try another style. Save this post, share it with a crafty friend, and start shaping your own cozy handmade collection.