Last updated: September 13, 2026
This salt dough recipe turns flour, salt, and water into a craft dough sturdy enough for ornaments, handprint keepsakes, and holiday decorations, and the recipe card below has the exact ratios you need.
Why Salt Dough Is the Best Craft Dough for Keepsakes
Salt dough has been the go-to craft material for handprint keepsakes and ornaments for generations because it uses ingredients already sitting in your pantry.

Unlike air-dry clay or polymer clay, salt dough costs almost nothing to make and dries into a hard, durable surface that holds fine details like fingerprints, cookie cutter edges, and stamped textures.
The salt in the dough acts as a natural preservative, which is part of why salt dough ornaments from decades ago still turn up in family holiday boxes today.
What You Need to Make Salt Dough
You only need three ingredients for classic salt dough: all-purpose flour, table salt, and warm water.
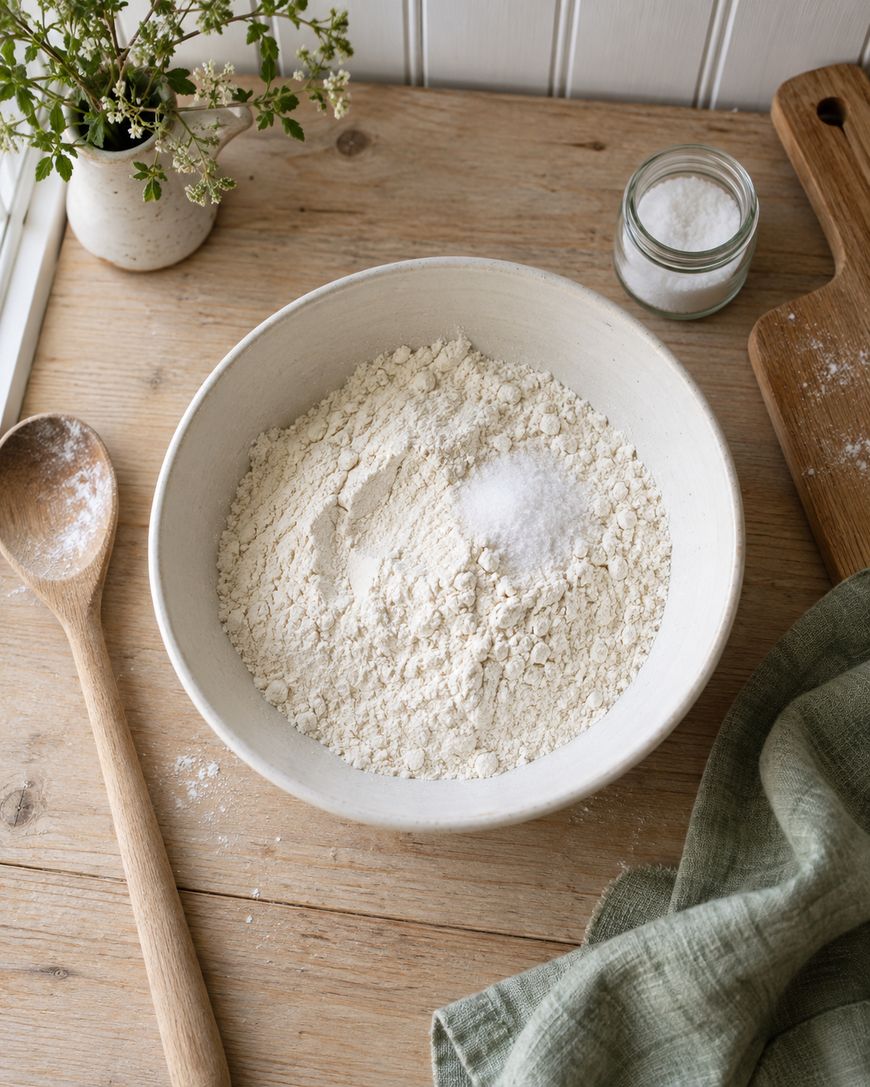
Table salt works better than kosher or sea salt here because its fine grain blends smoothly into the dough instead of leaving a gritty, uneven texture.
Warm water helps the flour and salt hydrate evenly and makes the dough easier to knead into a smooth, pliable ball.
Some crafters add a tablespoon of vegetable oil to the mix for a softer, less crumbly dough, and it’s worth trying if your first batch feels dry.
How to Mix and Knead Salt Dough
Start by whisking the flour and salt together in a large mixing bowl so the salt is distributed evenly before any liquid goes in.
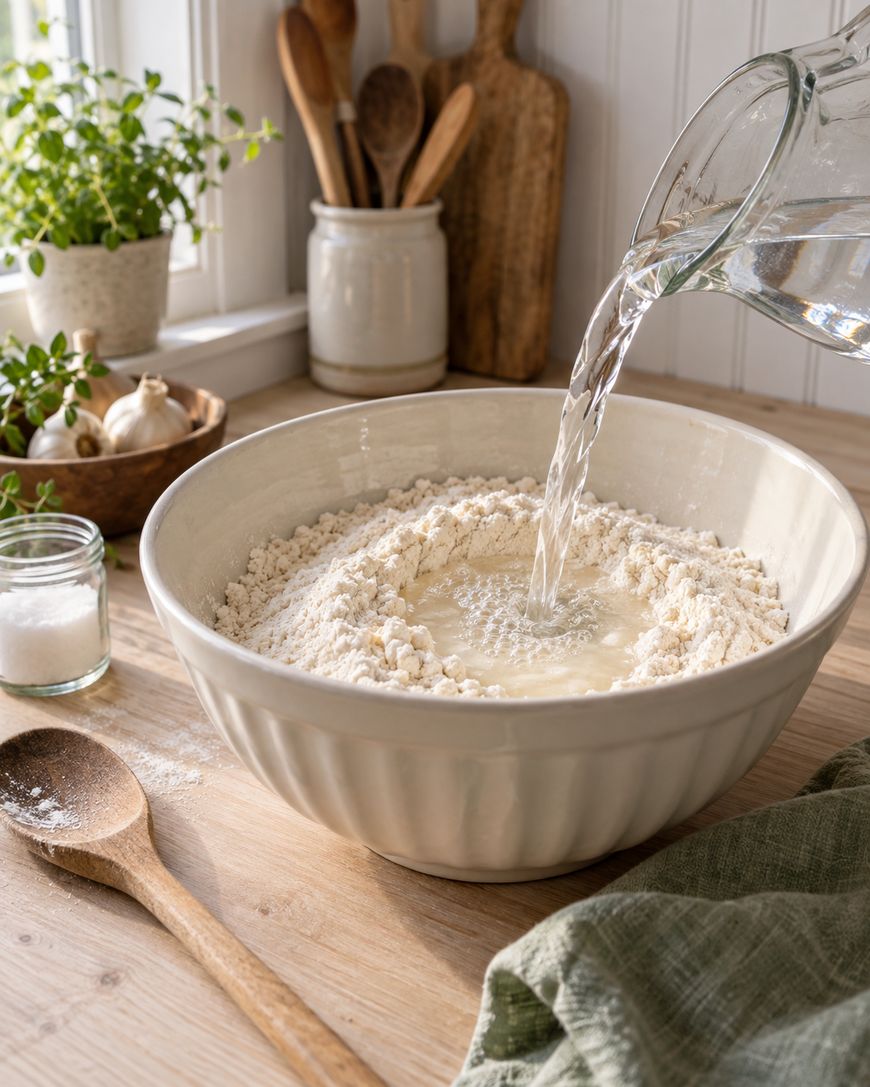
Pour in the warm water gradually, stirring with a wooden spoon or spatula until the mixture starts to clump together into a shaggy dough.
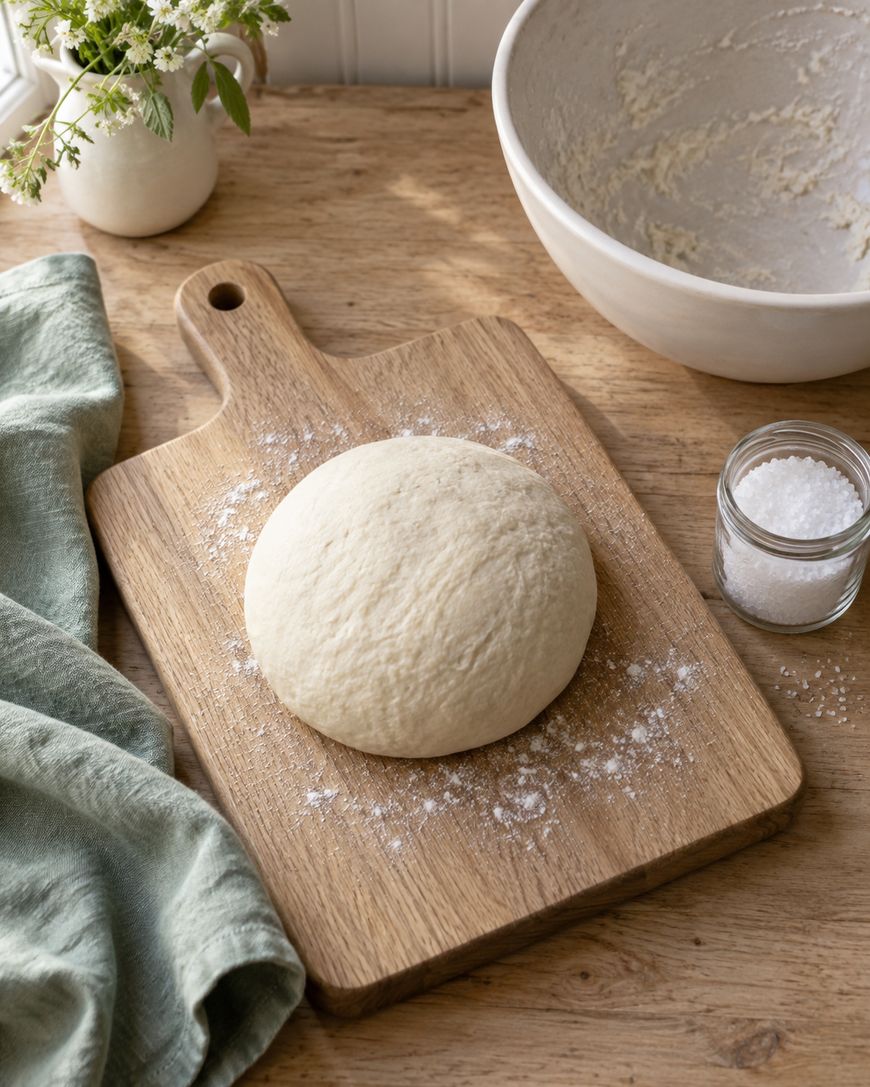
Turn the dough out onto a lightly floured surface and knead it by hand for about five minutes, until it feels smooth, elastic, and no longer sticky.

If the dough feels too sticky, work in a little extra flour a tablespoon at a time; if it feels dry and cracks when you fold it, add water a teaspoon at a time.
The finished dough should feel similar to bread dough, soft enough to shape easily but firm enough to hold its form once you stop working it.
Shaping Salt Dough Ornaments and Keepsakes
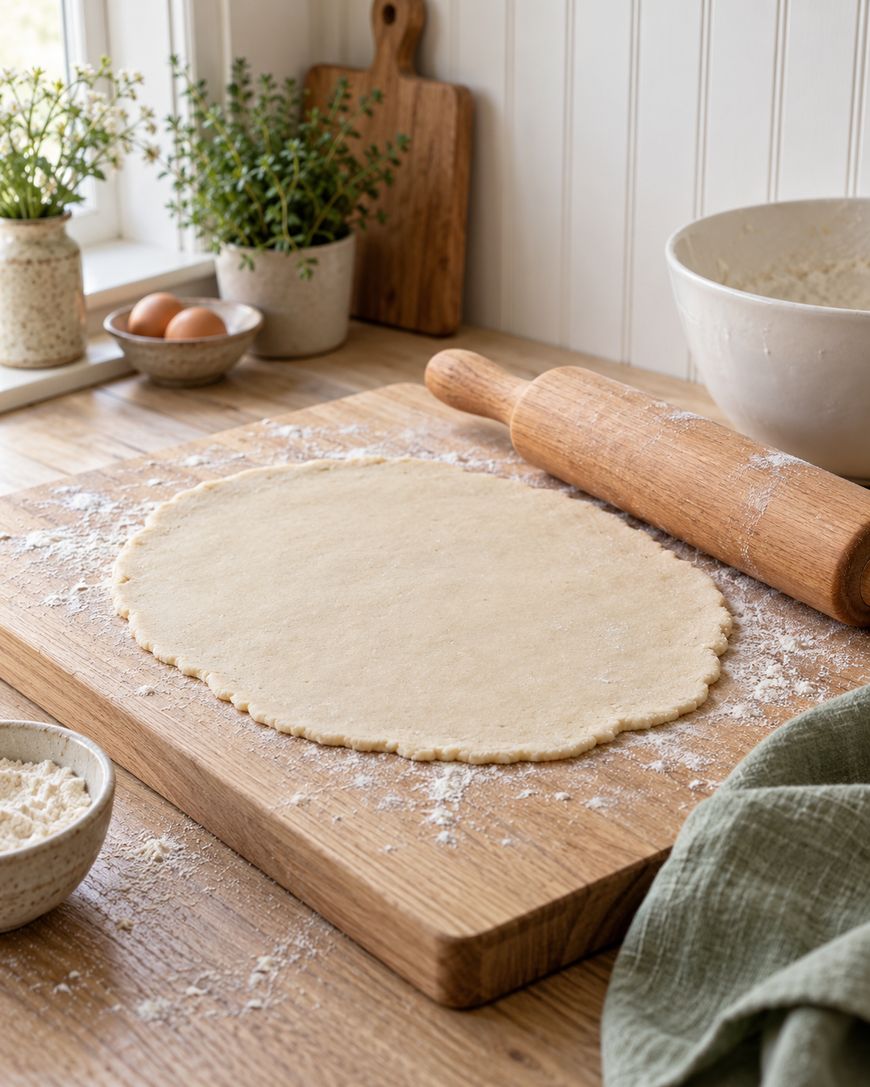
Roll the dough out on a floured surface to about a quarter-inch thickness for ornaments and cookie-cutter shapes, or a bit thicker for handprint keepsakes that need to support the weight of a pressed hand.
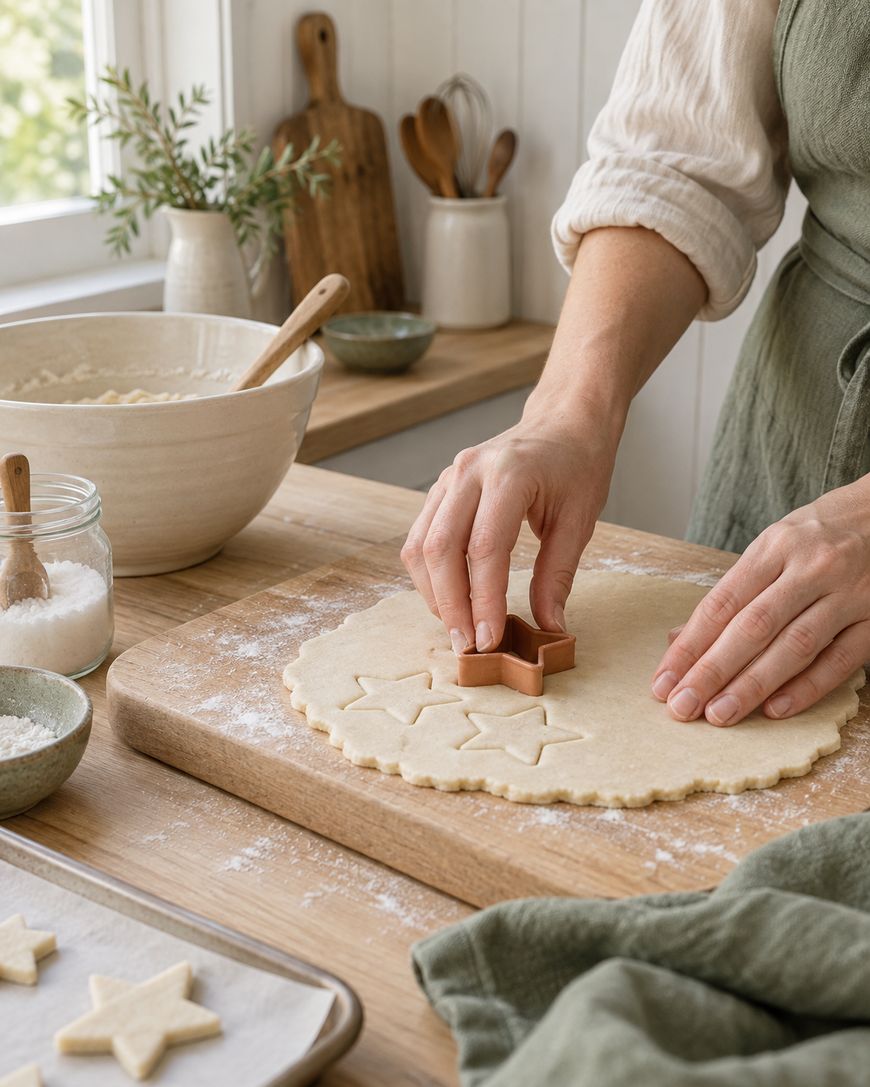
Use cookie cutters for classic ornament shapes, or press a child’s hand or foot firmly into a rolled-out circle of dough for a lasting keepsake.
Always poke a hole near the top of any shape you plan to hang before baking, since the dough hardens completely and cannot be pierced afterward.
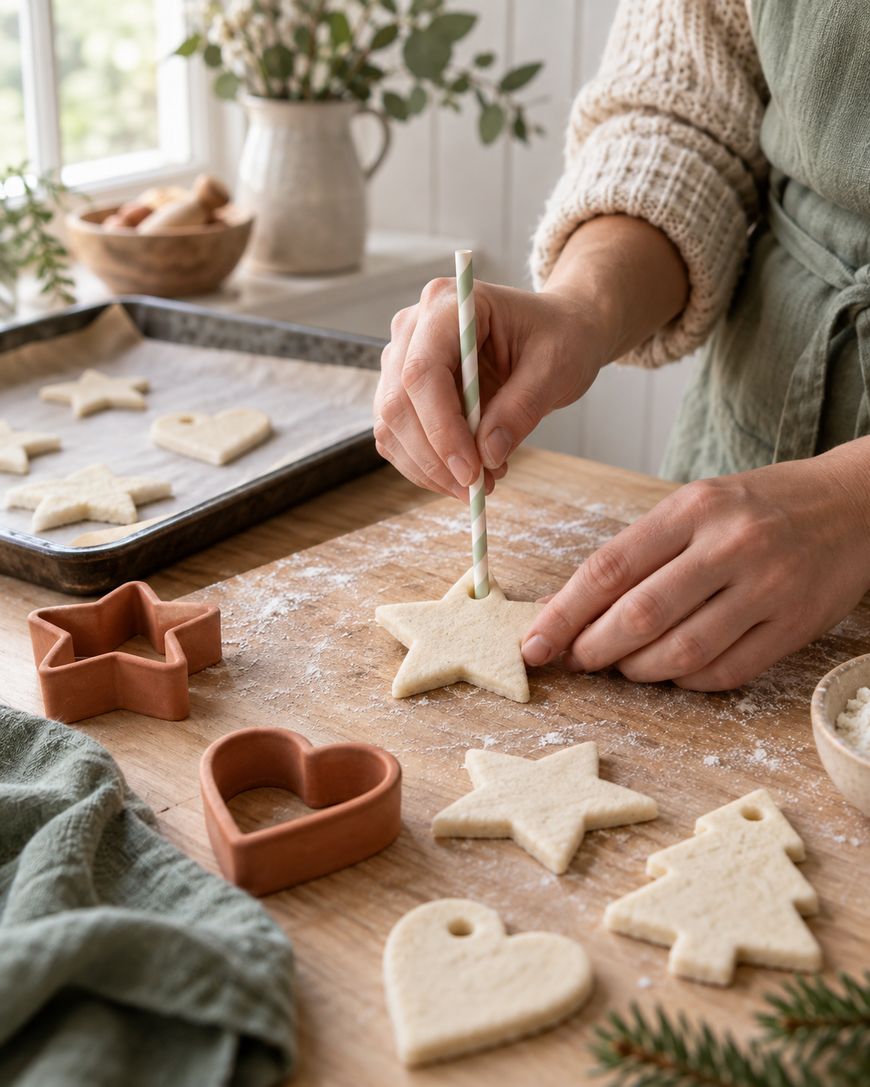
A plastic drinking straw works well for this because it cuts a clean, round hole without distorting the surrounding dough.
How to Bake Salt Dough Until It’s Fully Hardened
Bake your shapes low and slow at 200 degrees Fahrenheit, checking every 30 minutes, since salt dough needs time to dry all the way through rather than just on the surface.

Thin ornaments typically take 2 to 3 hours, while thicker handprint keepsakes can take 4 hours or longer depending on their size.
The dough is done when it feels completely hard and sounds solid when tapped, with no soft or doughy spots underneath.
Flip larger pieces over halfway through baking so both sides dry at an even rate and the piece doesn’t warp.

You can also air-dry salt dough over several days instead of baking it, though baking is faster and gives a more consistent result.
Painting and Sealing Salt Dough Once It’s Dry
Let every piece cool completely to room temperature before painting, since warm dough can cause acrylic paint to bead or crack as it dries.

Acrylic craft paint works best on salt dough because it covers fully in one or two coats and dries with a smooth, even finish.
Once the paint has dried, seal each piece with a matte or gloss craft sealer or a few coats of clear varnish to protect it from humidity.
This sealing step matters more than people expect, since unsealed salt dough will slowly reabsorb moisture from the air and can soften or warp over time.
Storing and Preserving Salt Dough Creations
Store finished, sealed salt dough pieces somewhere dry, since humidity is the biggest threat to their long-term shape.

Wrap ornaments individually in tissue paper before packing them away for the season, the same way you’d store glass ornaments, to prevent chipping.
A sealed piece kept in a dry space can last for many years, which is exactly why so many families still have salt dough ornaments and handprints from their children’s early years.
Salt Dough Variations Worth Trying
Add a few drops of food coloring directly into the water before mixing for pastel-tinted dough that doesn’t need painting at all.
A tablespoon of ground cinnamon mixed into the dry ingredients gives the dough a warm scent and a light brown color, popular for rustic fall and holiday shapes.
For a softer dough that resists cracking during baking, swap in a tablespoon of vegetable oil and reduce the water slightly to keep the consistency the same.
Cornstarch salt dough, made by swapping a portion of the flour for cornstarch, dries with a slightly smoother, whiter finish if you want a more refined look for keepsakes.
Now that you know how the dough comes together, use the recipe card below for exact measurements and step-by-step instructions.

Salt Dough
A simple three-ingredient salt dough for ornaments, handprint keepsakes, and craft projects, made with pantry staples and hardened in a low oven.
Ingredients
- 2 cups all-purpose flour
- 1 cup table salt
- 1 cup warm water
Instructions
- Whisk the flour and salt together in a large mixing bowl until evenly combined.
- Pour in the warm water gradually, stirring until the mixture forms a shaggy dough.
- Turn the dough out onto a floured surface and knead for about 5 minutes, until smooth and elastic.
- Add extra flour a tablespoon at a time if the dough is sticky, or extra water a teaspoon at a time if it feels dry.
- Roll the dough to about 1/4 inch thick for ornaments, or slightly thicker for handprint keepsakes.
- Cut shapes with cookie cutters, or press a hand or foot firmly into a rolled circle of dough.
- Poke a hole near the top of each shape with a straw if it will be hung as an ornament.
- Place shapes on a parchment-lined baking sheet and bake at 200°F, checking every 30 minutes, for 2 to 4 hours depending on thickness, flipping halfway through.
- Bake until completely hard with no soft spots, then let cool fully to room temperature.
- Paint with acrylic craft paint once cooled, then seal with a matte or gloss craft sealer or clear varnish.
Notes
Store finished pieces in a dry place away from humidity; sealed pieces can last for years. Unused raw dough can be refrigerated, tightly wrapped, for up to a week. Not edible.
Salt Dough Questions and Answers
How long does salt dough last once it’s sealed?
Sealed and properly stored salt dough can last for many years without crumbling or losing its shape.
Keeping pieces away from humidity and direct sunlight is the biggest factor in how long they hold up.
Can you eat salt dough?
No, salt dough is a craft material only and should never be eaten, since it’s made with an unusually high ratio of salt and isn’t designed as food.
Keep salt dough away from small children and pets who might be tempted to taste it while it’s still soft.
Why did my salt dough crack while baking?
Cracking usually happens when the oven temperature is too high or the dough is rolled too thin for its shape.
Lowering the oven temperature and baking for a longer stretch of time almost always solves the problem.
Can you air-dry salt dough instead of baking it?
Yes, salt dough can air-dry at room temperature over several days instead of going in the oven.
This method takes longer, often three to five days depending on thickness, but works well if you don’t want to tie up your oven.
Why is my salt dough sticky or too soft to shape?
Sticky dough usually means it needs a little more flour worked in during kneading.
Add flour a tablespoon at a time until the dough feels smooth and holds its shape without clinging to your hands.
Can you save leftover salt dough for later?
Yes, wrap unused dough tightly in plastic wrap and store it in the refrigerator for up to a week.
Let it come back to room temperature and knead it briefly before shaping, since it firms up when chilled.
Why This Recipe Works
This salt dough recipe works because the ratio of flour to salt to water is balanced specifically for a dough that’s easy to knead, holds detail well, and dries hard rather than crumbly.
Using fine table salt instead of a coarser variety keeps the texture smooth enough to press clean handprints and sharp cookie-cutter edges.
Baking low and slow, rather than at a high temperature, dries the dough evenly all the way through instead of hardening only the outer surface while the center stays soft.
That combination is what makes the difference between an ornament that lasts one season and one that survives being unwrapped every year for the next decade.
Give Salt Dough a Try
Salt dough is one of the simplest, most budget-friendly crafts you can make with ingredients already in your kitchen.
Whether you’re making handprint keepsakes, holiday ornaments, or shapes for a rainy afternoon activity, this salt dough recipe gives you a dough that’s easy to work with and built to last.