Last updated: September 13, 2026
Salt dough crafts are one of the easiest ways to make something beautiful with ingredients already sitting in your pantry.
Below, you’ll find the exact recipe, step-by-step shaping methods, and baking tips you need to get a sturdy finished piece on your first try.
By the end of this post, you’ll be ready to turn a bowl of flour and salt into ornaments, keepsakes, and gifts your whole family will love.
The Basic Salt Dough Recipe
Salt dough only needs three ingredients, and you likely already have them on hand.
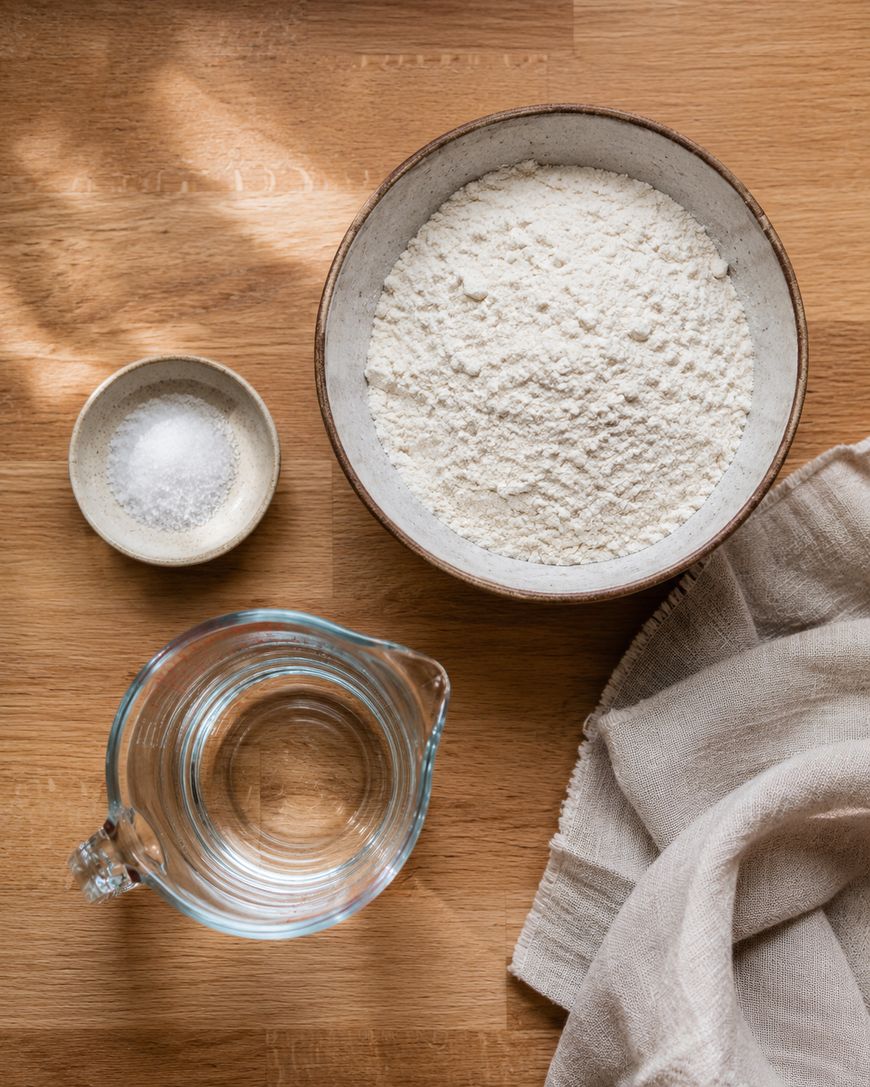
Equal parts recipe is the easiest to remember: 1 cup flour, 1 cup salt, and 1/2 cup warm water.
Ingredients:
- 1 cup all-purpose flour
- 1 cup fine table salt
- 1/2 cup warm water
Steps:
- Combine the flour and salt in a large mixing bowl.
- Slowly add the warm water while stirring with a spoon.
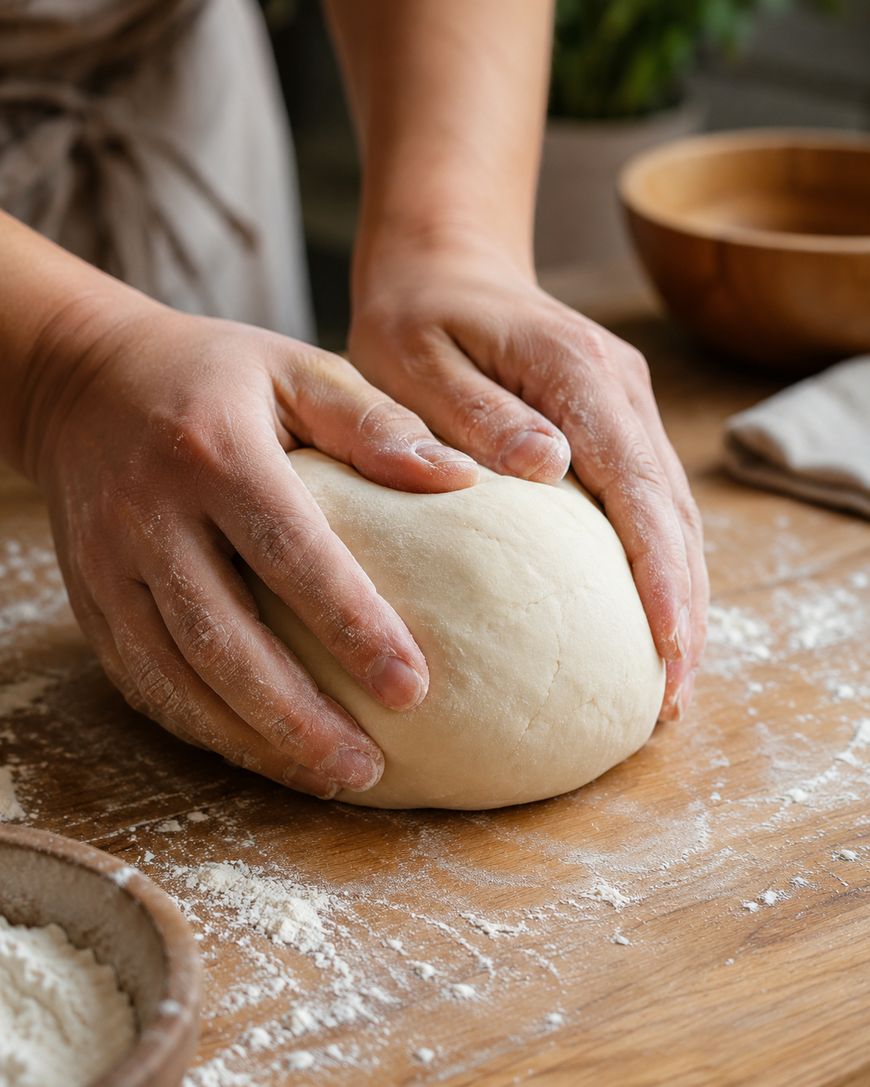
- Once the mixture starts to clump, turn it out onto a floured surface.
- Knead for 8 to 10 minutes until the dough is smooth and no longer sticky.
- Wrap tightly in plastic wrap if you’re not shaping it right away.
The fine salt matters here.
Coarse salt leaves gritty pockets that can crack once the dough bakes, so stick with the fine variety for a smooth finish.
Shaping Your Salt Dough Projects
Once your dough is ready, the shaping stage is where the fun really begins.
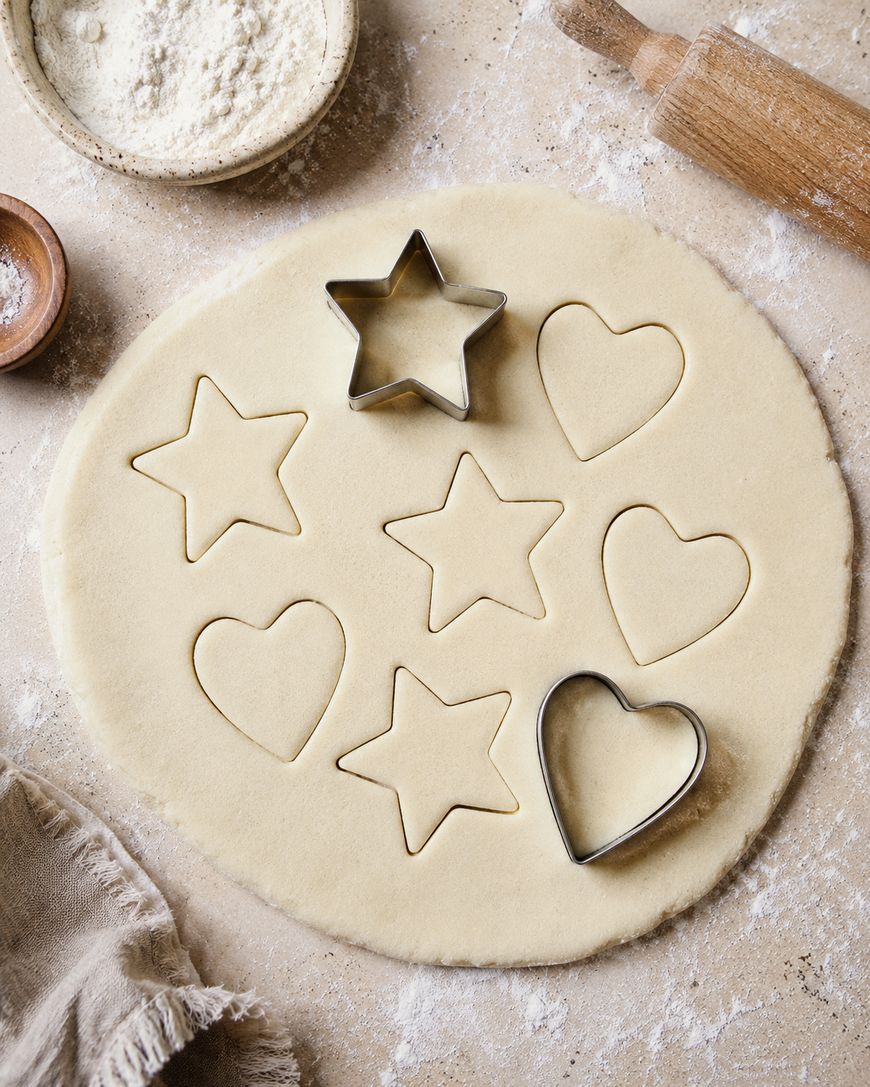
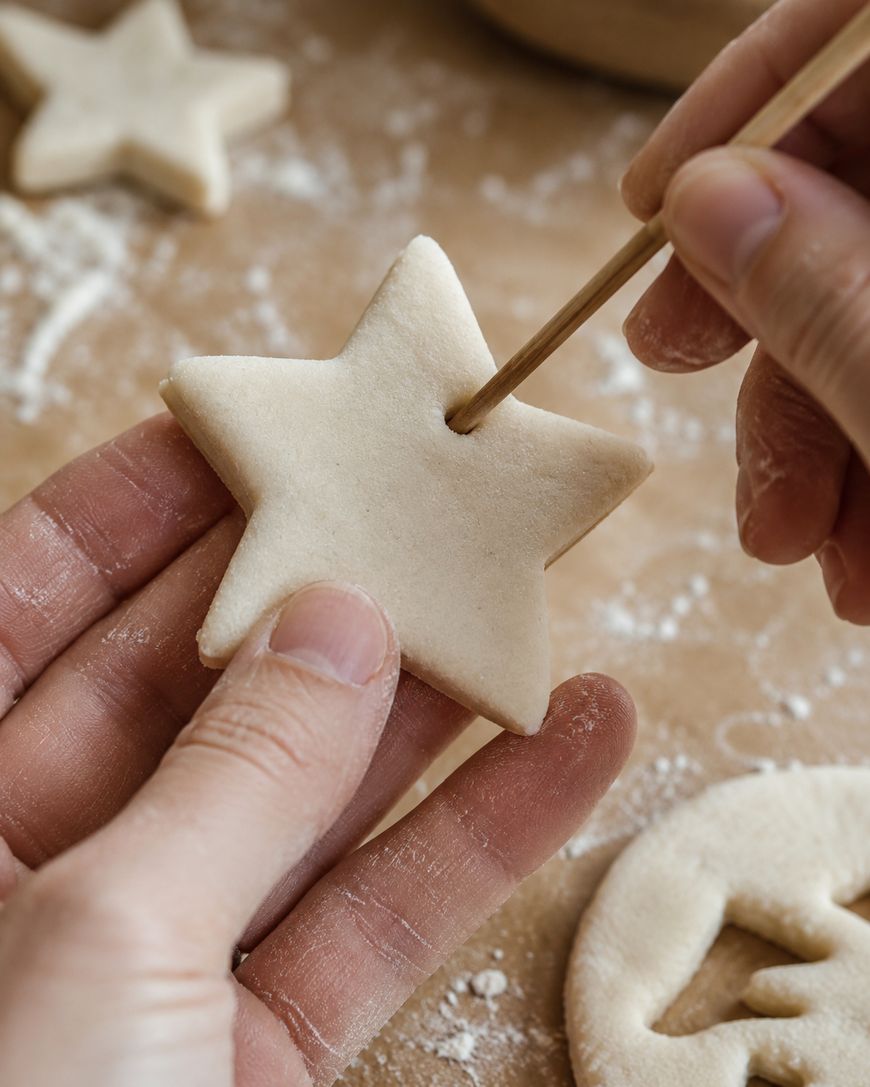
Rolling and cutting works best for flat ornaments and tags.
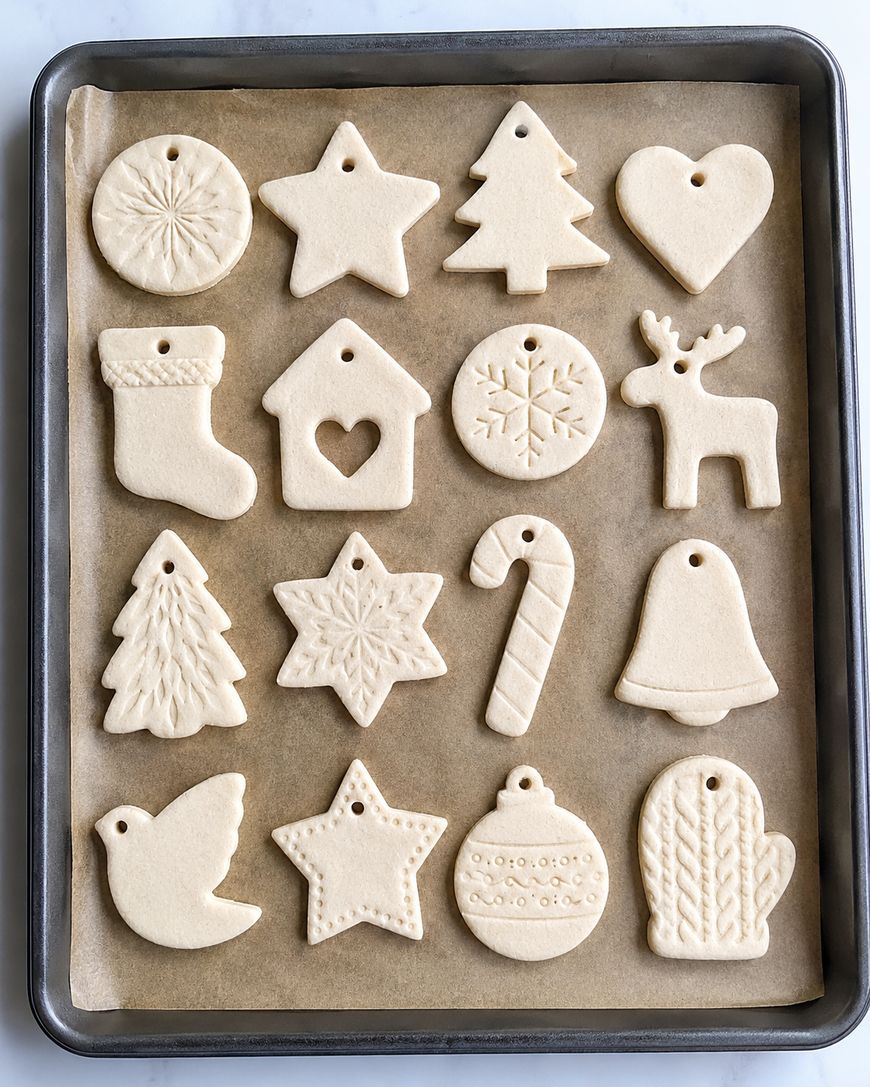
Roll the dough to about a quarter-inch thickness, then use cookie cutters to create shapes like stars, hearts, or trees depending on the season.
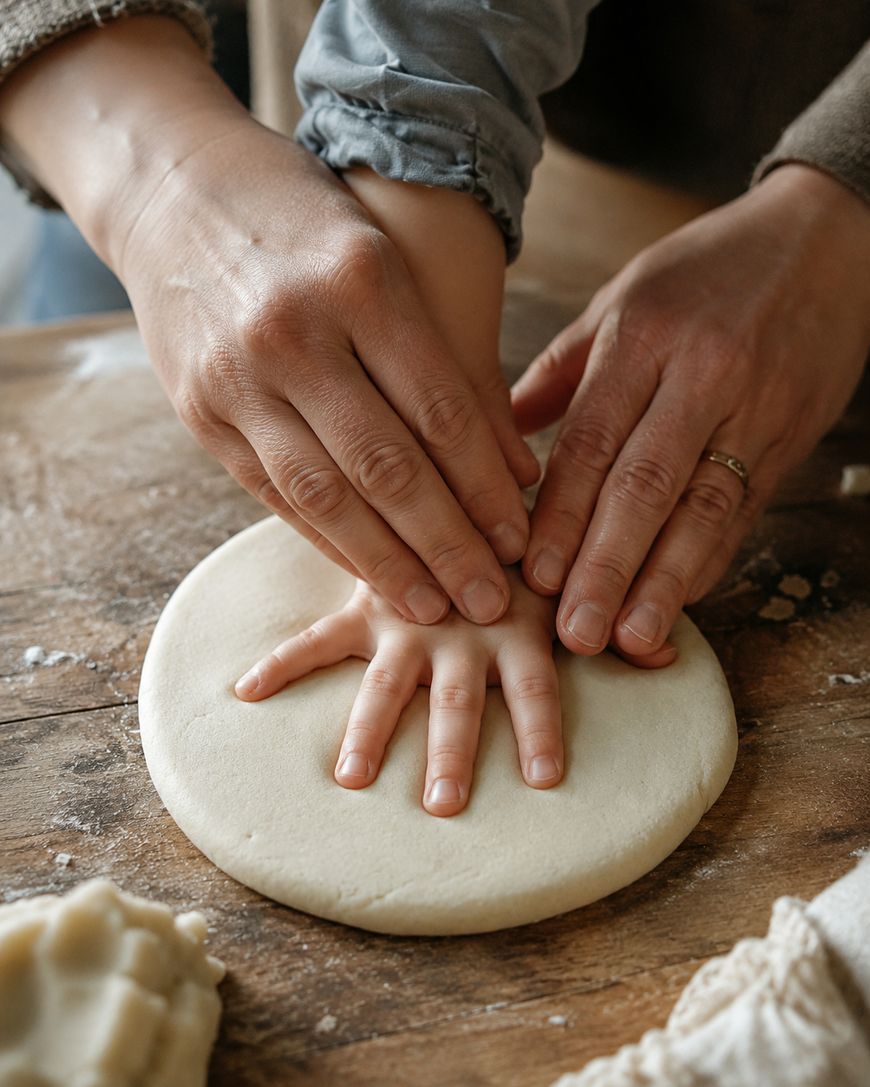
Hand molding is ideal for three-dimensional pieces like handprint keepsakes or little figurines.
Press firmly but gently, since salt dough is more delicate than clay and can tear if handled roughly.
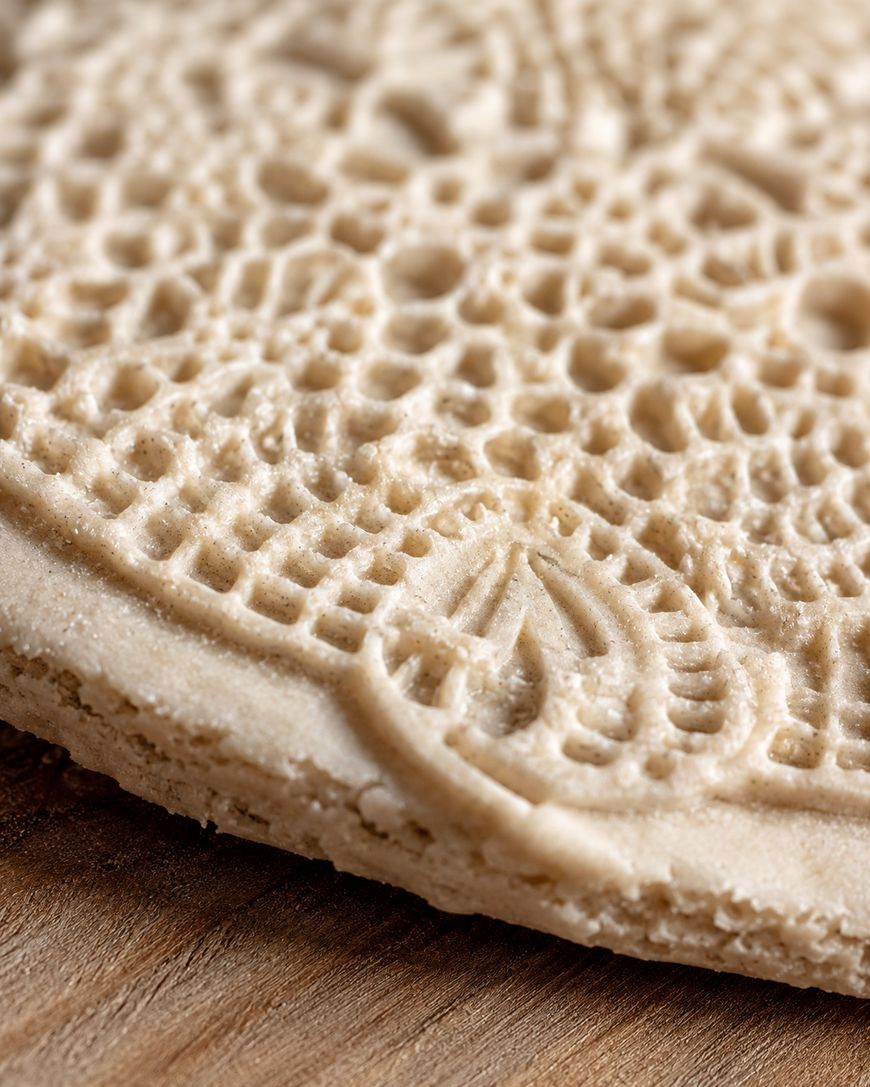
Texture stamping adds detail without extra tools.
Buttons, lace, doilies, and even leaves pressed into the surface leave beautiful imprints that show up clearly after baking.
Always remember to poke a hole near the top of any piece you plan to hang, using a straw or skewer before baking.
The hole will shrink slightly during baking, so make it a bit larger than you think you need.
Baking and Drying Salt Dough
Baking is the step that turns your soft dough into a durable, long-lasting craft.
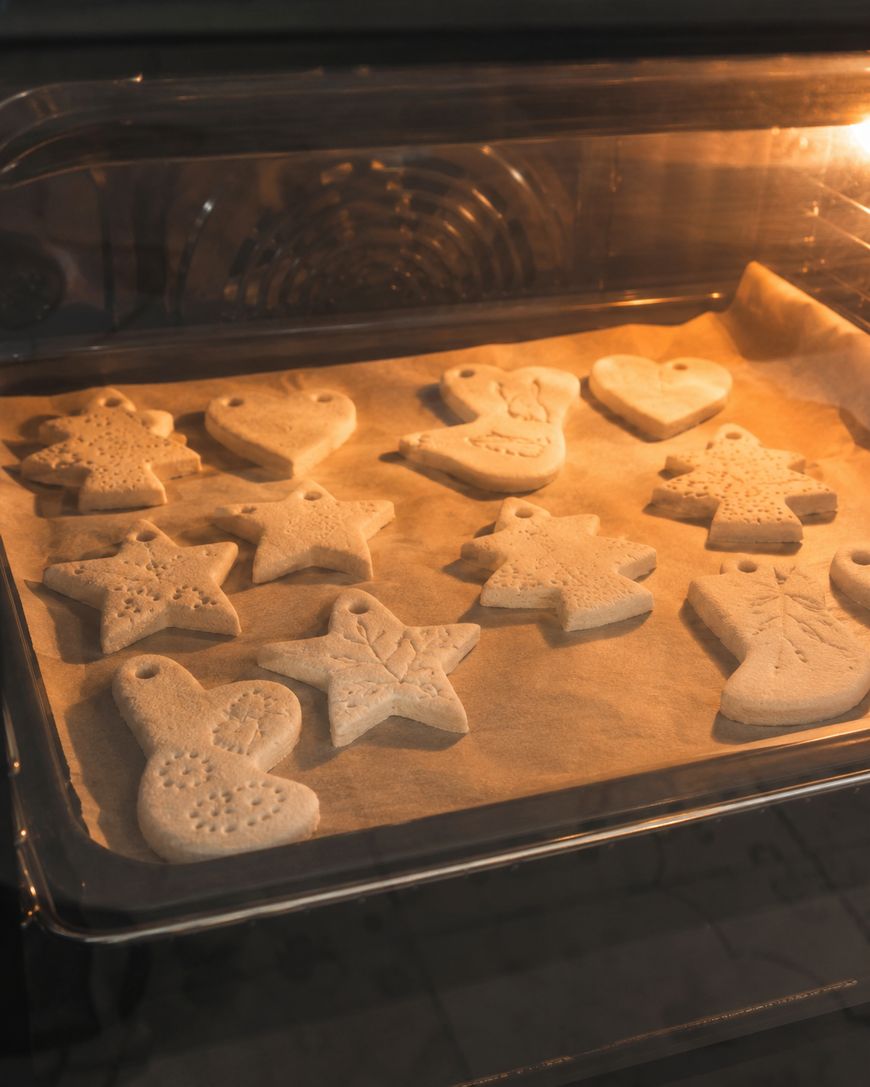
Low and slow is the golden rule for salt dough.
Set your oven to around 200 to 250 degrees Fahrenheit and bake for two to four hours, depending on thickness, flipping the pieces halfway through so they dry evenly.
Thicker pieces, like standing figurines, may need closer to six hours total, checked in stages so they don’t scorch.
Air drying is a slower but gentler alternative.
Leaving pieces out for several days works well for thin, flat shapes, though it takes far longer than oven baking and depends heavily on humidity.
You’ll know a piece is fully dry when it feels rock hard and sounds hollow when tapped, with no soft or cool spots remaining in the center.
Any dough left soft in the middle will eventually crack or mold, so it’s worth the extra hour in the oven to get it right.
Painting and Sealing Finished Pieces
Once your salt dough shapes have cooled completely, painting brings them to life.
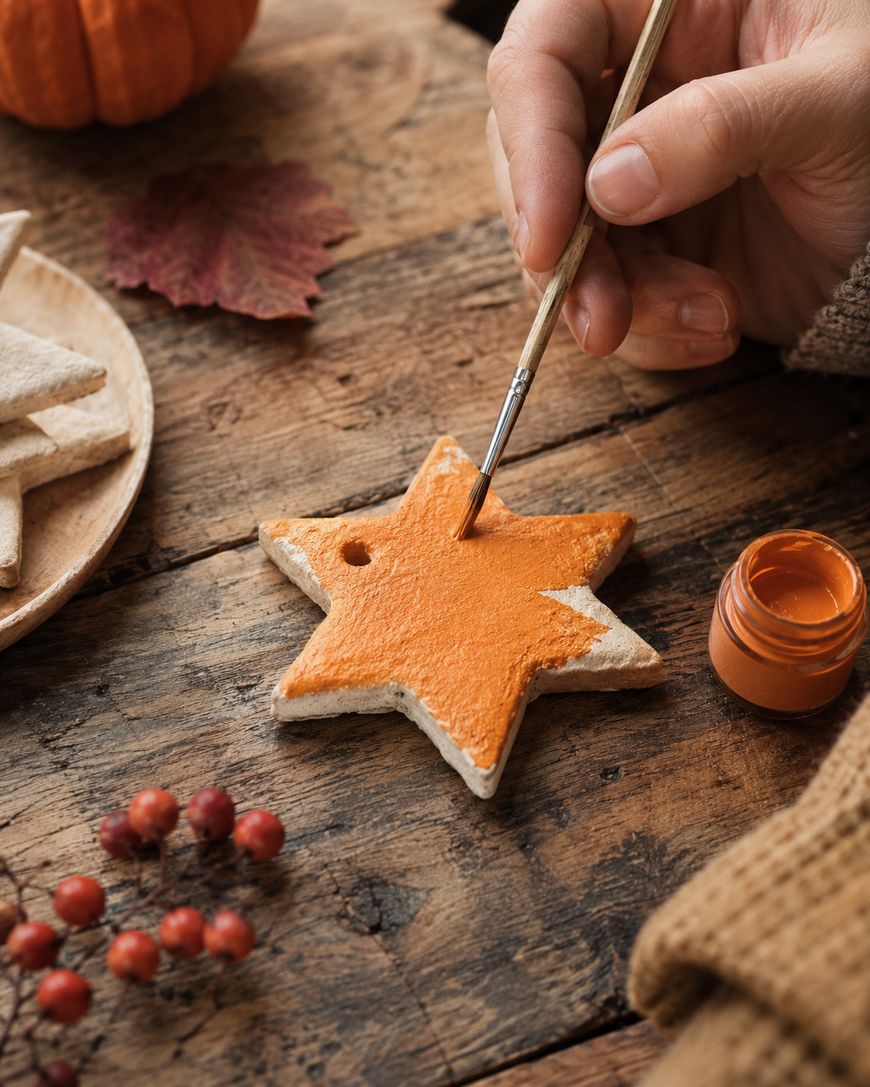
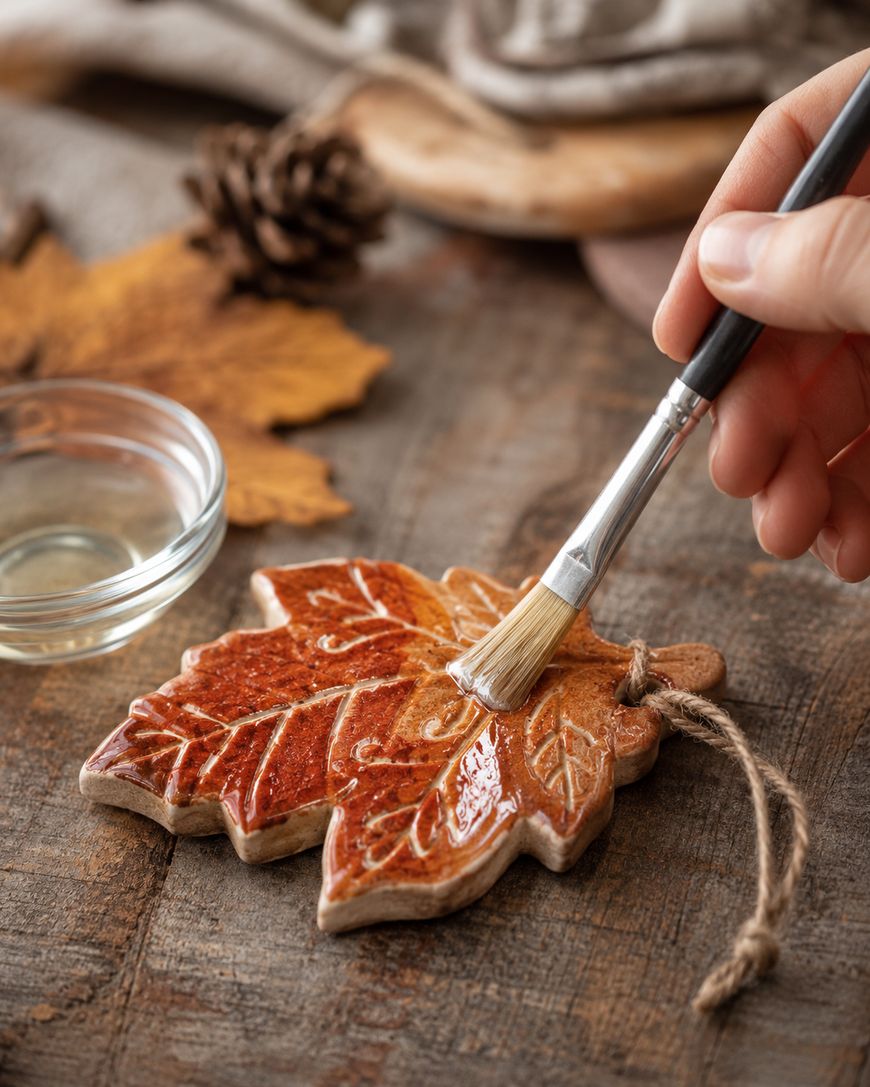
Acrylic paint works best because it dries quickly and holds color well on the porous surface.
Apply a base coat first, let it dry fully, and then add details with a smaller brush for things like faces, patterns, or lettering.
Sealing with varnish protects your finished piece from humidity, which is the biggest enemy of salt dough over time.
A matte or gloss polyurethane sealer, brushed on in two thin coats, keeps ornaments and keepsakes looking fresh for years instead of months.
Skipping this step is the most common reason salt dough crafts start to soften or discolor after a season in storage.
Seasonal Salt Dough Project Ideas
Salt dough adapts easily to whatever holiday or occasion you’re celebrating.
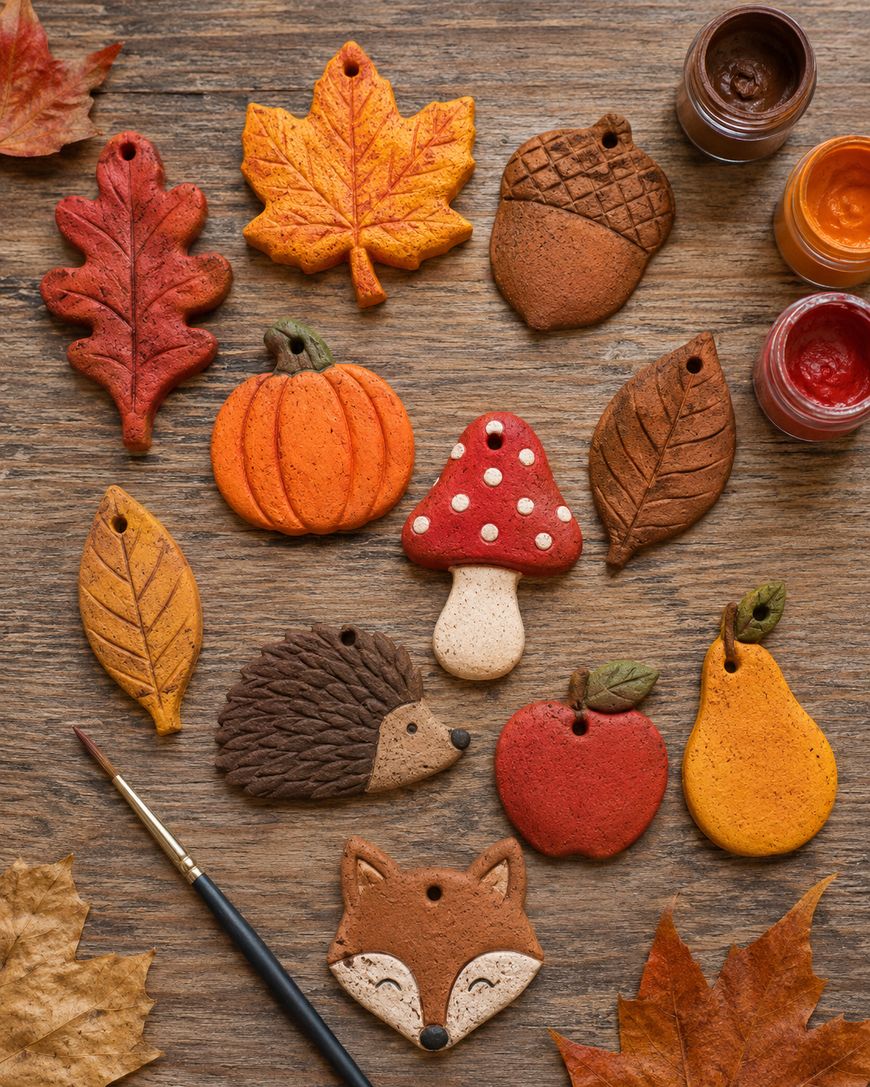
Fall leaf garlands made from pressed leaf shapes and painted in warm oranges and reds bring a cozy touch to any mantel.

Handprint ornaments make treasured keepsakes for grandparents, especially when dated and signed on the back before baking.
Holiday tree ornaments shaped like stars, snowflakes, or gingerbread figures are a classic project for family craft nights.
Personalized gift tags stamped with initials or short words add a handmade touch to wrapped presents.
Because the base recipe never changes, you can reuse it again and again for birthdays, holidays, or a rainy afternoon with the kids.
Why Salt Dough Is a Go-To Craft Material
Salt dough has stayed popular for generations because it’s inexpensive, safe for kids to handle, and endlessly versatile.
Unlike polymer clay or plaster, it requires no special equipment or trip to the craft store, since the ingredients are pantry staples you already own.
It’s also forgiving for beginners, since mistakes can simply be re-rolled and reshaped before baking locks the final form in place.
That combination of accessibility and charm is exactly why salt dough crafts remain a favorite for families looking for a low-cost, high-reward project.
Frequently Asked Questions
How long does salt dough last once it’s finished?
A properly baked and sealed salt dough piece can last for many years if kept away from humidity.
Storing pieces in a dry area and avoiding bathrooms or kitchens will extend their life considerably.
Can salt dough crafts get moldy?
Yes, if the dough isn’t fully dried before sealing, trapped moisture can lead to mold growth inside the piece.
Always check that the center is completely hard before moving on to painting.
Is salt dough safe for young children to use?
Salt dough is non-toxic and generally safe for kids to handle, though it isn’t meant to be eaten due to the high salt content.
Supervise younger children and wash hands after crafting, just as you would with any kitchen project.
Can I speed up the baking process?
Raising the oven temperature too high can cause pieces to bubble or brown instead of drying evenly.
It’s better to extend the low-temperature bake time than to rush it with higher heat.
What’s the best way to store leftover dough?
Wrap unused dough tightly in plastic wrap and refrigerate it for up to a few days before it starts to dry out.
For longer storage, it’s best to shape and bake everything in one session instead.
Can salt dough crafts be painted before baking?
It’s best to wait until after baking to paint, since raw dough can absorb paint unevenly and affect the drying process.
Painting a fully cooled, hardened piece gives you much better color and control.
Ready to Start Your Own Salt Dough Craft?
Salt dough crafts offer an easy, budget-friendly way to create something handmade and lasting with just flour, salt, and water.
Gather your ingredients, pick a shape that fits the season, and give this simple recipe a try this weekend.
Once you see how easy it is to turn a bowl of dough into a keepsake, you’ll be looking for the next occasion to make more.
Looking for more moldable craft ideas? Check out our Air Dry Clay Ideas.
Or turn extra clay into something functional with these Clay Magnet Ideas.
If you need the base dough recipe first, start with this Salt Dough Recipe.