Last updated: April 7, 2026
A good homemade shampoo is shampoo you make yourself using simple, mix-at-home ingredients so you can control what goes on your scalp and hair. If you’re new to DIY beauty, start with a very gentle castile-soap base, dilute it correctly, and only add 1–2 add-ins so you can tell what actually works.
Start with an 8-ounce bottle, make a small batch, and keep notes on your ratio and results so you can adjust without guessing.
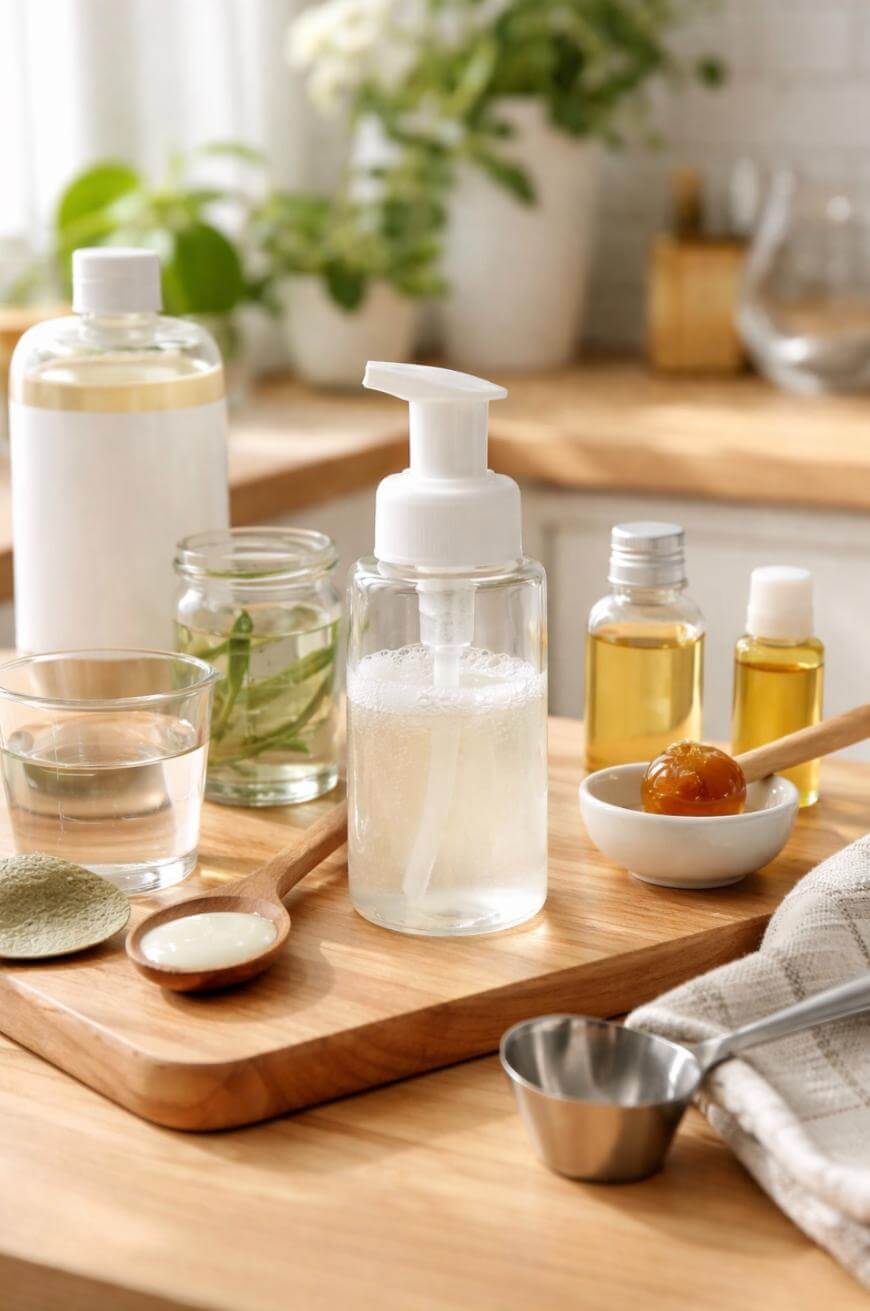
Basic Ingredients For Homemade Shampoo
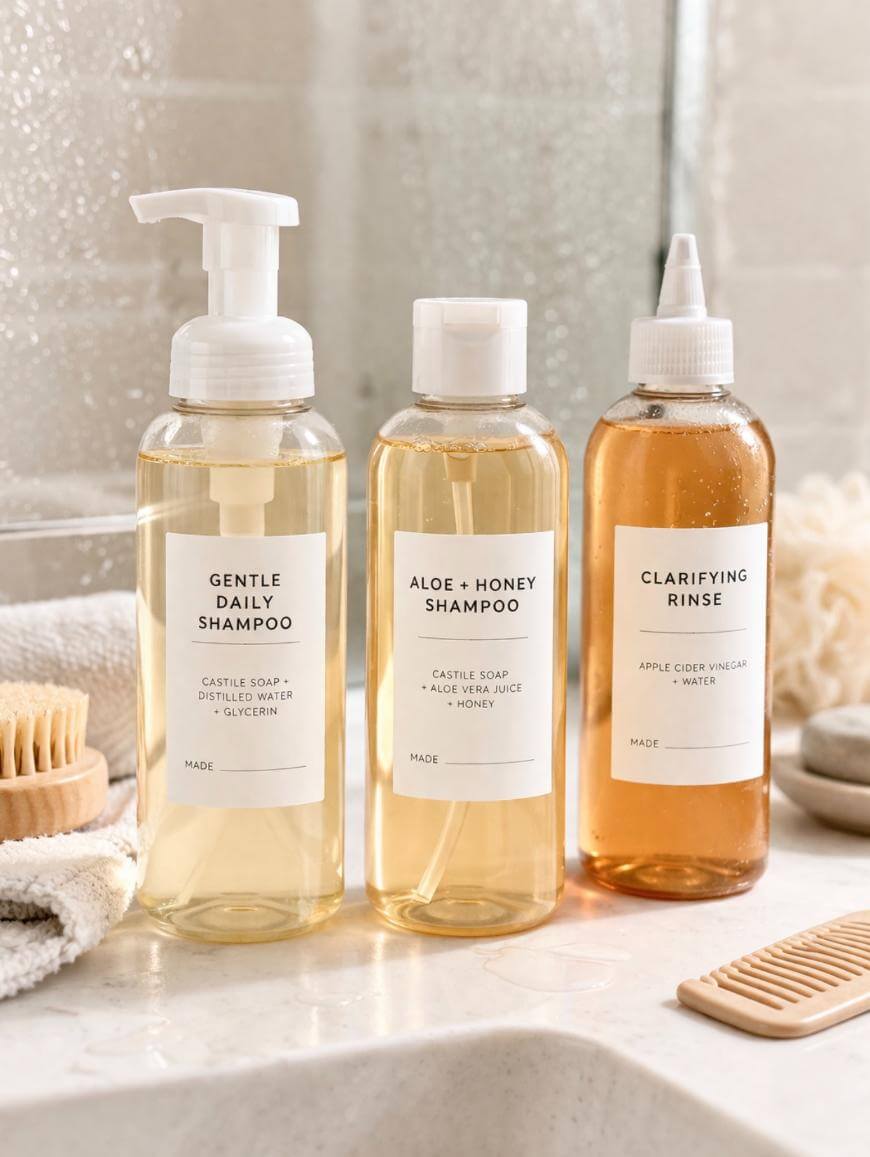
Your most reliable basic ingredient set is:
- unscented liquid castile soap
- distilled water
- a clean bottle (preferably a foaming pump bottle)
- a measuring spoon/cup
- a funnel
Optional Ingredients To Customize Results
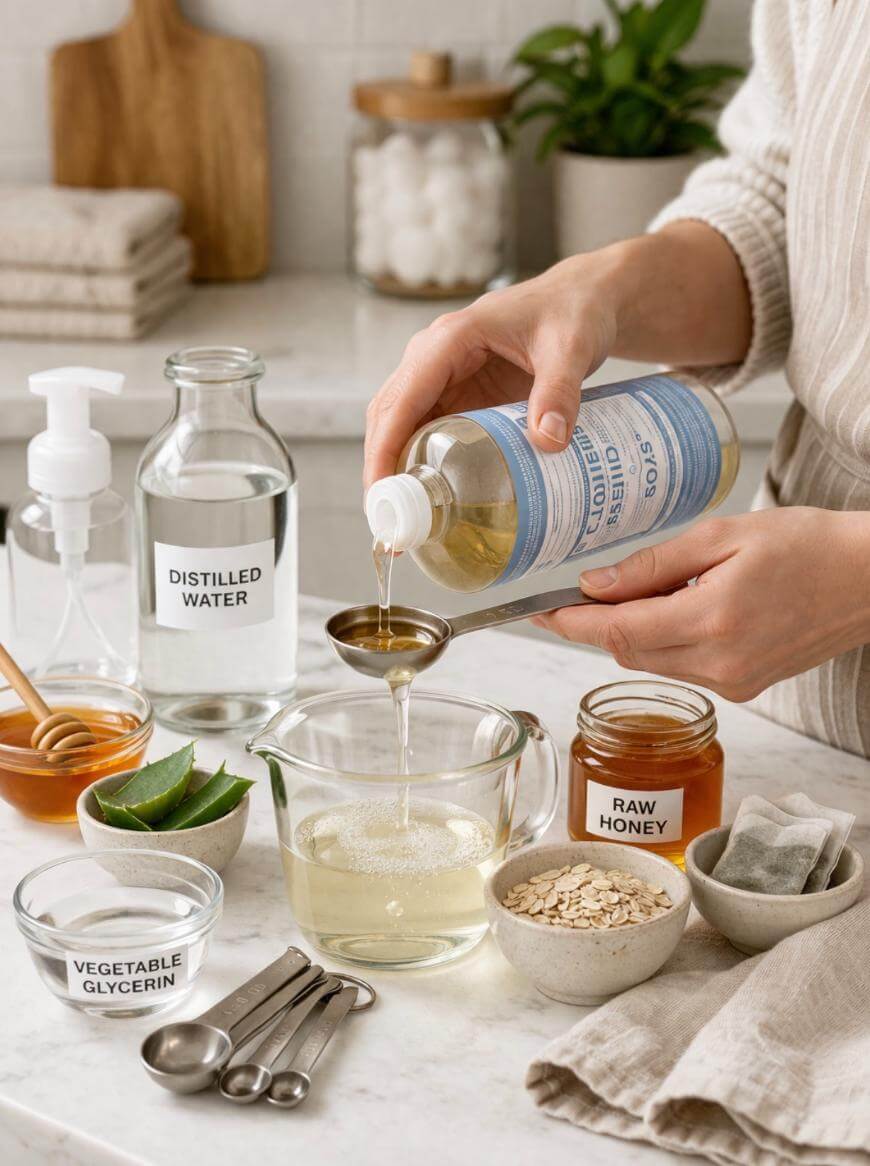
Optional ingredients are best used one at a time, in small amounts, so you can clearly see what changes your hair likes. Good starter options include:
- vegetable glycerin for slip
- aloe vera juice for a gentler feel
- honey for a humectant boost.
- brewed green tea for an oily-scalp rinse
- an oat infusion for a dry-scalp rinse
- apple cider vinegar or citric acid for occasional “waxy hair” resets
- a tiny amount of jojoba oil only if your hair tolerates oils well.
Homemade Shampoo Ideas And Starter Setups
1. Start With A Dilution Ratio That Won’t Strip Your Hair
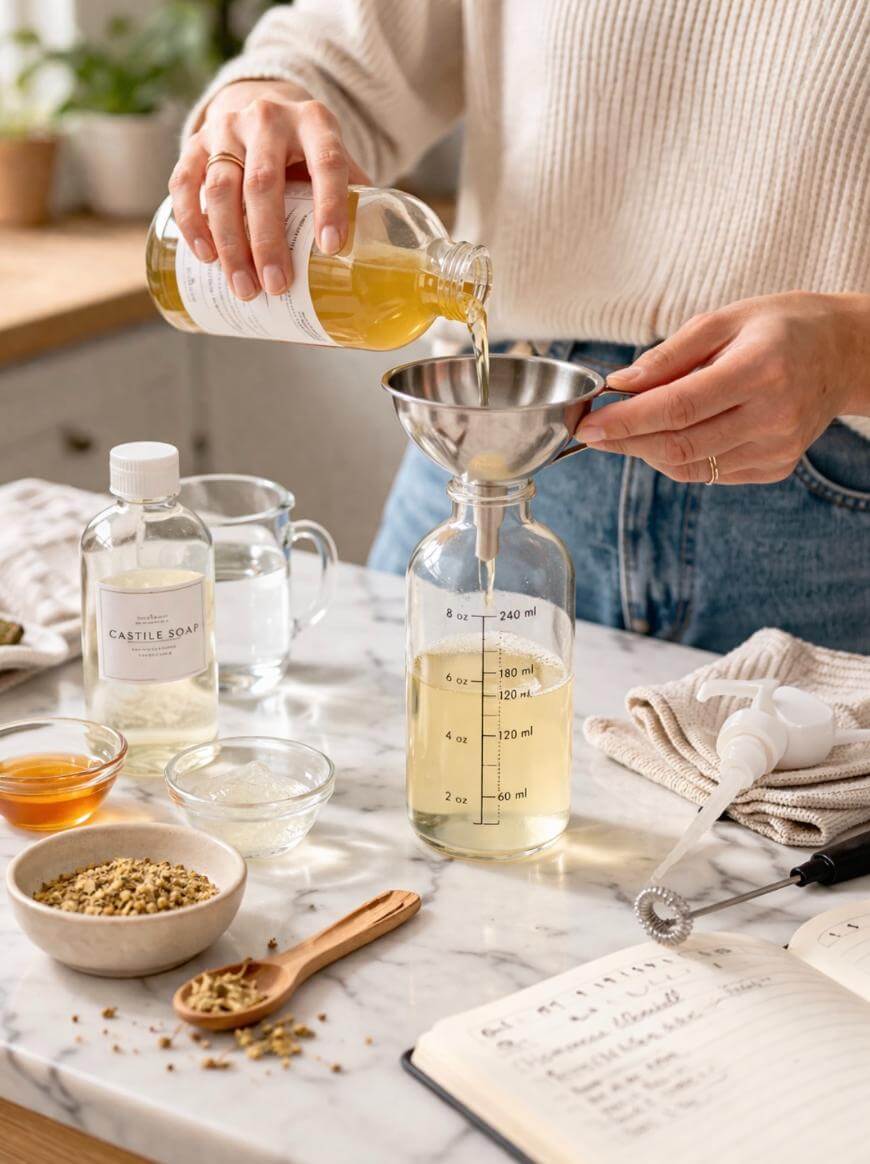
Homemade shampoo works best when you dilute the cleansing base so it cleans without leaving you squeaky-dry. A reliable starting point is 1 part liquid castile soap to 3 parts distilled water for normal hair.
If your hair is fine or your scalp is oily, try 1:4 to keep it lighter. If your hair is very dry, start at 1:5 and focus more on scalp cleansing than length cleansing.
2. Use Distilled Water To Reduce Buildup
Homemade blends can get cloudy and leave residue if your tap water is hard. Distilled water keeps your formula more consistent and helps reduce mineral buildup that can make hair feel dull.
If you notice your hair feels coated after a week, hard water is often the real culprit. Switching to distilled water is usually a bigger improvement than adding more oils.
3. Pick One Cleansing Base And Stick With It For Two Weeks
When you change three things at once, you can’t tell what helped. Choose one main cleanser, like unscented liquid castile soap, and run it as-is for two weeks before you tweak anything.
If your scalp gets itchy, you’ll know it’s the base and not the fragrance or oils. That makes troubleshooting fast and prevents you from creating a “mystery formula” you can’t replicate.
4. Add Glycerin For Slip Without Oiliness
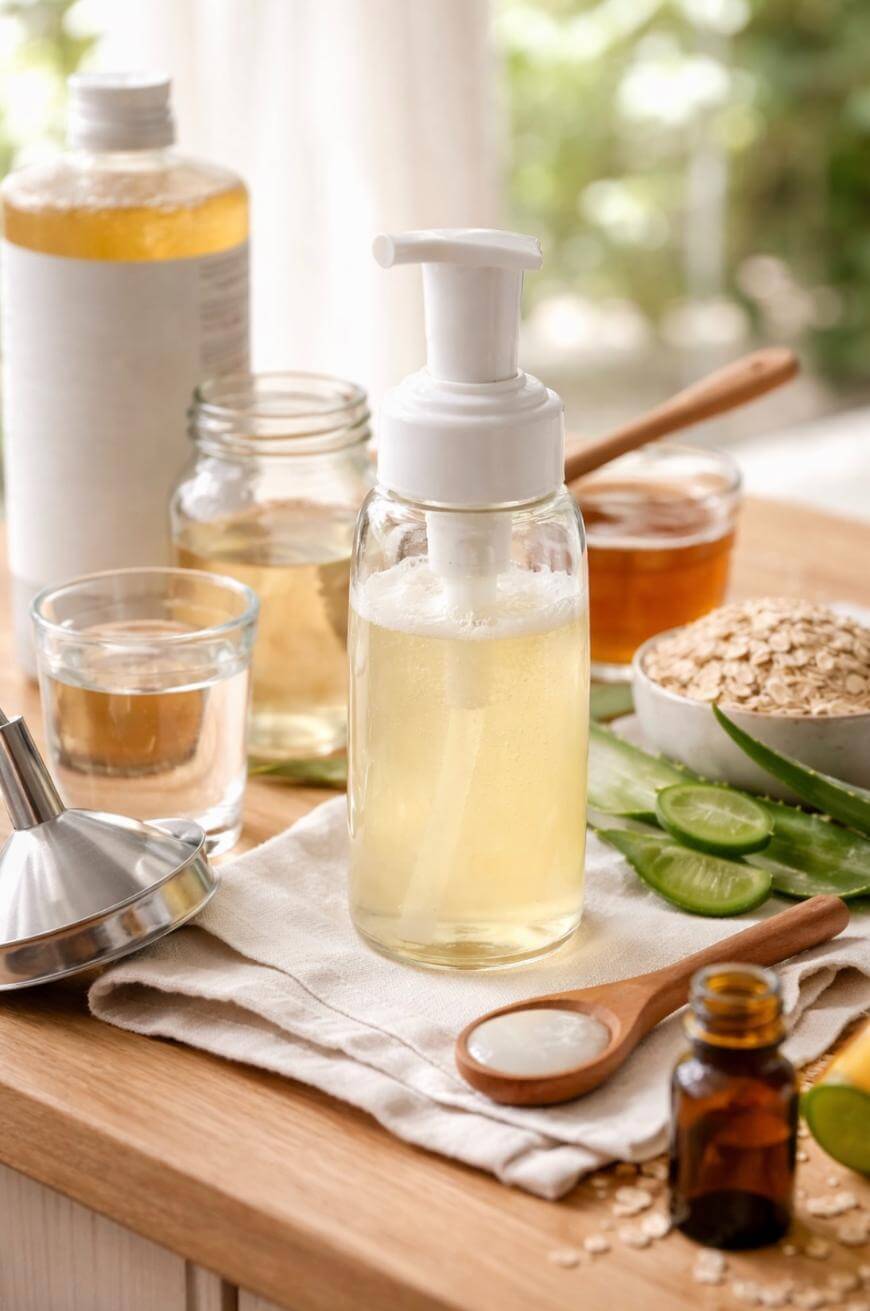
Vegetable glycerin adds glide and helps hair feel less rough after rinsing. A practical dose is 1 teaspoon per 8 ounces of finished shampoo mix.
Too much glycerin can feel sticky, especially in humid weather. If you live somewhere damp, start with 1/2 teaspoon per 8 ounces and increase slowly.
5. Try Aloe Vera Juice For A Softer Clean
Aloe vera juice can make homemade shampoo feel gentler and more soothing on the scalp. Replace up to 25% of your water with aloe vera juice as a first step.
If your hair feels limp, reduce the aloe percentage and increase the plain distilled water. Aloe can be a little heavy for fine hair when used aggressively.
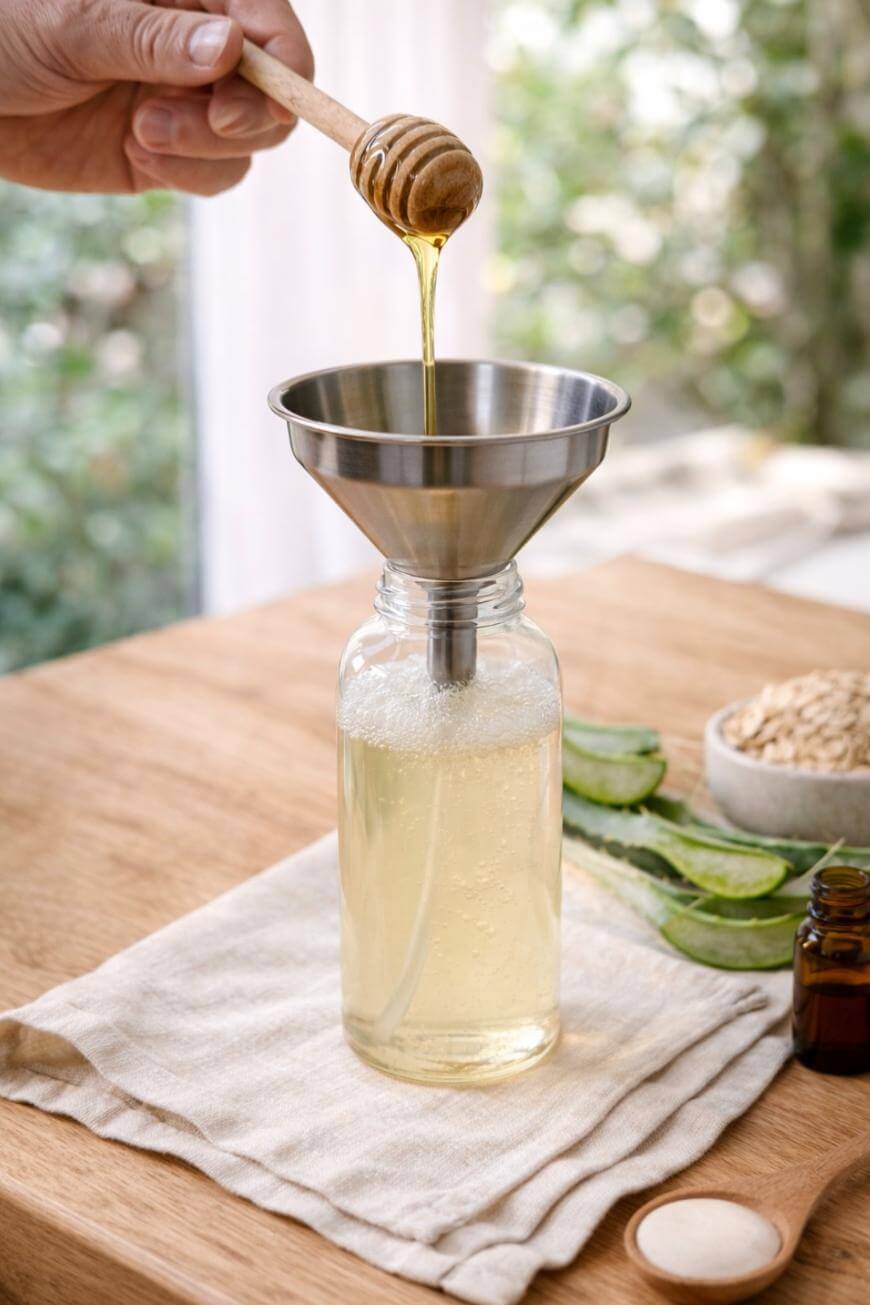
6. Use Honey For A Scalp-Friendly Boost
Honey is a humectant and can make a simple cleanser feel less harsh. A workable starting point is 1 teaspoon of honey per 8 ounces, mixed thoroughly so it doesn’t settle.
If you use too much, your bottle may get sticky and hard to shake. Keep the dose small and prioritize mixing, especially if your bathroom is cool.
7. Make An Oily-Scalp Version With Tea Rinse Add-On
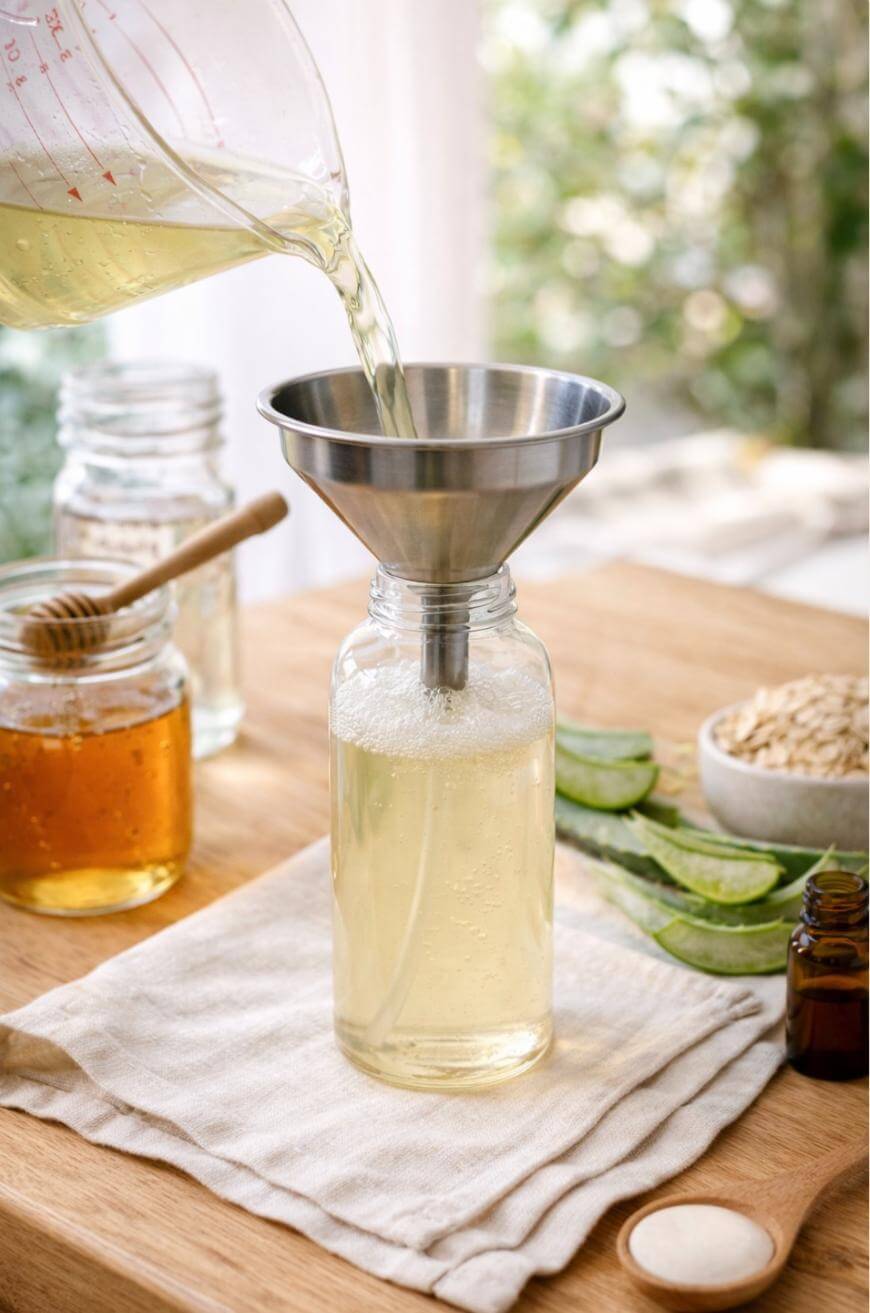
If your scalp gets greasy fast, a “cleaner feel” often comes from a mild rinse, not harsher shampoo. Brew strong green tea, cool it, and use it as a final scalp rinse 2–3 times per week.
A simple numeric guide is 2 tea bags in 2 cups of water brewed for 10 minutes. Don’t store it for long; fresh is better and less likely to irritate.
8. Build A Dry-Scalp Version With Oat Infusion
For dry or tight-feeling scalps, an oat infusion can add comfort. Soak 2 tablespoons of rolled oats in 2 cups of hot water for 15 minutes, then strain well and use it as part of your liquid phase.
If you don’t strain thoroughly, you can clog a pump bottle. Use a fine mesh strainer or cheesecloth so the final liquid is smooth.
9. Keep Essential Oils Low And Optional
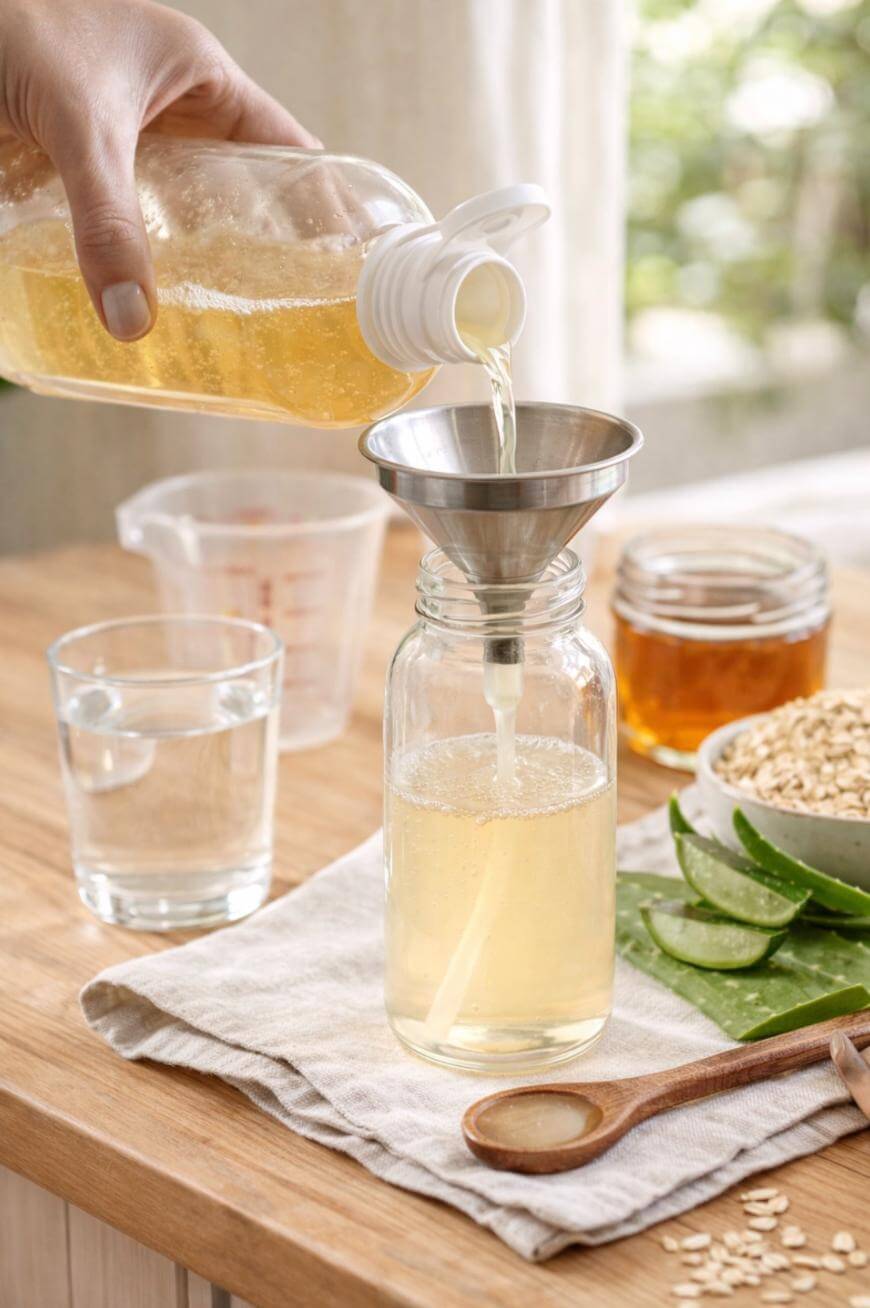
Homemade shampoo doesn’t need essential oils to “work,” and they can cause irritation if you overdo them. A safe, conservative range is 6–12 total drops per 8 ounces of shampoo mix.
If your scalp stings, skip them entirely and test the base first. Fragrance is usually the first thing to remove when you’re troubleshooting.
10. Use A Foaming Pump Bottle For Better Distribution
Homemade mixes are often thinner than store shampoo, and a foaming bottle helps you spread product without overusing it. This also encourages you to apply mostly to the scalp, where it matters.
A practical target is 6–10 pumps for shoulder-length hair, focusing on sections. If you need 20 pumps, your mix may be too diluted or you may be applying to the ends.
11. Make A Concentrate And Dilute Per Wash
If you don’t want to store a watery mix, keep a small concentrate and dilute in your hand each wash. This is especially helpful if you’re experimenting and don’t want to waste product.
A concrete method is to use a nickel-sized amount of soap base in your palm and add 2–3 palmfuls of water. If it feels drying, reduce the soap amount before adding oils.
12. Use A Scalp-First Application Pattern
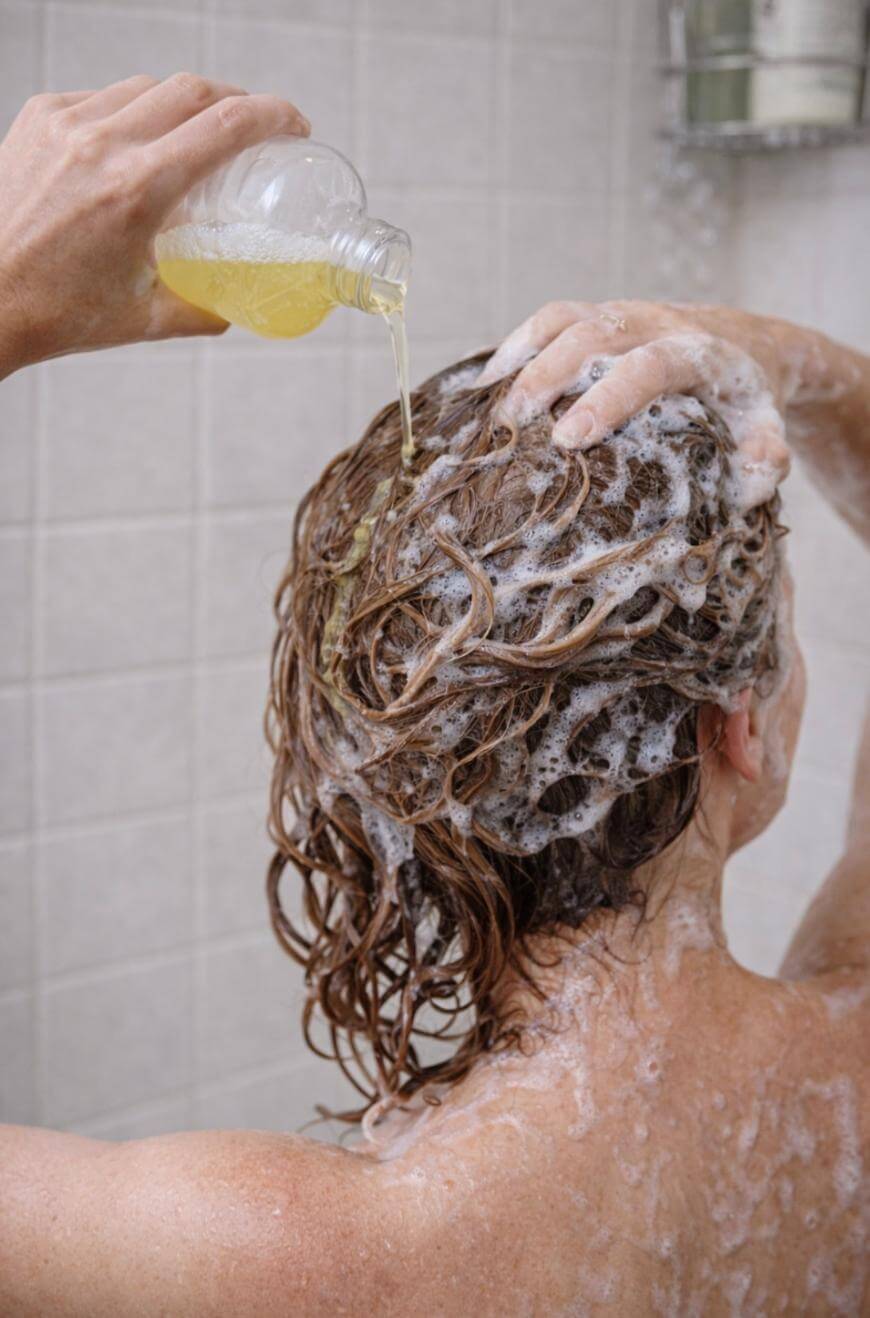
Homemade shampoo usually performs best when you treat it like skincare for your scalp. Apply in 4 zones: front hairline, crown, back of head, and nape.
Work each zone for about 15–20 seconds, then let the suds rinse through the lengths. This prevents the ends from being constantly stripped.
13. Add A Mild Acid Rinse If Hair Feels Waxy
If your hair feels coated, the fix is often pH-related or mineral-related. A simple rinse is 1 tablespoon of apple cider vinegar in 1 cup of water poured over the scalp after shampooing.
If your hair is color-treated, reduce it to 1 teaspoon per cup and limit to once weekly. Overuse can make hair feel dry or squeaky.
14. Try A Citric Acid Rinse For A Cleaner Finish
If you dislike vinegar smell, citric acid can do a similar job with less odor. Start with 1/4 teaspoon citric acid dissolved in 1 cup of water, used as a final rinse.
If your scalp tingles, dilute it more and avoid broken skin. A mild rinse should feel neutral, not “active.”
15. Use A Clarifying Reset Every 2–4 Weeks
Even good homemade shampoo can leave buildup depending on your water and styling products. A reset wash every 2–4 weeks keeps your routine from slowly getting dull.
A common approach is a single wash with a stronger surfactant-based clarifying shampoo you already tolerate. If you prefer fully DIY, a one-time rinse plus a thorough scalp massage can help, but don’t scrub harshly.
16. Keep Oils Out Of The Shampoo Bottle If You’re Prone To Buildup
It’s tempting to add coconut or olive oil to make shampoo “moisturizing,” but oils often reduce cleansing and can coat hair. If your hair gets weighed down easily, skip oils in the bottle and add moisture after.
A better upgrade is to use 2–3 drops of a lightweight oil on damp ends after the shower. That gives you control without destabilizing your mix.
17. Use Jojoba As A Light Add-In For Balanced Scalps
If you tolerate oils well, jojoba is often lighter and closer to scalp sebum than heavier oils. Keep it extremely low, like 1/4 teaspoon per 8 ounces, and shake before each use.
If your hair gets limp within 24 hours, remove it and switch to glycerin or aloe instead. Most people do better with slip ingredients rather than oils in shampoo.
18. Make A Travel-Ready Powder Option
A homemade shampoo option doesn’t have to be liquid. A simple powder cleanser can be made with a gentle base like finely ground oats plus a small amount of cosmetic clay.
A practical starting blend is 3 tablespoons oat flour to 1 tablespoon kaolin clay, used sparingly on the scalp. If you use too much clay, hair can feel rough, so keep it minimal.
19. Use A Pre-Shampoo Scalp Massage For Better Results With Less Product
Homemade shampoo can feel “weak” if you’re relying on product to do all the work. A 60-second scalp massage before wetting your hair loosens oils and improves cleaning with less cleanser.
Use your fingertips, not your nails, and cover the whole head in small circles. If you do this consistently, you’ll often need less product and fewer add-ins.
20. Adjust Wash Frequency Instead Of Making The Formula Stronger
If you’re moving from commercial shampoo, your scalp may need time to rebalance. Instead of strengthening your formula immediately, adjust your schedule first.
A solid starting schedule is washing every 2–3 days for two weeks, then reassessing. If you wash daily and feel greasy, that can be normal transition behavior rather than “bad shampoo.”
21. Store Small Batches To Avoid Spoilage And Weird Smells
Homemade mixes can spoil faster than commercial products because they lack robust preservatives. Make batches you can use within 7–10 days and store them in a cool, dark place.
If anything changes smell, color, or texture noticeably, toss it. It’s cheaper to remake an 8-ounce batch than to deal with scalp irritation.
22. Label Every Bottle With The Date And Ratio
The fastest way to improve homemade shampoo is to track what you did. Write the ratio, add-ins, and the date right on painter’s tape stuck to the bottle.
If you find a version you love, you can repeat it exactly. If it fails, you’ll know what to change instead of starting over from scratch.
23. Create A Kid-Friendly Ultra-Gentle Mix
For kids or very sensitive scalps, the simplest formula usually wins. Start with 1 part castile soap to 5 parts distilled water, and skip fragrance and essential oils.
Use a small amount and rinse quickly to reduce eye irritation. A foaming bottle helps you use less and makes it easier to keep suds away from the face.
24. Make A Post-Workout Quick Clean Option
If you sweat a lot, you might not need a full wash every time. A quick scalp-only cleanse can remove sweat without stripping your lengths.
Use about half your normal amount and apply only to the scalp zones. Rinse thoroughly and condition just the ends if they feel dry.
How To Mix Homemade Shampoo Without Common Mistakes
25. Measure By Volume And Keep It Consistent
Consistency matters more than “perfect” ingredients. Use the same measuring spoon and cup each time so your results don’t drift.
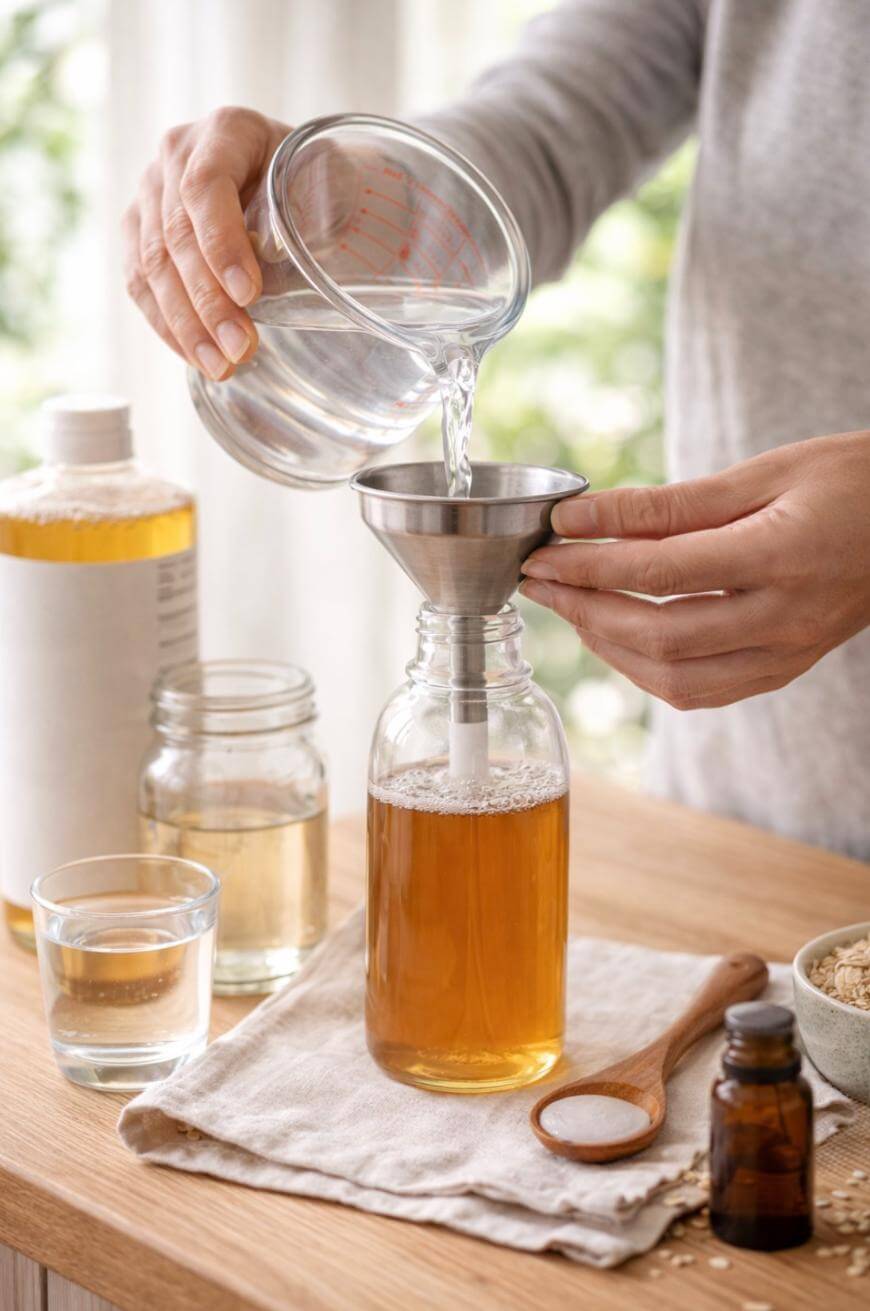
A simple setup is an 8-ounce bottle, a tablespoon measure, and a funnel. If you want reliability, don’t eyeball it until you have a formula you trust.
26. Mix Gently To Avoid Excess Foam While Bottling
If you shake hard while mixing, you trap bubbles and make it hard to measure. Stir slowly, then let the bottle sit for 10 minutes before capping tightly.
This also helps you see if anything separates. Separation isn’t always dangerous, but it can be a sign you added too much oil or thick add-ins.
27. Don’t Expect Store-Shampoo Texture
Homemade shampoo often looks thin and feels different in your hands. Performance matters more than texture, and you can improve “feel” with the right bottle and technique.
If you chase thickness, you’ll often add ingredients that cause buildup. It’s usually better to accept a thinner product and focus on scalp application.
What To Avoid When You Make Homemade Shampoo
28. Avoid Using Lemon Juice Directly In Your Shampoo Bottle
Lemon juice is unpredictable and can irritate sensitive scalps. If you want an acidic step, use a measured rinse instead so you can dilute it properly and stop if it tingles.
A rinse also gives you control over how often you use it. Daily acidity is rarely necessary and can make hair feel brittle over time.
29. Avoid Adding Too Many “Good” Ingredients At Once
More ingredients usually means more problems, not better results. Keep your formula to a base plus one add-in, then change one variable at a time.
If you’re tempted to add five oils, two butters, and a dozen essential oils, that’s a sign you should simplify. The best homemade shampoo is the one you can repeat.
30. Avoid Skipping Conditioner If Your Ends Need It
Shampoo is for cleansing, not for repairing dry ends. If your ends feel rough, add a simple conditioner on the last 3–5 inches of hair instead of trying to oil up the shampoo.
A good numeric guideline is a quarter-sized amount for shoulder-length hair, focused on ends only. Rinse well so your scalp stays light and clean.
Key Takeaways
Homemade shampoo works best when you start with a simple, gentle base and adjust slowly.
A 1:3 castile soap to distilled water ratio is a reliable starting point for many hair types.
Keep add-ins minimal so you can identify what helps and what causes buildup.
A mild acidic rinse can fix waxy hair faster than making the shampoo stronger.
Small batches used within 7–10 days reduce spoilage and scalp irritation.
Scalp-first application cleans better and protects your lengths from dryness.
FAQ
Can homemade shampoo work for color-treated hair?
Yes, it can work if you keep it gentle and avoid harsh resets too often. Use a more diluted mix like 1:4 or 1:5 and focus on scalp-only cleansing.
Why does my hair feel waxy after switching?
It’s usually buildup from hard water, too much oil, or not enough rinsing. Try distilled water and use an apple cider vinegar rinse at 1 tablespoon per cup once weekly.
How much homemade shampoo should you use per wash?
Use just enough to cover your scalp, not your full length. For most people, 6–10 pumps from a foaming bottle or about 1–2 teaspoons of diluted mix is plenty.
How do you store homemade shampoo safely?
Store it in small batches and use it within 7–10 days if you aren’t using a preservative system. If it changes smell, color, or texture, throw it out and remake a fresh batch.