Last updated: August 28, 2026
You can make a sturdy, colorful piñata at home with just a balloon, some newspaper, and a little patience.
This guide walks you through every stage, from building the base to filling it with treats.
You’ll have a party-ready piñata in an afternoon, even if you’ve never made one before.
Gather Your Supplies
Start with a large balloon, flour, water, newspaper strips, tissue paper or crepe paper in your party colors, scissors, glue, and a sturdy string for hanging.
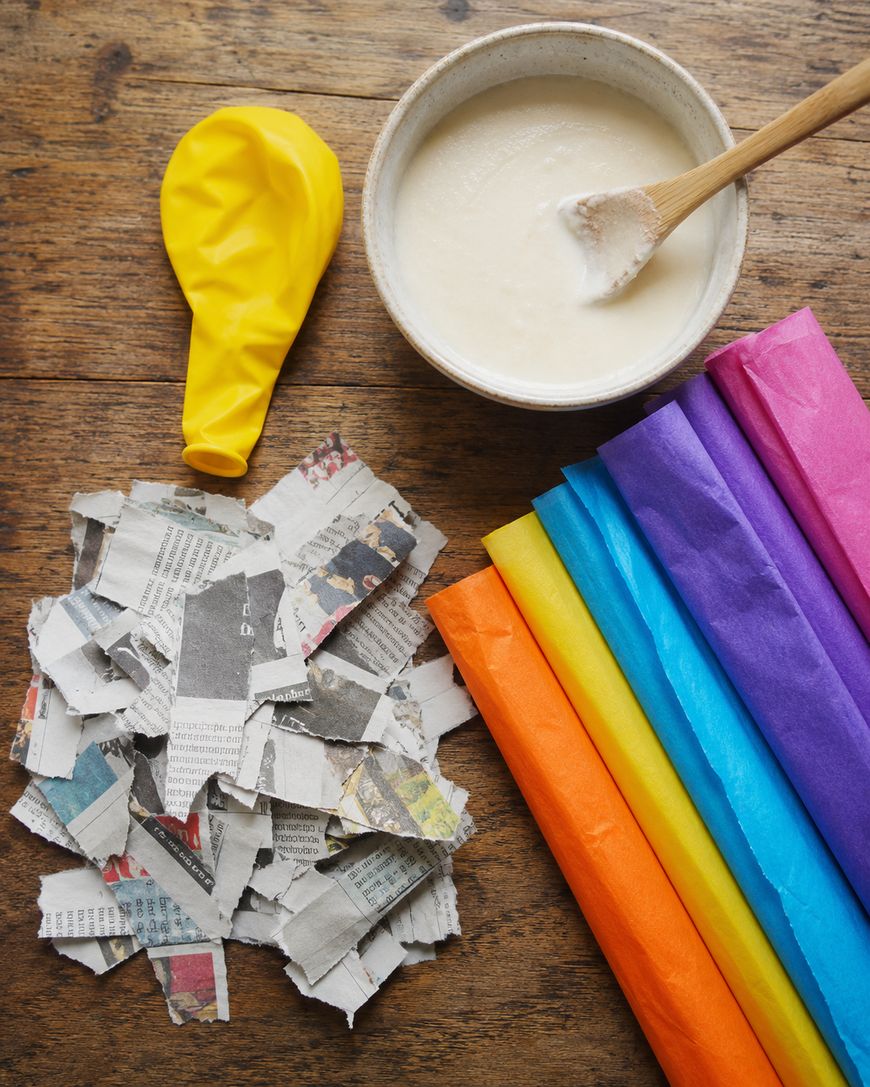
You’ll also want a bowl for mixing the papier-mâché paste and a tray or baking sheet to catch drips while the balloon dries.
Tip: use a helium tank or hand pump to inflate the balloon to a consistent, round shape — this makes the final piñata look much more polished.
If you’re making a shaped piñata, like a star or an animal, grab some cardboard for extra structure before you start layering paper.
Mix the Papier-Mâché Paste
Combine one part flour with two parts water in a large bowl and whisk until smooth, with no lumps remaining.
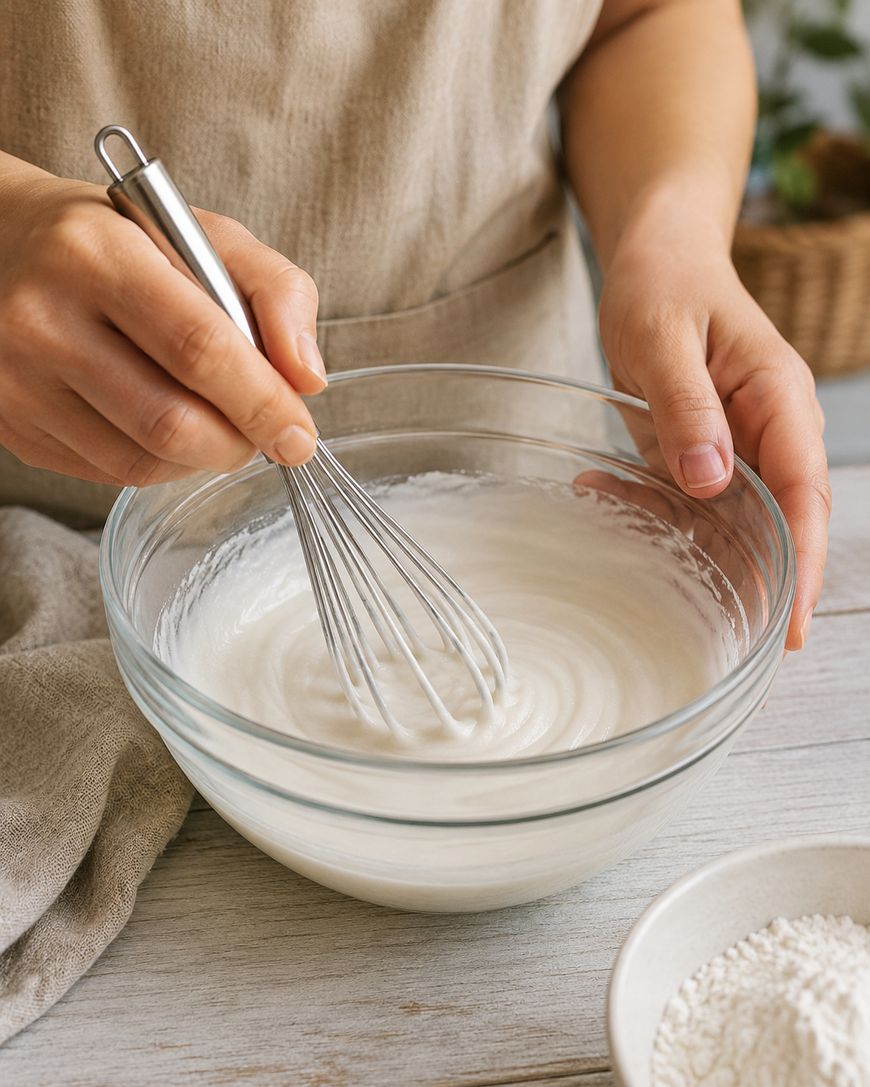
The paste should be thin enough to coat the newspaper strips without clumping, but thick enough to hold its shape once applied.
If your paste feels too runny, add a spoonful of flour at a time until it thickens slightly.
You can also swap in a cornstarch-and-water mixture if you want a paste that dries a bit faster.
Build the Balloon Base
Inflate your balloon and tie it off, then tape it to a cup or bowl so it stays steady while you work.

Tear your newspaper into long strips, dip each one into the paste, and run it between two fingers to remove the excess before laying it across the balloon.
Cover the entire balloon with one layer, then let it dry for several hours before adding a second layer.
Repeat this process for three to four layers total, always letting each layer dry completely before starting the next.

A common shortcut is skipping the drying time between layers, but this almost always leads to a soggy, weak shell that won’t hold up once you add the treats.
Leave a small opening near the knot of the balloon so you can pop it later and fill the piñata.
Let It Dry Completely
Set your piñata somewhere warm and dry, away from direct sunlight, and give it at least 24 to 48 hours to fully harden.

You’ll know it’s ready when the shell feels firm and lightweight, with no soft or damp spots anywhere on the surface.
Once it’s fully dry, gently pop the balloon and pull it out through the opening you left near the top.
Decorate the Piñata
Cut your tissue paper or crepe paper into fringed strips, about two inches wide, with small snips along one edge to create the fringe effect.
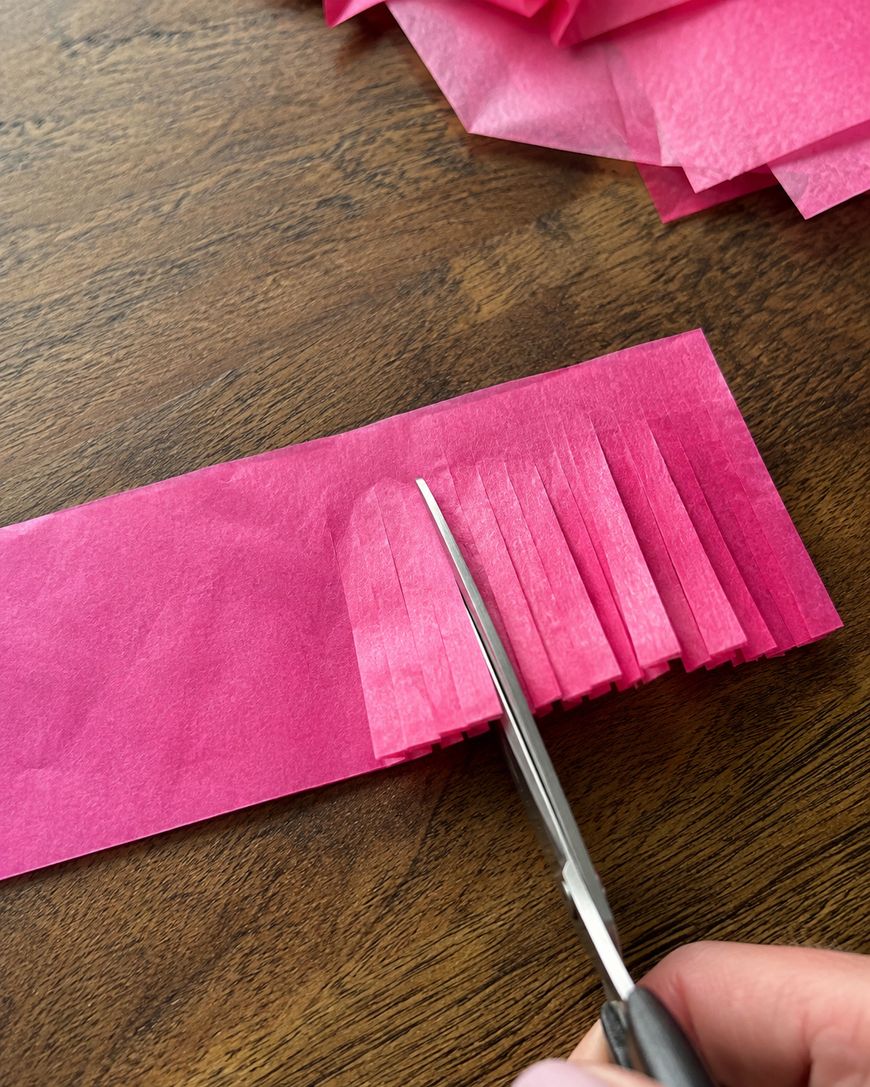
Starting at the bottom of the piñata, glue each fringed strip in a ring around the shell, overlapping slightly as you work your way up.
Alternate colors in bands or spirals to build a pattern, or stick to one color for a cleaner, more classic look.
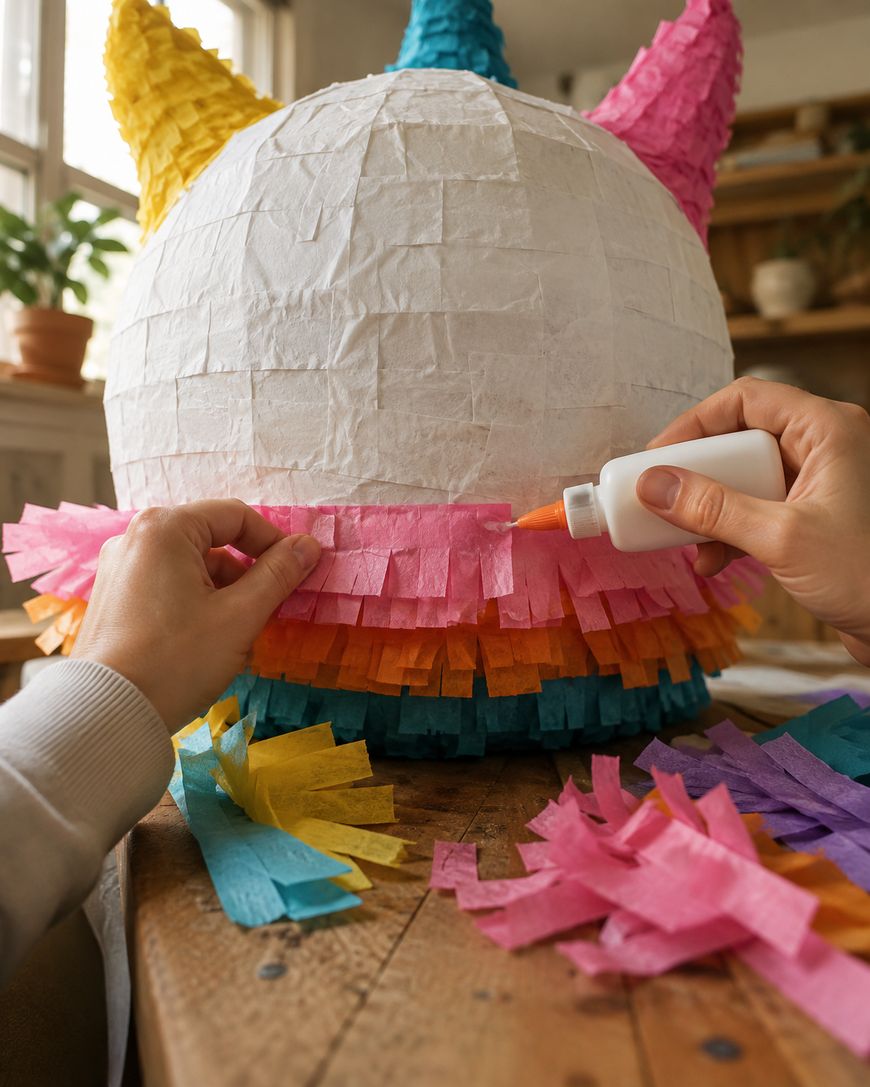
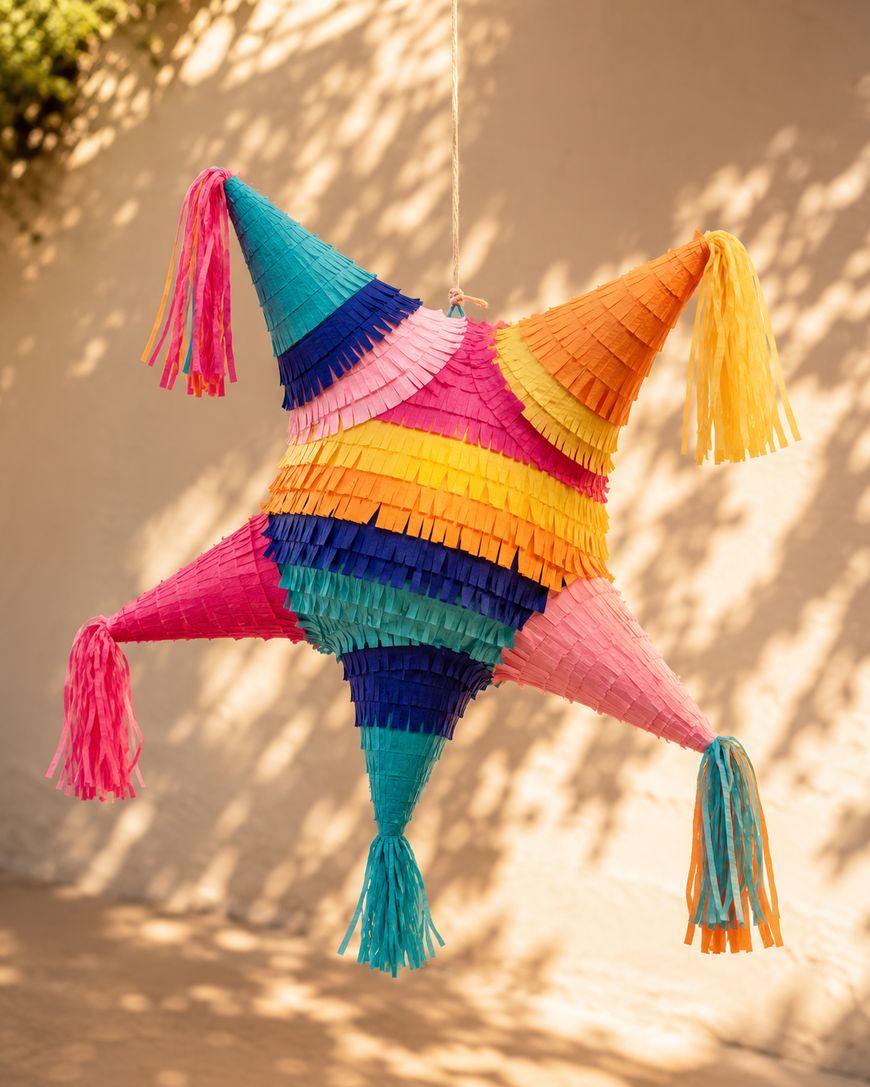
For shaped piñatas, add cardboard details like ears, wings, or points before you begin fringing, so the paper covers the whole structure smoothly.
Fill and Close It Up
Fill the piñata through the opening with candy, small toys, or confetti, keeping the weight balanced so it doesn’t tip to one side once it’s hanging.

Cut two small holes near the opening, thread a sturdy string or ribbon through, and knot it securely so the piñata can hold its full weight without tearing.
Test the string strength by gently lifting the piñata before the party — a small precaution that saves you from a mid-celebration mishap.
Cover the opening with one last fringed strip so the filling stays hidden until it’s time to break it open.
Why Make Your Own Piñata
A homemade piñata costs a fraction of a store-bought one and lets you match your party’s exact color scheme or theme.

It’s also a genuinely fun activity to do with kids in the days leading up to the party, since the layering and decorating steps are easy enough for little hands to help with.
Making your own piñata means you control exactly what goes inside, which is especially handy if you’re avoiding certain candies or want to fill it with small toys instead.
Frequently Asked Questions
How long does it take to make a piñata from start to finish?
Between drying time for each papier-mâché layer and the final cure, plan on two to three days total.
The hands-on work itself is only a couple of hours spread across that time.
Can I make a piñata without a balloon?
Yes, you can shape a piñata around a cardboard box or a bundle of crumpled newspaper taped into a rough shape.
This works especially well for boxy shapes like houses, cars, or gift boxes.
How many layers of papier-mâché do I need?
Three to four layers is usually enough for a piñata that holds candy and small toys without collapsing.
If you’re filling it with heavier items, add one more layer for extra strength.
What’s the best way to speed up drying time?
Set the piñata near a fan or in a warm, dry room, and rotate it occasionally so air reaches every side evenly.
Avoid using a hair dryer directly on the wet paper, since it can warp the shape before it sets.
How do I make sure the piñata breaks easily but not too easily?
Keep your papier-mâché layers even in thickness all the way around, since thin spots break too soon and thick spots barely break at all.
A light score line with scissors around the middle, cut only partway through, can also help it split cleanly.
Can I paint the piñata instead of using tissue paper?
You can, though tissue paper fringe is usually sturdier and gives a more festive, textured look than paint alone.
If you do paint it, seal the papier-mâché with a coat of white paint first so your colors show up true.
Wrapping Up
Making a piñata at home is a simple, affordable project that adds a handmade touch to any celebration.
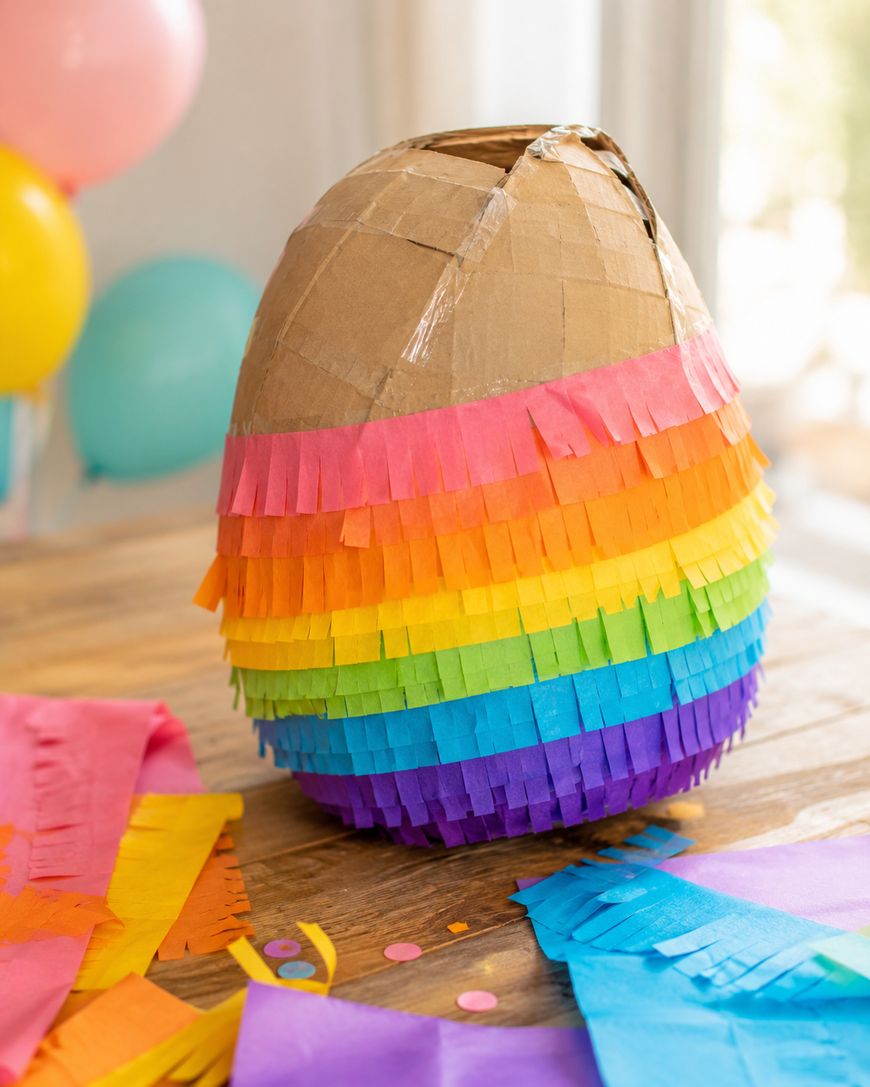
Follow these steps, give each layer time to dry, and you’ll have a piñata sturdy enough for the whole party to enjoy.
You might also like: Pinata Ideas, Photo Booth Ideas, and Cardboard Piñata Tutorial.