Last updated: August 28, 2026
You can make a sturdy, party-ready piñata out of cardboard boxes you probably already have at home. This project skips the paper mache waiting game and gets you from empty box to full piñata in one afternoon. Grab a box, some tissue paper, and you’re ready to start.
Gather Your Cardboard and Supplies
Start by collecting a few boxes in different sizes so you can build up to the shape you want. A medium shipping box works well for a basic round or square piñata, while cereal boxes and shoeboxes are great for smaller add-on pieces like ears, points, or limbs.
You’ll also want packing tape, a box cutter or sharp scissors, a hot glue gun, and a length of sturdy string or rope for hanging. Keep a metal ruler on hand to score clean fold lines on thicker cardboard, since it makes shaping so much easier.
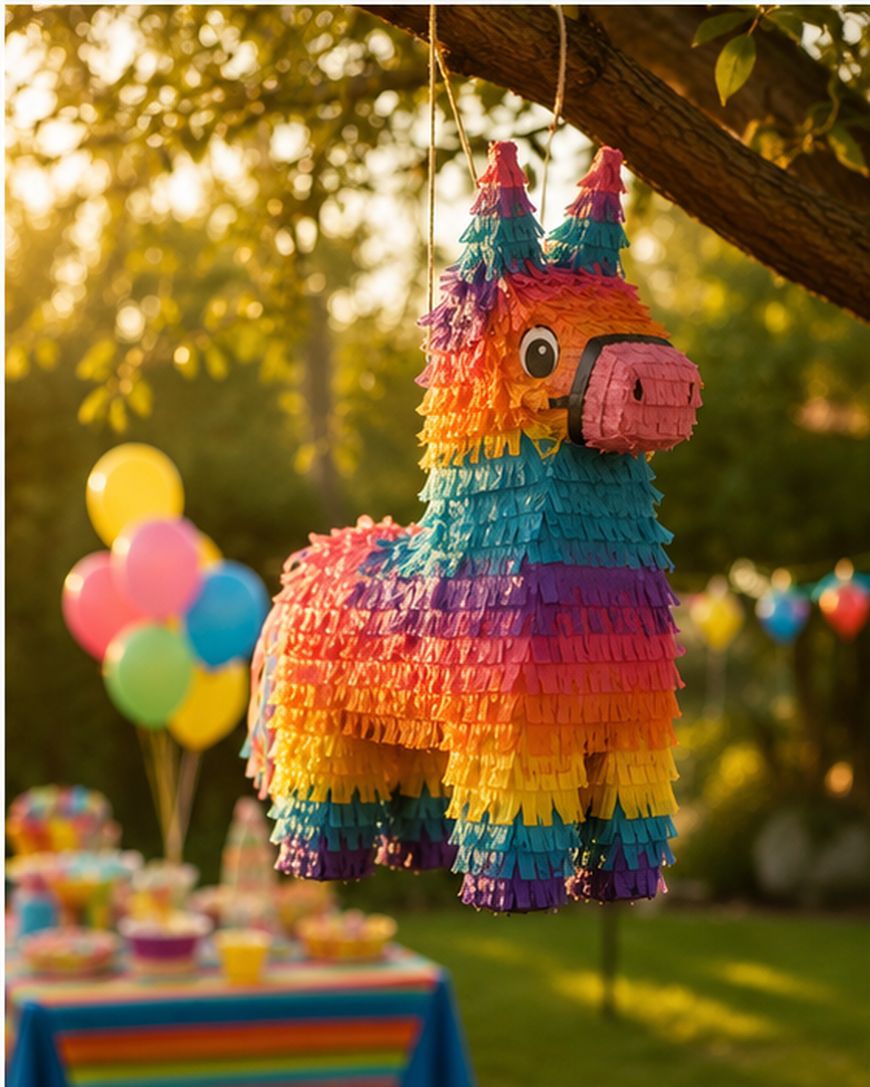
For the outside, stock up on tissue paper in your chosen colors, plus construction paper or cardstock for any features like eyes, ears, or a face. A glue stick works for lightweight paper, but hot glue holds tissue paper fringe in place much better over time.
Shape the Base Structure
Close up your cardboard box completely and tape every seam so it’s fully sealed on all sides. This becomes the core shape of your piñata, whether you’re making a simple cube, a star, or an animal.
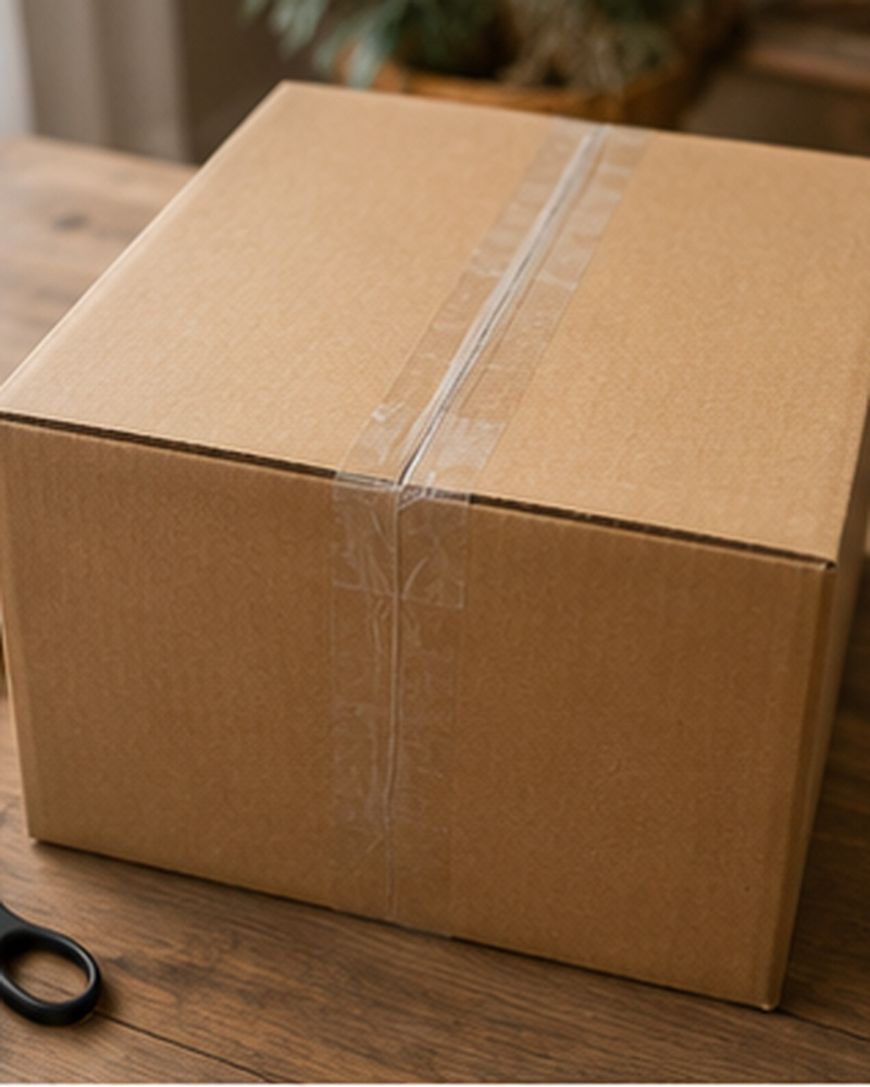
If you want a rounder shape, use your box cutter to trim the corners at an angle, then tape flaps of extra cardboard over the cut edges to smooth out the silhouette. Building a more detailed shape, like a star or an animal, means adding smaller cardboard pieces onto the main box with tape and hot glue.
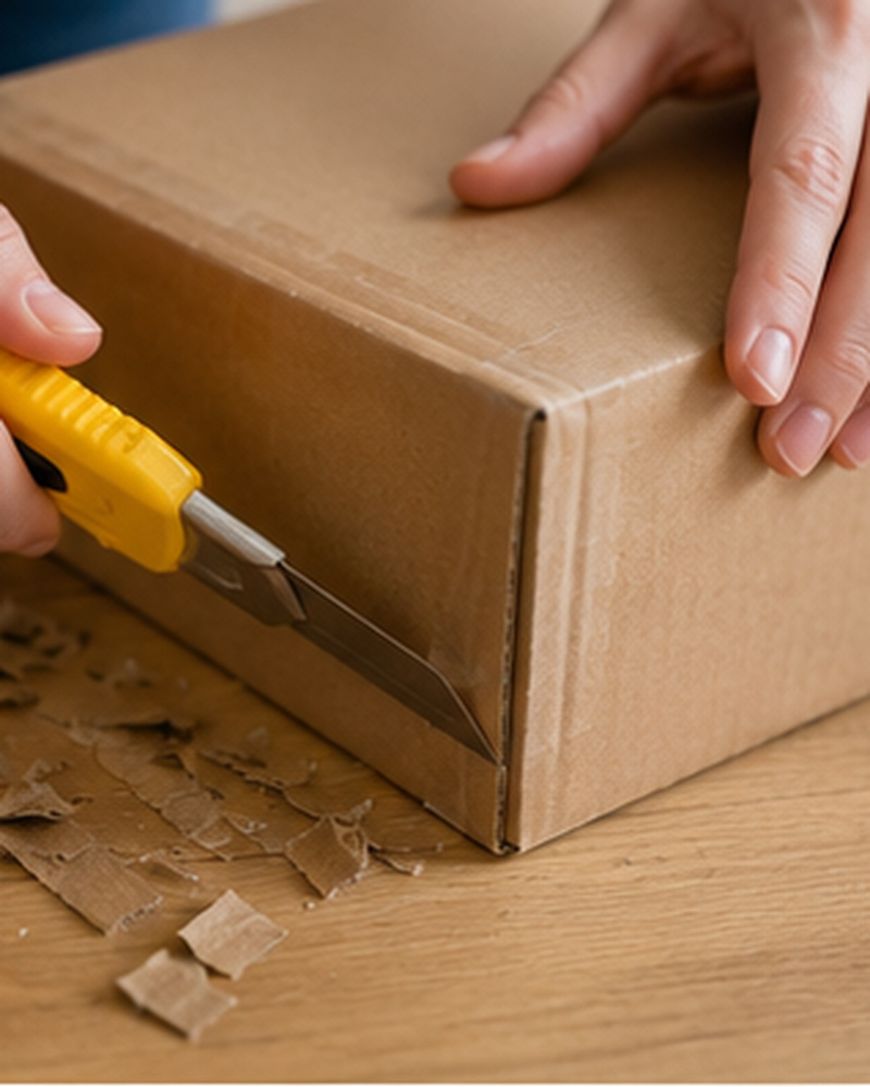
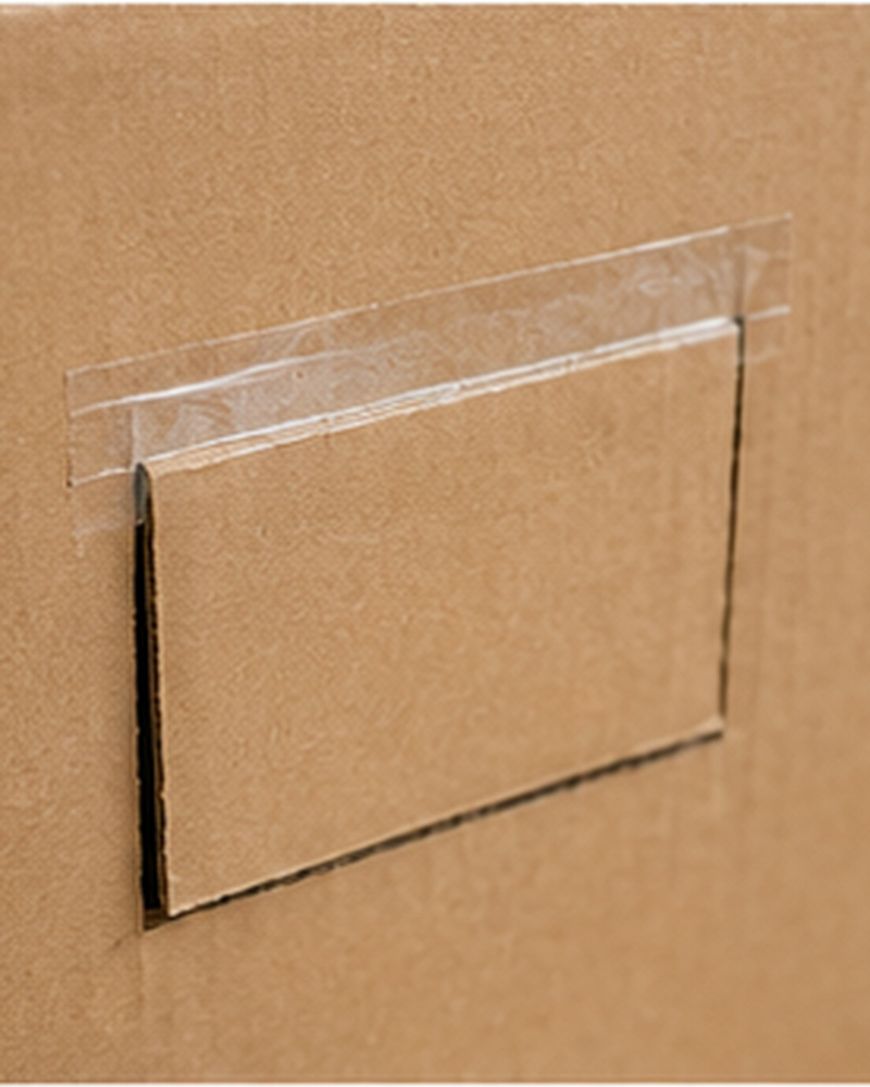
Cut a small flap or trap door into one side of the box before you decorate it. This is where you’ll load the candy, so make sure it’s just big enough for your hand to fit through and can be taped shut again once filled.
Add the Hanging Rope
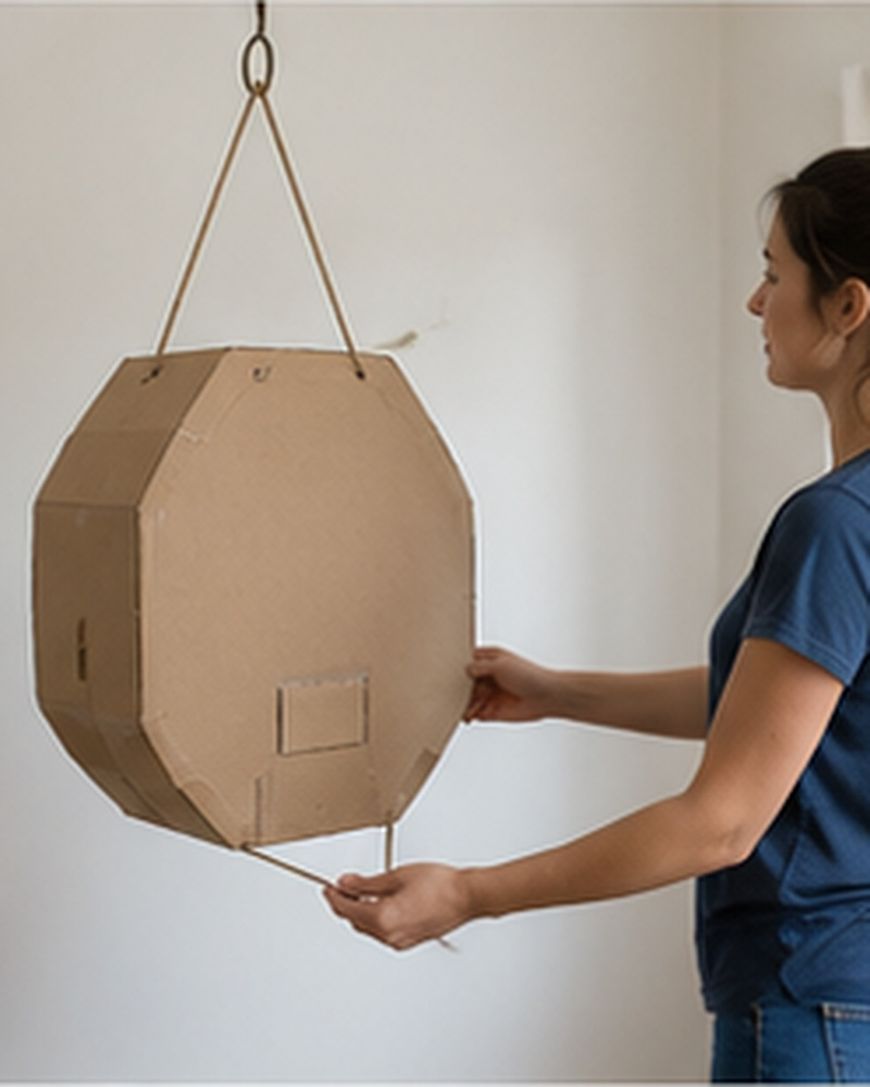
Poke two holes near the top of the piñata, spaced a few inches apart, and thread a length of sturdy rope or twine through both. Knot the ends securely on the inside of the box so the weight of the candy won’t pull the rope loose.
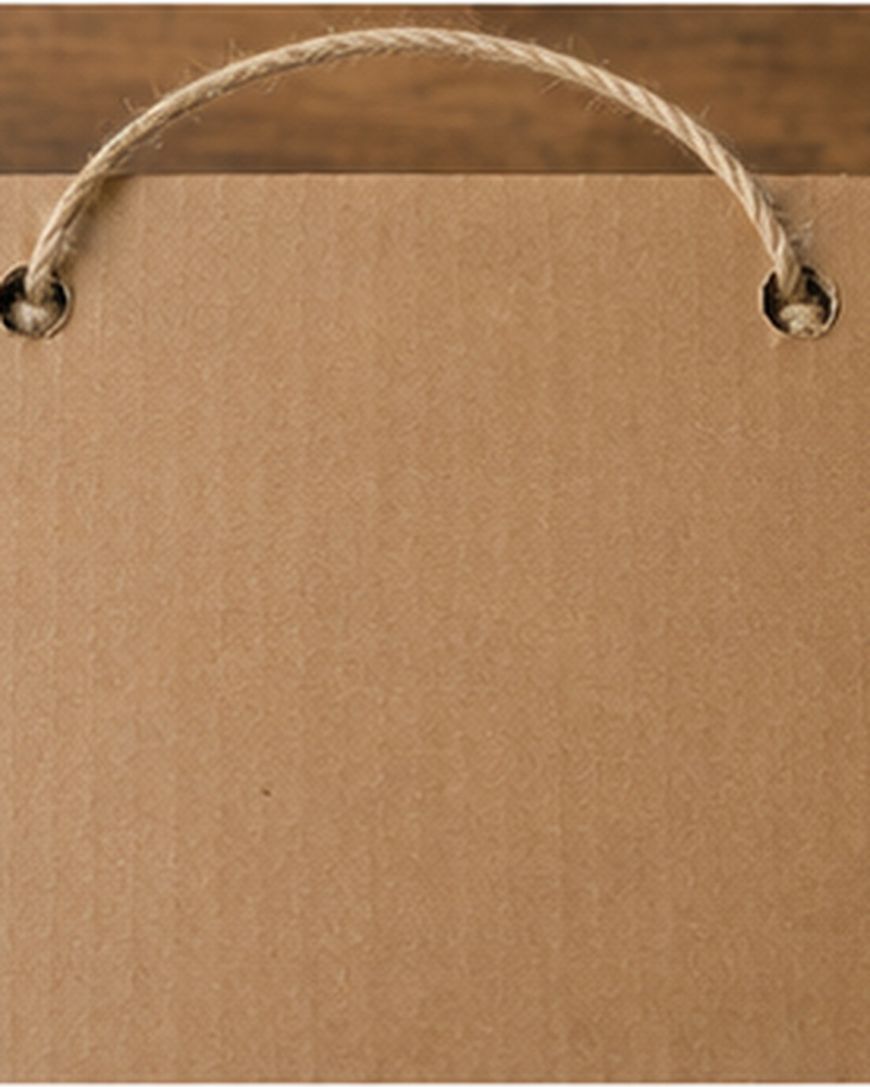
Reinforce the holes with a small square of extra cardboard or duct tape on the inside before threading the rope through, since this spreads out the stress and keeps the holes from tearing when the piñata gets swung at.
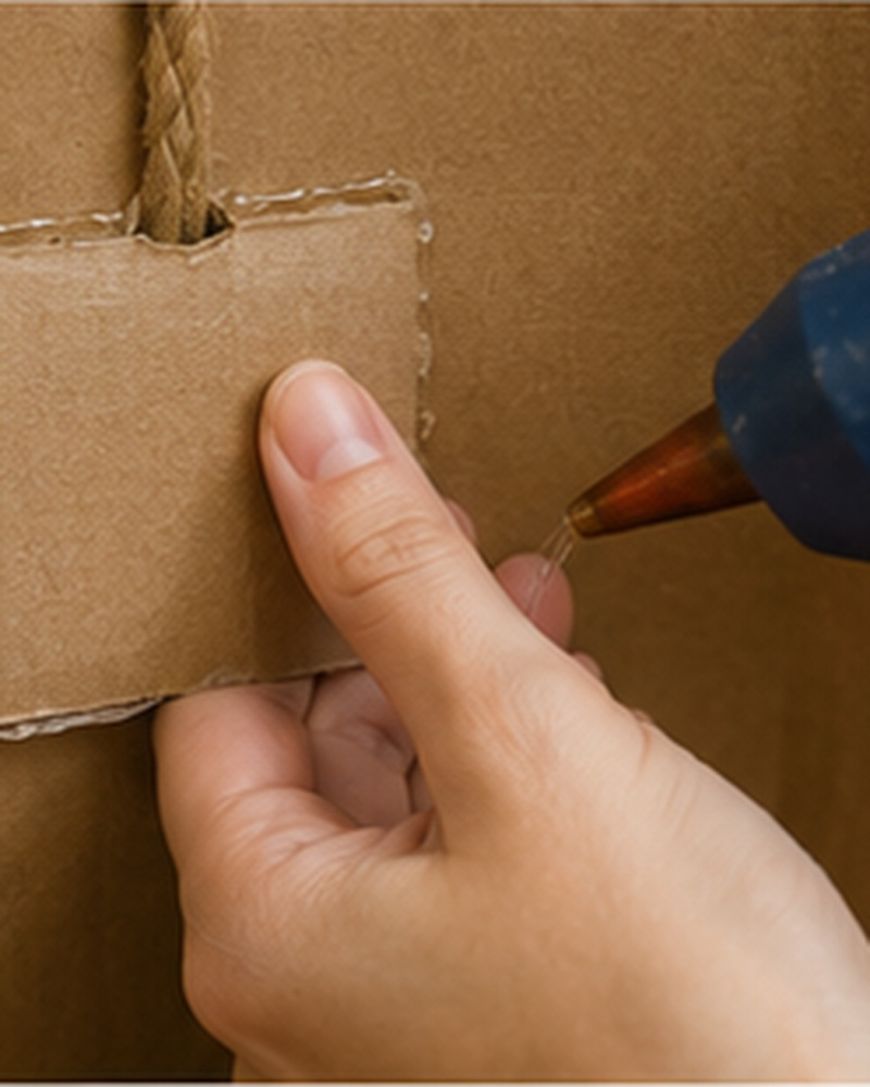
Test the hang before you decorate by lifting the piñata by the rope and checking that it stays balanced. Adjust the hole placement now if it tips too far to one side, since it’s much easier to fix before the tissue paper goes on.
Cover the Piñata in Tissue Paper Fringe
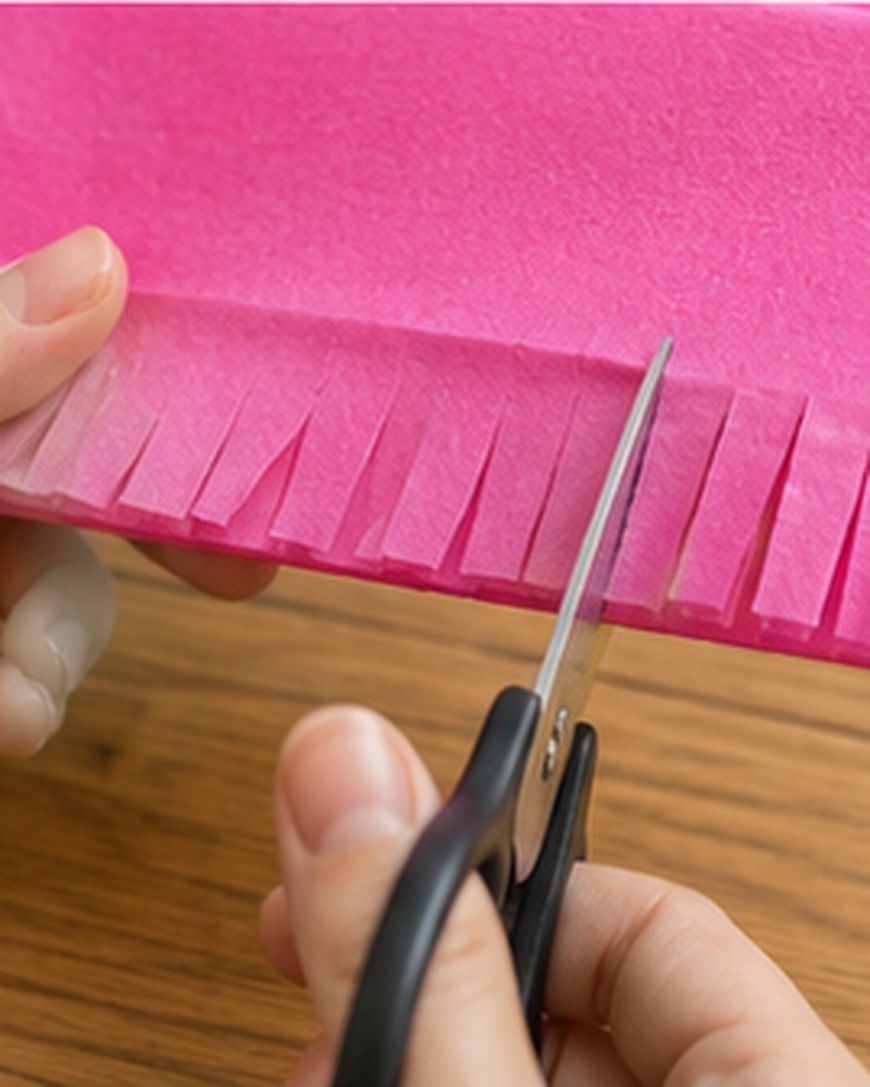
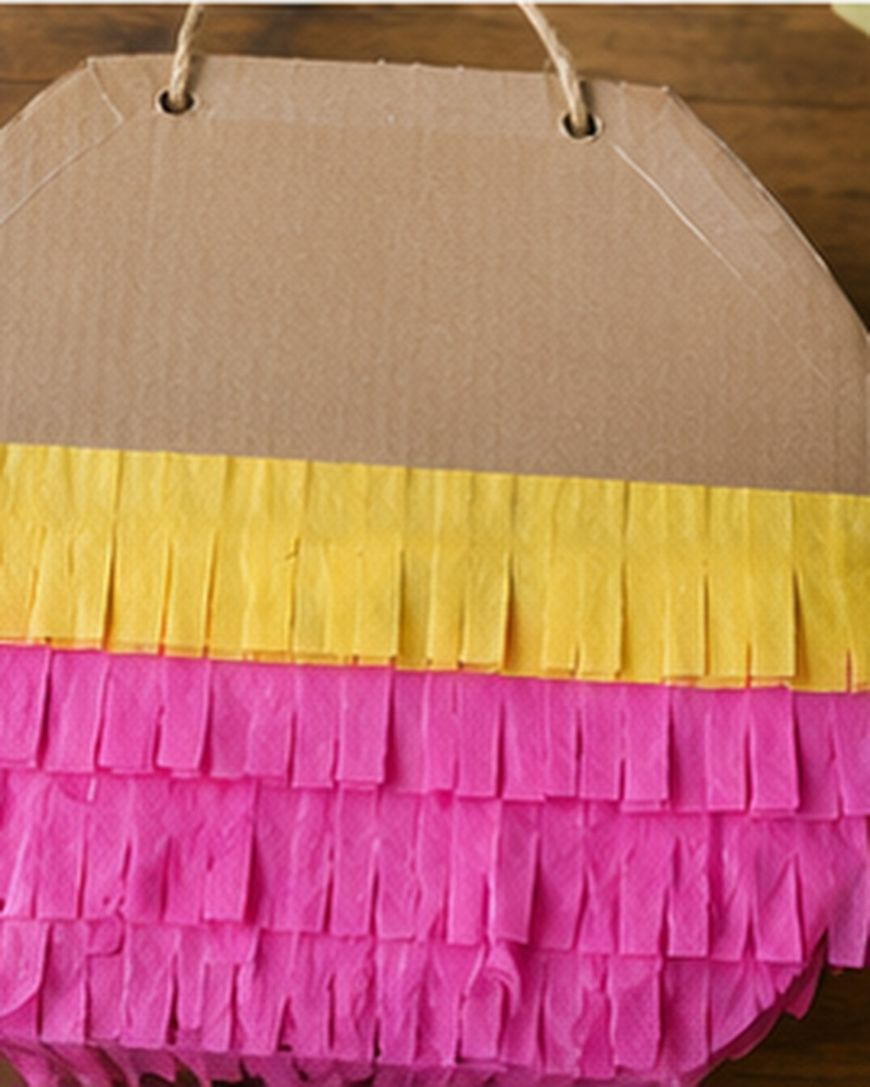
Cut strips of tissue paper about four inches wide and fold them in half lengthwise, then snip fringe cuts along the open edge without cutting all the way through the fold. This gives you a ready-made fringe strip that fluffs out nicely once attached.
Starting from the bottom of the piñata, glue on rows of fringe strips so each new row overlaps the fringe of the row below it. Working from bottom to top keeps the layered look clean and hides the plain cardboard completely by the time you reach the top.
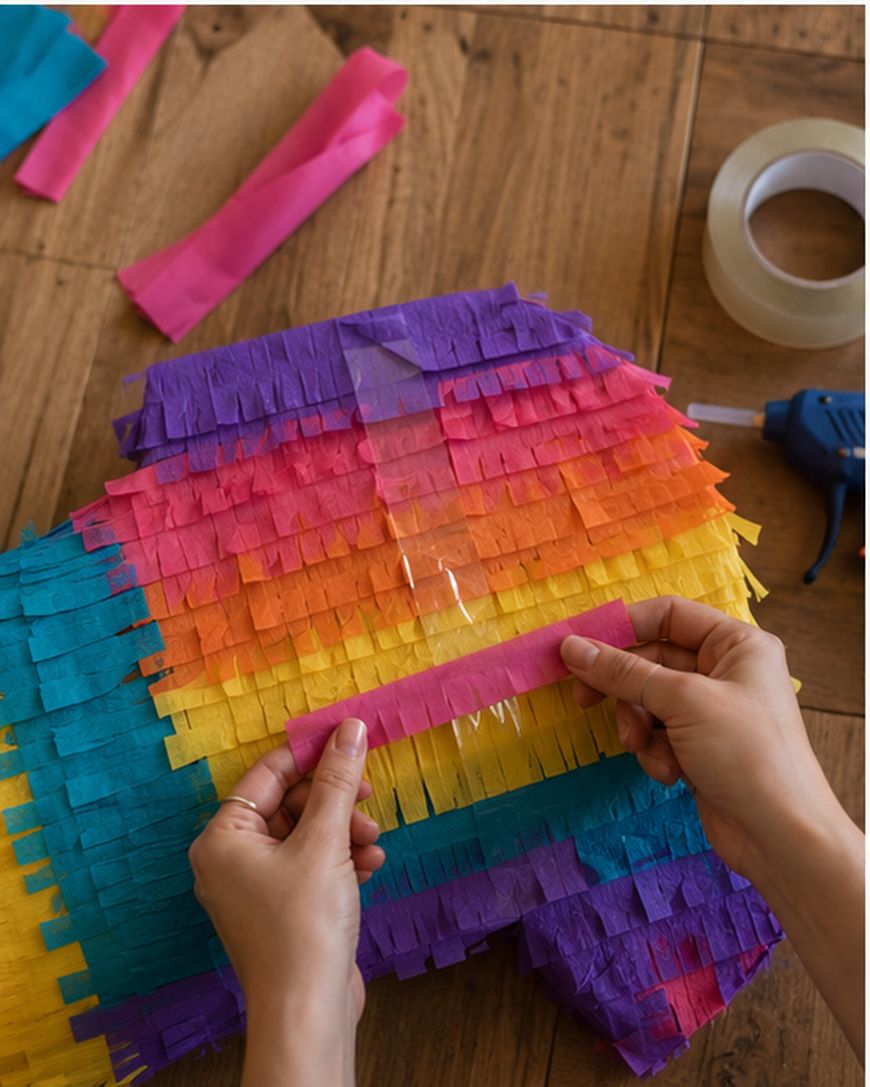
Switch up your tissue paper colors by row or section if you want stripes, a color-block design, or a themed pattern. A hot glue gun makes this part go quickly, though a thin layer of glue stick works fine too if you’re doing this with young kids.
Fill It With Candy and Treats
Once the tissue paper is fully dry, open the trap door you cut earlier and load the piñata with candy, small toys, and confetti. Wrapped candy tends to hold up best inside a piñata since loose pieces can get crushed or dusty during the swinging.
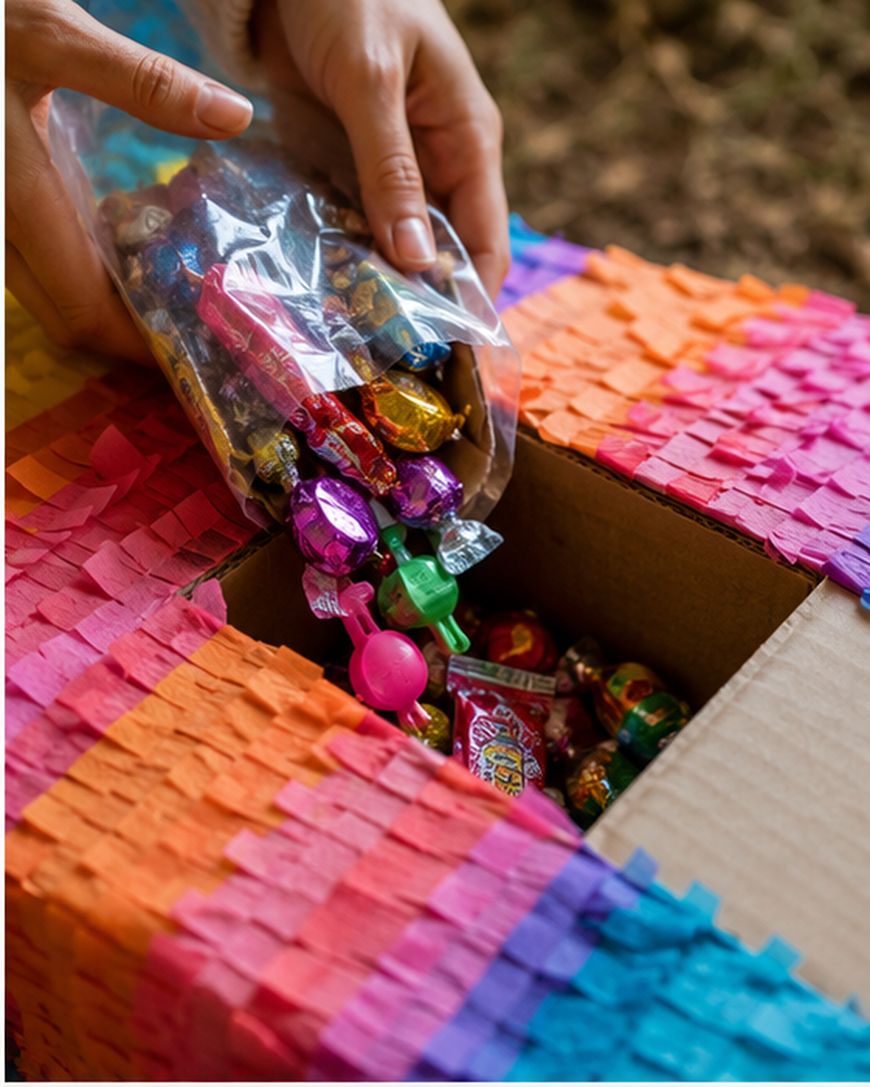
Mix in a few surprise items like stickers, small party favors, or temporary tattoos so kids get a nice variety when it finally breaks open. Don’t overfill the piñata, since too much weight can strain the hanging rope or make the trap door pop open early.
Tape the trap door securely shut once it’s filled, and add one more strip of tissue paper fringe over the seam so the patch blends in with the rest of the design.
Why Cardboard Piñatas Are Worth Making
Cardboard piñatas hold up better than paper mache versions because the base is already rigid, so you skip the days of drying time paper mache needs between layers. That also makes cardboard piñatas a much better option if you’re planning a party on short notice.
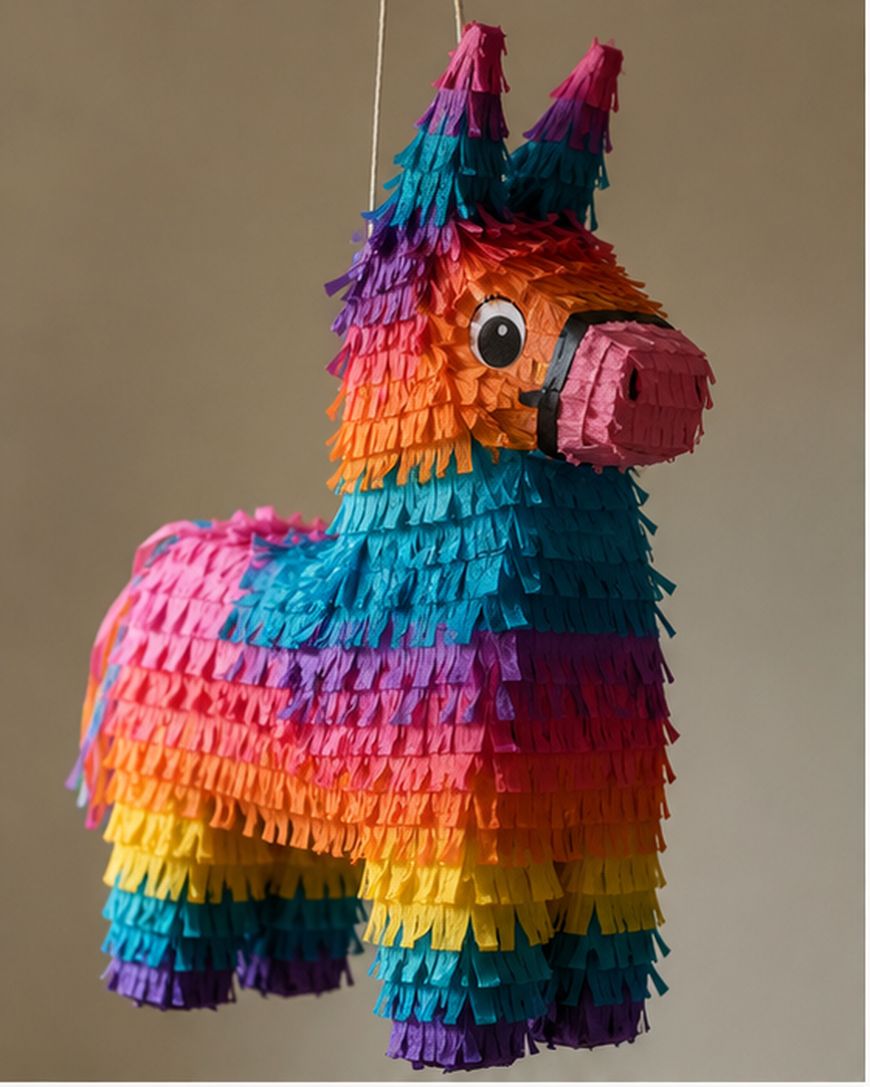
They’re sturdier during the actual game too, which means fewer piñatas that split open on the first hit and dump everything out too soon. A cardboard shell gives kids a few good swings before it finally breaks, which tends to make the moment feel more exciting.
Frequently Asked Questions
How long does it take to make a cardboard piñata?
A basic cardboard piñata usually takes about two to three hours from start to finish, including drying time for the glue. More detailed shapes with multiple cardboard pieces can take a bit longer.
What size box works best for a piñata?
A medium shipping box, roughly the size of a shoebox or a bit larger, works well for most homemade piñatas. Choose a size that’s easy for kids to reach and swing without it feeling too heavy once filled.
Do I need paper mache for a cardboard piñata?
No, paper mache is not necessary when you’re building on a cardboard base. The cardboard already gives you a solid, sturdy shape, so tissue paper fringe is all you need for the outside layer.
How do I make sure the piñata doesn’t break too easily?
Use a fully sealed cardboard box as your base and reinforce the hanging holes with extra cardboard or tape. A double layer of tape along the seams also helps the piñata hold together through more hits.
Can I make a themed shape, like an animal or a star?
Yes, you can build out a themed shape by attaching smaller cardboard pieces, like cones for ears or triangles for points, onto your main box with tape and hot glue before you add the tissue paper.
What’s the best way to hang a cardboard piñata?
Thread a sturdy rope through two reinforced holes near the top of the box and knot it securely on the inside. Test the balance by lifting it before you fill it with candy, so you can adjust the hole placement if needed.
Ready to Build Your Own
Making a piñata out of cardboard boxes is a fun, budget-friendly way to bring a homemade touch to any birthday party or celebration. Gather your boxes, grab some tissue paper, and give this cardboard piñata project a try for your next event.
More party inspiration: