Last updated: October 9, 2026
This no bake Biscoff cheesecake is a chilled cheesecake made with a Biscoff cookie crust and a cookie butter–flavored filling that sets in the fridge instead of the oven. It’s very simple to make: press a Biscoff crust into a pan, whip a cream cheese and cookie butter filling with stabilized whipped cream, chill until firm, then finish with a warm cookie butter topping.
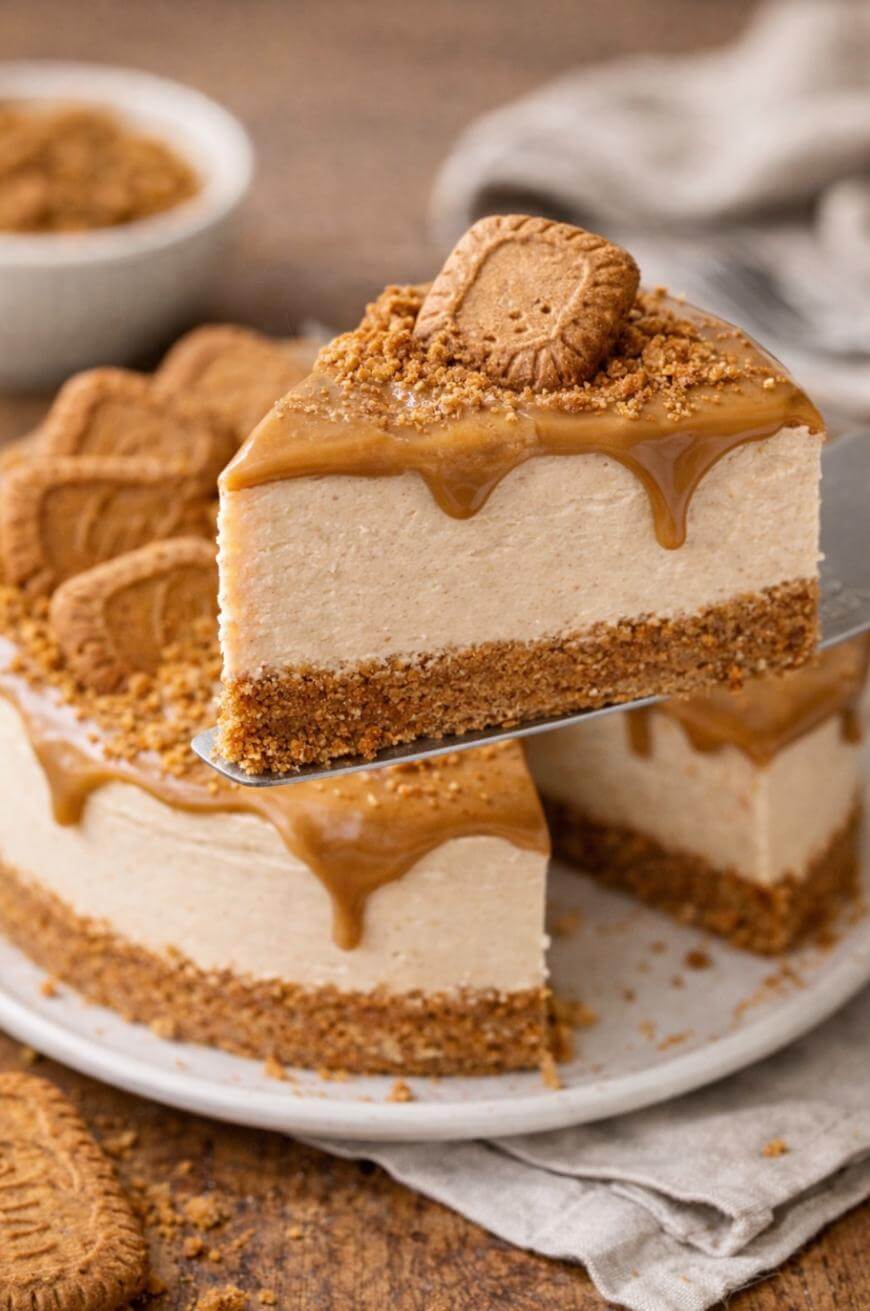
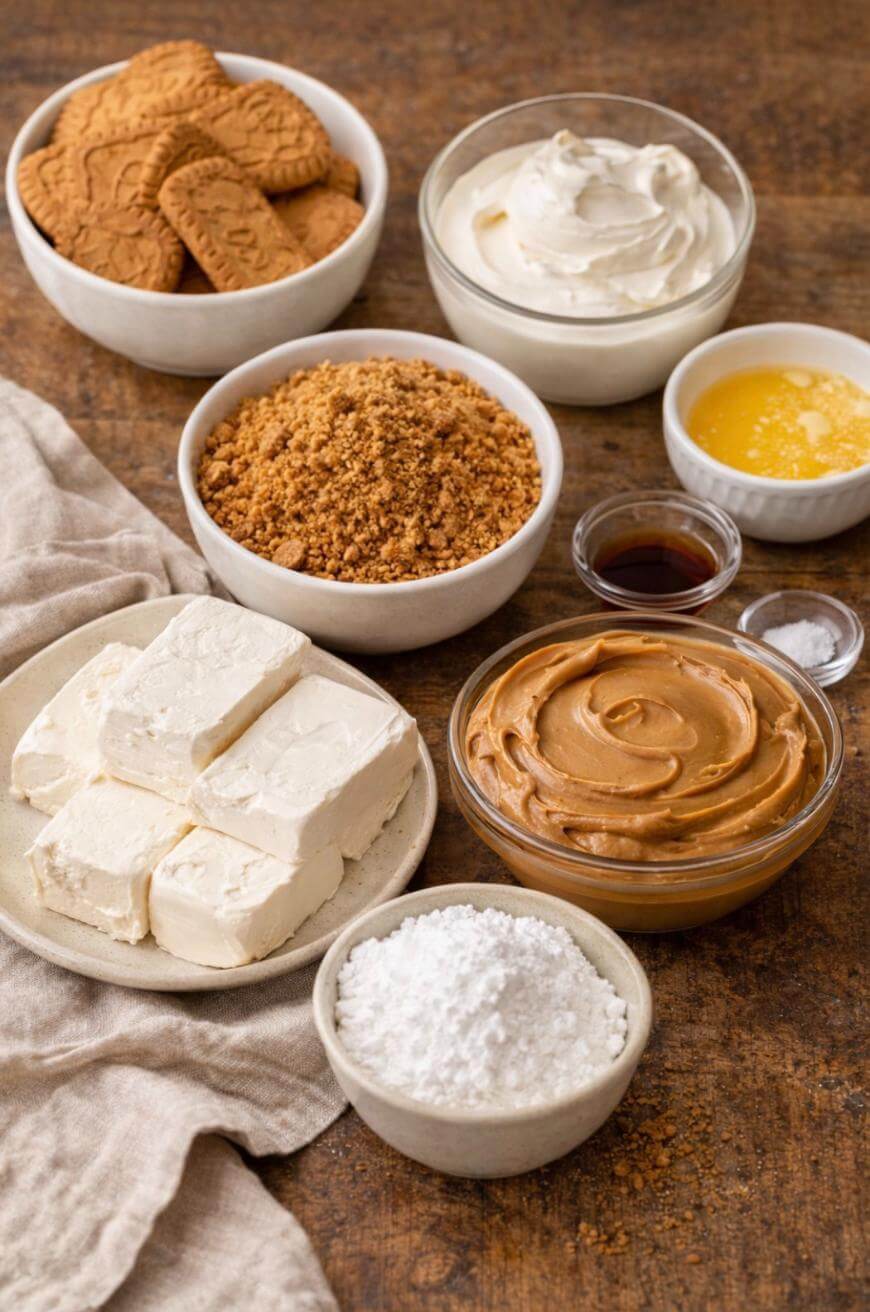
Ingredients
Biscoff cookies, 32 cookies (about 2 cups fine crumbs)
Unsalted butter, 6 tablespoons melted
Full-fat block cream cheese, 16 ounces softened
Powdered sugar, 3/4 cup
Biscoff cookie butter spread, 3/4 cup for the filling
Heavy whipping cream, 1 cup cold
Vanilla extract, 1 teaspoon
Fine salt, 1 pinch
Biscoff cookie butter spread, 1/2 cup for the topping
Biscoff cookies, 4 to 6 cookies for garnish (optional)
No Bake Biscoff Cheesecake Steps That Always Work
1. Choose A Pan That Releases Cleanly
An 8-inch or 9-inch springform pan is the easiest option because you can remove the ring without wrecking the edges. If you use a regular cake pan, you’ll want parchment with long overhang so you can lift it out.
A simple sizing guide is that an 8-inch pan gives you taller slices, while a 9-inch pan gives you slightly thinner slices that set a bit faster.
2. Crush The Cookies Into Fine, Even Crumbs
Use a food processor for the fastest, most consistent crumbs, or a zip-top bag and rolling pin if you want less cleanup. Aim for a sandy texture with no big chunks, because chunks create weak spots.
If you’re using a bag method, crush in two batches so you do not end up with a mix of powder and boulders.
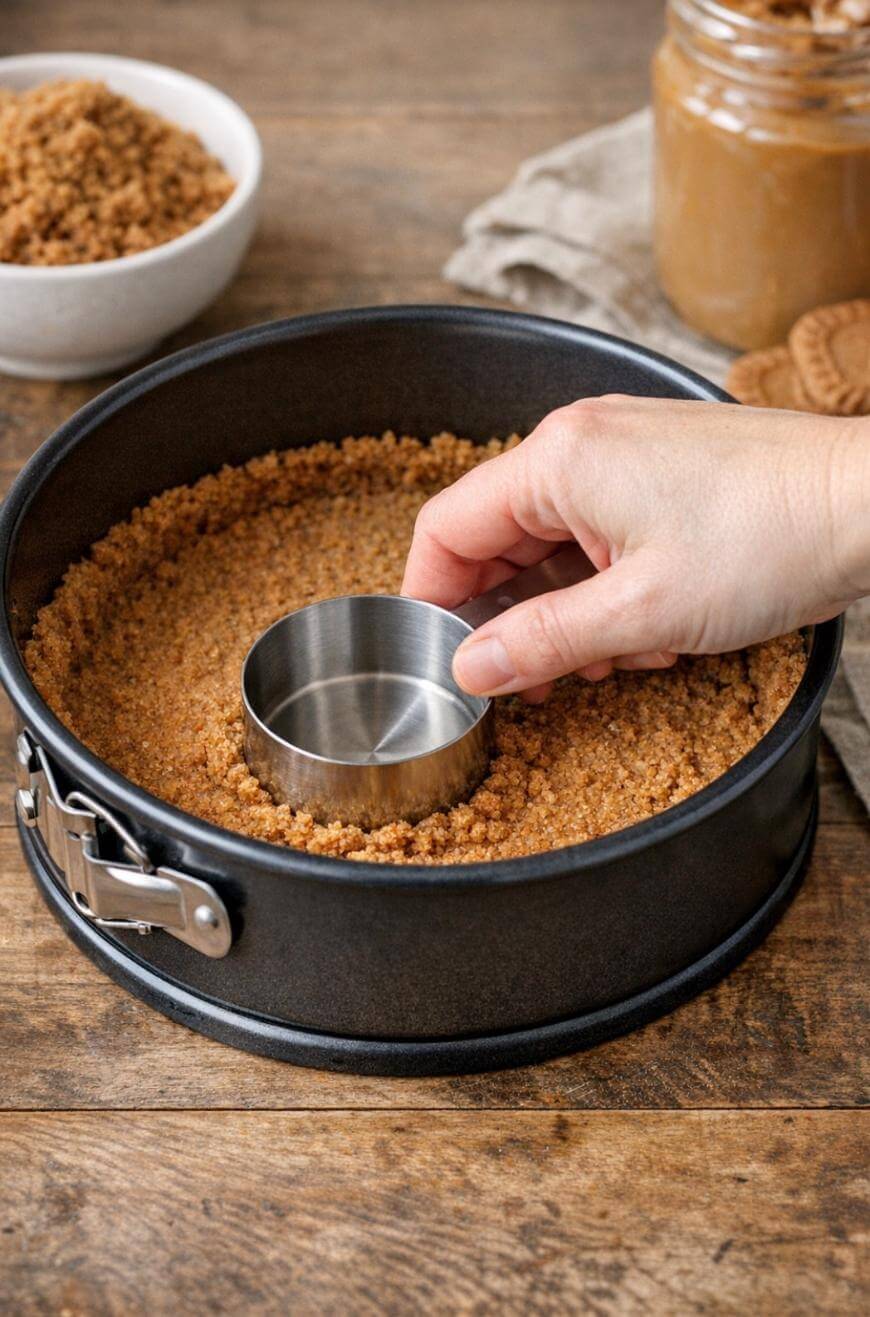
3. Use The Right Butter Ratio For A Firm Crust
Mix the crumbs with melted butter until every crumb looks glossy and evenly coated. You want “wet sand” that packs tightly, not dry crumbs that scatter.
A dependable ratio is about 2 cups fine crumbs to 6 tablespoons melted butter, which usually holds together well after chilling.
4. Pack The Crust Tight, Especially Around The Edges
Press the crust firmly into the base using the bottom of a measuring cup or a flat glass. Firm pressure matters because it turns loose crumbs into a sliceable base.
If you want extra stability, press a thin layer about 1 inch up the sides, but keep it even so it does not crack when you release the pan.
5. Chill The Crust While You Prep Everything Else
A chilled crust grips the filling better and cuts cleaner later. It also reduces the chance of the crust mixing into the filling when you spread.
If you are short on time, 15 minutes in the freezer is usually enough to noticeably firm it up.
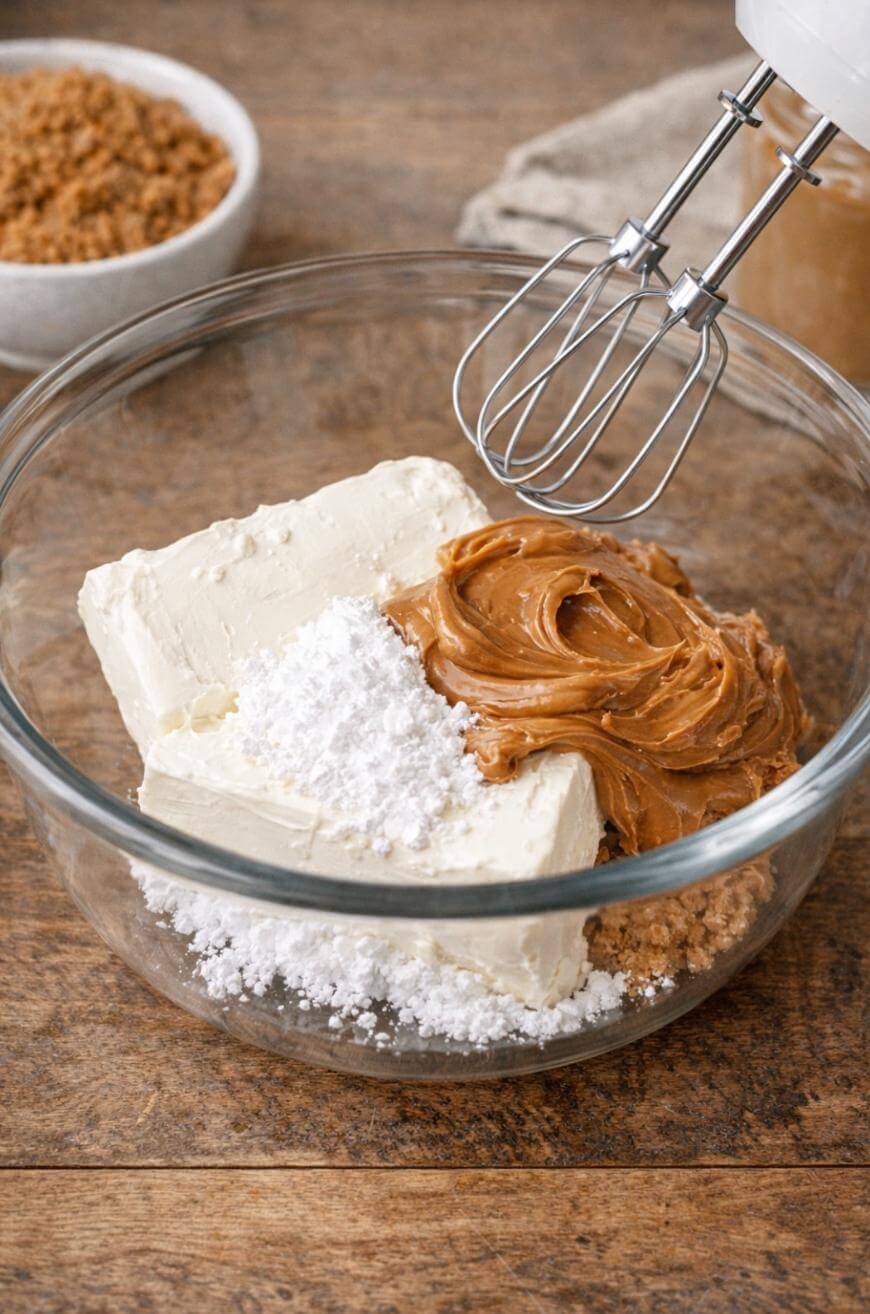
6. Soften Cream Cheese The Easy Way
Use full-fat block cream cheese for the thickest, most classic cheesecake texture. Let it sit at room temperature so it blends smooth without lumps.
A simple timing rule is 30 to 45 minutes on the counter, then it should dent easily when you press it.
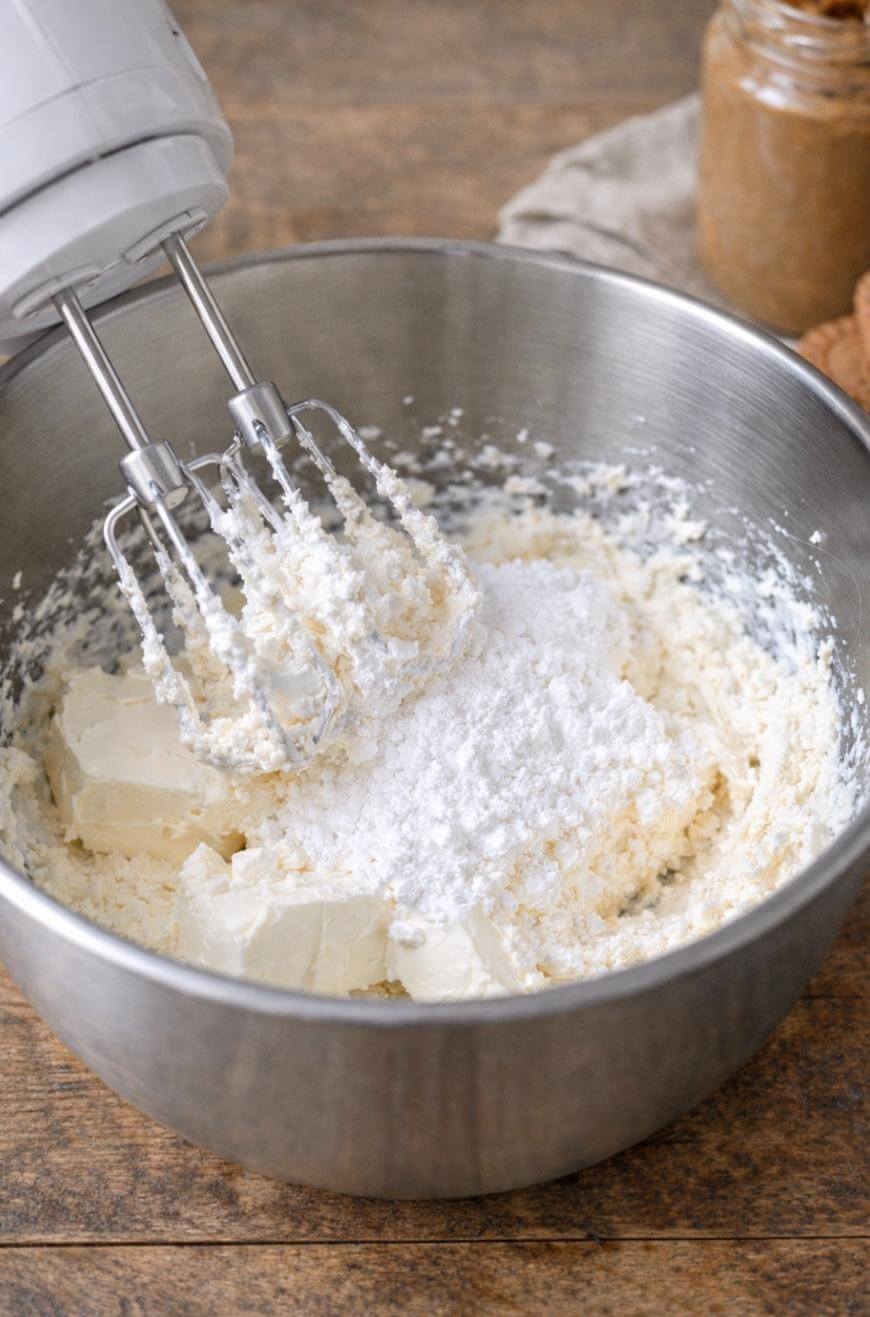
7. Beat Cream Cheese And Powdered Sugar Until Glossy
Start by mixing cream cheese and powdered sugar together before adding anything else. This is the best way to avoid gritty pockets and hidden lumps.
Mix for 1 to 2 minutes until it looks smooth and slightly fluffy, scraping the bowl once halfway through.
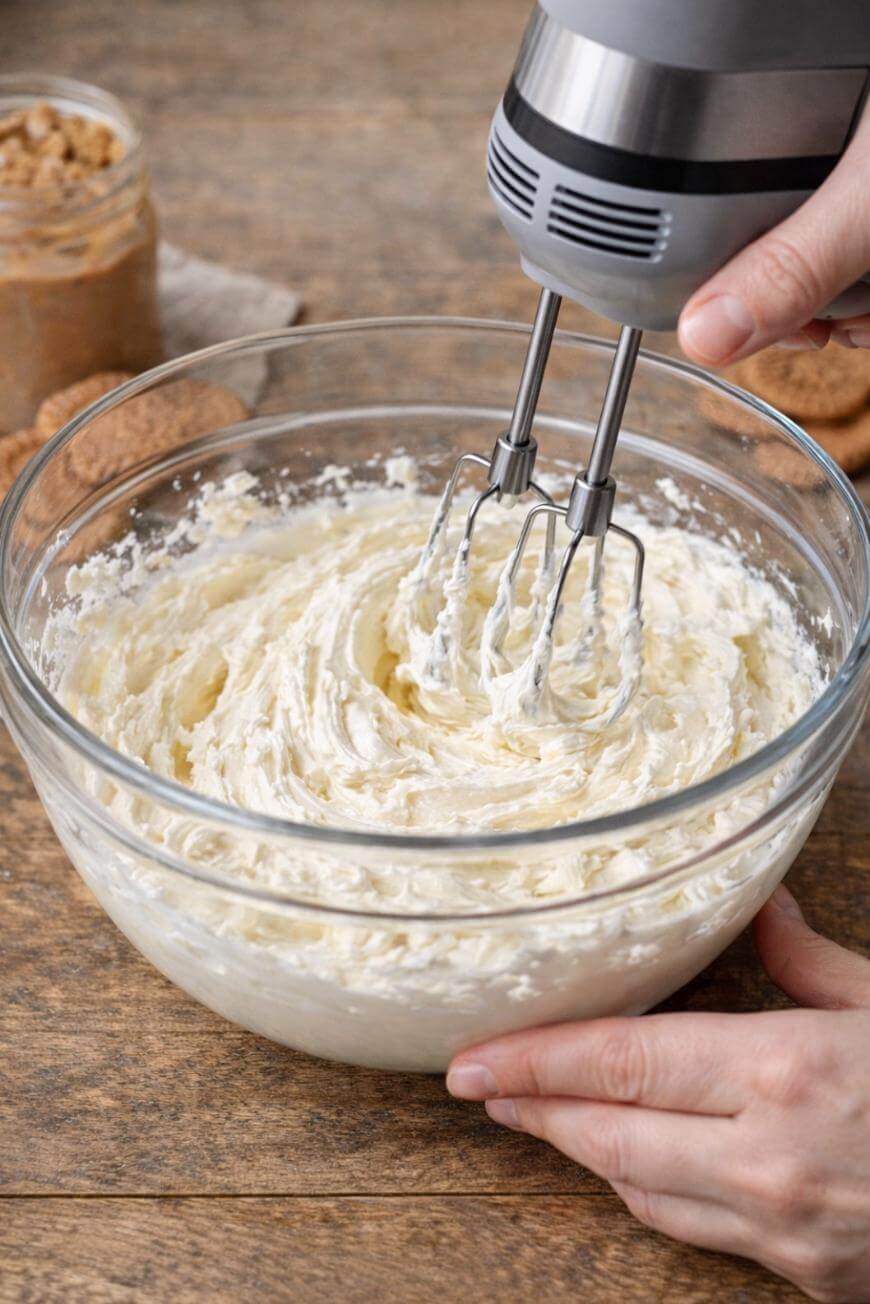
8. Add Cookie Butter Without Making The Filling Loose
Mix cookie butter into the cream cheese mixture until it is fully blended and uniform in color. Cookie butter adds a lot of flavor fast, so you do not need to go overboard.
A good starting amount is 3/4 cup cookie butter in the filling for a strong Biscoff flavor that still sets firmly.
9. Use A Pinch Of Salt To Make The Flavor Pop
Add a small pinch of fine salt even if your cookie butter is already sweet and spiced. Salt sharpens the caramel notes and keeps the dessert from tasting flat.
If you accidentally add too much, balance it by adding 1 to 2 tablespoons more whipped cream later to soften the edge.
10. Whip The Heavy Cream To Stiff Peaks Separately
Whipping cold heavy cream separately builds structure and helps the cheesecake set without baking. Stiff peaks mean the cream stands up and holds its shape.
A practical cue is that when you lift the beaters, the peak should stay upright instead of drooping over.
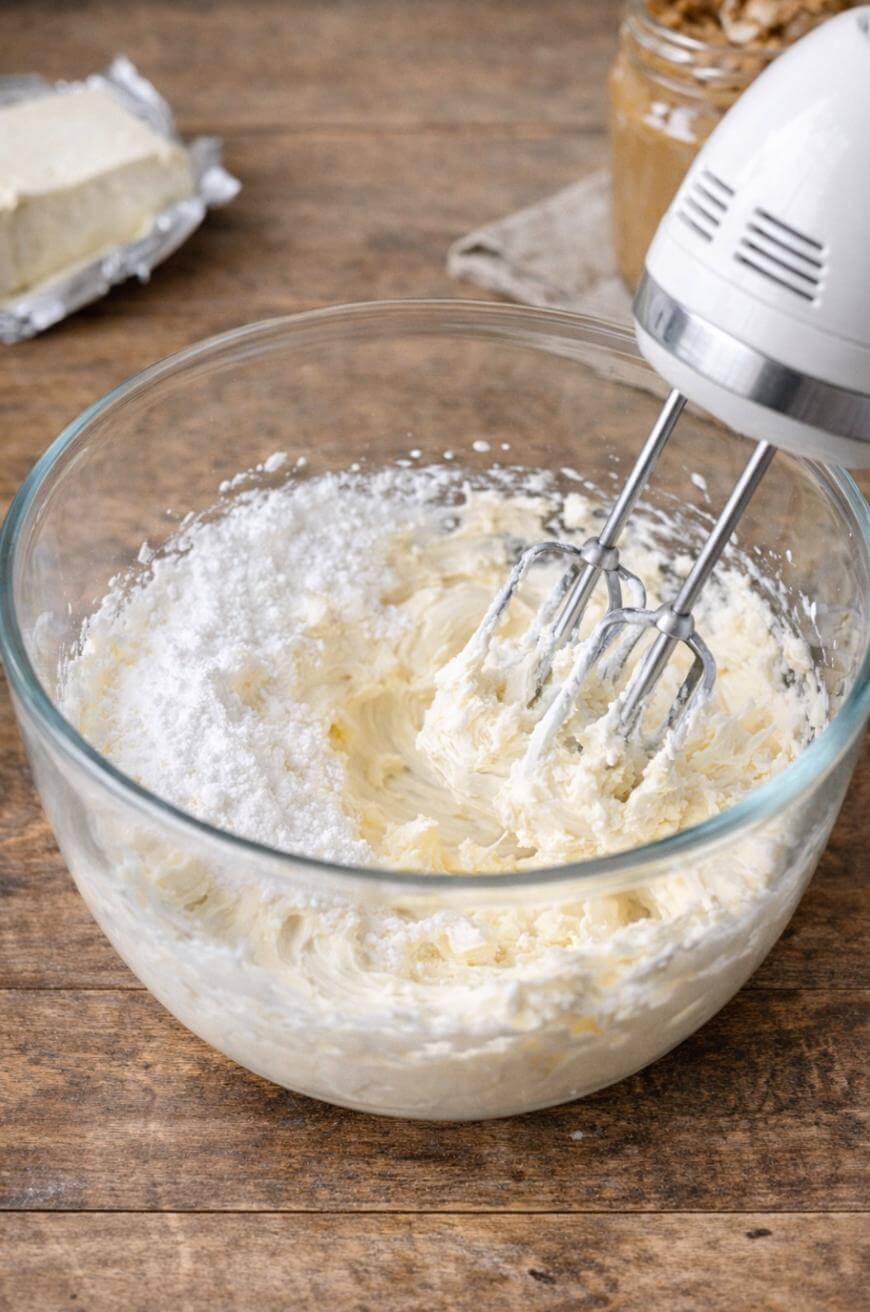
11. Fold Whipped Cream In Gently To Keep It Airy
Fold the whipped cream into the cookie butter cream cheese mixture in two or three additions. Gentle folding keeps the filling light instead of dense and runny.
If you stir aggressively, you knock out the air and your cheesecake will set flatter and feel heavier.
12. Check The Filling Thickness Before You Spread
Your filling should look thick enough to mound slightly on a spatula. If it looks pourable, you likely under-whipped the cream or over-warmed the mixture.
A quick fix is to chill the bowl for 10 minutes, then fold in a few extra spoonfuls of stiff whipped cream if needed.
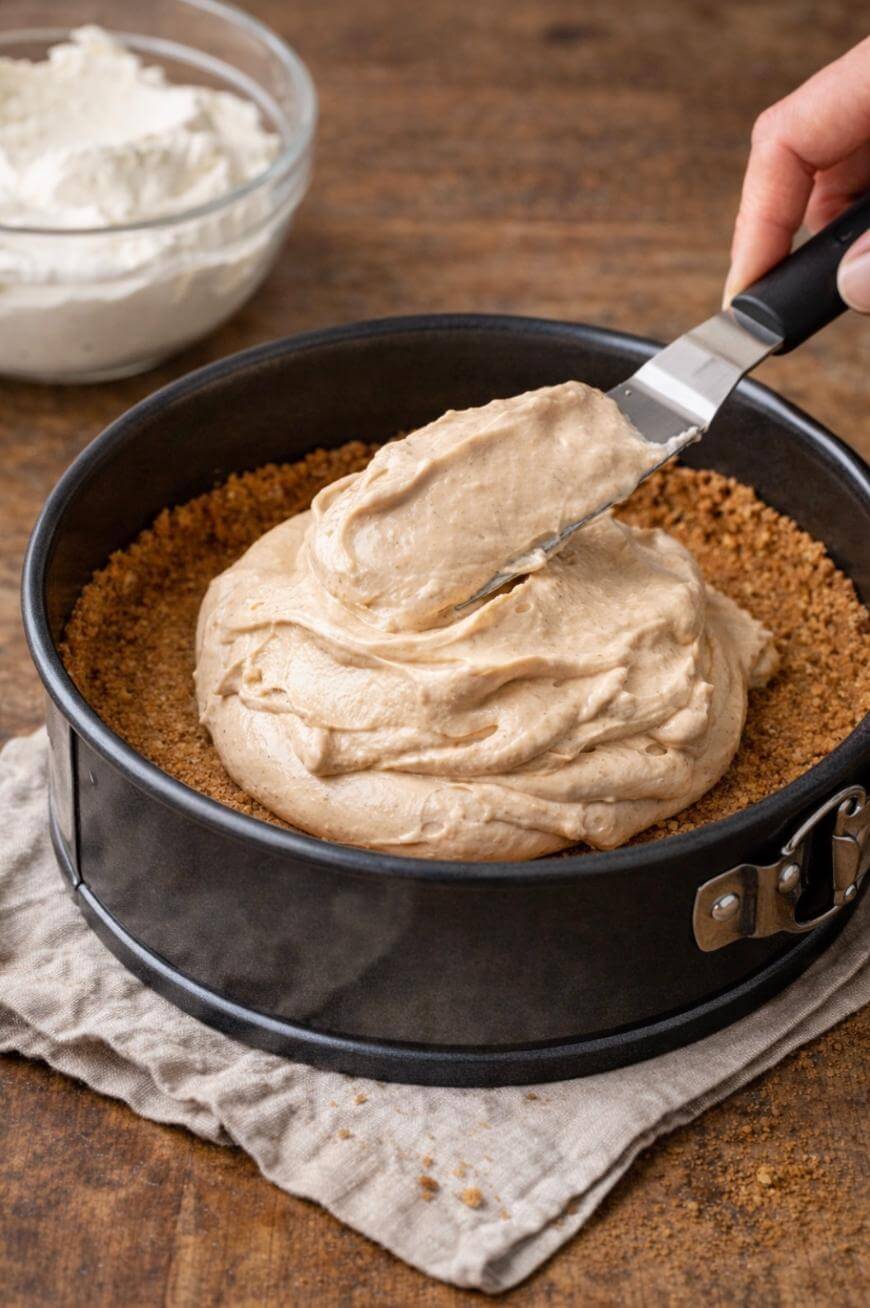
13. Spread The Filling Without Disturbing The Crust
Spoon the filling onto the crust, then spread outward gently with an offset spatula. Starting in the center helps you avoid dragging crumbs across the top.
If crumbs still sneak in, wipe your spatula clean once and smooth again for a cleaner finish.
14. Tap The Pan To Remove Hidden Air Pockets
Tap the pan lightly on the counter a few times to pop trapped air bubbles. This step makes slices look smoother and more uniform.
Do not slam it, because hard impact can crack the crust or loosen the filling around the edges.
15. Chill Long Enough For A Real Set
Refrigerate until the filling feels firm to a light touch and holds a clean edge when sliced. Short chills lead to soft slices that slump.
For most kitchens, plan on at least 6 hours, and overnight (8 to 12 hours) is even better if you want perfect, photo-ready slices.
16. Warm The Topping Just Until It Pours
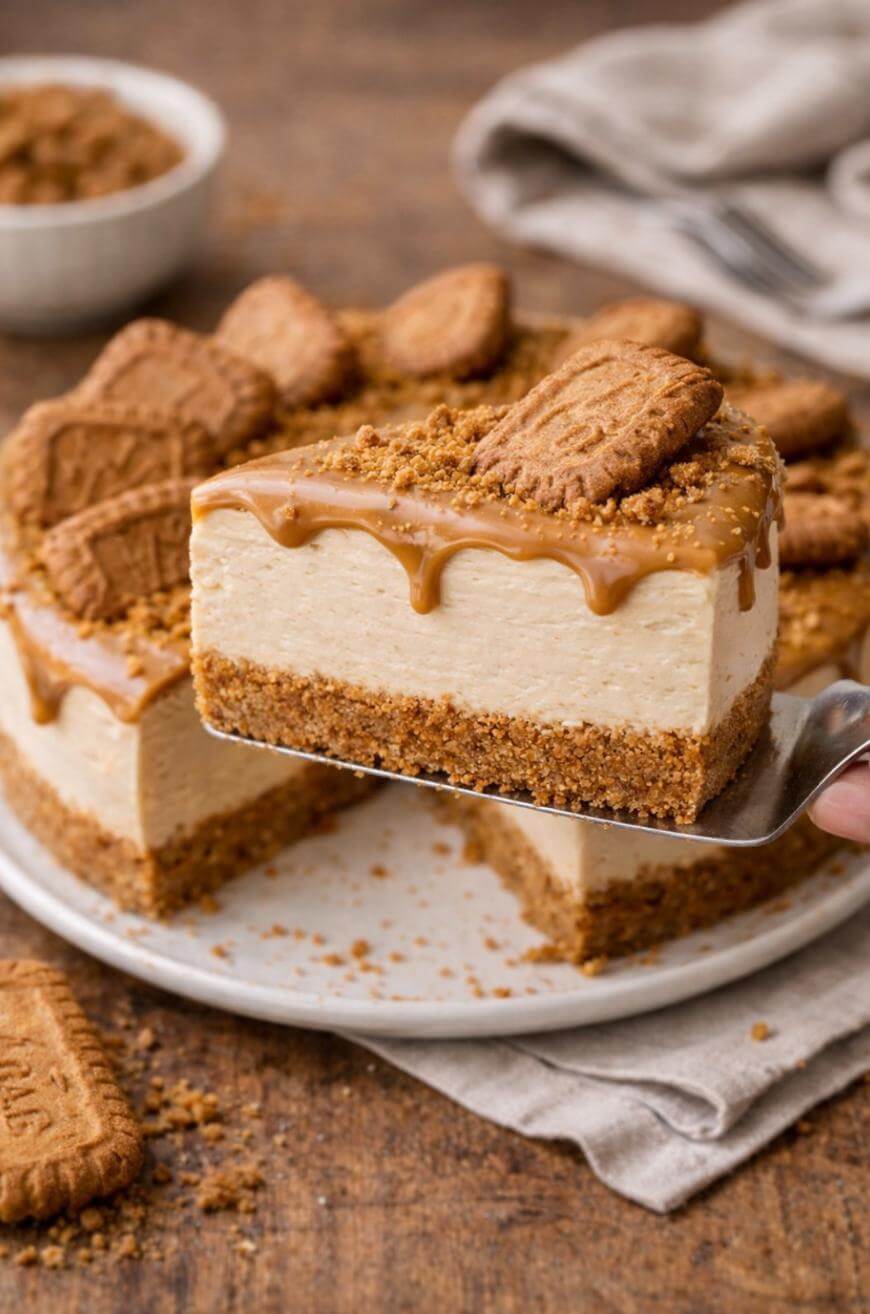
Warm cookie butter topping in short bursts so it becomes pourable but not hot. Overheating can make it oily and create a weird texture on top.
A good microwave approach is 10 to 15 seconds, stir, then repeat once if needed.
17. Add The Topping After The Cheesecake Is Cold
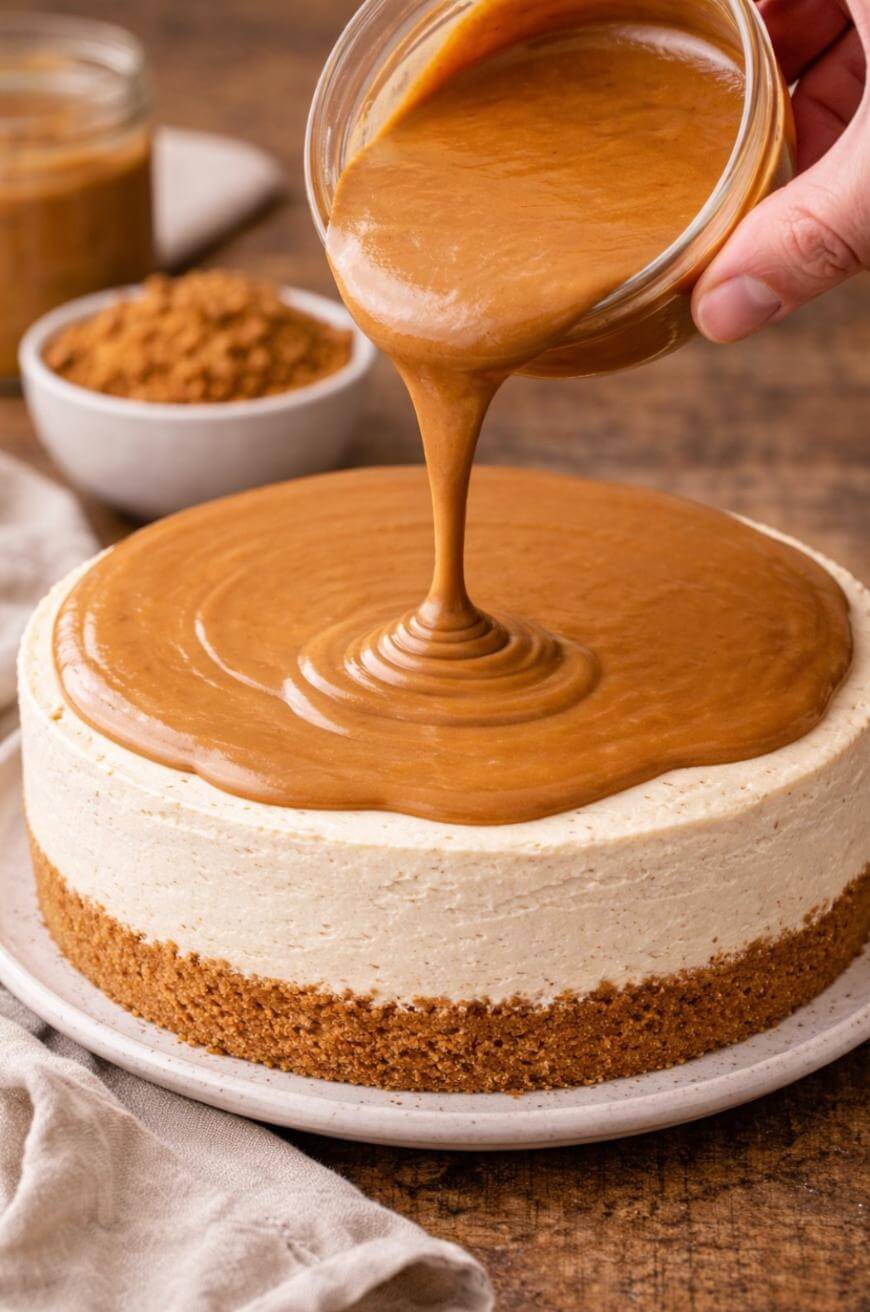
Pour the topping only after the cheesecake is fully chilled, so it sets into a glossy layer instead of sinking in. A cold surface helps the topping firm quickly.
If you want a thicker top layer, let the first thin layer set for 10 minutes in the fridge, then add a second thin layer.
18. Garnish In A Way That Stays Crunchy
Add cookie pieces right before serving if you want them crisp. If you add them too early, they soften as they sit on the topping.
A simple upgrade is to add one cookie half per slice at serving time for a clean look without soggy crumbs.
19. Release A Springform Pan Without Smearing The Sides
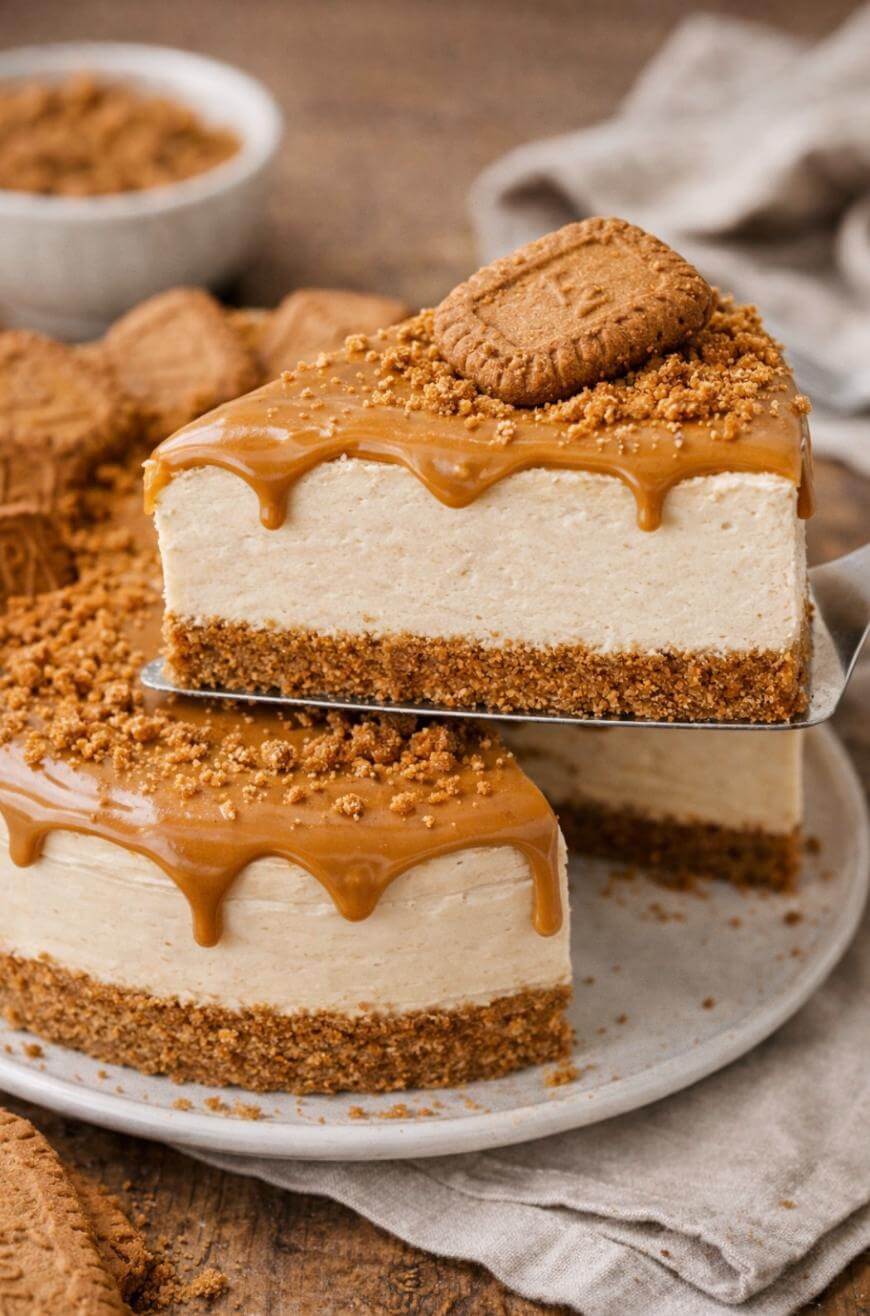
Run a thin knife around the edge first, then slowly unclasp the ring. This reduces dragging and keeps your sides clean.
If the cheesecake looks stuck, warm the outside of the pan with a warm towel for 20 to 30 seconds to help it release.
20. Slice Cleanly With Heat And Wipes
Use a sharp knife dipped in hot water, then wipe it dry before each cut. Heat helps the knife glide, and wiping prevents filling from sticking.
If you want bakery-clean slices, repeat the dip-and-wipe every single slice, even if it feels extra.
21. Store It The Right Way So It Does Not Dry Out
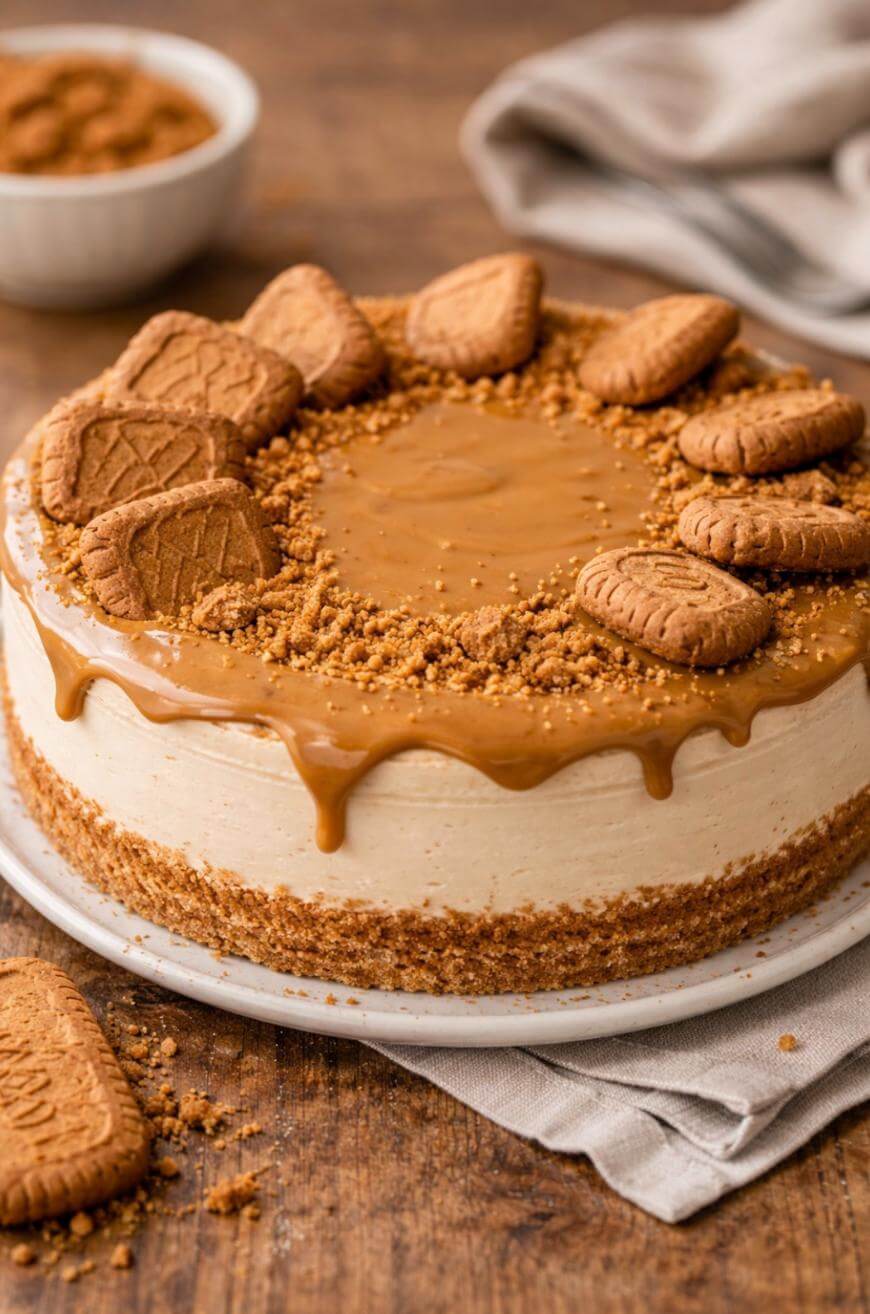
Keep it covered in the fridge so it stays creamy and does not pick up fridge smells. A springform lid or an overturned bowl works if you do not have a cake carrier.
For best texture, plan to eat it within 3 to 4 days.
22. Freeze Slices For A Make-Ahead Dessert
Freeze individual slices on a tray first, then wrap them tightly once solid. This keeps slices from sticking together and helps them hold their shape.
A reliable freezing window is up to 1 month, then thaw in the fridge for a few hours before serving.
23. Make A Lighter Version Without Ruining The Set
If you want a slightly lighter bite, you can reduce the cookie butter in the filling a bit and add a touch more whipped cream. You still need enough fat to keep that classic cheesecake feel.
A safe adjustment is reduce cookie butter by 2 tablespoons and increase whipped cream by 2 tablespoons while keeping everything else the same.
24. Fix Common Texture Problems Fast
If it is too soft, it usually needs more chilling time or your whipped cream was not stiff enough. If it is grainy, the cream cheese was likely too cold or under-mixed.
The simplest rescue is to chill longer for softness, and next time soften the cream cheese properly and beat it smooth before adding anything else.
Get the exact measurements and step-by-step instructions in the recipe card below.
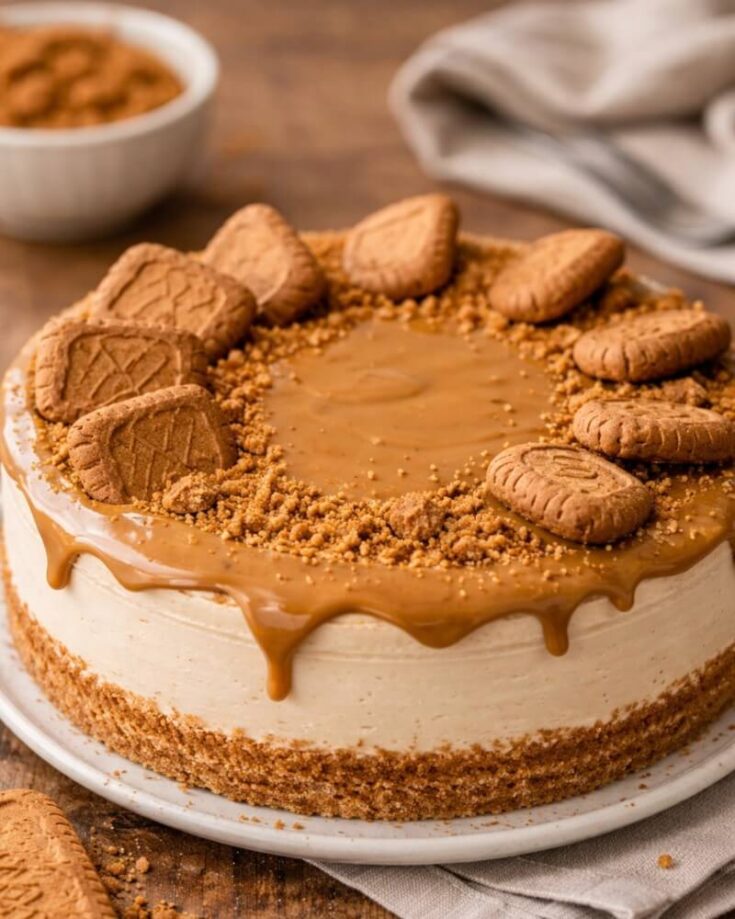
No Bake Biscoff Cheesecake
A chilled cheesecake with a Biscoff cookie crust and a cookie butter filling that sets in the fridge, no oven required.
Ingredients
- 32 Biscoff cookies (about 2 cups fine crumbs)
- 6 tablespoons unsalted butter, melted
- 16 ounces full-fat block cream cheese, softened
- 3/4 cup powdered sugar
- 3/4 cup Biscoff cookie butter spread, for the filling
- 1 cup heavy whipping cream, cold
- 1 teaspoon vanilla extract
- 1 pinch fine salt
- 1/2 cup Biscoff cookie butter spread, for the topping
- 4 to 6 Biscoff cookies, for garnish, optional
Instructions
- Pulse the Biscoff cookies into fine, even crumbs in a food processor.
- Mix the crumbs with melted butter until every crumb looks glossy, then press firmly into the bottom of a springform pan. Chill while making the filling.
- Beat the cream cheese and powdered sugar together until smooth.
- Beat in the cookie butter, vanilla, and salt until fully combined.
- In a separate bowl, whip the cold heavy cream to stiff peaks.
- Gently fold the whipped cream into the cookie butter mixture in two or three additions until airy and combined.
- Spread the filling over the chilled crust and smooth the top.
- Chill for at least 4 hours, or until firm.
- Warm the remaining cookie butter until pourable and drizzle over the top before slicing. Garnish with extra cookies if desired.
Notes
Use a food processor for the finest, most even cookie crumbs. Whip the heavy cream to true stiff peaks and fold it in gently so the filling stays light and sets properly without baking.
Nutrition Information:
Yield:
12Serving Size:
1 sliceAmount Per Serving: Calories: 480Total Fat: 34gSaturated Fat: 18gSodium: 320mgCarbohydrates: 38gFiber: 1gSugar: 27gProtein: 6g
This site provides estimated nutritional information. This information comes from online calculators. Although we try to provide accurate nutritional information, these figures are only estimates.
Key Takeaways
A springform pan makes clean slicing much easier.
Use full-fat block cream cheese for the best set.
Whip the cream to stiff peaks for structure.
Chill at least 6 hours, and overnight is best.
Warm the topping just until pourable, not hot.
Dip and wipe your knife for clean slices.
FAQ
Can You Make This The Same Day You Serve It?
Yes, but you should chill it at least 6 hours for slices that hold their shape. If you can start in the morning for an evening dessert, that timing usually works well.
Why Is My Cheesecake Not Setting Firmly?
It is usually under-whipped cream or not enough chilling time. Next time, whip to stiff peaks and chill overnight for the most reliable set.
Can You Use Whipped Topping Instead Of Heavy Cream?
Yes, but it will be sweeter and slightly less rich. Use the same volume and fold it in gently so you do not deflate the filling.
What Is The Best Budget Range For Ingredients?
You can typically make it for about $12 to $22 depending on cookie butter pricing and whether you buy store brand dairy. Watching for multipacks of cookies can lower the cost per cake.