Last updated: October 12, 2026
You can make peppermint bark at home in about 20 minutes of hands-on time, and it tastes better than anything you will find in a holiday gift tin. The recipe card below has the exact quantities and steps, so you always have that to fall back on.
Why Peppermint Bark Is a Christmas Staple
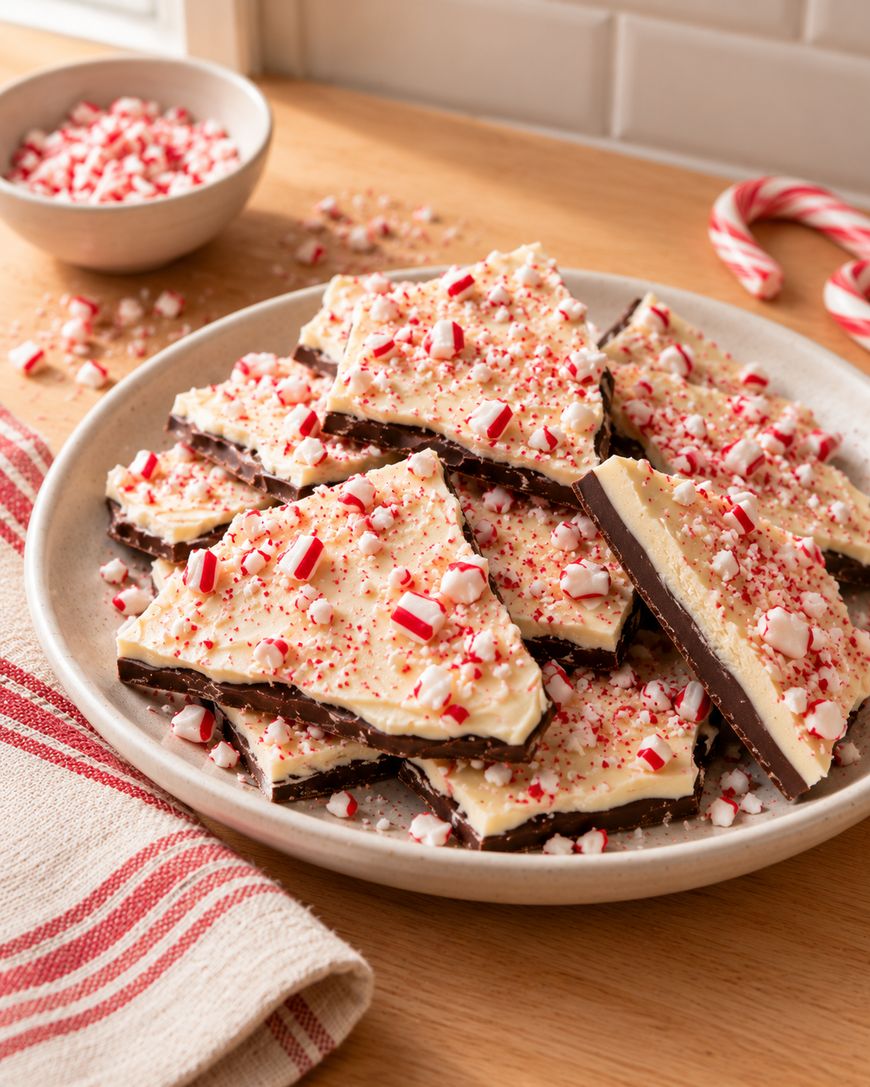
Peppermint bark shows up on nearly every holiday dessert table for a reason. It pairs two kinds of melted chocolate with crushed candy canes, so every bite gives you a little crunch alongside the smooth chocolate.
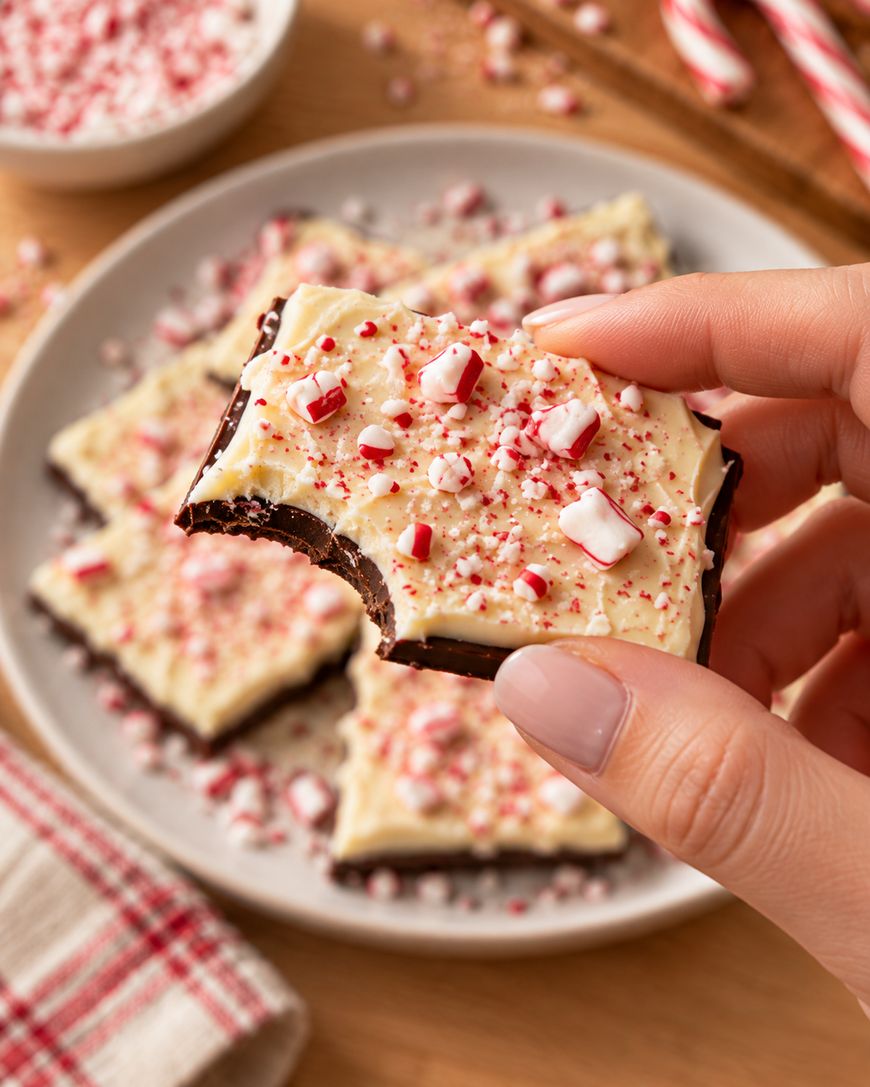
The dish traces back to Williams Sonoma, which popularized the layered version in the 1990s. Home cooks have been making their own take ever since, because it needs almost no special equipment and keeps well for weeks.
Making peppermint bark yourself also means you control the ratio of dark chocolate to white chocolate. Some people prefer a thinner white layer, and others want the two roughly equal, so a homemade batch lets you decide.
What You Need Before You Start
You need dark or semisweet chocolate, white chocolate, peppermint extract, and crushed candy canes. Good chocolate matters more than any other ingredient here, since the flavor is so simple that a low quality bar will taste waxy once it sets.
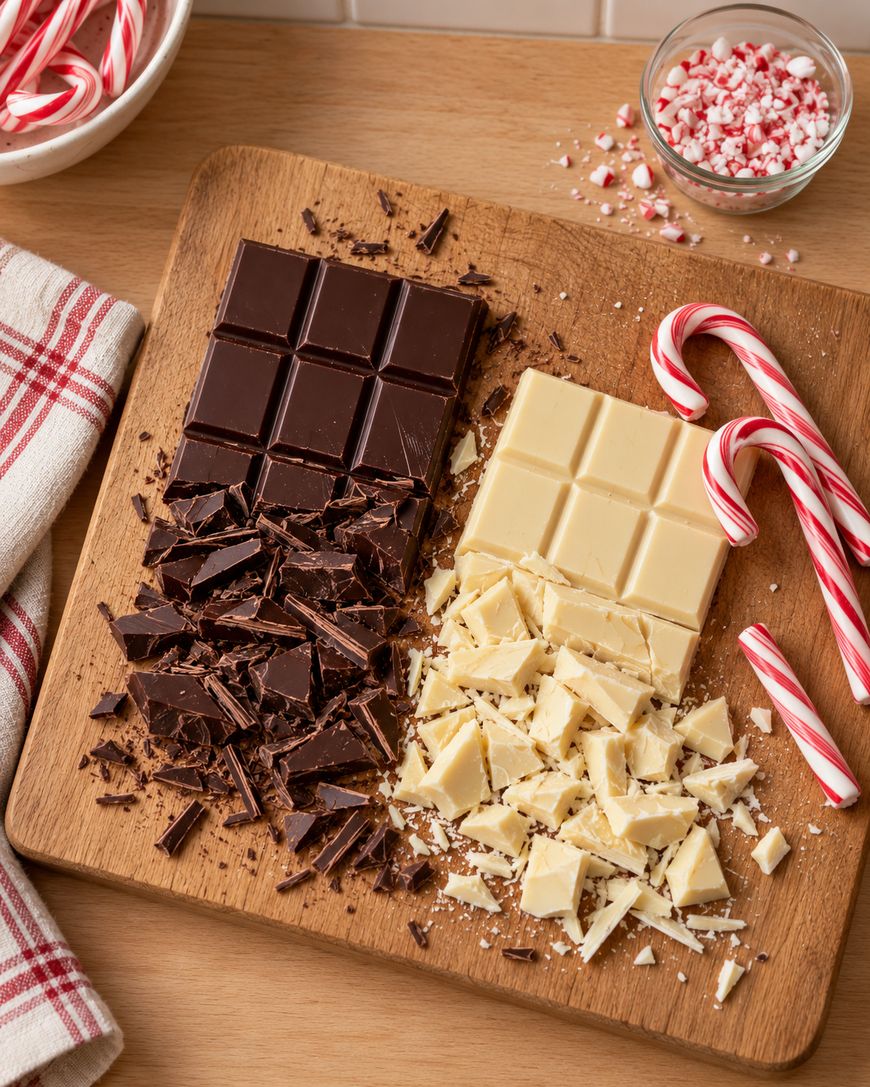
Look for real chocolate with cocoa butter listed on the label rather than chocolate-flavored candy coating. Candy coating melts more easily and skips tempering, but it also tastes flatter and can leave a greasy film on your tongue.
You also need a rimmed baking sheet lined with parchment paper or a silicone mat. A small offset spatula helps you spread each chocolate layer evenly, though the back of a spoon works in a pinch.
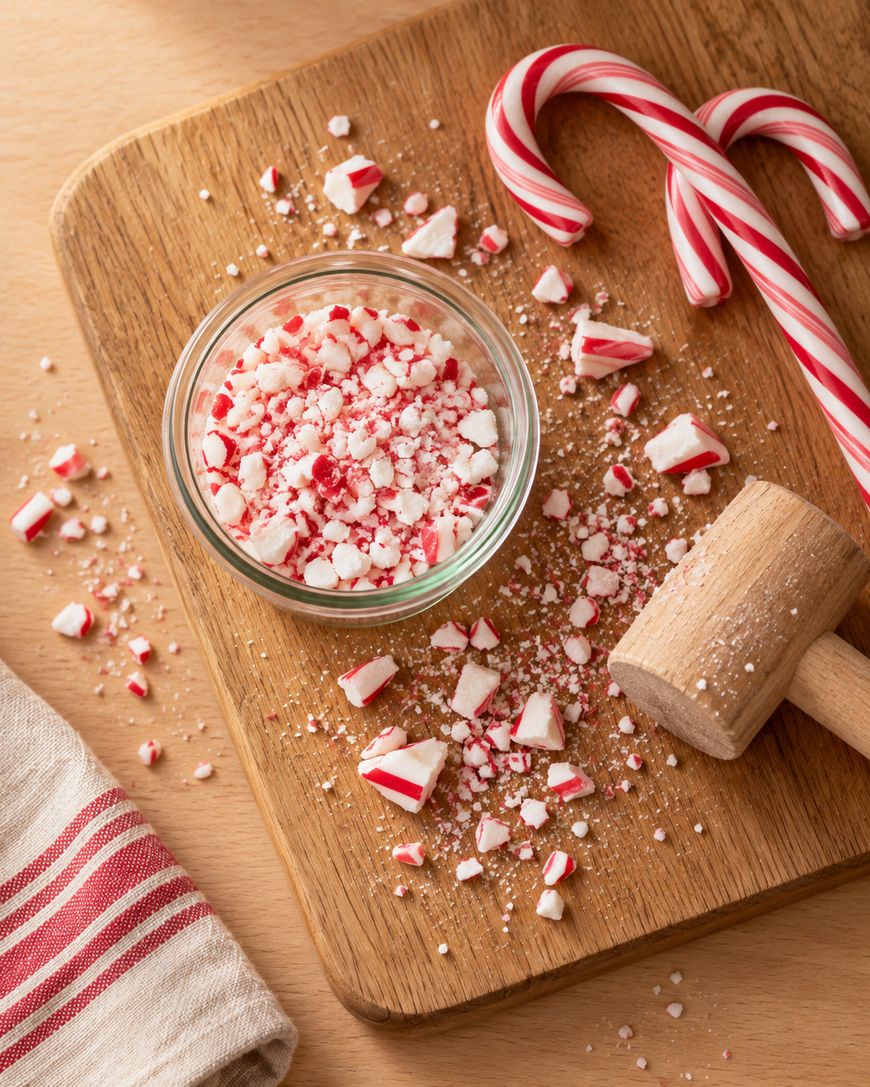
Melting the Chocolate the Right Way
Melting chocolate is the one place in this recipe where precision actually matters, because chocolate seizes into a grainy mess the moment water or overheating gets involved. Use a microwave-safe bowl and heat the chopped chocolate in 30-second bursts, stirring between each one.
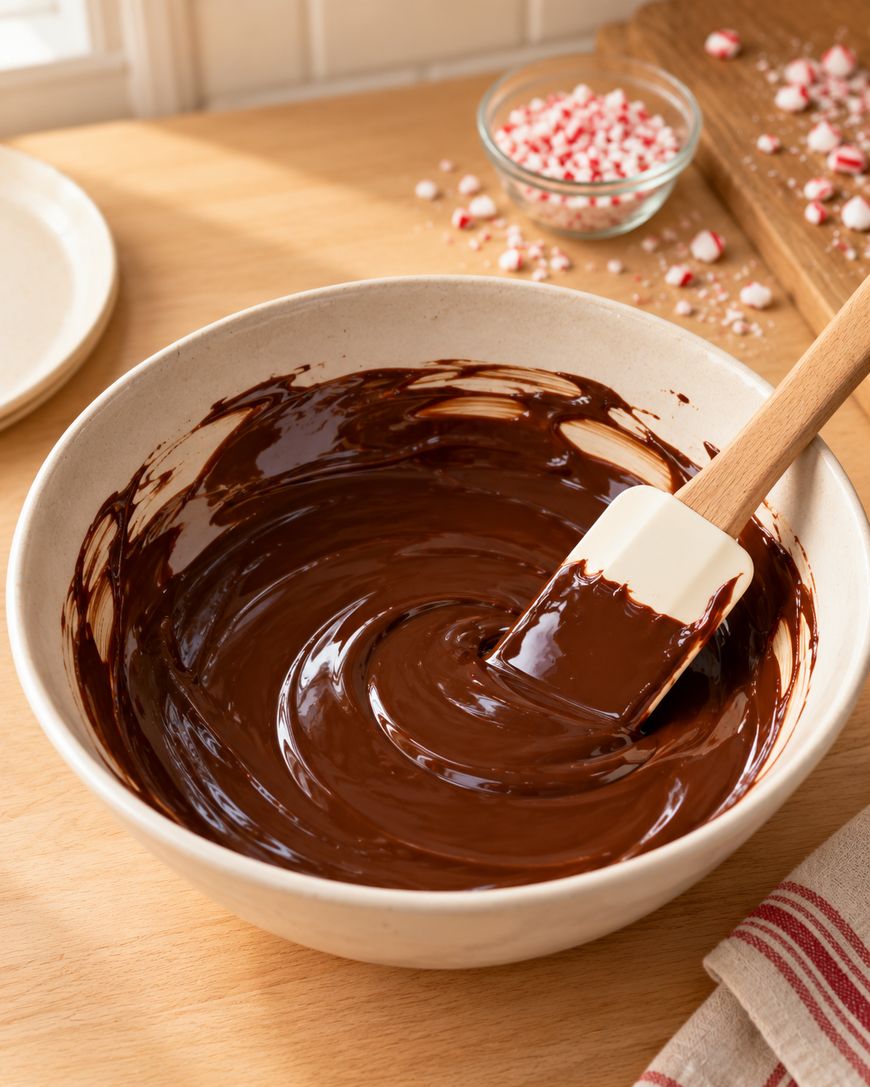
Stop microwaving once a few small lumps remain and let the residual heat finish melting them as you stir. This keeps the chocolate from overheating, which is the most common reason a first attempt at bark turns out grainy or dull instead of glossy.
If you would rather use a double boiler, set a heatproof bowl over a pot of barely simmering water and make sure the bowl never touches the water directly. Stir constantly and remove the bowl the moment the chocolate is smooth, since carryover heat keeps working even off the stove.
Keep every utensil and bowl completely dry before it touches the chocolate. A single drop of water is enough to turn smooth melted chocolate into a stiff, clumpy paste that will not spread properly.
Layering and Setting the Bark
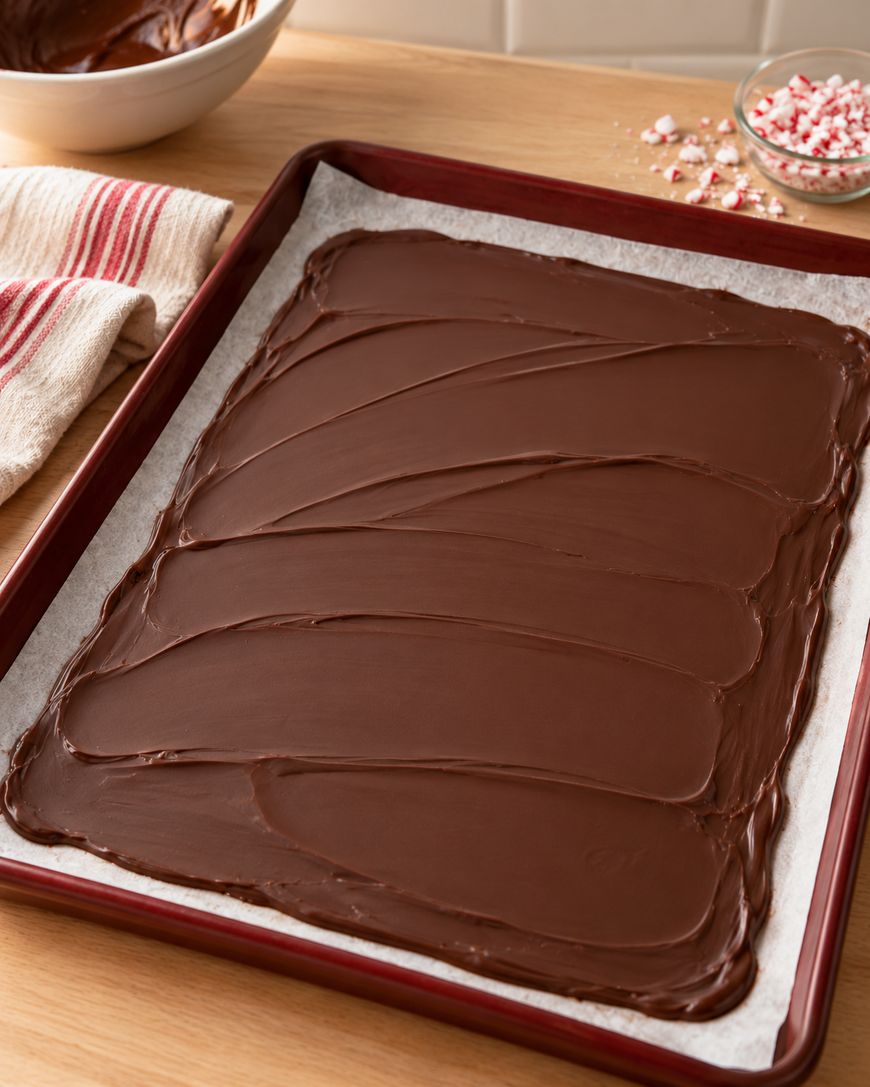
Spread the melted dark chocolate across your lined baking sheet in an even layer about a quarter inch thick. Tap the pan gently on the counter a few times to release any air bubbles and smooth the surface.
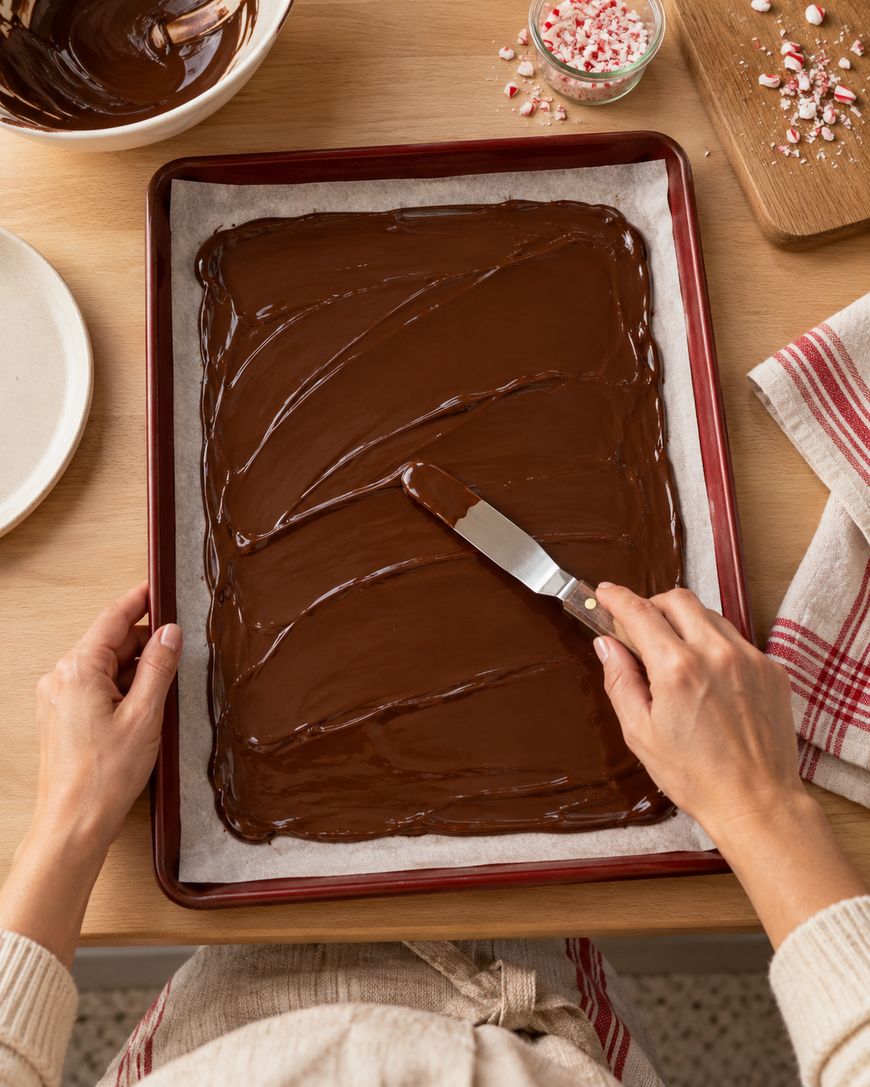
Let the dark layer firm up in the refrigerator for about 10 minutes before you add the white chocolate on top. This short chill keeps the two layers distinct instead of letting them swirl together into a muddy mix.
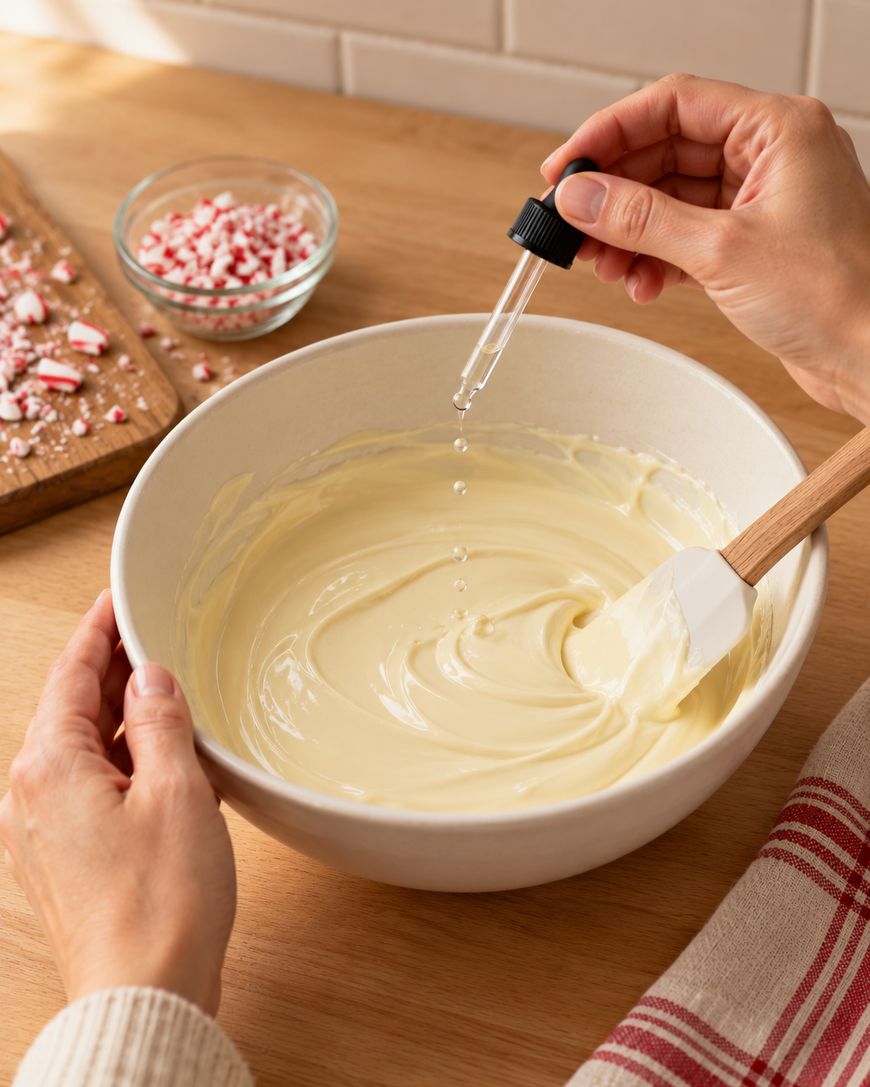
Melt the white chocolate using the same gentle method, then stir in the peppermint extract. Add the extract a few drops at a time and taste as you go, since peppermint extract is far more concentrated than peppermint flavoring and a little goes a long way.
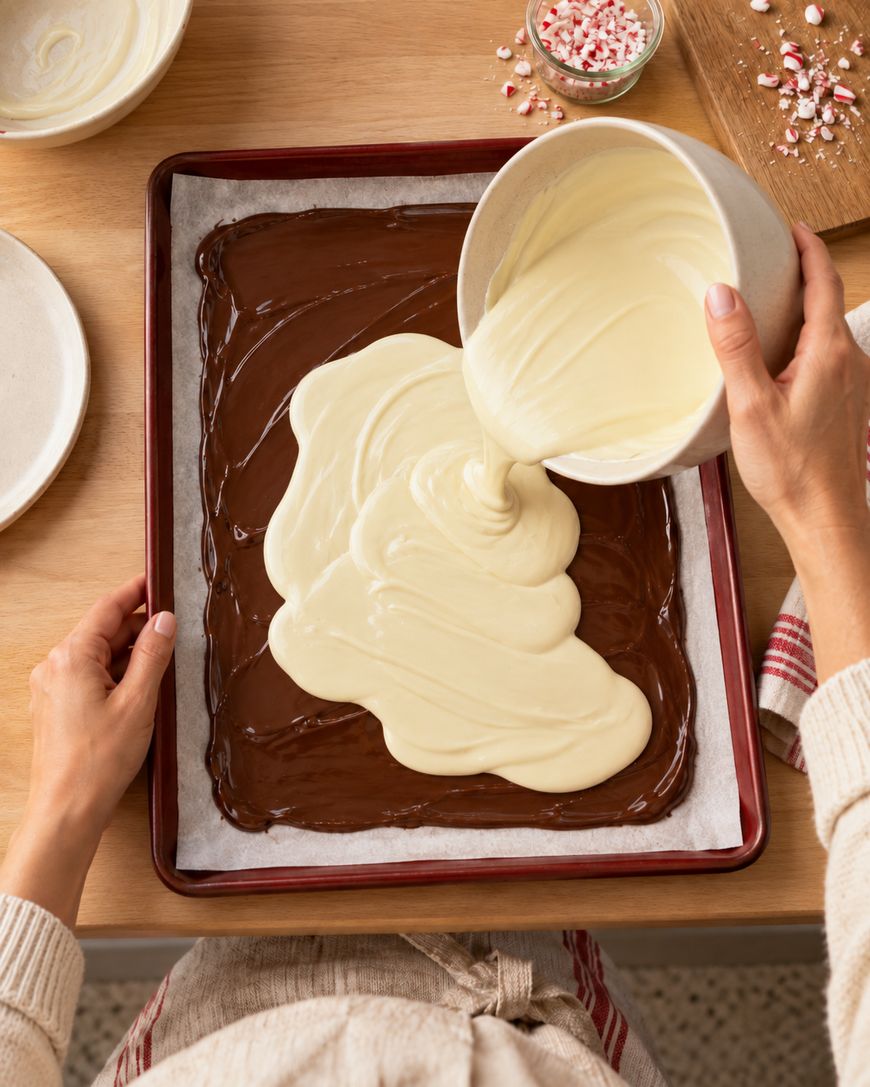
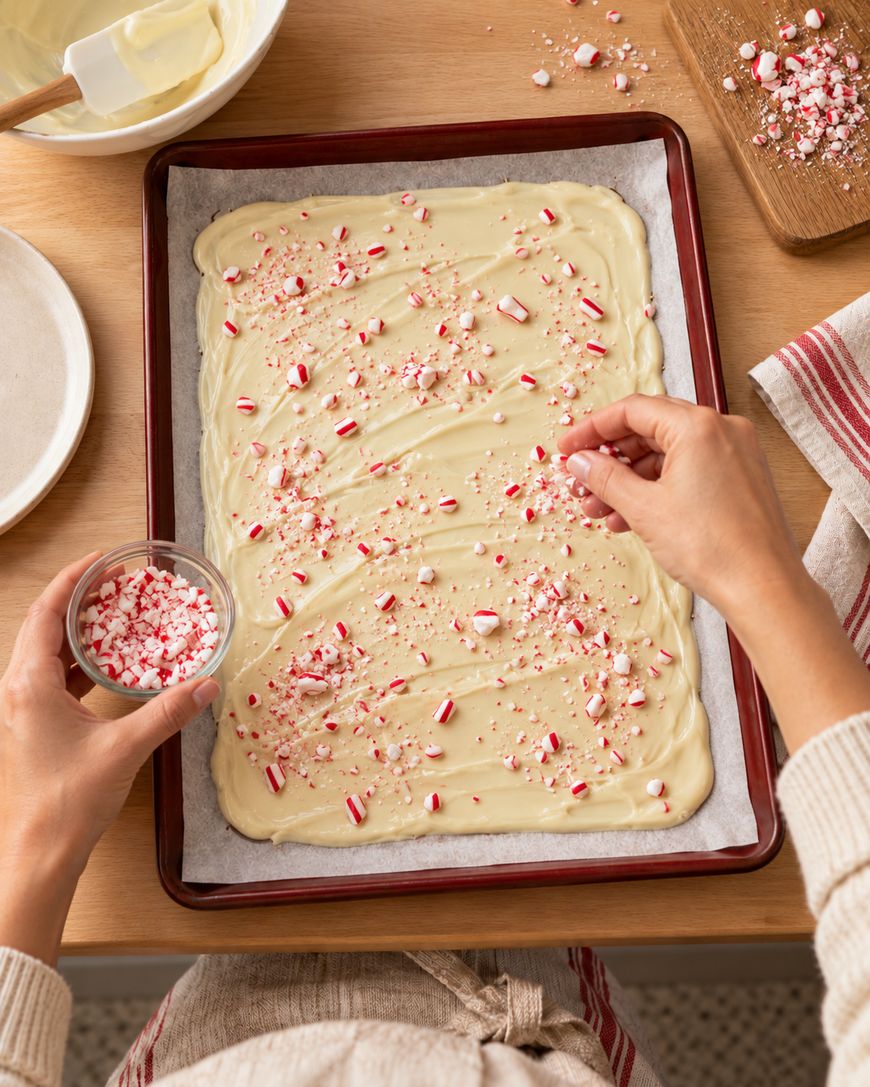
Pour the white chocolate over the chilled dark layer and spread it to the edges. Scatter the crushed candy canes over the top while the white chocolate is still wet, pressing them in lightly so they hold once everything sets.
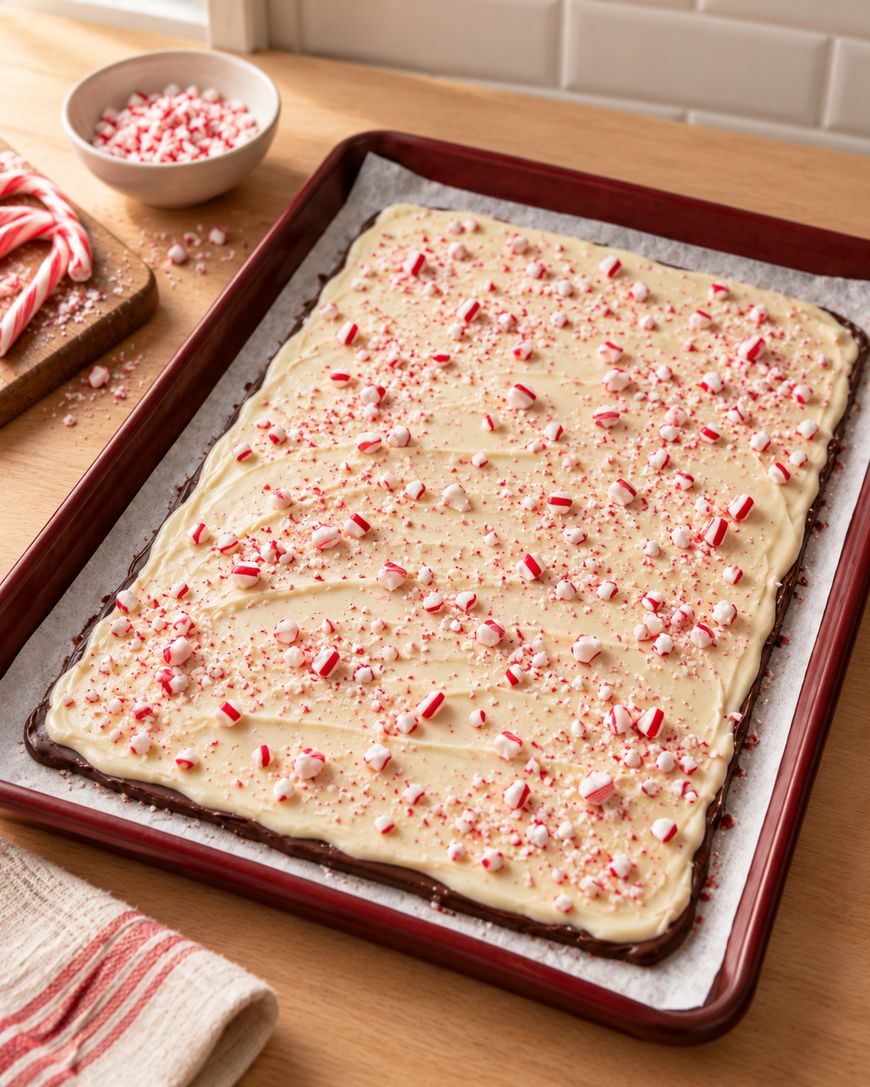
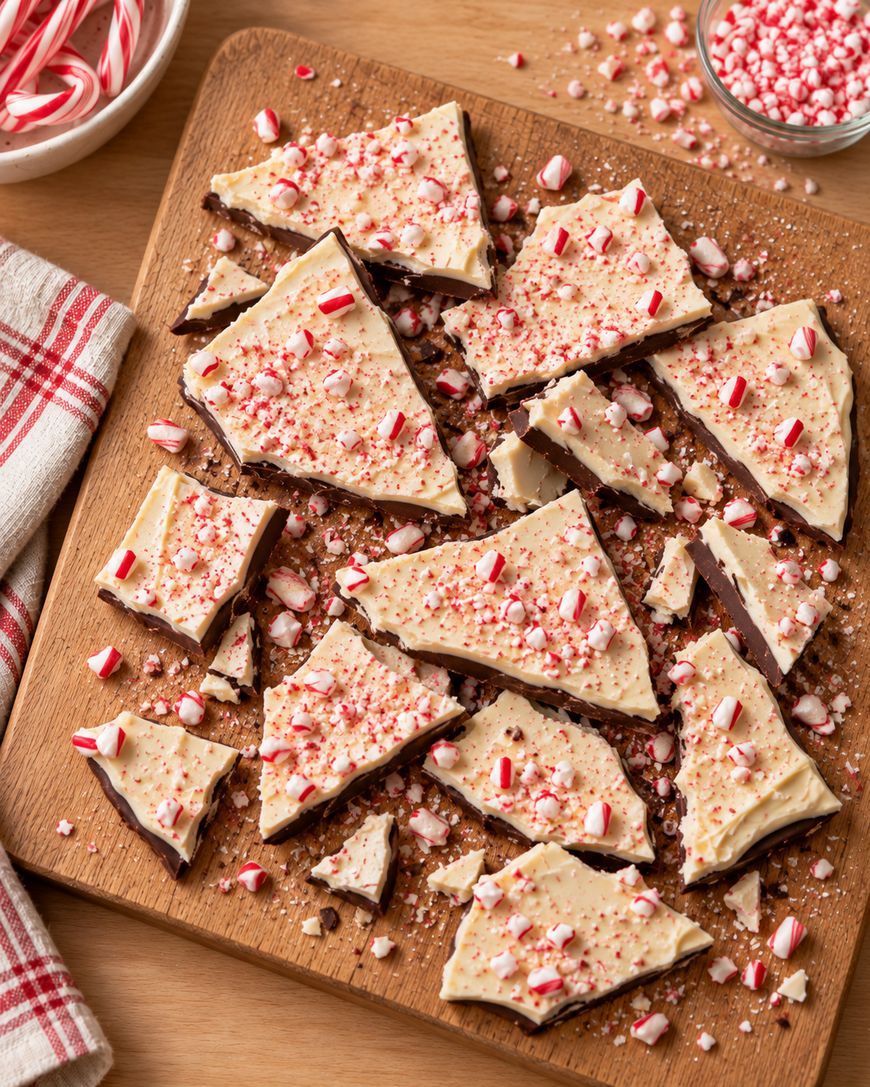
Refrigerate the whole pan for at least an hour, or until the bark is completely firm and breaks with a clean snap. Lift the parchment out of the pan, then break the bark into irregular pieces by hand rather than cutting it with a knife, which keeps the classic rustic look.
Storing and Make-Ahead Tips
Peppermint bark keeps well at room temperature in an airtight container for up to two weeks, as long as your kitchen stays reasonably cool. If your home runs warm, store it in the refrigerator instead, where it will hold for closer to a month.
You can make peppermint bark up to three weeks ahead of a holiday gathering, which makes it one of the easier make-ahead desserts on a Christmas menu. Layer pieces between sheets of parchment or wax paper in the container so they do not stick together as they sit.
Freezing works too, and frozen bark holds its texture well for up to two months in a freezer-safe container. Let it come back to room temperature before serving so the chocolate regains its snap instead of tasting cold and dense.
Variations Worth Trying
Swap the candy canes for crushed peppermint candies of any color if you want a different look on the plate. A sprinkle of flaky sea salt over the white chocolate layer also works well, since a little salt sharpens the sweetness of both chocolates.
Milk chocolate can replace the dark chocolate layer for a sweeter, less bitter version that tends to appeal more to kids. Some home cooks add a third thin layer of white chocolate between the dark and the peppermint white layer, which gives the bark a striped look when it snaps.
You can also swap the peppermint extract for orange extract and skip the candy canes for a different holiday flavor entirely. The technique below stays the same no matter which extract or topping you choose, so it is easy to make a few flavors at once.
Once you have your chocolate layers ready and your peppermint on hand, use the recipe card below to walk through exact measurements and timing.

Peppermint Bark
Layers of melted dark and white chocolate topped with crushed candy canes, chilled until firm and broken into rustic pieces.
Ingredients
- 12 ounces dark or semisweet chocolate, chopped
- 12 ounces white chocolate, chopped
- 1/2 teaspoon peppermint extract
- 1/2 cup crushed candy canes (about 6 standard candy canes)
Instructions
- Line a rimmed baking sheet with parchment paper.
- Melt the dark chocolate in a microwave-safe bowl in 30-second bursts, stirring between each, until smooth.
- Pour the dark chocolate onto the lined baking sheet and spread into an even layer about a quarter inch thick.
- Refrigerate the dark chocolate layer for 10 minutes, until firm to the touch.
- Melt the white chocolate using the same short-burst method until smooth.
- Stir the peppermint extract into the melted white chocolate.
- Pour the white chocolate over the chilled dark layer and spread evenly to the edges.
- Scatter the crushed candy canes over the white chocolate and press in gently.
- Refrigerate the pan for at least 1 hour, until completely firm.
- Lift the parchment out of the pan and break the bark into pieces by hand.
Notes
Store at room temperature in an airtight container for up to 2 weeks, or refrigerate for up to 1 month. Freezes well for up to 2 months.
Nutrition Information:
Yield:
20Serving Size:
1 pieceAmount Per Serving: Calories: 140Total Fat: 9gSaturated Fat: 5gSodium: 15mgCarbohydrates: 15gFiber: 1gSugar: 13gProtein: 1g
Peppermint Bark Questions People Ask Most
Why did my peppermint bark turn out streaky instead of two clean layers?
Streaking usually happens when the white chocolate goes on before the dark layer has fully set. Give the dark layer a full 10 minutes in the refrigerator, and touch the surface to confirm it feels firm, not tacky, before pouring the white chocolate.
Can you use chocolate chips instead of a chocolate bar?
Chocolate chips work, but they contain stabilizers that make them melt a little less smoothly than a bar meant for melting. If you do use chips, melt them a touch more slowly and stir often, since they can scorch more easily than bar chocolate.
Why is my white chocolate grainy or clumpy?
Grainy white chocolate almost always means it overheated or came into contact with a drop of water during melting. White chocolate is more delicate than dark chocolate because of its higher milk solid content, so shorter microwave bursts and a completely dry bowl matter even more here.
Does peppermint bark need to be tempered?
This recipe does not require true tempering, since the quick chill in the refrigerator sets the chocolate firmly enough for home serving. Professionally tempered chocolate does hold a slightly glossier shine and a cleaner snap, but the difference is subtle enough that most home cooks skip the extra step.
How finely should you crush the candy canes?
Aim for a mix of small pieces and a bit of fine dust rather than crushing everything into powder. The varied texture gives you both crunch and color, while an all-powder crush mostly disappears into the white chocolate.
Can you make peppermint bark without an extract?
You can, though the peppermint flavor will come entirely from the crushed candy canes, which is a much milder result. If you skip the extract, use extra crushed candy in the white layer itself to make up for the lost flavor.
Why This Recipe Works
This peppermint bark recipe works because it treats the two chocolates as separate systems instead of melting them together, which is what keeps the layers distinct and prevents muddying. Chilling the dark layer before adding the white one is the single step that makes the difference between two clean stripes and a swirled mess.
Melting in short bursts protects both chocolates from the overheating that causes graininess, since chocolate is mostly made of fat and sugar crystals that seize when they get too hot too fast. A completely dry workspace matters just as much, because water is the other common trigger for that same seized, clumpy texture.
Breaking the bark by hand rather than cutting it also serves a purpose beyond looks. A knife tends to shatter the thin layers unevenly, while breaking along the chocolate’s natural fracture lines gives you pieces that hold their shape and show off both layers in the cross section.
Using real chocolate with cocoa butter, rather than candy coating, is what gives the finished bark its glossy look and clean snap. Coating melts more forgivingly, but it sets softer and duller, which is the difference you are tasting when store-bought bark feels waxy compared to a homemade batch.
Peppermint bark earns its spot on holiday tables because it takes almost no active skill beyond patience during the chilling steps. Once you understand why each step matters, you can adapt the ratios, flavors, and toppings with confidence instead of guessing.
Make a batch of this peppermint bark for your next holiday gathering, and keep the recipe card handy for the exact measurements every time you want to repeat it.