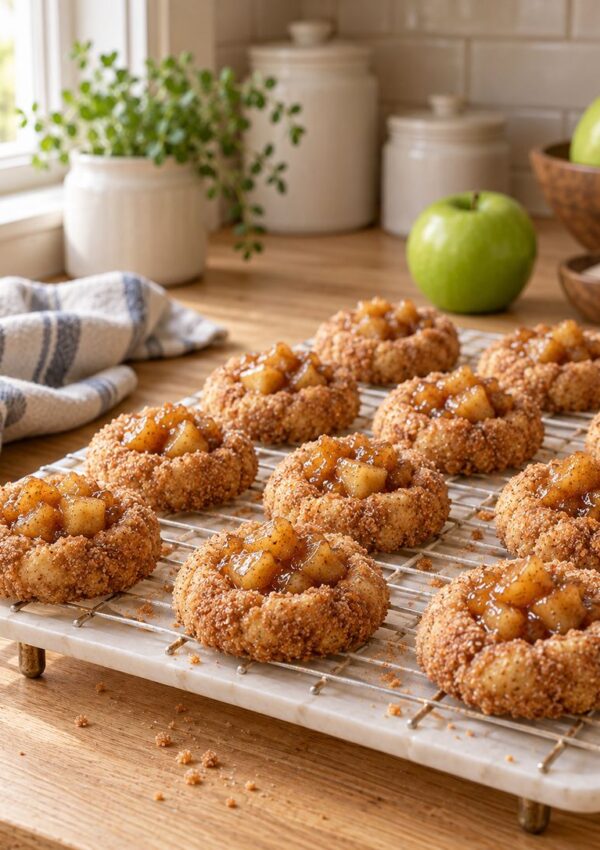
Last updated: November 7, 2026
Snow globe cookies are buttery sugar cookie rounds with a melted candy window in the center that looks just like glass, and they are far easier to make than they appear. This guide walks you through every step, from the dough to the snowy icing, and the full recipe card is waiting below.

How to Make Snow Globe Cookies Step by Step
Snow globe cookies start with a simple chilled sugar cookie dough that you cut into 3-inch rounds, with a small window removed from each center. You then fill every window with crushed hard candy, bake until the candy melts into a clear pane, and finish with snowy icing along the bottom.
Gather Your Ingredients
The dough needs 3 cups of all-purpose flour, 1 teaspoon of baking powder, and 1/2 teaspoon of salt. You also need 1 cup of softened unsalted butter, 1 cup of granulated sugar, 1 large egg, and 2 teaspoons of vanilla extract.
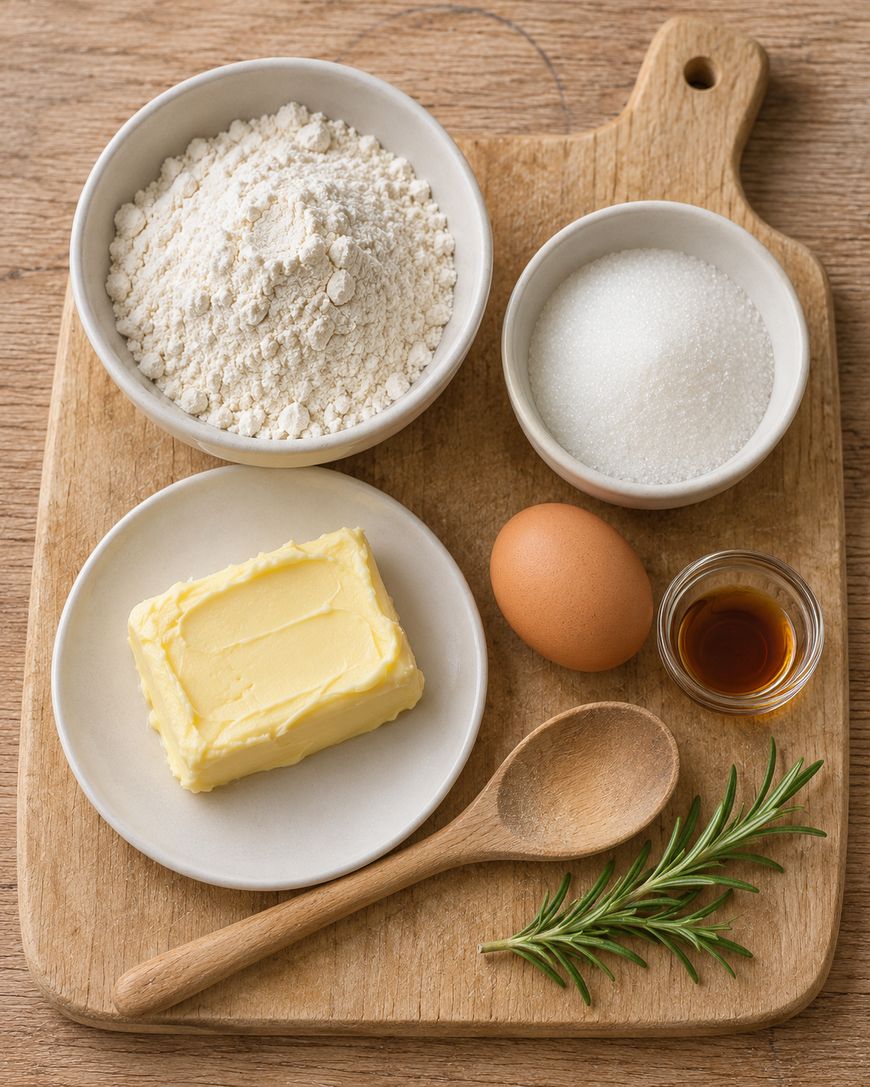
For the windows, grab about 25 clear or light blue hard candies, which crush down to roughly 3/4 cup. The icing takes 2 cups of powdered sugar, 2 tablespoons of milk, 1 tablespoon of light corn syrup, and 1/2 teaspoon of vanilla extract.
Finish with white nonpareils or snowflake sprinkles and a few mini tree sprinkles for the scenery inside each globe. Set the butter out about an hour ahead so it softens evenly.
Mix the Dough
Whisk the flour, baking powder, and salt together in a medium bowl and set it aside. In a large bowl, beat the butter and granulated sugar with an electric mixer on medium speed for about 2 minutes, until pale and creamy.
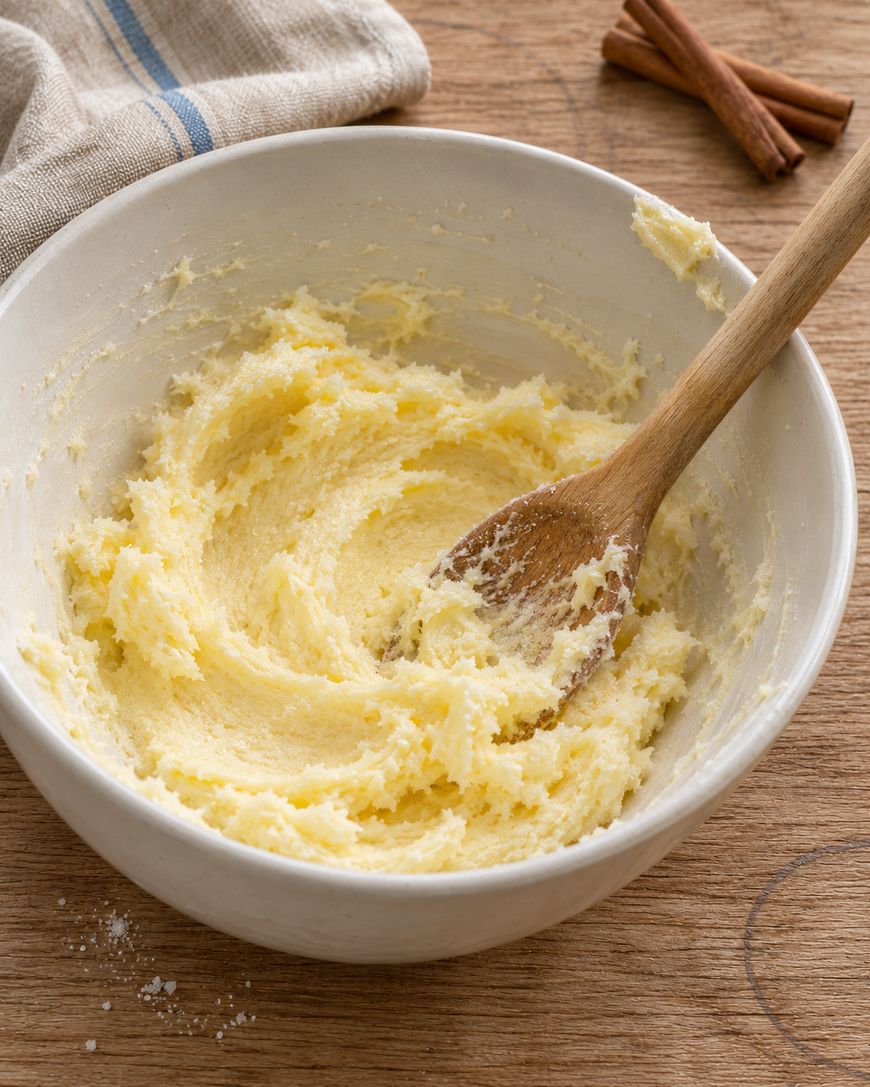
Beat in the egg and 2 teaspoons of vanilla until smooth. Add the flour mixture on low speed and mix just until the dough comes together with no dry streaks.
Chill the Dough
Divide the dough in half, shape each half into a flat disk, and wrap each one tightly in plastic wrap. Chill the disks for 1 hour, which firms the butter so the cutouts keep sharp edges in the oven.
Do not skip this step, because warm dough spreads and closes up the little windows. If the dough feels too stiff to roll after chilling, let it sit on the counter for 5 minutes.
Cut the Globes and Windows
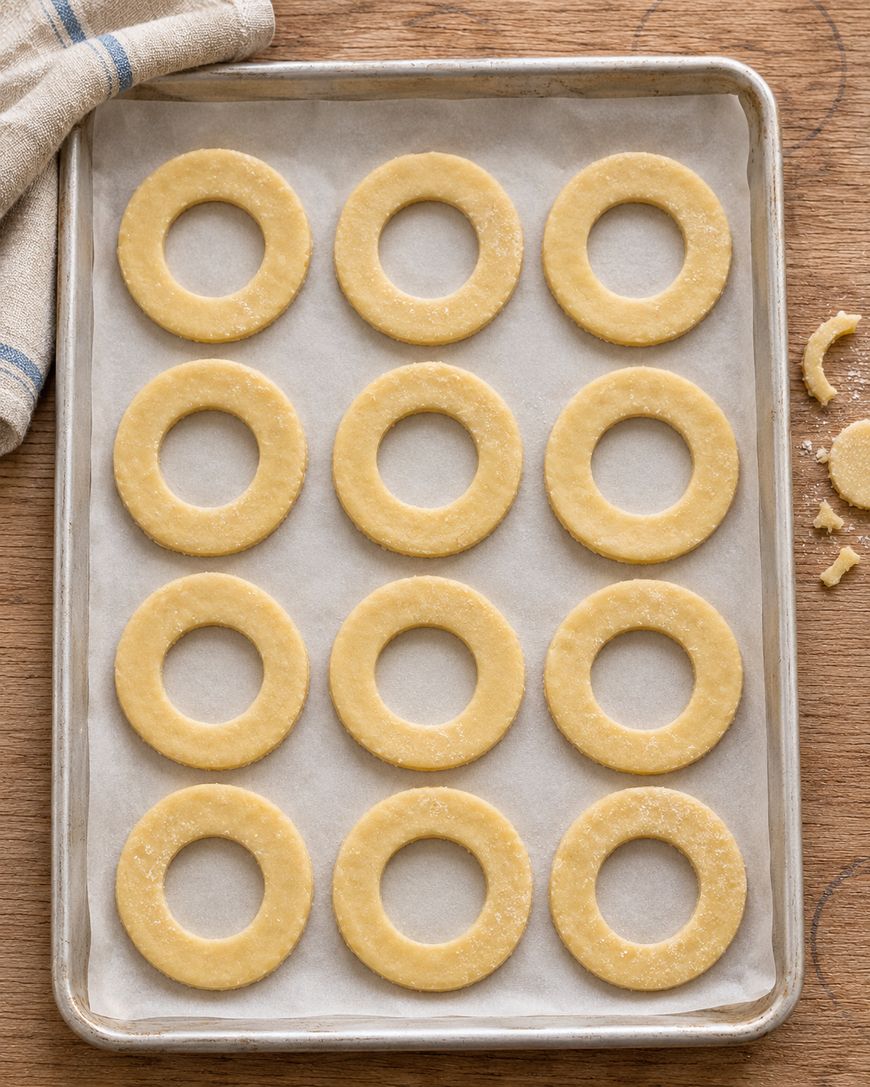
Heat the oven to 350°F and line two baking sheets with parchment paper. Roll one disk on a lightly floured surface to about 1/4 inch thick, and keep the second disk in the refrigerator until you need it.
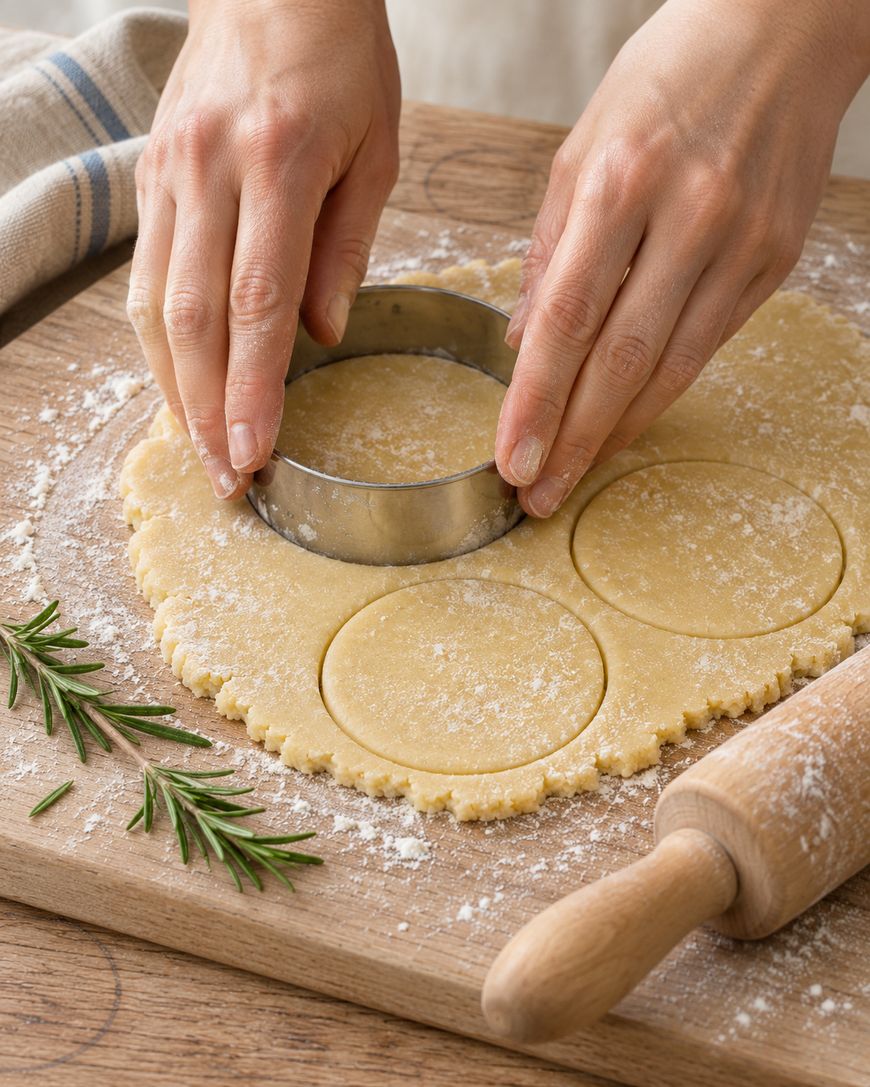
Cut out rounds with a 3-inch round cutter, then cut a 1-inch window from the center of each with a smaller round or star cutter. Place the cookies 1 inch apart on the sheets and gather the scraps to reroll once.
Bake, Fill, and Bake Again
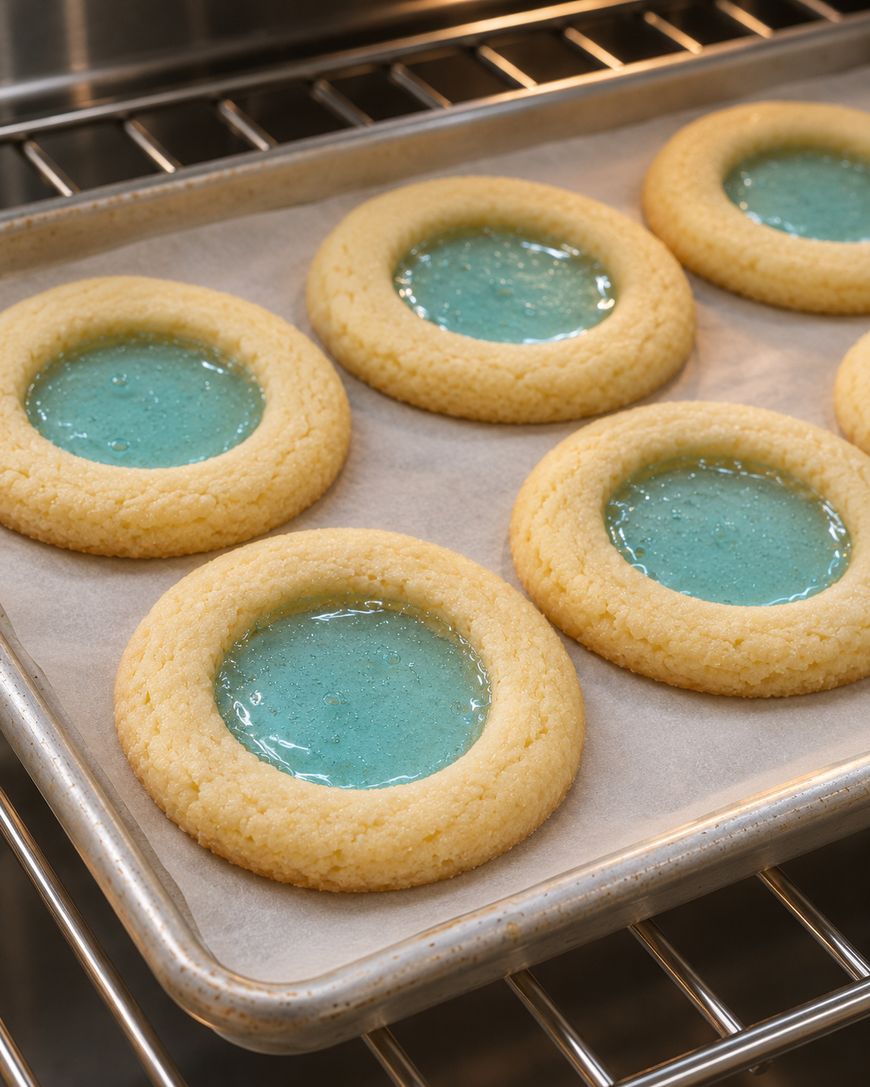
Bake the first sheet for 7 minutes, until the cookies are set but still pale. Pull the sheet out and spoon about 1 teaspoon of crushed candy into each window, spreading it right to the edges so there are no gaps.

Return the sheet to the oven for 3 to 4 minutes, until the candy has melted completely and the cookie edges are just starting to turn golden. Repeat the process with the second sheet of cookies.
Cool Completely on the Pan
Let the cookies cool on the baking sheet for about 30 minutes without moving them. The melted candy stays soft and sticky until it cools, and lifting a cookie too early can crack the window or warp the cookie.
The melted candy is extremely hot, so keep little hands away from the pan until everything has cooled.
Ice the Snowy Bases
Stir the powdered sugar, milk, corn syrup, and 1/2 teaspoon of vanilla together until you have a thick, spreadable icing. Spoon or pipe a snowy mound along the bottom of each window, then press in snowflake sprinkles and a mini tree.

If the icing is too stiff to spread, stir in more milk 1 teaspoon at a time. Let the icing set for about 30 minutes before stacking or packing the cookies.

Tips for Clear Candy Windows in Snow Globe Cookies
The secret to glassy windows is choosing a candy that melts cleanly and filling each opening evenly. A little prep before the cookies go into the oven makes a big difference in how clear the finished panes look.
Choose the Right Candy
Clear fruit-flavored rounds or light blue raspberry hard candies melt into the prettiest panes. Crush one color at a time, since mixed colors turn muddy.
Avoid candies with soft or chewy centers, because they will not melt into a smooth, hard surface.
Crush the Candy Finely
Unwrap the candies, place them in a zip-top bag, and crush them with a rolling pin until the pieces are no larger than a grain of rice. Small pieces melt faster and fill the corners of the window without leaving air pockets.

Keep the crushed candy in a small bowl next to your baking sheets so you can fill the windows quickly while the cookies are still hot.
Fill the Windows Evenly
Spoon the crushed candy into each window in a single even layer, nudging it to the edges with the back of a spoon. Aim for level with the cookie surface instead of mounded, because overfilled windows run over the sides as the candy melts.
Parchment paper under the cookies means any candy that escapes will peel away easily once it cools.
Pop the Bubbles
Tiny bubbles can form as the candy melts and make a window look cloudy. As soon as the sheet comes out of the oven, drag a toothpick gently through the candy to release them before the surface starts to harden.
Snow Globe Cookie Variations and Substitutions
Once you have the basic method down, snow globe cookies are easy to customize for any season or color scheme. The dough and the candy method stay the same, so you can change the details without changing the recipe.
Change the Window Shape
A star, heart, or small round window all work well, as long as the opening stays about 1 inch across so the candy fills it evenly. Keep the outer cookie round if you want the classic snow globe look.
Switch Up the Colors
Light blue gives you an icy winter look, while pink candies make a sweet Valentine version. Remember to stick with a single color per batch for the clearest windows.
Flavor the Dough
For a bakery-style flavor, stir 1/2 teaspoon of almond extract into the dough along with the vanilla. The card below leaves this out, so treat it as an optional extra.
Skip the Candy Windows
If you would rather not melt candy, cut solid rounds and spread a thin layer of the same icing over the top. You lose the glass effect, but you keep the buttery cookie and the snowy decorations.
Add Extra Decorations
Silver sugar pearls, white nonpareils, and tiny tree sprinkles make wonderful scenery inside each globe. Press them into the icing while it is still wet so they stay put.
How to Store and Make Ahead Snow Globe Cookies
Snow globe cookies keep well when you protect the candy windows from moisture. Humidity is the one thing that turns the glassy panes sticky, so airtight storage matters.
Store the Finished Cookies
Store the cookies in an airtight container at room temperature for up to 3 days, with parchment paper between layers. Keep them out of the refrigerator, since condensation can make the candy windows tacky.
Make the Dough Ahead
The wrapped dough disks keep in the refrigerator for up to 2 days or in the freezer for up to 3 months. Thaw frozen dough overnight in the refrigerator, then let it sit on the counter for 5 minutes before rolling.
Package Them as Gifts
Slide each finished cookie into a clear cellophane bag and tie it with ribbon, so the windows show through. Bake and ice them within 3 days of gifting so they look their best.

Where Snow Globe Cookies Come From
Snow globe cookies are a modern twist on stained glass cookies, a classic cutout cookie where crushed hard candy melts into a window in the center. Home bakers have made stained glass cookies for generations, usually as hanging ornaments for the Christmas tree.
Snow globes themselves became popular in Europe in the 1800s, and the glass dome with a tiny winter scene has been a holiday symbol ever since. Bakers started combining the two ideas by adding snowy icing and little tree sprinkles to the bottom of the candy window.
The result is a cookie that looks like a miniature snow globe on the plate. It also happens to be a great baking project for families, because every step is simple and the finished cookies look impressive.
Ready to bake? Use the recipe card below for the full ingredient list, steps, and nutrition details.

Snow Globe Cookies
Buttery sugar cookie rounds with glassy melted candy windows and snowy icing bases, like tiny snow globes you can eat.
Ingredients
- 3 cups (360 g) all-purpose flour
- 1 teaspoon baking powder
- 1/2 teaspoon salt
- 1 cup (226 g) unsalted butter, softened
- 1 cup (200 g) granulated sugar
- 1 large egg
- 2 teaspoons vanilla extract
- 25 clear or light blue hard candies, unwrapped and finely crushed (about 3/4 cup)
- 2 cups (240 g) powdered sugar
- 2 tablespoons milk
- 1 tablespoon light corn syrup
- 1/2 teaspoon vanilla extract
- White nonpareils or snowflake sprinkles, for decorating
- Mini tree sprinkles, for decorating
Instructions
- Whisk the flour, baking powder, and salt together in a medium bowl and set aside.
- In a large bowl, beat the butter and granulated sugar with an electric mixer on medium speed for about 2 minutes, until pale and creamy.
- Beat in the egg and 2 teaspoons vanilla until smooth.
- Add the flour mixture on low speed and mix just until the dough comes together with no dry streaks.
- Divide the dough in half, shape each half into a flat disk, wrap tightly in plastic wrap, and chill for 1 hour.
- Heat the oven to 350°F and line two baking sheets with parchment paper.
- Roll one disk on a lightly floured surface to about 1/4 inch thick, keeping the second disk refrigerated.
- Cut out rounds with a 3-inch round cutter, then cut a 1-inch window from the center of each with a smaller round or star cutter.
- Place the cookies 1 inch apart on the baking sheets and reroll the scraps once.
- Bake one sheet for 7 minutes, until the cookies are set but still pale.
- Remove the sheet from the oven and spoon about 1 teaspoon of crushed candy into each window, spreading it to the edges. Drag a toothpick through the candy to release any bubbles.
- Return the sheet to the oven for 3 to 4 minutes, until the candy is completely melted and the cookie edges are just starting to turn golden.
- Repeat the rolling, cutting, baking, and filling with the second disk and second sheet.
- Cool the cookies on the baking sheets for about 30 minutes without moving them, until the candy has hardened.
- Stir the powdered sugar, milk, corn syrup, and 1/2 teaspoon vanilla together until thick and spreadable, adding more milk 1 teaspoon at a time if too stiff.
- Spoon or pipe a snowy mound along the bottom of each window, press in snowflake sprinkles and a mini tree, and let the icing set for about 30 minutes.
Notes
Use one color of candy per batch for the clearest windows. Cool the cookies completely on the pan before moving them. Store in an airtight container at room temperature for up to 3 days with parchment between layers, and do not refrigerate. The wrapped dough keeps in the refrigerator for up to 2 days or in the freezer for up to 3 months. The melted candy is very hot, so keep children away from the pan until it cools. Optional: add 1/2 teaspoon almond extract to the dough with the vanilla.
Nutrition Information:
Yield:
24Serving Size:
1 cookieAmount Per Serving: Calories: 225Total Fat: 8gSaturated Fat: 5gSodium: 71mgCarbohydrates: 37gFiber: 0gSugar: 25gProtein: 2g
Snow Globe Cookies FAQ
Can you make snow globe cookies without a small cutter?
Yes, you can use the wide end of a clean piping tip or a small bottle cap for the window. Just make sure the opening is about 1 inch across so the candy melts evenly.
Why did my candy window crack?
Cracks usually happen when a cookie is moved before the candy has cooled and hardened. Leave the cookies on the baking sheet for the full 30 minutes, and avoid overfilling the windows.
Why are my candy windows cloudy?
Cloudy windows come from tiny bubbles or from mixing several candy colors. Use one color per batch and drag a toothpick through the melted candy right after the cookies come out of the oven.
Can kids help make snow globe cookies?
Kids can help crush the candy, cut out the rounds, and add the sprinkles. An adult should handle the oven and the hot melted candy.
Are the candy windows safe to eat?
Yes, the windows are just melted candy and are fine to eat. They are very hard, so supervise small children and skip them for very young kids.
Can you use crushed peppermints for the windows?
Red and white peppermints melt into a cloudy, pink-tinted pane instead of a clear one. For the glass look, stick with clear or light blue hard candies.
Why This Snow Globe Cookies Recipe Works
The dough creams equal parts butter and granulated sugar, which gives the cookies a tender bite and a flat surface for the windows. Chilling the dough for 1 hour keeps the butter firm, so the small windows hold their shape while the cookies bake.
Baking the cookies for 7 minutes before adding the candy sets their structure first, so the dough does not spread and squeeze the windows closed. The final 3 to 4 minutes melt the crushed candy into a smooth pane without scorching the edges.
Cooling the cookies on the pan keeps the soft candy supported until it hardens. The corn syrup in the icing helps the snowy bases set with a soft sheen, so the finished snow globe cookies look as good as they taste.
Make Snow Globe Cookies This Christmas
Snow globe cookies turn a simple sugar cookie into a showpiece with nothing more than crushed candy and a little icing. Chill the dough, fill the windows evenly, and let everything cool on the pan for the glossiest results.
Bake a batch this week, then tell us in the comments how your snow globe cookies turned out.
Christmas Butter Cookies That Hold Their Shape and Melt in Your Mouth