Last updated: August 28, 2026
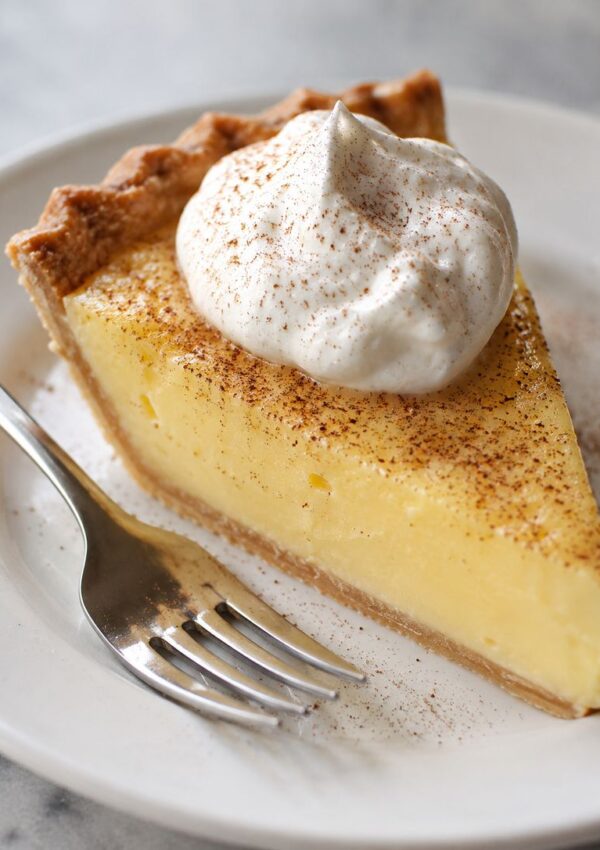
This buttermilk pie recipe is the kind of old-fashioned dessert that stops conversation at the table. The filling is silky, slightly tangy, and set with a golden crackled top that comes straight from a handful of pantry staples — find all the details, including exact measurements, in the recipe card below.
What Is Buttermilk Pie?
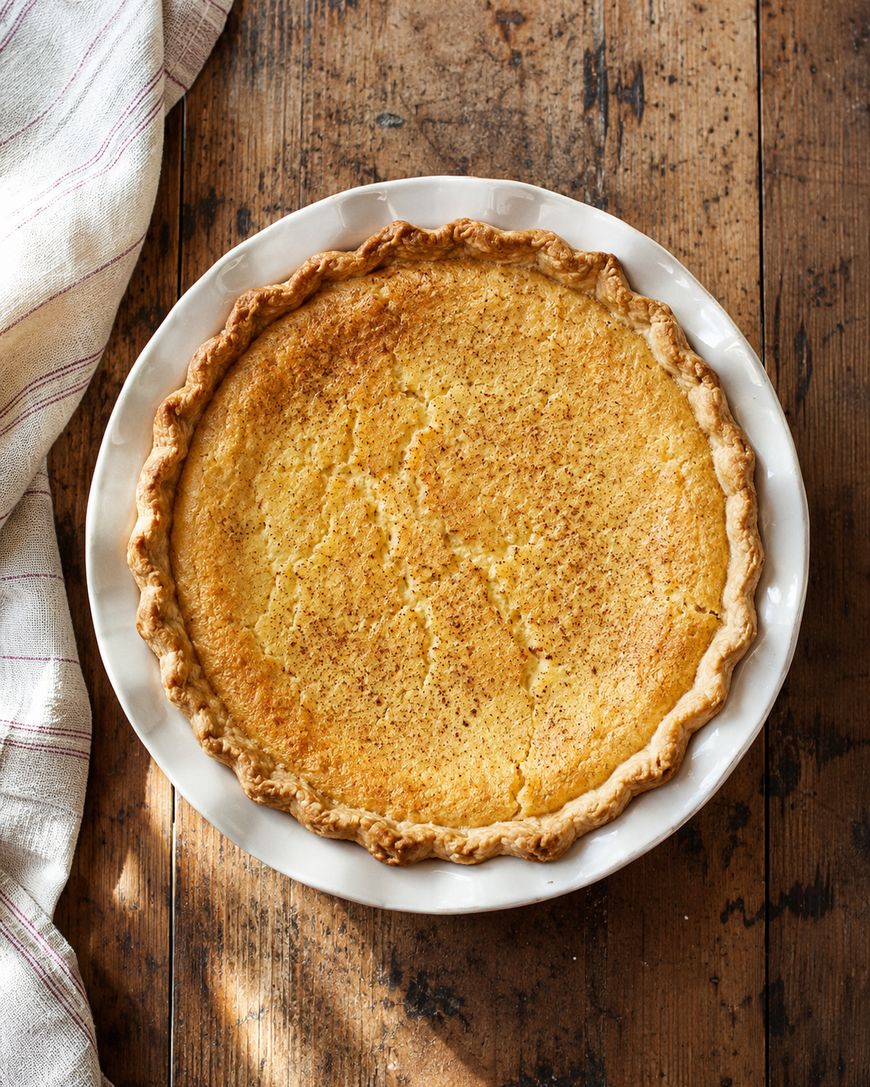
Buttermilk pie is a Southern custard pie that has been a fixture on American tables since the 18th century. It belongs to the same family of “chess pies” — desserts built on eggs, sugar, butter, and an acid — that were developed in the South partly because they could be made without fresh fruit or perishable fillings.
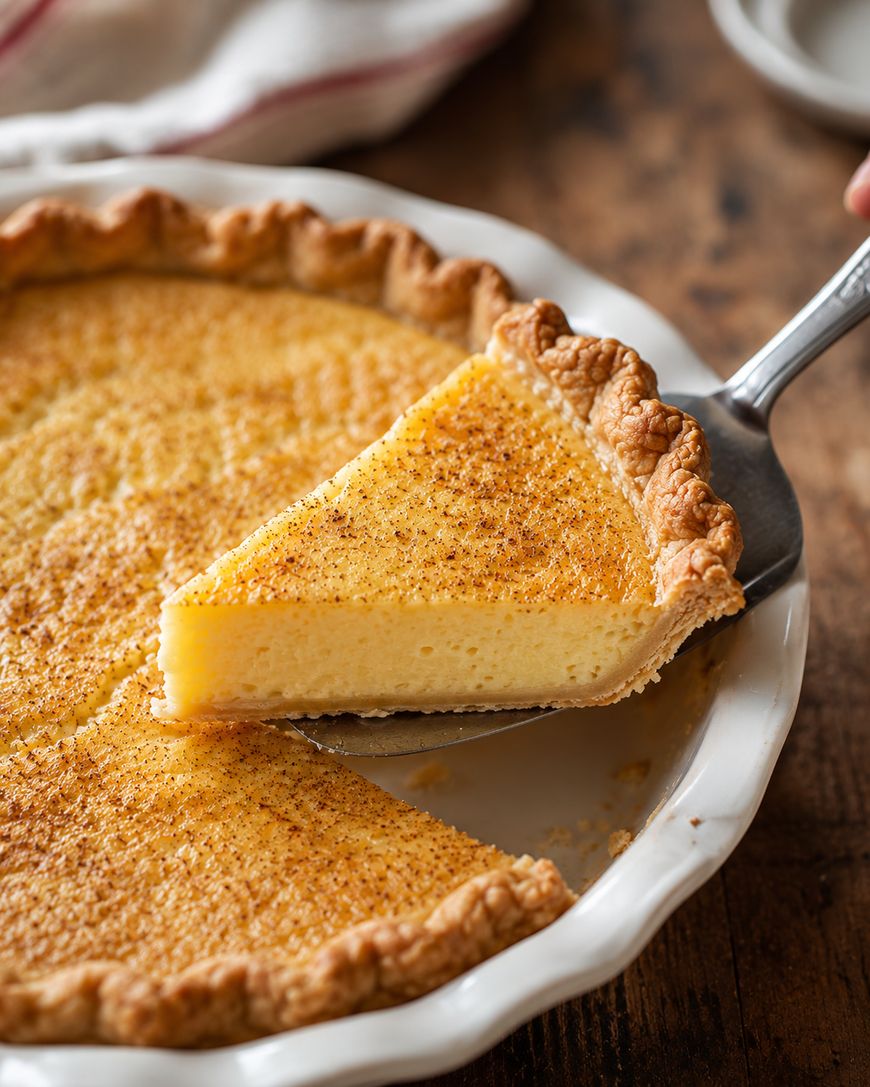
The buttermilk provides both the liquid base and the gentle tang that keeps the sweetness from becoming cloying. It is closely related to chess pie, but where chess pie often includes cornmeal for structure, this recipe relies entirely on the buttermilk and eggs to form its delicate, quivering custard.
Texans claim it as their own, and it is indeed a staple at church suppers and holiday tables throughout Texas, Tennessee, and the Carolinas, though versions appear across the entire South.
Ingredients You Will Need
The Pie Shell
A single 9-inch deep-dish pie shell is the right vessel here. Store-bought refrigerated crust from brands like Pillsbury works well and saves time. If making pastry from scratch, use a standard all-butter crust — the fat content matters because it creates the flakiness that contrasts with the soft filling.
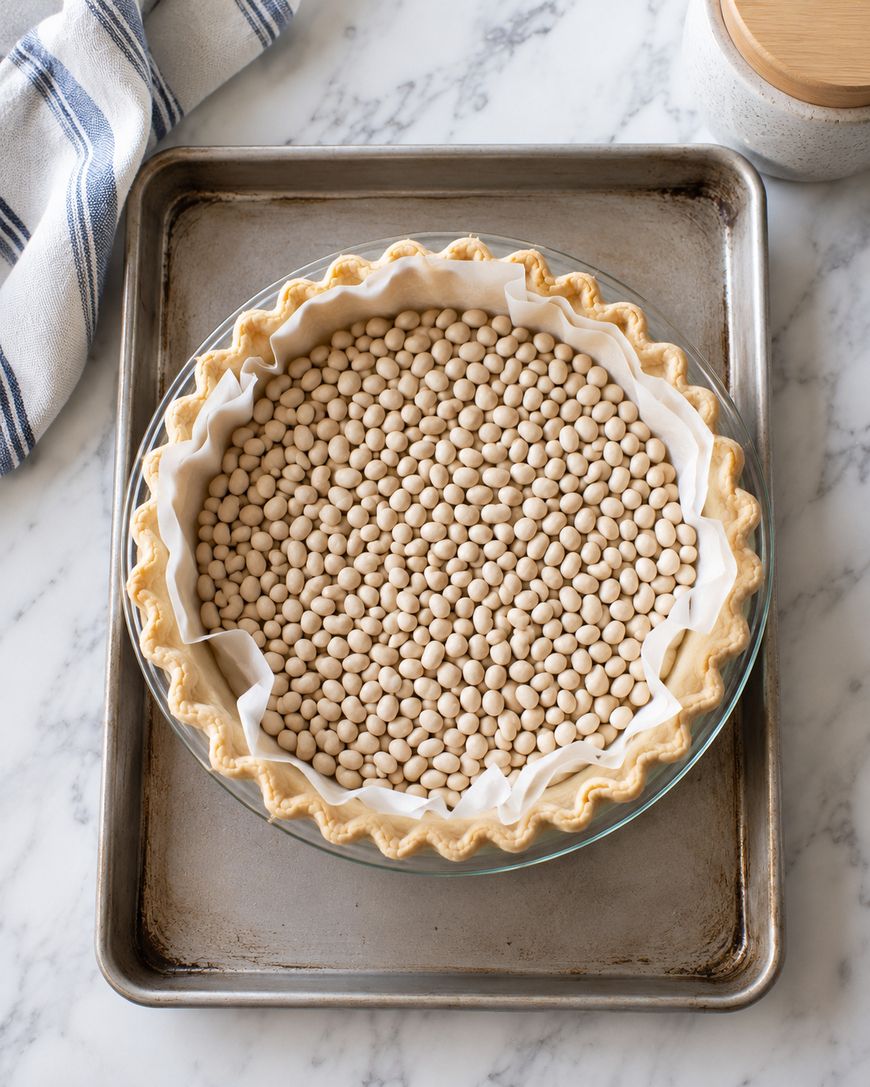
The crust should be par-baked (blind-baked) before the filling goes in. Line it with parchment, fill with pie weights or dried beans, and bake at 375 degrees Fahrenheit for 15 minutes, then remove the weights and bake another 5 minutes until the bottom looks dry and just barely golden.
The Custard Filling
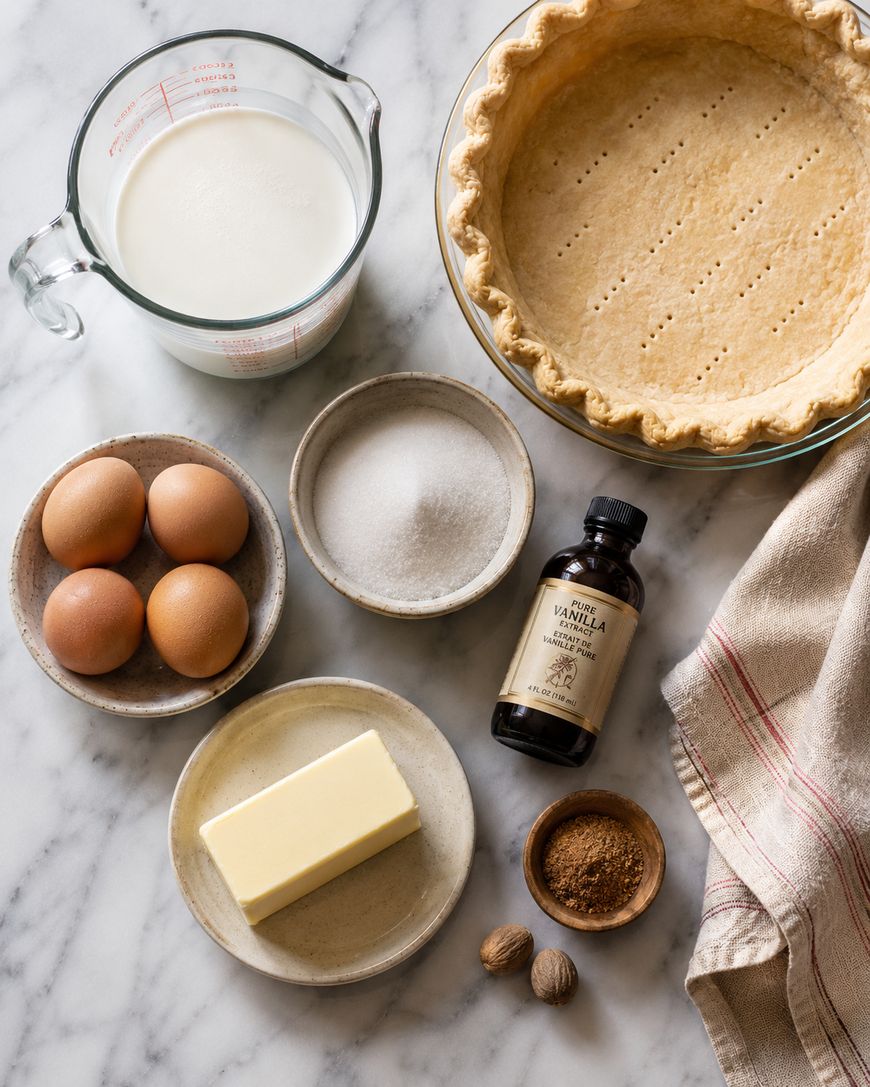
The filling calls for whole buttermilk — not low-fat, not cultured buttermilk from a dry mix, but real liquid buttermilk from the refrigerator section. Brands like Daisy or Borden are widely available. The fat content in whole buttermilk contributes to the creamy texture, and the natural acidity is what gives the pie its signature flavor.
Unsalted butter, melted and slightly cooled, gets whisked in along with granulated white sugar, three large eggs, all-purpose flour, pure vanilla extract, and a pinch of fine salt. The flour acts as a light stabilizer, helping the custard set without becoming rubbery.
How to Make Buttermilk Pie
Preparing the Filling
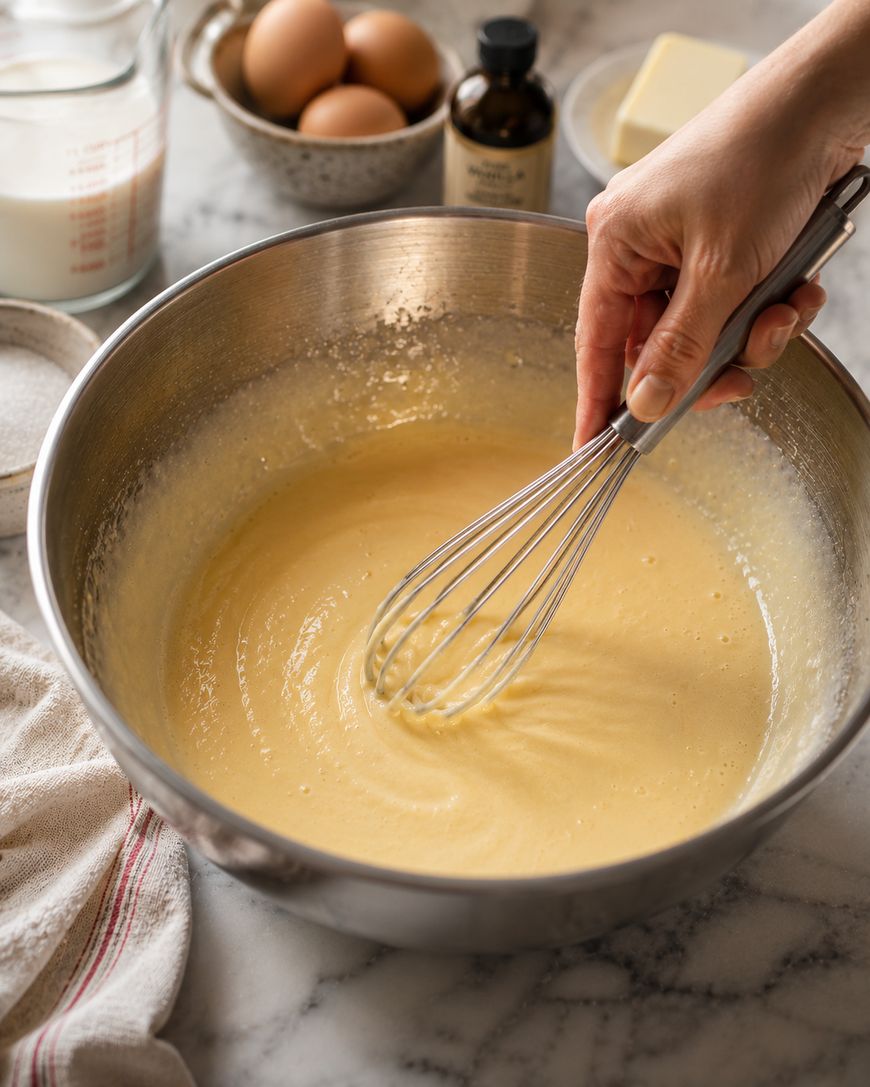
Whisk the melted butter and sugar together in a large bowl until the sugar begins to dissolve. Add the eggs one at a time, whisking well after each addition. Incorporating the eggs individually helps create an emulsion that bakes evenly.
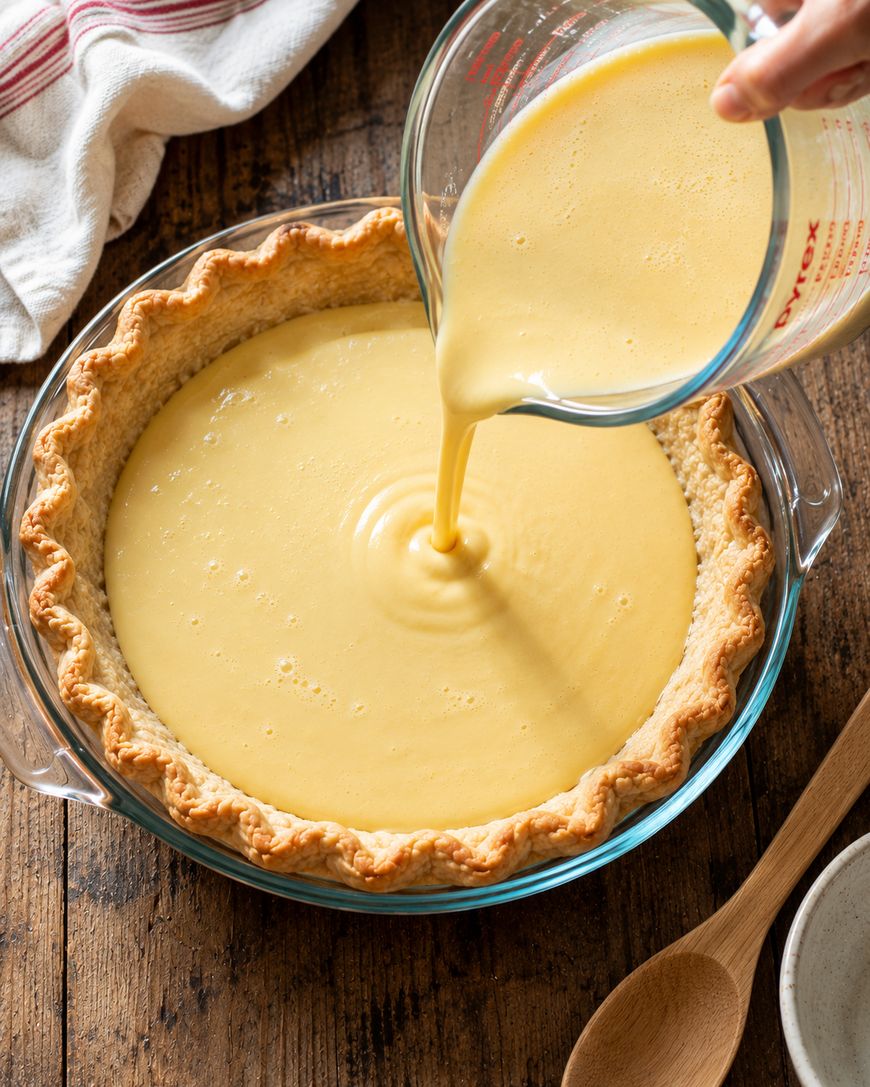
Whisk in the flour and salt, then pour in the buttermilk and vanilla. Mix until completely smooth. The batter will be thin — thinner than most pie fillings — and that is correct. Do not be tempted to add more flour; the custard thickens as it bakes.
Baking the Pie
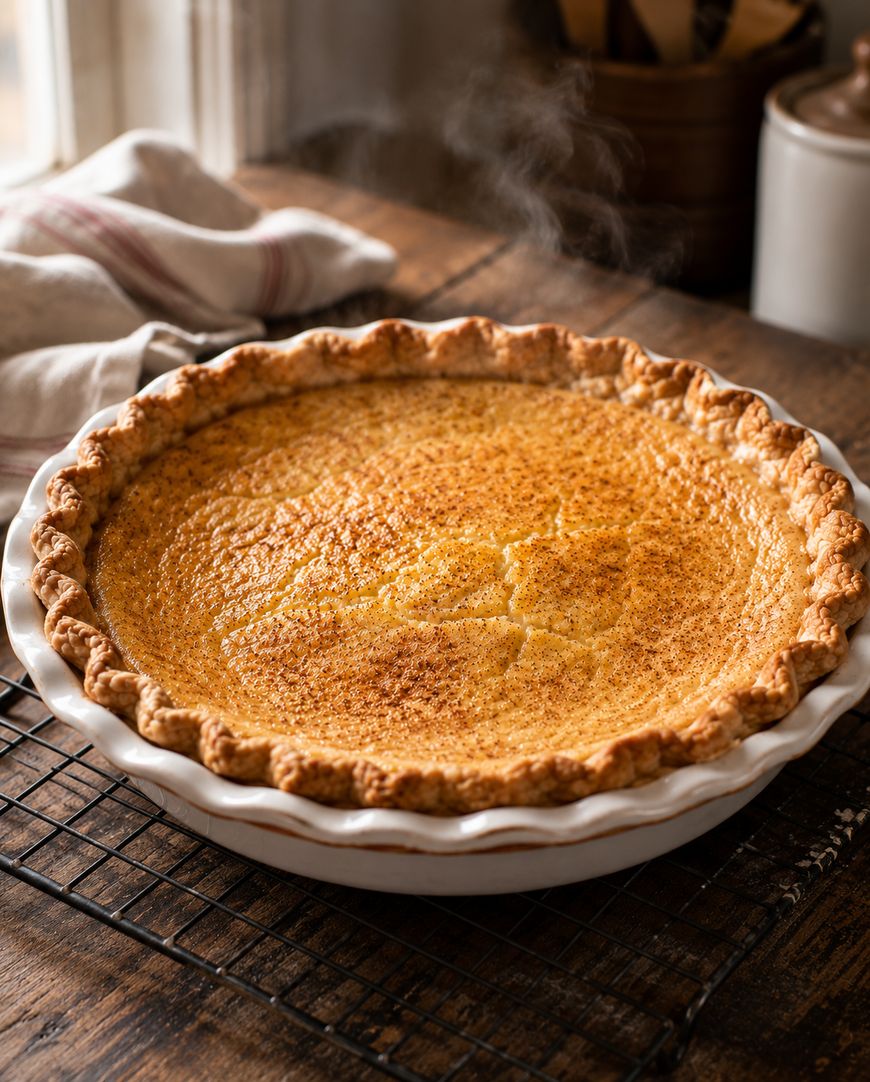
Pour the filling into the warm par-baked shell. Bake at 350 degrees Fahrenheit on the center rack. After 45 to 55 minutes, the edges should be fully set and the center should still have a slight wobble — similar to a baked cheesecake. The top will develop a lightly golden, slightly crackled surface, which is the hallmark of a properly baked buttermilk pie.
Remove the pie from the oven and let it cool completely on a wire rack for at least two hours before slicing. Patience here is rewarded with clean, beautiful slices.
Tips for the Best Result
Temperature Matters
All filling ingredients should be at room temperature before mixing. Cold eggs added to warm melted butter can cause the butter to resolidify into lumps that do not incorporate evenly.
Do Not Overbake
The custard continues to set as it cools. Pulling the pie when the center still jiggles slightly is correct; overbaking produces a curdled, watery texture and a rubbery surface.
Variations and Substitutions
Lemon Buttermilk Pie
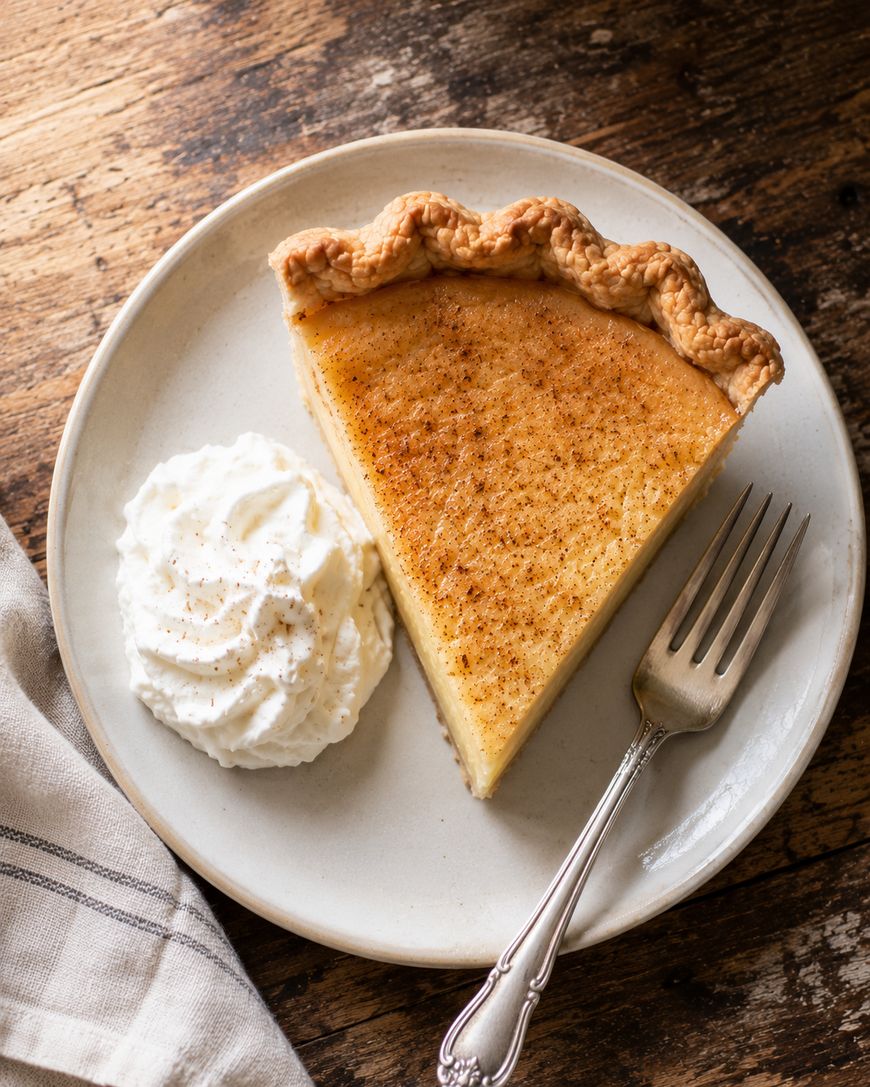
Add two teaspoons of fresh lemon zest and one tablespoon of fresh lemon juice to the filling. This amplifies the tang and gives the pie a brighter, more citrus-forward flavor. It pairs beautifully with a dollop of unsweetened whipped cream.
Nutmeg-Spiced Version
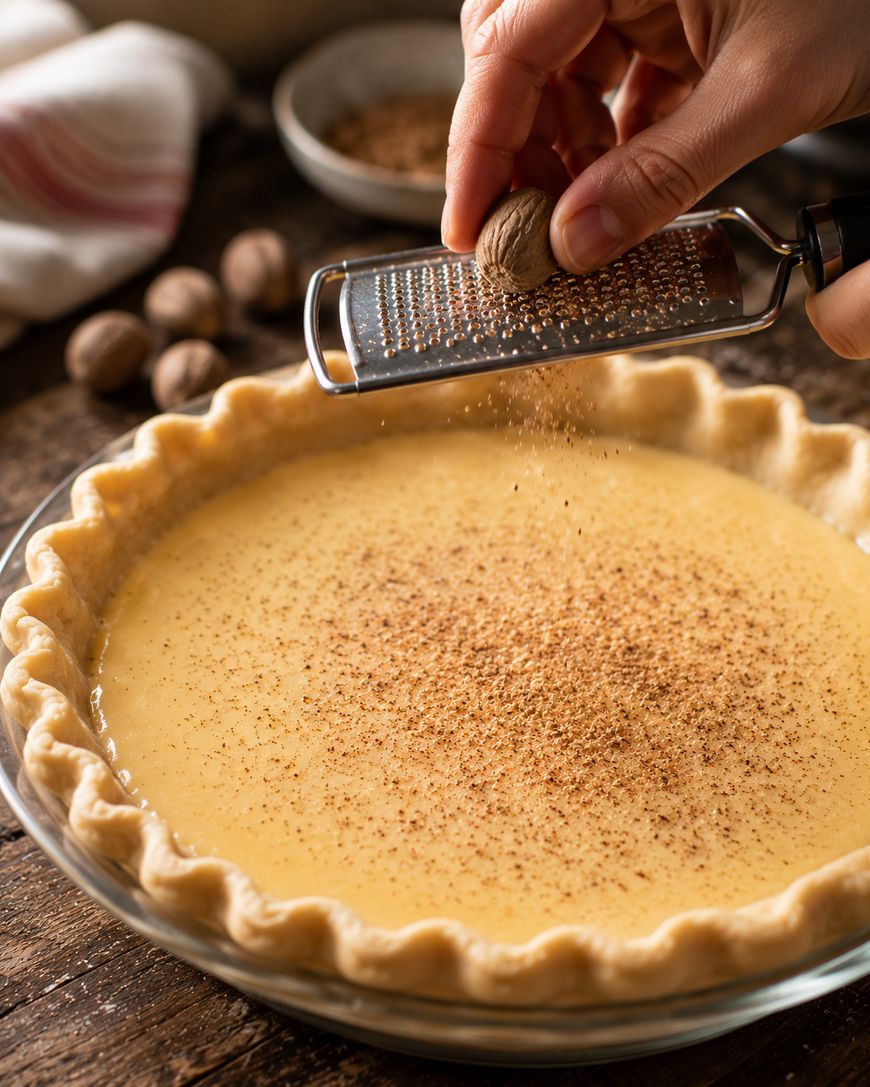
Many traditional Southern recipes include a generous grating of fresh whole nutmeg on top of the filling just before baking. A quarter teaspoon of freshly grated nutmeg is the classic amount. Pre-ground nutmeg from the spice jar works, but freshly grated from a whole nutmeg has a noticeably warmer, more aromatic quality.
Brown Butter Version
Brown the butter in a light-colored saucepan over medium heat until it smells nutty and the milk solids turn deep golden, then let it cool before using. This adds a toffee-like depth to the filling that makes it feel considerably more complex without any additional effort.
How to Store Buttermilk Pie
Once fully cooled, cover the pie loosely with plastic wrap or store under a pie dome and refrigerate. It stays fresh and well-textured for up to four days in the refrigerator.
The pie can be served cold straight from the fridge, at room temperature (remove it 30 minutes before serving), or very slightly warmed in a 300-degree oven for 8 to 10 minutes. For longer storage, individual slices freeze well for up to two months.
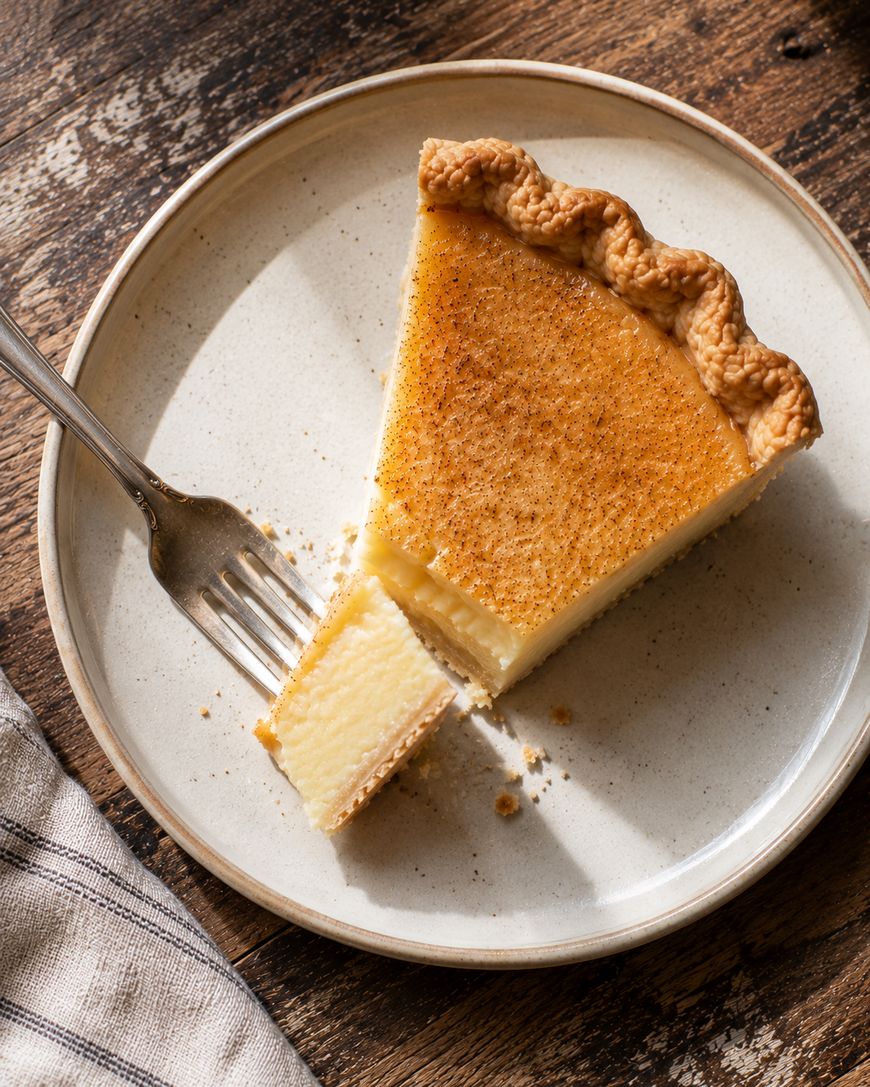
The History of Buttermilk Pie in the American South
Buttermilk pie traces its roots to 18th-century Southern kitchen tradition, where frugality and resourcefulness shaped most recipes. Buttermilk was a byproduct of churning butter and was always on hand in farmhouse kitchens. Food historians like John Egerton, author of “Southern Food,” have documented how custard pies of this type became embedded in the social fabric of Southern life, appearing at church potlucks, community gatherings, and family reunions for generations.
All the measurements and timing details you need are in the recipe card — use it as your guide while the sections above give you the context to understand what you are making and why each step matters.
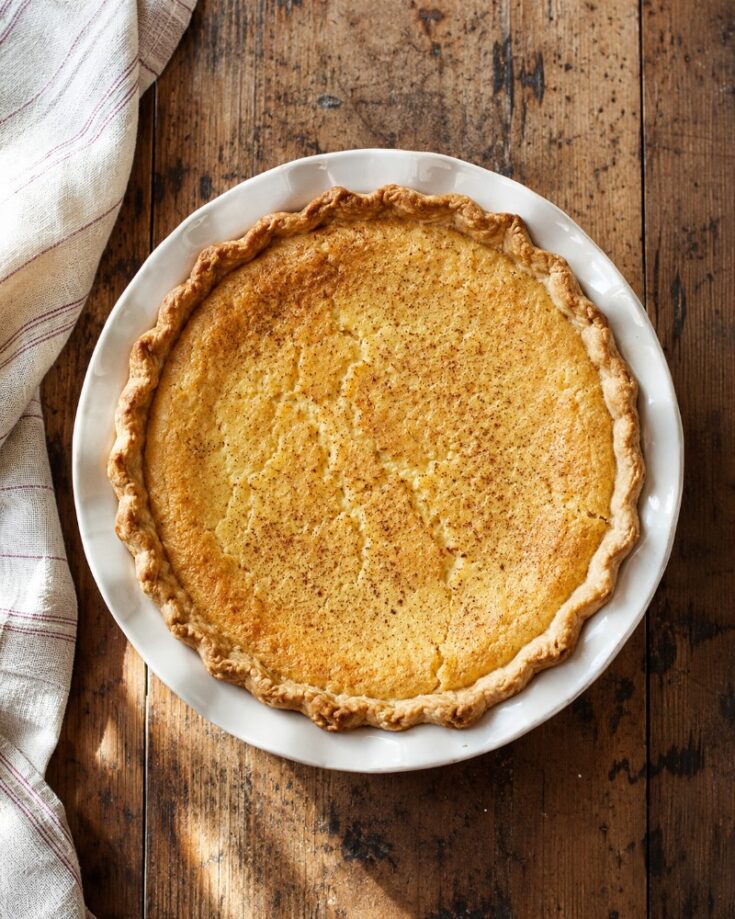
Buttermilk Pie Recipe
A classic Southern buttermilk pie with a silky, tangy custard filling and a golden crackled top. Simple pantry ingredients, no special equipment, and ready in under an hour of active time.
Ingredients
- 1 9-inch deep-dish pie shell, par-baked
- 1/2 cup (113g) unsalted butter, melted and cooled
- 1 1/2 cups (300g) granulated white sugar
- 3 large eggs, room temperature
- 3 tablespoons all-purpose flour
- 1 cup (240ml) whole buttermilk, room temperature
- 1 teaspoon pure vanilla extract
- 1/4 teaspoon fine salt
- 1/4 teaspoon freshly grated nutmeg (optional, for topping)
Instructions
- Preheat oven to 375 degrees Fahrenheit. Line the pie shell with parchment paper and fill with pie weights or dried beans. Bake for 15 minutes, then remove weights and bake 5 more minutes until the bottom looks dry. Remove from oven and reduce temperature to 350 degrees Fahrenheit.
- In a large bowl, whisk together the melted butter and granulated sugar until partially dissolved, about 1 minute.
- Add the eggs one at a time, whisking well after each addition.
- Whisk in the flour and salt until no lumps remain.
- Pour in the buttermilk and vanilla extract and whisk until the batter is completely smooth and uniform.
- Pour the filling into the par-baked pie shell. If using nutmeg, grate it lightly over the surface.
- Bake at 350 degrees Fahrenheit on the center rack for 45 to 55 minutes, until the edges are set and the center has a slight wobble when gently shaken.
- Remove from oven and cool completely on a wire rack for at least 2 hours before slicing. Serve at room temperature or chilled.
Notes
Par-baking the crust prevents a soggy bottom -- do not skip this step. The pie is done when the center jiggles like set gelatin. It continues to firm up as it cools. Store covered in the refrigerator for up to 4 days. Serve cold or at room temperature.
Nutrition Information:
Yield:
8Serving Size:
1 sliceAmount Per Serving: Calories: 390Total Fat: 18gSaturated Fat: 10gSodium: 210mgCarbohydrates: 53gFiber: 0gSugar: 38gProtein: 5g
This site provides estimated nutritional information. This information comes from online calculators. Although we try to provide accurate nutritional information, these figures are only estimates.
Frequently Asked Questions
Why did my buttermilk pie crack on top?
A crackled top is actually normal and desirable — it is the sugar caramelizing on the surface as moisture escapes. Deep cracks or a surface that has split and pulled away from the edges, however, usually indicate overbaking. The fix is to pull the pie 5 minutes earlier on the next attempt, while the center still has a distinct wobble.
Can buttermilk pie be made ahead?
Yes, and it is actually better the day after baking. The custard has more time to fully set, the flavor deepens slightly, and it slices more cleanly. Bake it the day before serving, cool completely, cover, and refrigerate overnight. Remove it 20 to 30 minutes before serving to take the chill off.
What does buttermilk pie taste like?
The flavor is sweet and custardy with a gentle tang from the buttermilk. It is milder than lemon curd and richer than vanilla pudding. The overall impression is of a soft, slightly sweet, slightly tangy custard in a flaky shell — nothing overpowering, nothing sharp.
Why is my buttermilk pie watery after baking?
Weeping or wateriness in baked custards usually comes from one of two causes: overbaking (which causes the proteins in the eggs to contract and squeeze out liquid) or slicing the pie while it is still warm. Always let the pie cool completely — at least two hours at room temperature — before cutting into it.
A Simple Classic Worth Making
This buttermilk pie recipe earns a place in regular rotation not because it is trendy or complicated, but because it is genuinely delicious, reliably easy, and made from ingredients almost anyone has on hand. It is one of those Southern desserts that has survived generations for good reason, and one taste of that silky, tangy custard in a golden flaky shell is all the explanation needed.