Last updated: July 21, 2026
This oreo brownies recipe is the answer every time you want a dessert that disappears before it cools — rich, fudgy chocolate brownies packed with Oreo cookie chunks in every bite. Find the full recipe card below with exact measurements and timing.
Why This Oreo Brownies Recipe Works
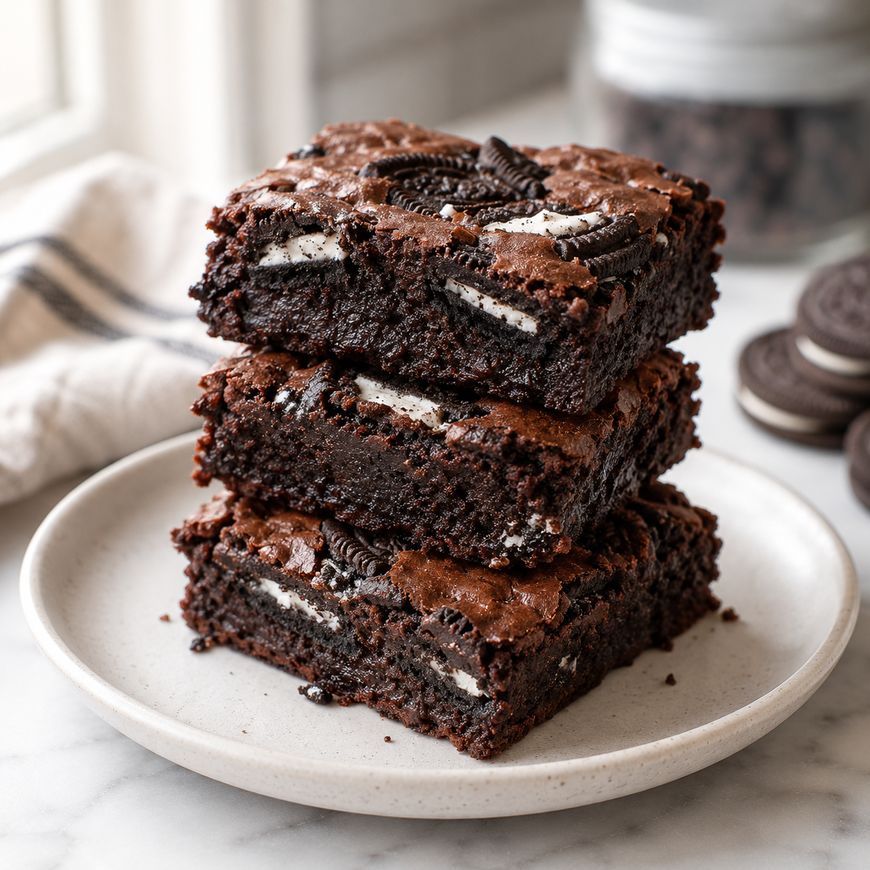
The secret to truly fudgy brownies is a high ratio of fat to flour, which keeps the crumb dense and moist rather than cakey. Folding in whole Oreo cookies — not just crumbs — adds both crunch and that signature cream-filled sweetness that contrasts perfectly with the deep chocolate base.
Using melted butter instead of creamed butter prevents too much air from being incorporated. Less air means a denser, chewier result, which is exactly what you want here.
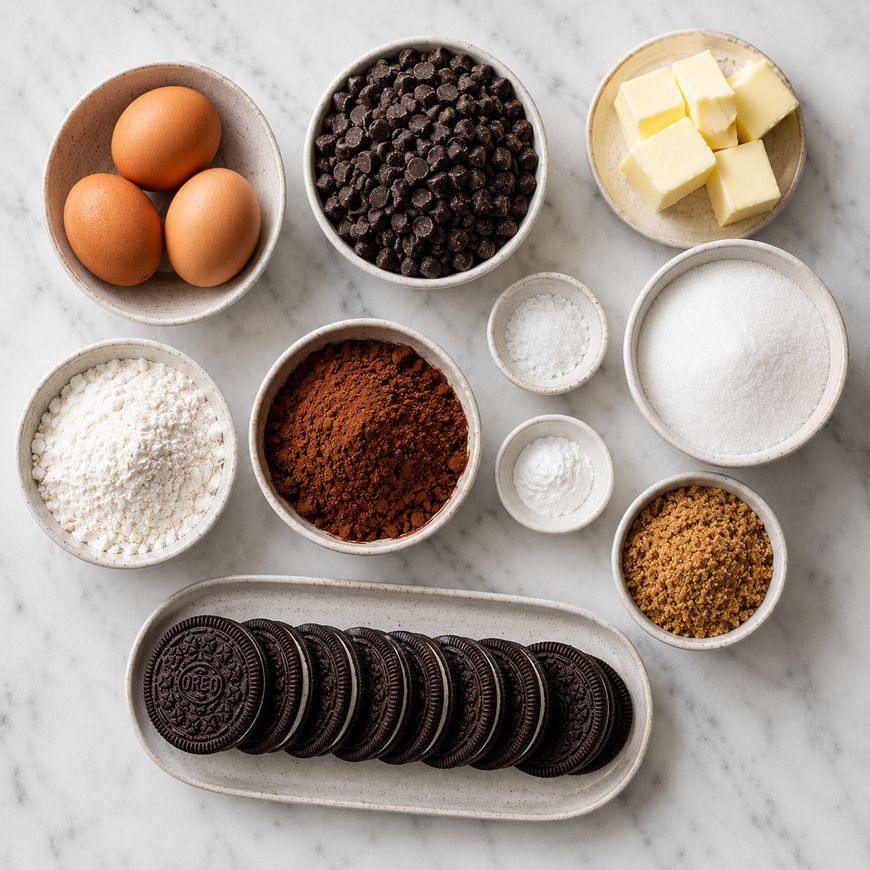
Butter and Chocolate Base
Start with unsalted butter and good-quality semi-sweet chocolate, either chips or a chopped bar. Melt them together over a double boiler or in 30-second microwave bursts, stirring between each interval until completely smooth.
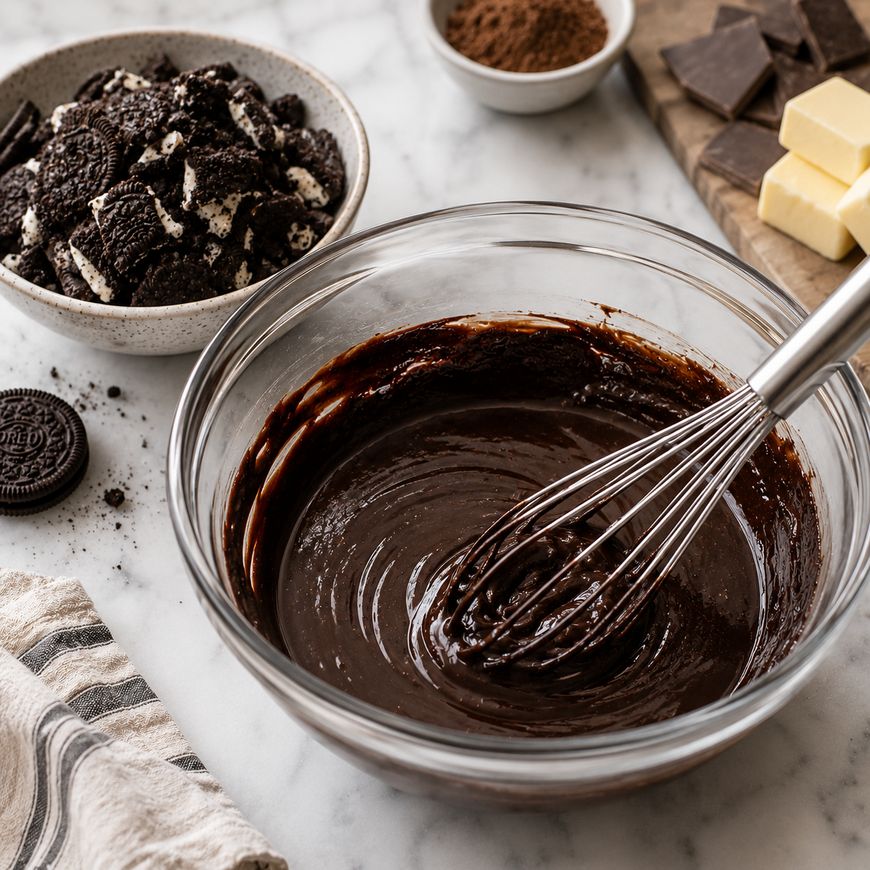
Remove from heat and let the mixture cool for five minutes before adding eggs. Adding eggs to a too-hot mixture can scramble them slightly, which dulls the final texture.
Sugar and Eggs
Whisk granulated sugar into the cooled chocolate mixture until fully combined. Add two large eggs and one extra yolk — the yolk adds richness and helps achieve that glossy, crinkled top that makes a brownie look as good as it tastes.
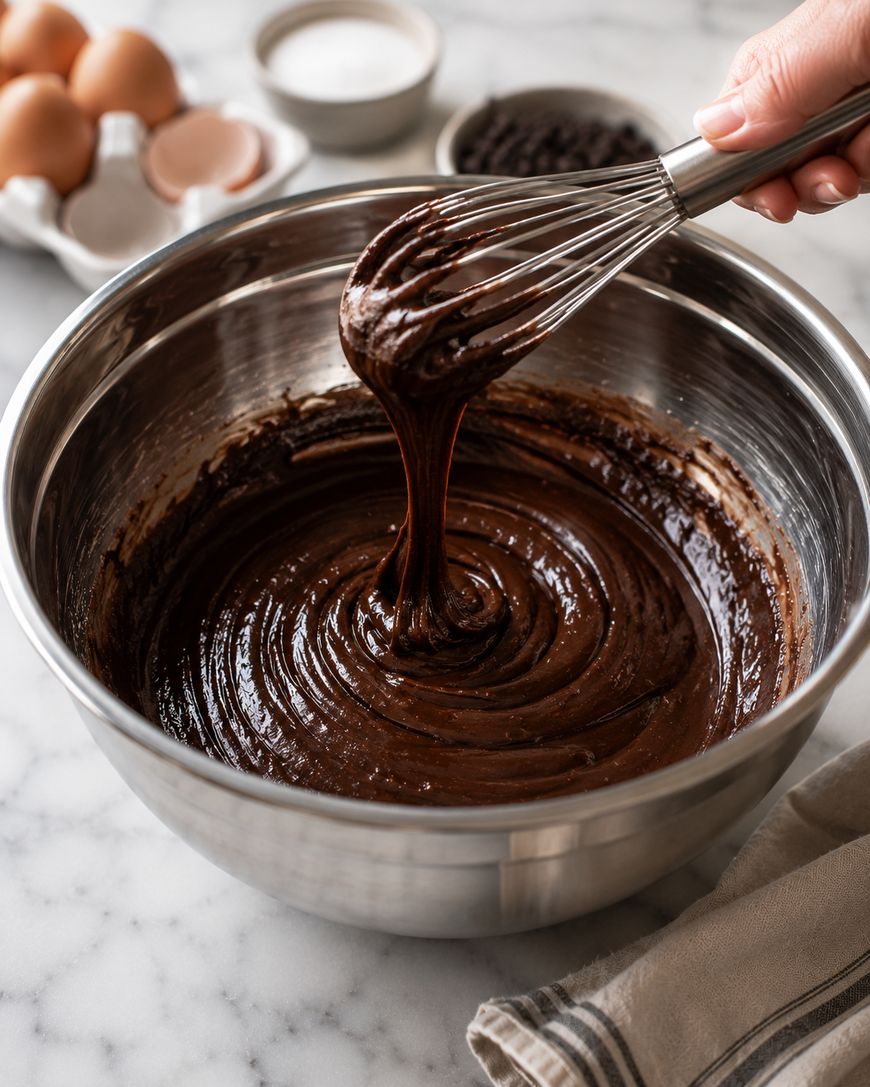
Whisk vigorously for about 60 seconds. This step incorporates a small amount of air and dissolves the sugar further, which contributes to the signature shiny crust.
Dry Ingredients
Sift all-purpose flour, Dutch-process cocoa powder, and salt directly into the wet mixture. Dutch-process cocoa has a deeper, smoother chocolate flavor than natural cocoa and is worth seeking out at any well-stocked grocery store or online.
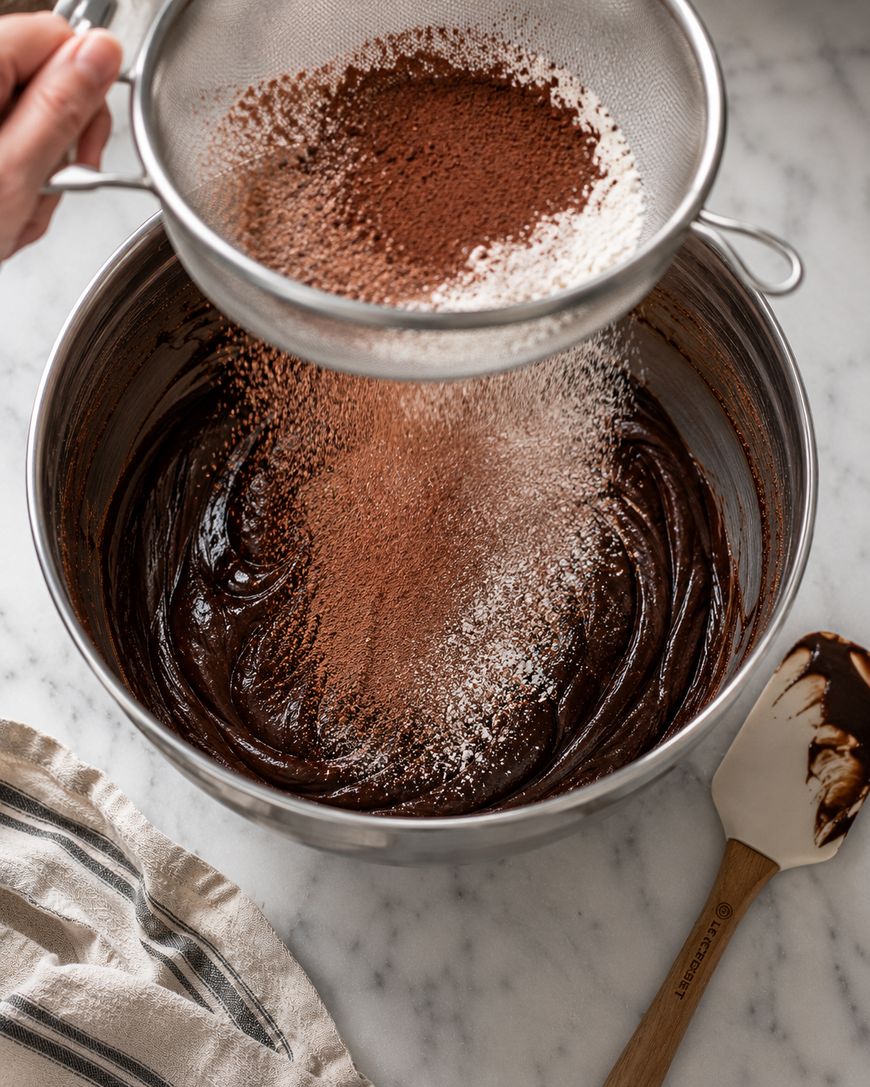
Fold the dry ingredients in with a rubber spatula using as few strokes as possible. Stop folding the moment no dry streaks remain — overworking the batter develops gluten and toughens the crumb.
Adding the Oreos
Break Oreo cookies into halves and quarters rather than crushing them completely. Larger pieces give you distinct pockets of cookie in the final brownie, which looks impressive when sliced and delivers better textural contrast than fine crumbs.
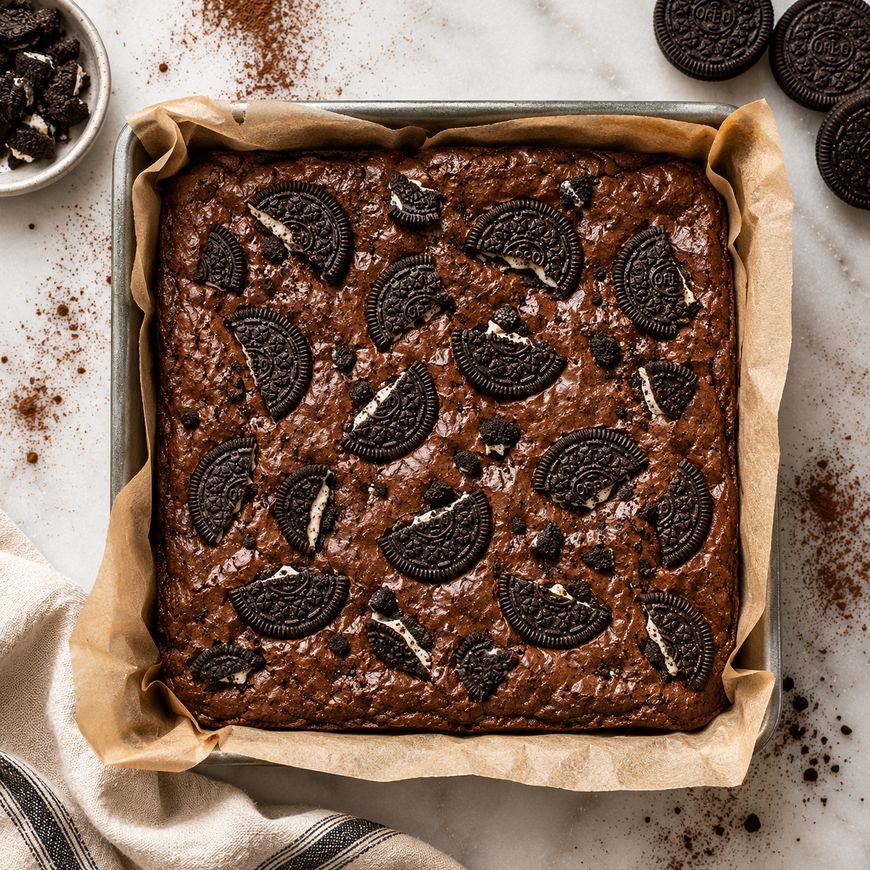
Reserve six to eight cookie halves for pressing into the top of the batter after it goes into the pan. This makes the brownies look bakery-worthy without any extra effort.
Baking
Line an 8×8-inch metal baking pan with parchment paper, leaving an overhang on two sides for easy removal. Grease the exposed sides lightly with butter or cooking spray.
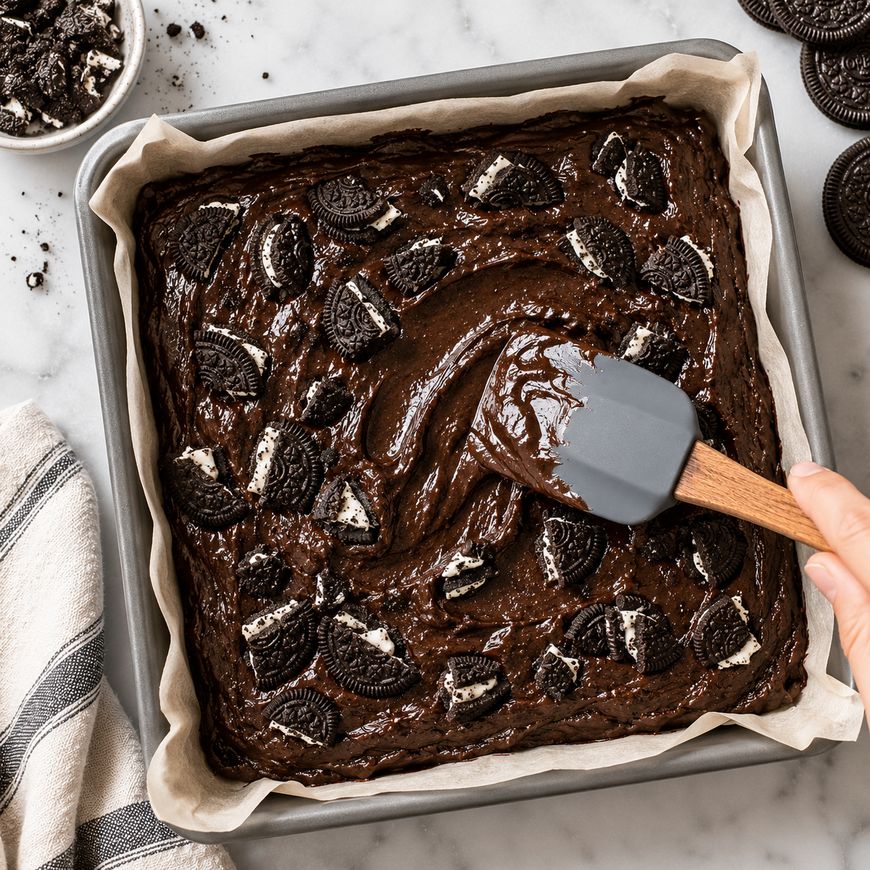
Spread the batter evenly into the prepared pan and press the reserved Oreo pieces on top. Bake in a preheated 350°F oven for 28 to 32 minutes. The center should look just barely set — it will continue cooking from residual heat as it cools.
The toothpick test is not reliable for fudgy brownies. Instead, look for the edges to be fully set and pulling away slightly from the pan while the center still has a very slight wobble when you shake the pan gently.
Cooling and Slicing
Allow the brownies to cool completely in the pan before attempting to slice — at least two hours at room temperature, or 45 minutes in the refrigerator. Warm brownies are delicious but will crumble when cut.

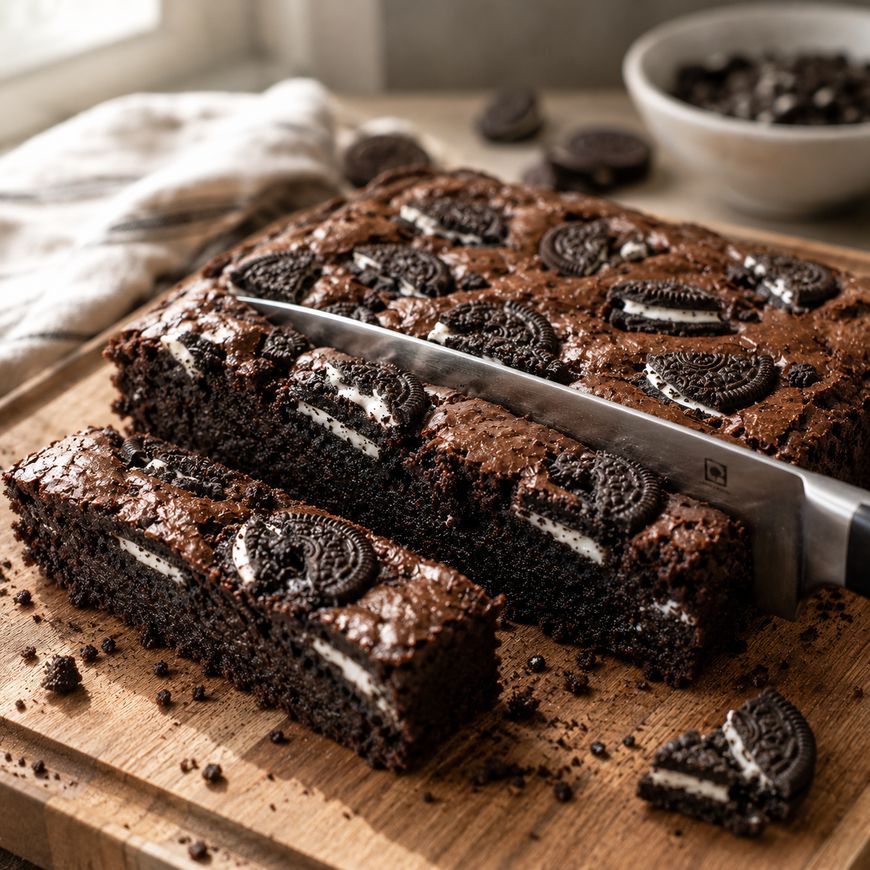
Use the parchment overhang to lift the slab out of the pan onto a cutting board. A sharp chef’s knife wiped clean between each cut produces the cleanest slices. Aim for a four-by-four grid for 16 generous squares.
Variations and Substitutions
Chocolate Choices
Bittersweet chocolate (70% cacao) produces a more intense, less sweet brownie that pairs beautifully with the sweetness of the Oreo filling. Milk chocolate creates a sweeter, more dessert-forward result similar to a candy bar in brownie form.
White chocolate chips can be swirled into the top third of the batter for a striking visual contrast and a creamy sweetness that complements the Oreo perfectly.
Cookie Variations
Golden Oreos create a vanilla-forward brownie with a lighter visual contrast against the dark batter. Mint Oreos add a cool, refreshing element that makes this recipe feel festive for holidays.
Peanut butter-filled Oreos work beautifully here, playing on the classic chocolate-peanut butter pairing that never goes out of style. Use any flavored Oreo variety without adjusting any other part of the recipe.
Gluten-Free Option
Substitute a one-to-one gluten-free flour blend (Bob’s Red Mill and King Arthur both make reliable versions) in equal measure for the all-purpose flour. Use gluten-free Oreo-style sandwich cookies — Glutino and Goodie Girl are widely available options.
Make It Extra Fudgy
Reduce the flour by one tablespoon and add one tablespoon of sour cream or full-fat Greek yogurt to the wet ingredients. This increases moisture and creates an almost brownie-truffle texture in the center.
Storage and Serving Suggestions
Storing
Brownies keep at room temperature in an airtight container for up to four days. Separating layers with parchment prevents the Oreo topping from sticking.
For longer storage, wrap individual squares tightly in plastic wrap and freeze for up to three months. Thaw at room temperature for 30 minutes or microwave for 20 seconds from frozen.
Serving Ideas
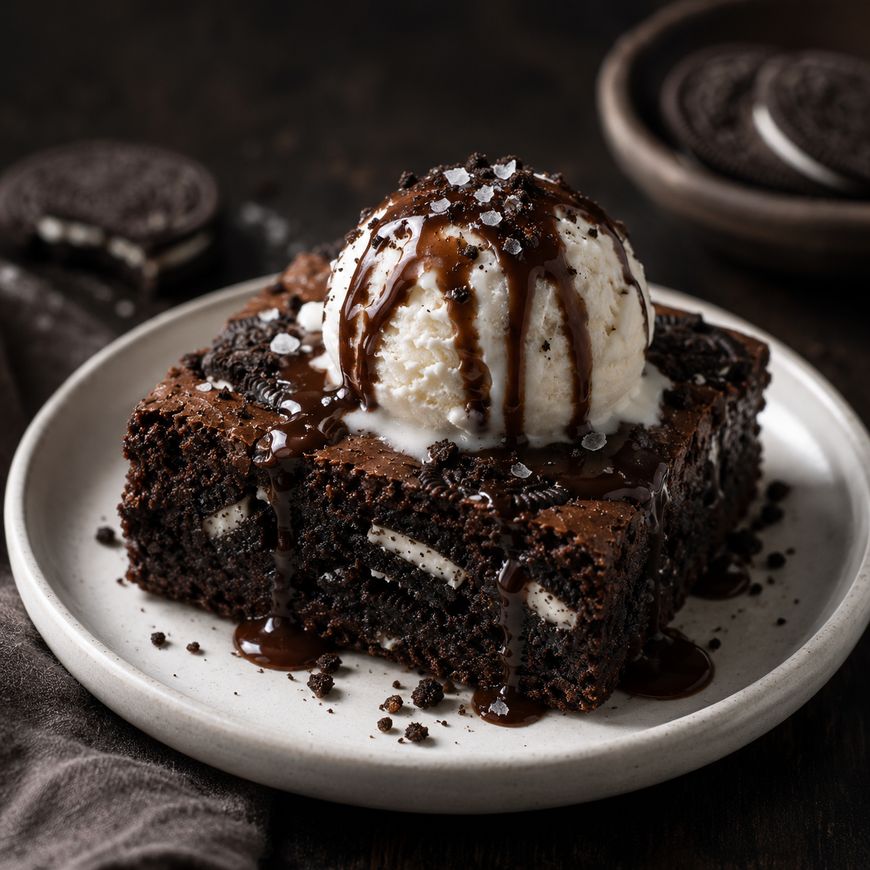
Serve warm with a scoop of vanilla ice cream and a drizzle of hot fudge for a plated dessert worthy of any dinner party. A sprinkle of flaky sea salt (Maldon is the go-to choice for most pastry chefs) right before serving amplifies the chocolate flavor noticeably.
Crumble a brownie over vanilla yogurt for a quick dessert that feels slightly more restrained. Pack squares individually in wax paper bags for bake sale contributions or school lunches.
Background and Origin of Oreo Brownies
The classic American brownie traces its origins to the late 19th century, with the Palmer House Hotel in Chicago frequently cited as the site of an early well-documented recipe commissioned by Bertha Palmer for the 1893 World’s Columbian Exposition. The original was a dense, walnut-studded bar quite different from today’s versions.
The Oreo cookie itself was introduced by Nabisco in 1912 and has since become the best-selling cookie in the United States. The combination of Oreos and brownies emerged as home bakers began experimenting with mix-ins through the 1980s and 1990s, and the pairing found particular popularity on food blogs and social media through the 2010s as visually striking desserts became widely shared.
Today, Oreo brownies appear on the menus of specialty bakeries from Milk Bar in New York City to small-batch operations across the country. The combination works because it layers two already-beloved American classics into something that feels both nostalgic and indulgent at once.
All the details you need are in the recipe card — scroll down to get started.

Oreo Brownies Recipe
Ultra-fudgy chocolate brownies loaded with Oreo cookie chunks throughout and pressed on top. Rich, chewy, and impossibly easy to make in one bowl.
Ingredients
- 170g (3/4 cup) unsalted butter, cut into pieces
- 200g (7oz) semi-sweet chocolate chips or chopped chocolate
- 200g (1 cup) granulated sugar
- 2 large eggs plus 1 egg yolk, room temperature
- 2 tsp vanilla extract
- 65g (1/2 cup) all-purpose flour, spooned and leveled
- 30g (1/4 cup) Dutch-process cocoa powder
- 1/2 tsp fine sea salt
- 20 Oreo cookies, roughly broken (about 2 cups)
Instructions
- Preheat the oven to 350°F (175°C). Line an 8x8-inch metal baking pan with parchment paper, leaving an overhang on two opposite sides. Lightly grease the exposed sides.
- Combine the butter and chocolate in a large heatproof bowl. Microwave in 30-second intervals, stirring between each, until fully melted and smooth. Set aside to cool for 5 minutes.
- Whisk the granulated sugar into the chocolate mixture until combined. Add the eggs, egg yolk, and vanilla extract. Whisk vigorously for 60 seconds until the mixture is glossy and slightly thickened.
- Sift the flour, cocoa powder, and salt over the wet mixture. Fold with a rubber spatula until just combined and no dry streaks remain.
- Reserve 6 to 8 Oreo halves. Fold the remaining broken Oreo pieces into the batter with a few gentle strokes.
- Pour the batter into the prepared pan and spread evenly. Press the reserved Oreo pieces into the top.
- Bake for 28 to 32 minutes, until the edges are set and the center has just the faintest wobble. Do not overbake.
- Cool completely in the pan, at least 2 hours, before lifting out and slicing into 16 squares.
Notes
For extra fudgy brownies, reduce flour by 1 tablespoon and add 1 tablespoon of sour cream to the wet ingredients. Store in an airtight container at room temperature for up to 4 days, or freeze individually wrapped squares for up to 3 months. Any Oreo flavor variation works in this recipe without other adjustments.
Nutrition Information:
Yield:
16Serving Size:
1 brownieAmount Per Serving: Calories: 265Total Fat: 14gSaturated Fat: 8gSodium: 145mgCarbohydrates: 34gFiber: 1gSugar: 23gProtein: 3g
This site provides estimated nutritional information. This information comes from online calculators. Although we try to provide accurate nutritional information, these figures are only estimates.
Oreo Brownies Recipe: Frequently Asked Questions
Can the batter be made ahead of time?
The batter can be mixed and refrigerated in the lined pan, covered tightly with plastic wrap, for up to 24 hours before baking. Pull it from the refrigerator while the oven preheats and add two to three minutes to the baking time to account for the cold start. This is a useful option for prepping the night before a party or event.
Why did the brownies come out cakey instead of fudgy?
Cakey brownies are almost always the result of too much flour, overmixing after the flour is added, or overbaking. Measure flour by spooning it into the measuring cup and leveling it off with a knife rather than scooping directly from the bag, which packs the flour and adds excess. Pull the pan from the oven when the center still looks slightly underdone.
Can this recipe be doubled?
Yes — double all ingredients and use a 9×13-inch baking pan. The baking time increases to approximately 35 to 40 minutes. Watch the edges carefully and start checking at the 33-minute mark, since oven temperatures and pan materials vary. Dark metal pans absorb more heat and may bake faster than lighter-colored ones.
Do the Oreos get soggy in the batter?
The cookies pressed into the top of the brownie stay crisp because they are exposed to direct oven heat. Cookies folded into the batter soften slightly, which many people find appealing since they become more integrated with the fudgy texture. If maximum crunch is a priority, fold cookies in only during the last few strokes of mixing so they spend less time in contact with the wet batter before baking.
What is the best pan for brownies?
A light-colored metal pan (aluminum is ideal) produces the most even bake. Glass or ceramic pans retain heat longer, which can cause overbaking at the edges before the center sets. Dark metal pans absorb more heat and can cause the bottom and edges to over-brown. If only a glass or dark pan is available, reduce the oven temperature by 25°F and check for doneness five minutes early.
Can the eggs be replaced for a vegan version?
Each egg can be replaced with one flax egg (one tablespoon of ground flaxseed mixed with three tablespoons of water, rested for five minutes). The extra yolk in this recipe can simply be omitted. The brownie will be slightly less glossy on top and marginally more dense, but still fudgy and delicious. Use vegan butter such as Miyoko’s Creamery European Style, and confirm the chocolate and Oreos are dairy-free, as some production runs are processed on shared equipment.
Conclusion
This oreo brownies recipe delivers everything the name promises — a deeply chocolatey, fudgy base loaded with cookie pieces, with a crinkled, glossy top that looks as impressive as it tastes. Whether baked for a weeknight treat or a celebration, this is one of those recipes that earns a permanent spot in the rotation.