Last updated: October 22, 2026
You are looking for the best Rice Krispie treats recipe, and you have absolutely come to the right place.
If you want to skip straight to the recipe card, scroll down and you will find it waiting for you below. Otherwise, keep reading for every tip and trick you need to make these perfectly gooey every single time.
What Makes This Rice Krispie Treats Recipe So Good
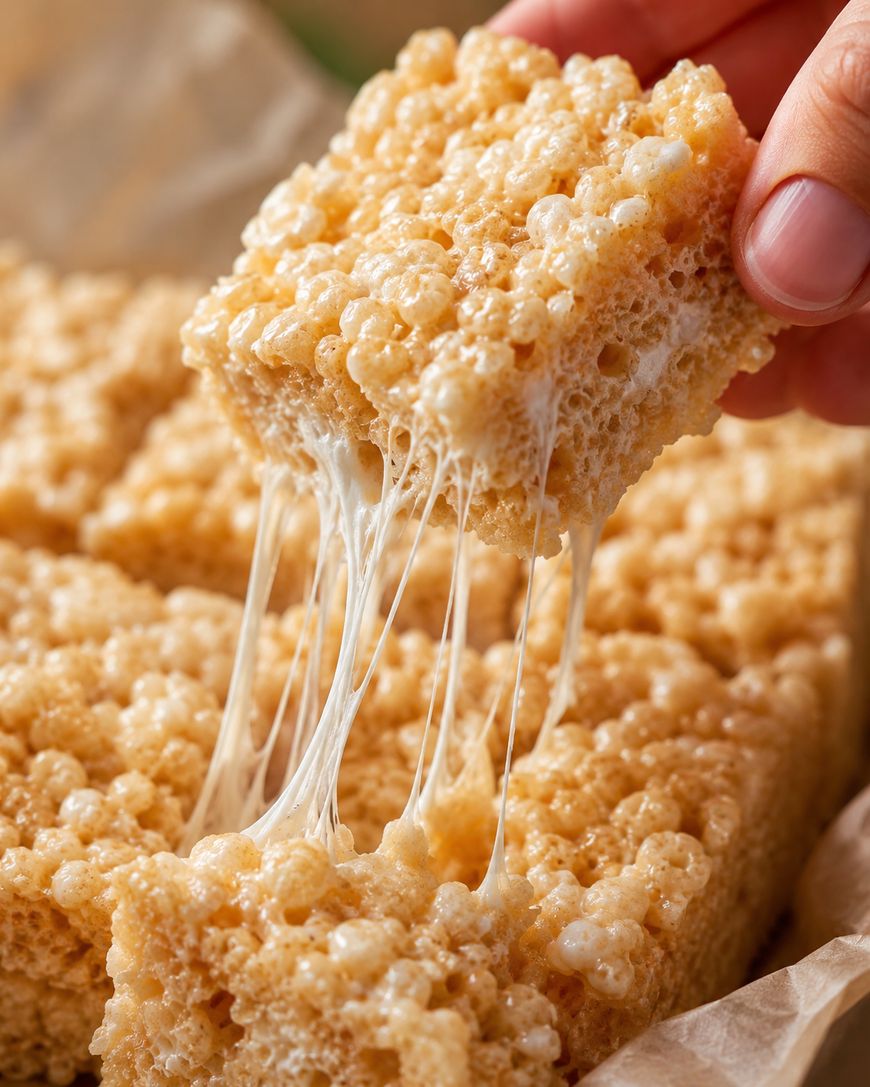
This recipe delivers thick, chewy, gooey bars that hold together without being rock hard.
The secret is in the ratio of butter to marshmallows and the technique used to melt them together.
The Butter
Use real, unsalted butter, not margarine and not a butter substitute.
Browning the butter before adding the marshmallows adds a nutty, caramel-like depth of flavor that takes these from good to absolutely unforgettable.
The Marshmallows
Fresh marshmallows make a significant difference to the texture of the finished bars.
Older, dried-out marshmallows do not melt as smoothly and can result in a grainy or stiff texture instead of that signature stretchy chew.
The Rice Krispies
Use Kellogg’s Rice Krispies cereal, the name-brand version, for the crispiest result.
Generic puffed rice cereals can be softer and may yield a less satisfying snap in the finished treat.
Ingredients You Will Need
The ingredient list for this Rice Krispie treats recipe is delightfully short.
You will need 6 tablespoons of unsalted butter, one 10-ounce bag of mini marshmallows (plus a handful extra to stir in at the end), 6 cups of Kellogg’s Rice Krispies cereal, and half a teaspoon of fine salt.
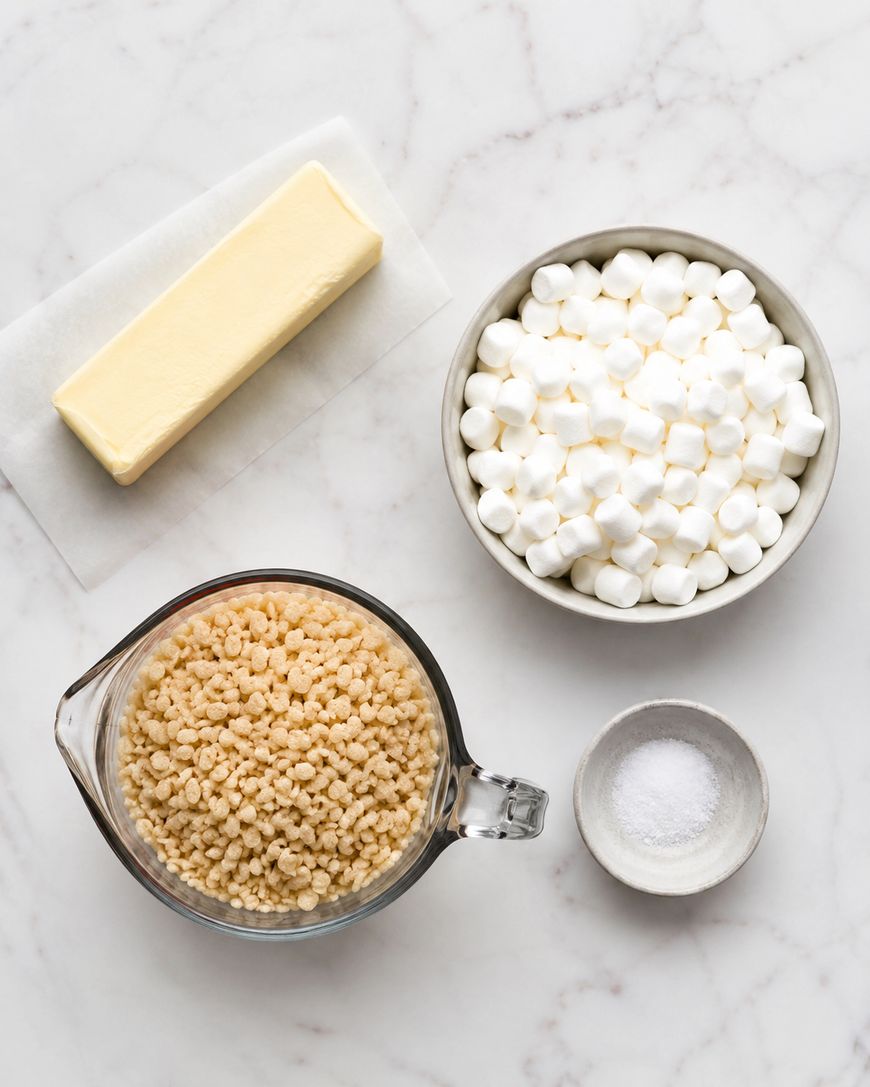
Why Salt Matters
A pinch of salt balances the sweetness and enhances every other flavor in the bar.
Without it, the treats can taste one-dimensional and cloyingly sweet: salt is a small addition that makes a big impact.
The Extra Marshmallows Trick
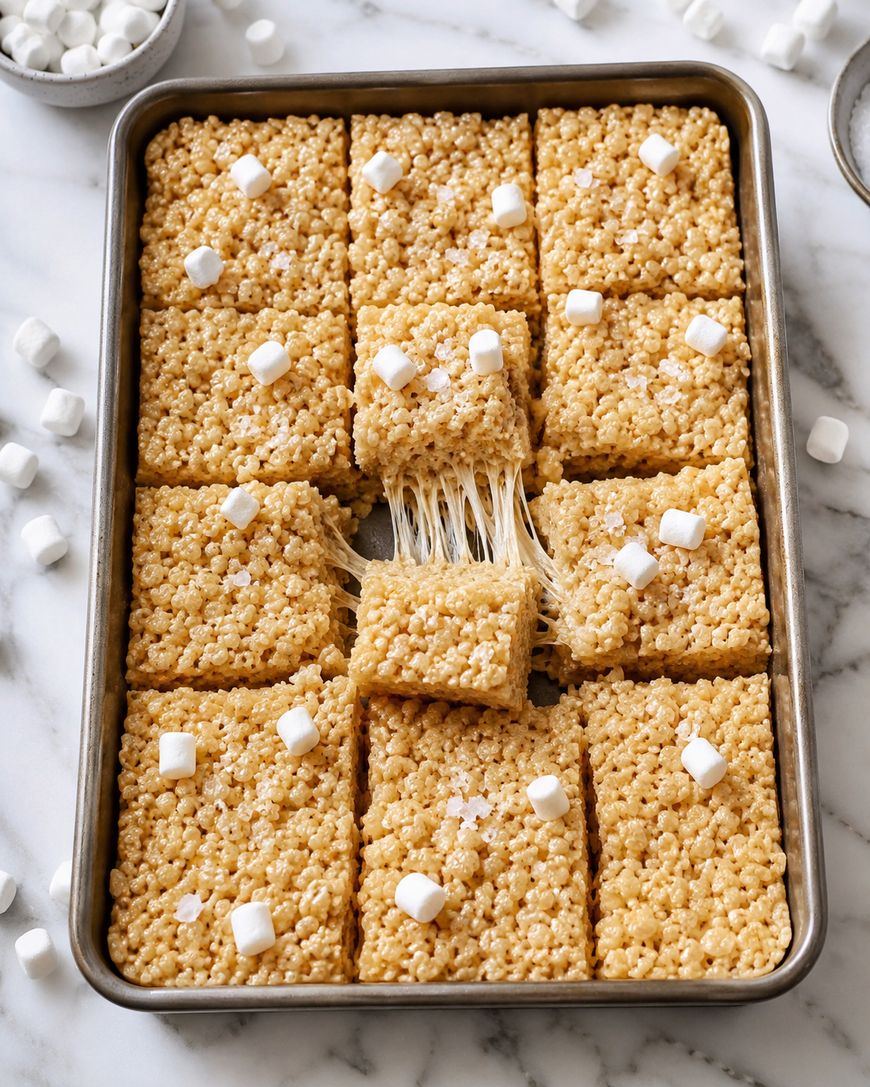
Stirring in a handful of fresh mini marshmallows right at the end, after removing the pan from heat, creates pockets of soft marshmallow throughout the bars.
This technique gives you that extra gooey, bakery-style texture that sets a great Rice Krispie treat apart from a merely good one.
How to Make Rice Krispie Treats
This recipe comes together in under 15 minutes from start to finish.
You will need a large, heavy-bottomed saucepan or pot, a 9×13-inch baking pan, parchment paper, and a silicone spatula.
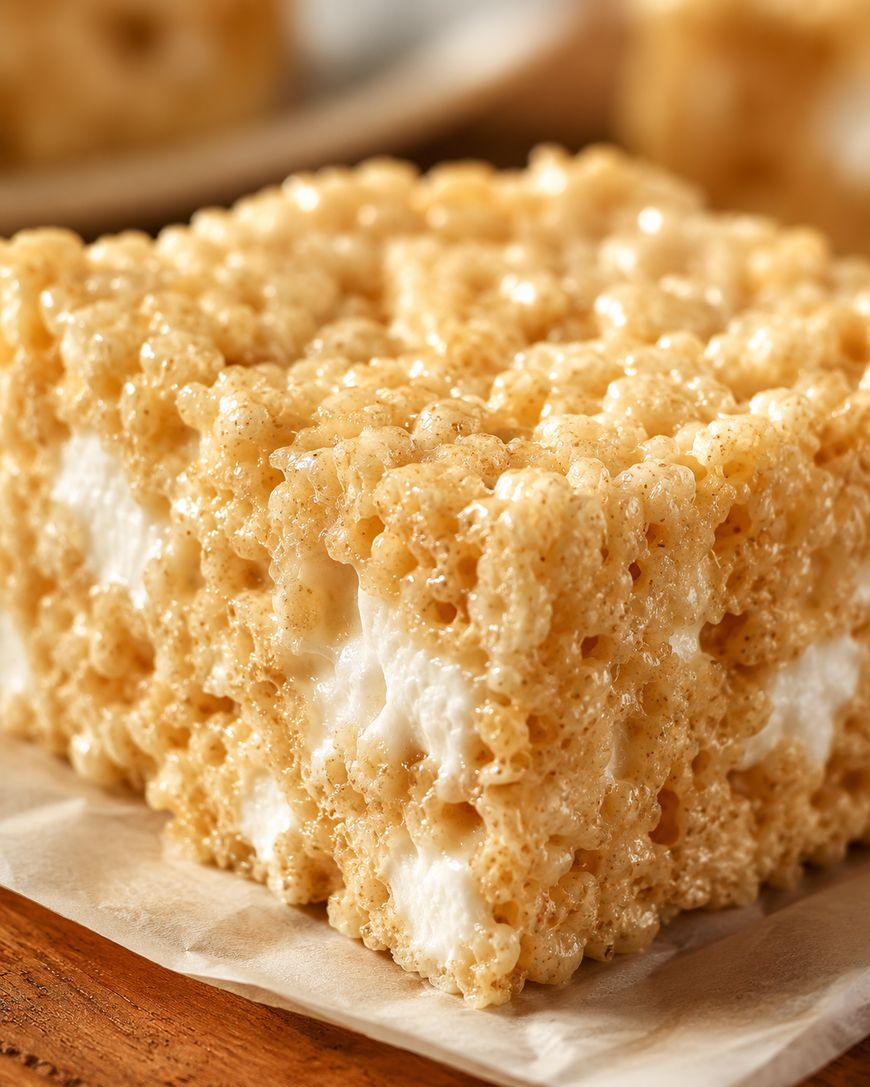
Preparing the Pan
Line your 9×13-inch baking pan with parchment paper and lightly grease it with cooking spray or a thin layer of butter.
This step prevents sticking and makes removing the finished bars much easier once they have set.
Browning the Butter
Place your saucepan over medium heat and add the 6 tablespoons of unsalted butter.
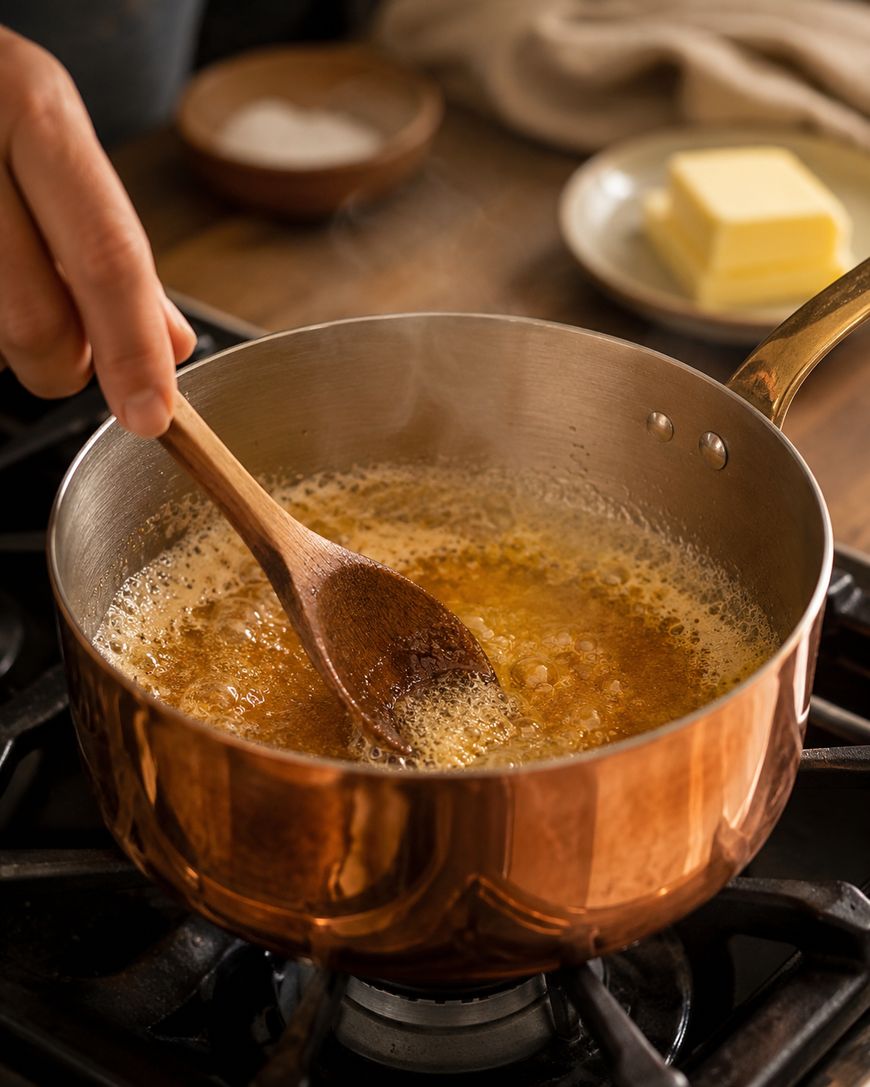
Let it melt, then continue cooking while stirring occasionally until the butter foams, subsides, and the milk solids at the bottom of the pan turn a golden amber color and smell nutty. This takes about 3 to 4 minutes.
Melting the Marshmallows
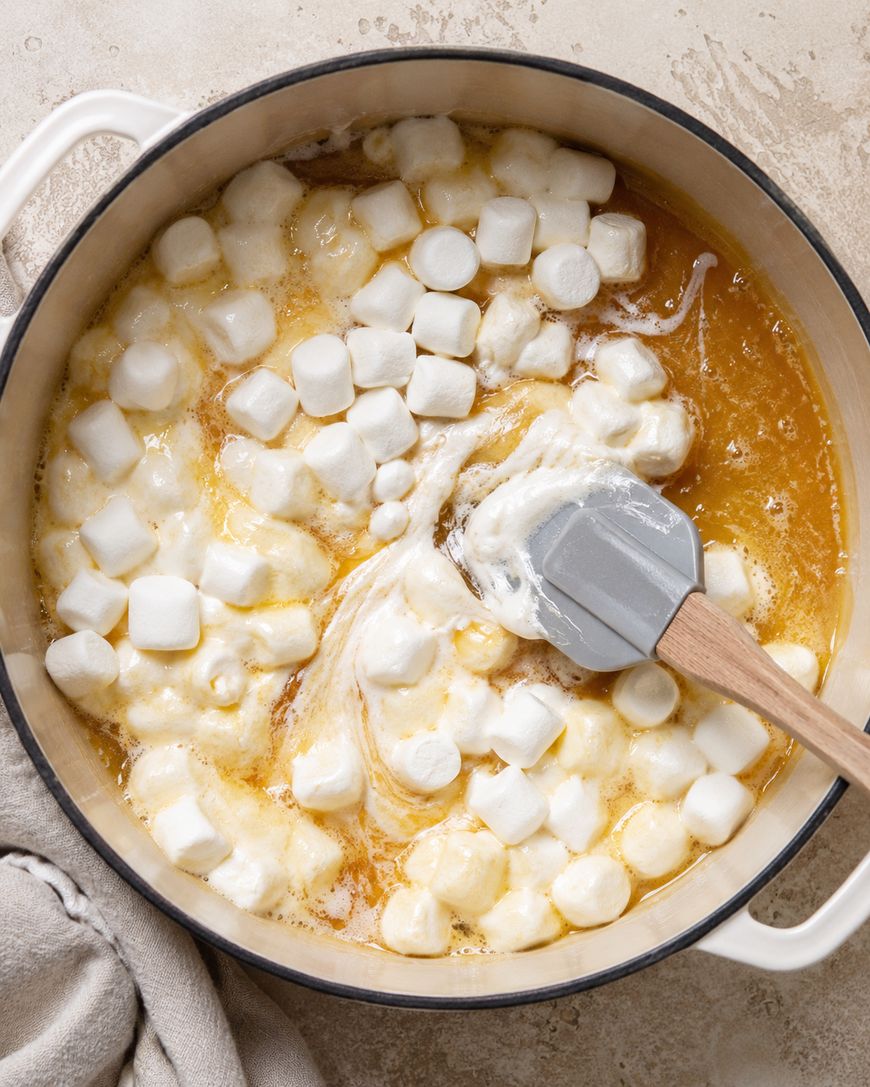
Once the butter is browned, reduce the heat to low and add the entire 10-ounce bag of mini marshmallows.
Stir constantly with your silicone spatula until the marshmallows are completely melted and the mixture is smooth and glossy. Remove from heat immediately.
Adding the Cereal
Working quickly, add the salt and then pour in all 6 cups of Rice Krispies cereal.
Stir everything together until every piece of cereal is coated in the marshmallow mixture. Then stir in your reserved handful of fresh mini marshmallows.
Pressing Into the Pan
Transfer the mixture to your prepared baking pan.
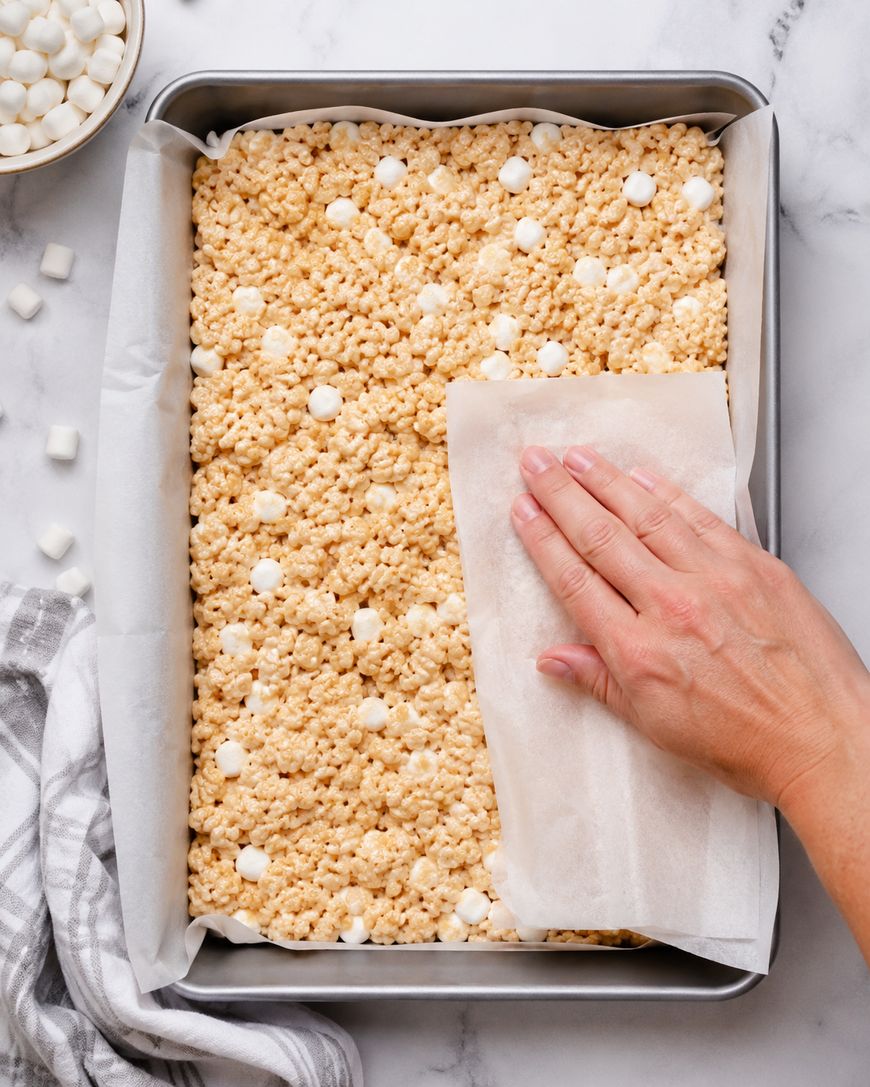
Use a piece of parchment paper or a lightly buttered spatula to press the mixture into an even layer. Do not press too hard: a gentle press keeps the bars light and chewy rather than dense and compact.
Cutting the Bars
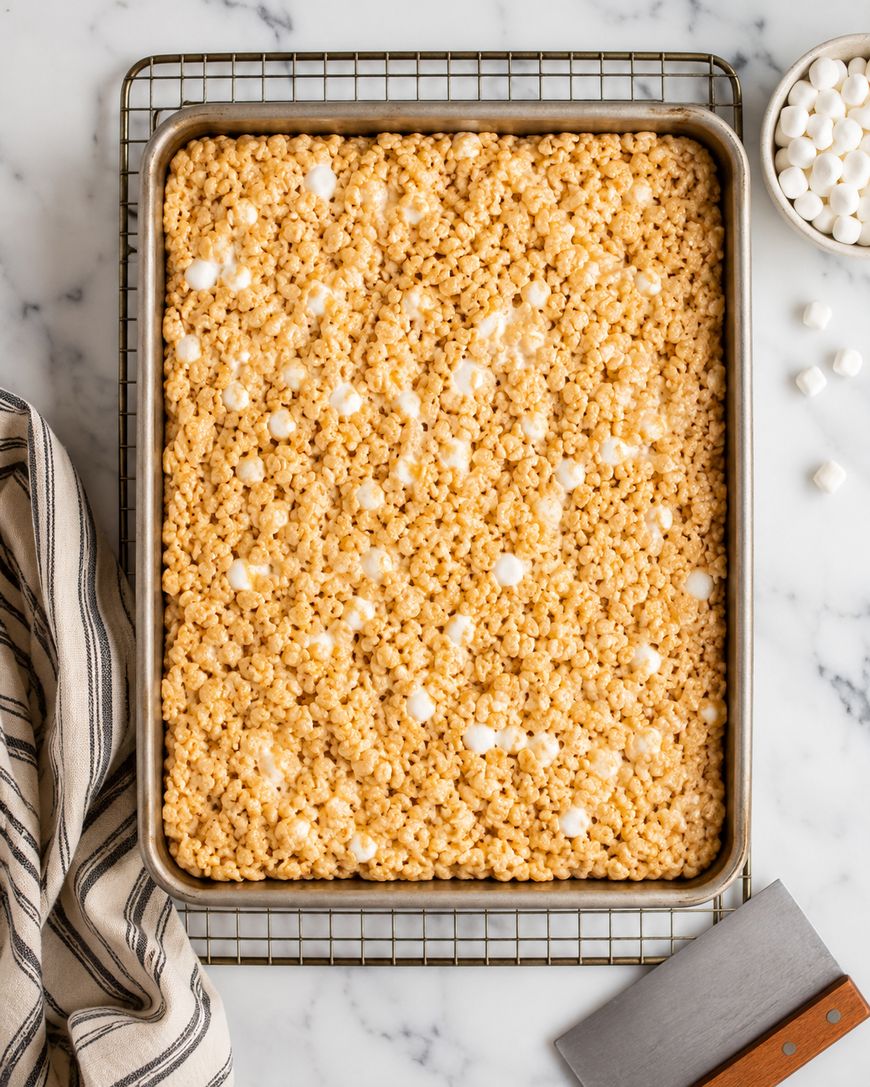
Allow the bars to cool at room temperature for at least 30 minutes before cutting.
Use a sharp knife or a bench scraper to cut them into even squares. Wiping the knife with a damp cloth between cuts keeps the edges clean.
Variations on the Classic Recipe
Once you have the base recipe mastered, there are so many ways to customize these bars.
Each variation keeps the same method and simply layers in extra flavor or texture.
Brown Butter Chocolate Chip Rice Krispie Treats
Stir in half a cup of mini chocolate chips along with the final handful of marshmallows.
The residual heat will melt some of the chips slightly, creating swirls of chocolate through the bars.
Salted Caramel Rice Krispie Treats
Drizzle two tablespoons of caramel sauce over the top of the pressed bars before they set.
Finish with a sprinkle of flaky sea salt, such as Maldon, for a sophisticated sweet-salty combination.
Birthday Cake Rice Krispie Treats
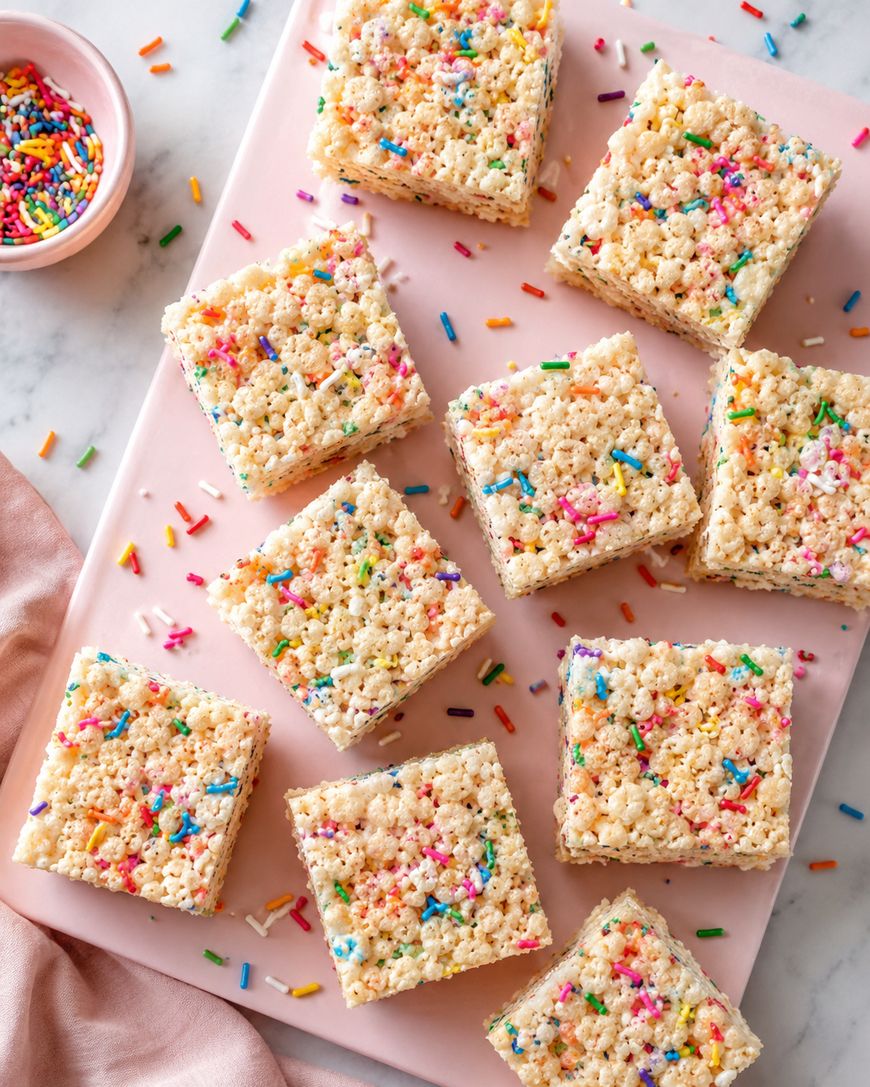
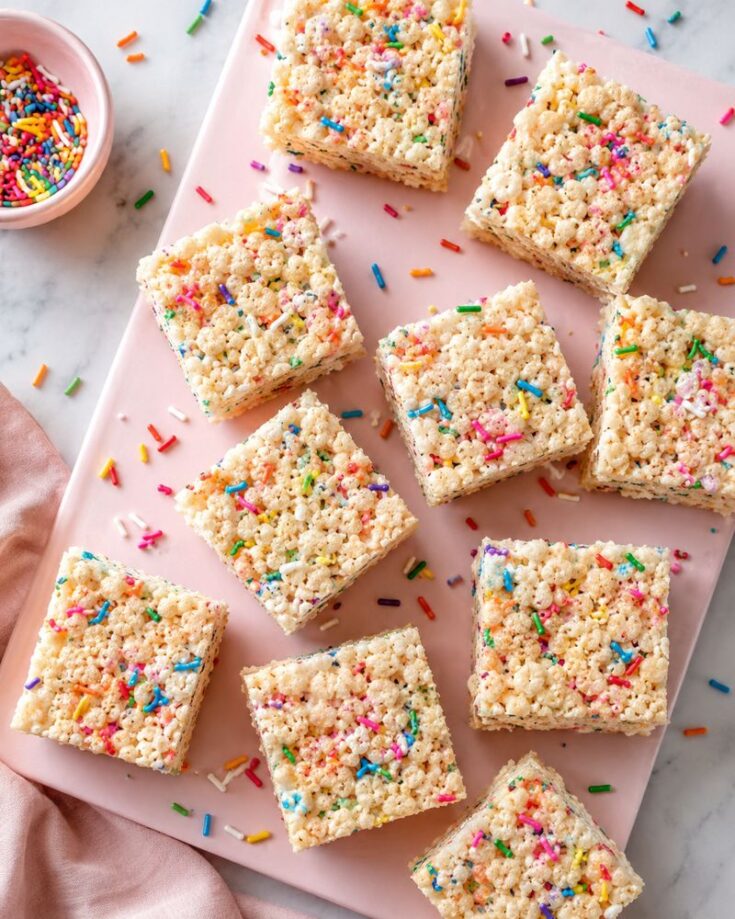
Stir in two tablespoons of rainbow sprinkles along with the cereal for a festive, colorful treat.
A few drops of clear vanilla extract added to the marshmallow mixture takes the flavor in a birthday cake direction.
Peanut Butter Rice Krispie Treats
Stir two tablespoons of creamy peanut butter into the melted butter before adding the marshmallows.
The peanut butter adds richness and a subtle nuttiness that pairs beautifully with the sweet marshmallow base.
Substitutions and Dietary Swaps
This recipe is easy to adapt for different dietary needs.
Small swaps in the ingredient list can accommodate most common restrictions without significantly changing the final result.
Dairy-Free Version
Replace the butter with a high-quality vegan butter, such as Miyoko’s Creamery or Earth Balance.
Both melt and brown similarly to regular butter and will give you a comparable result in the finished bars.
Vegan Version
Use vegan butter and swap in vegan marshmallows, such as Dandies brand, which melt well and behave similarly to conventional marshmallows.
Note that the texture may be very slightly different, but the bars will still be delicious.
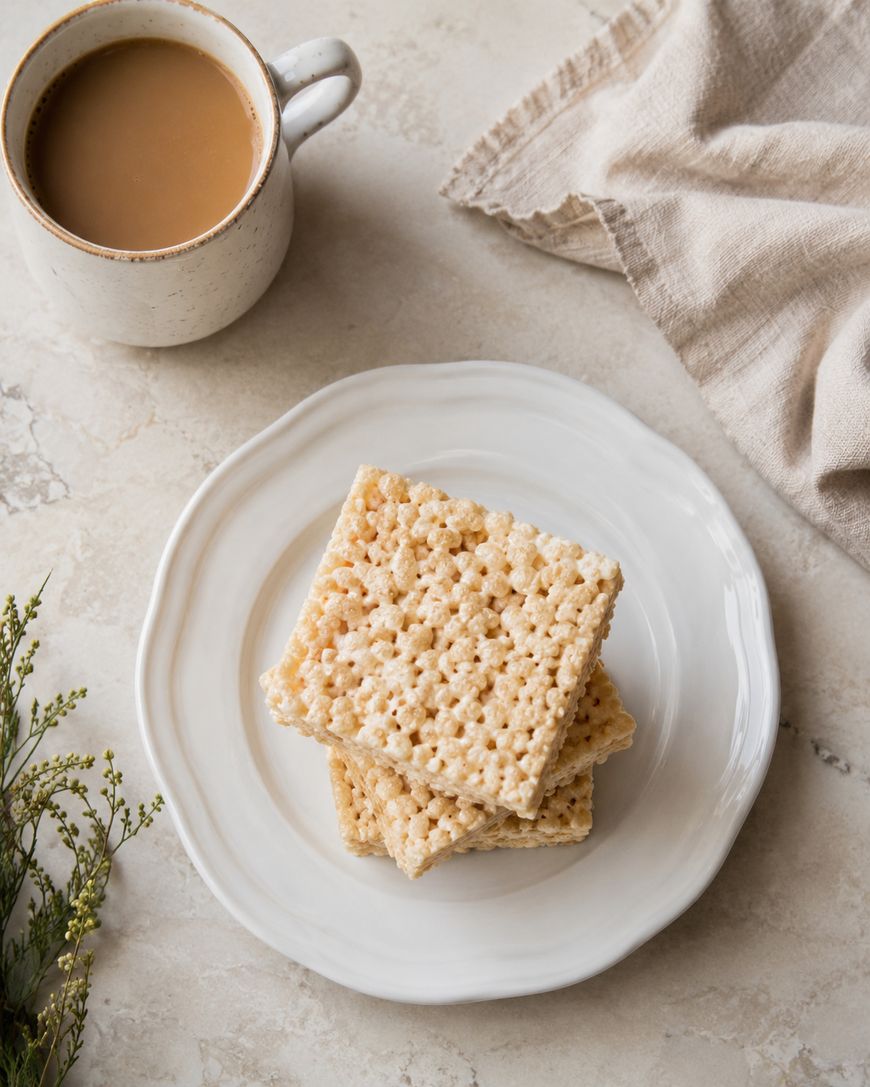
Gluten-Free Version
Kellogg’s Rice Krispies are not certified gluten-free in the United States due to potential cross-contamination.
Look for a certified gluten-free puffed rice cereal, such as Nature’s Path Crispy Rice, to make a version safe for those with celiac disease or gluten intolerance.
Storage Instructions
Rice Krispie treats are best eaten the day they are made, when they are at their chewiest and most gooey.
That said, they store well and remain delicious for several days.
Room Temperature Storage
Store cut bars in an airtight container at room temperature for up to 3 days.
Place a sheet of parchment between layers to prevent the bars from sticking together.
Freezing
These bars freeze beautifully for up to 6 weeks.
Wrap individual bars tightly in plastic wrap, then place them in a zip-top freezer bag. Thaw at room temperature for about 30 minutes before serving.
Serving Suggestions
These treats are wonderful just as they are, straight from the pan.
For entertaining, you can dress them up in several easy ways.
Dipped in Chocolate
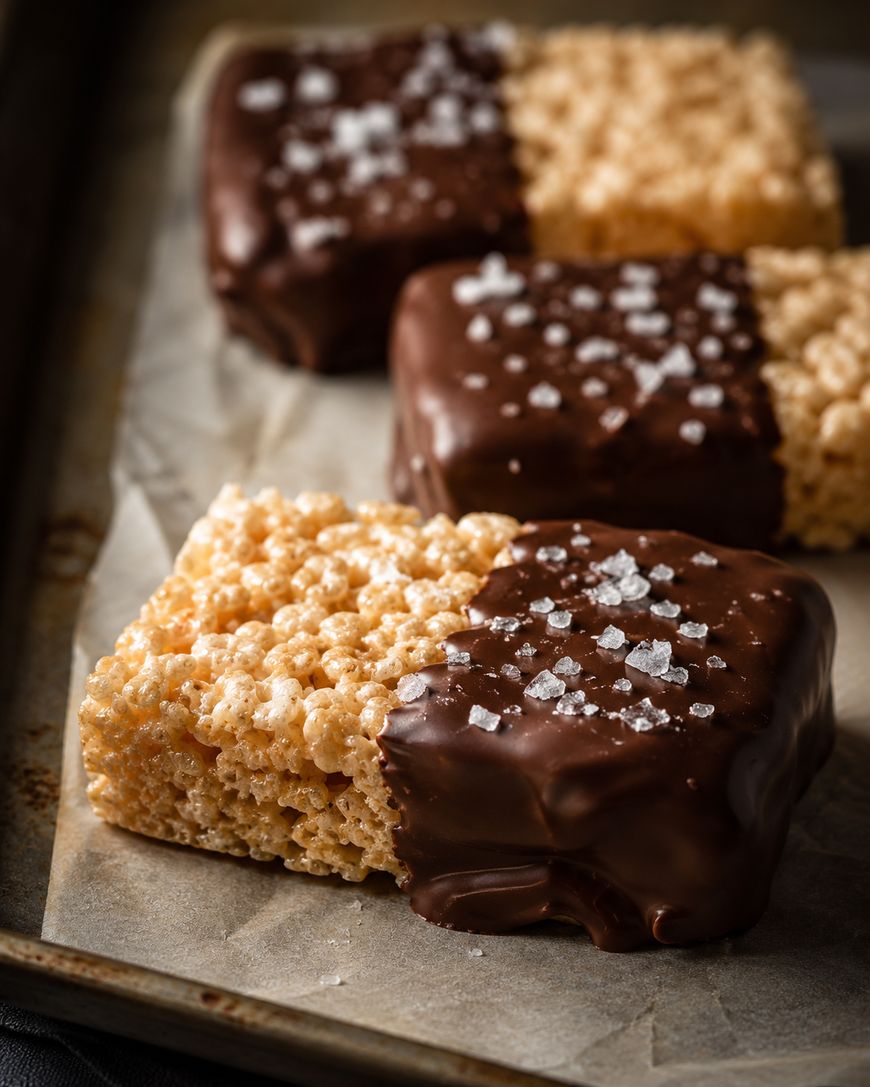
Melt one cup of semi-sweet chocolate chips in a microwave-safe bowl in 30-second intervals, stirring between each.
Dip one half of each bar into the melted chocolate, then place on a parchment-lined baking sheet to set. Sprinkle with sea salt or crushed freeze-dried strawberries for a beautiful finish.
Cut Into Shapes
Use cookie cutters to cut the bars into stars, hearts, or seasonal shapes while they are still slightly warm.
This is a fun option for holiday gatherings, birthday parties, or Valentine’s Day treats.
Stacked and Wrapped
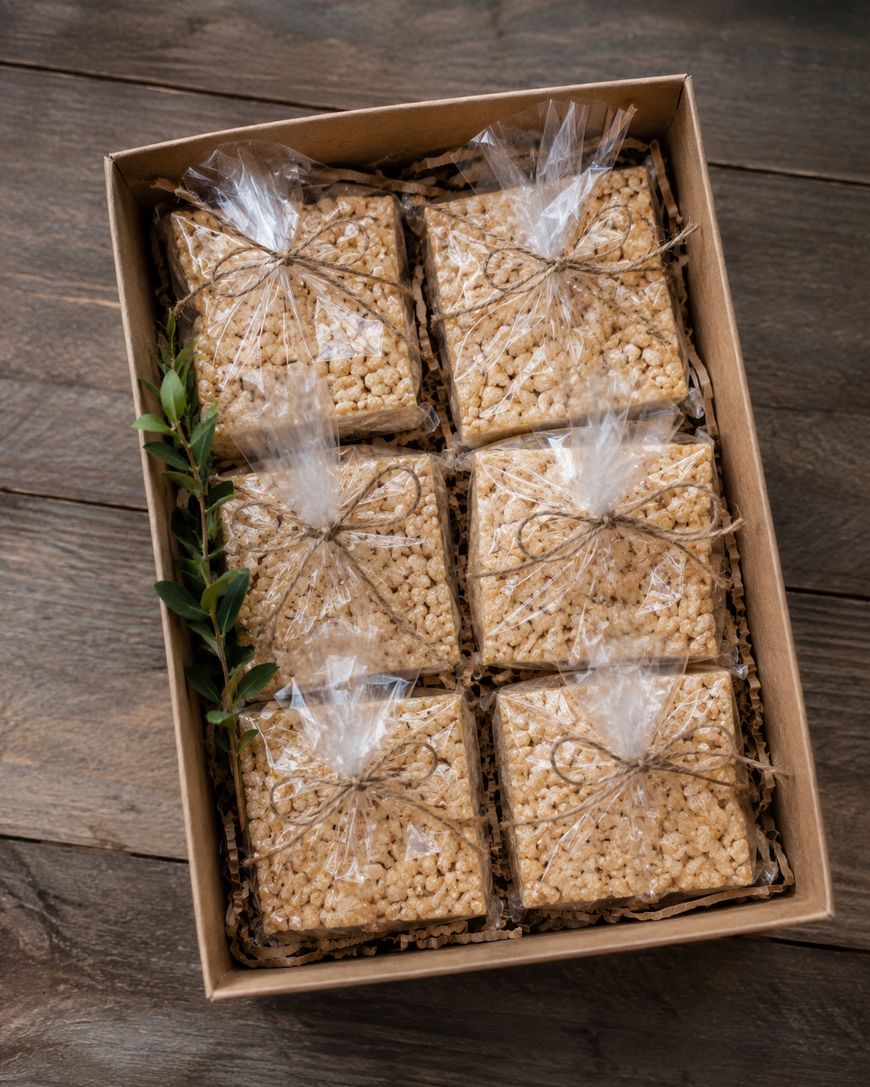
Stack two bars together and wrap them in a square of clear cellophane tied with a ribbon for a simple and charming homemade gift.
These are popular at bake sales, school events, and as thank-you gifts.
The History Behind Rice Krispie Treats
Rice Krispie treats were invented in the late 1930s by Mildred Day and Malitta Jensen, home economists working at the Kellogg Company.
The recipe first appeared as a fundraiser treat for Camp Fire Girls and was so popular it was soon printed on the Rice Krispies cereal box, where it has remained a beloved classic ever since.
Why This Recipe Works Every Time
The combination of browned butter, fresh marshmallows, a pinch of salt, and a gentle press into the pan is what separates an exceptional Rice Krispie treat from an average one.
Each element has a purpose, and following the technique closely guarantees consistent, gooey results.
Rice Krispie Treats Recipe
The ultimate gooey, chewy Rice Krispie treats made with browned butter and fresh marshmallows. Ready in under 15 minutes with just 4 ingredients.
Ingredients
- 6 tablespoons unsalted butter
- 10 oz mini marshmallows (plus 1 cup extra, divided)
- 6 cups Kellogg's Rice Krispies cereal
- 1/2 teaspoon fine salt
Instructions
- Line a 9x13-inch baking pan with parchment paper and lightly grease with cooking spray or butter.
- Melt butter in a large, heavy-bottomed saucepan over medium heat. Continue cooking, stirring occasionally, until the butter turns golden amber and smells nutty, about 3 to 4 minutes.
- Reduce heat to low. Add the 10 oz bag of mini marshmallows and stir constantly until fully melted and smooth.
- Remove from heat. Add salt and pour in the Rice Krispies cereal. Stir until fully coated.
- Stir in the reserved 1 cup of fresh mini marshmallows.
- Transfer mixture to prepared pan. Press gently into an even layer using parchment paper or a lightly buttered spatula.
- Allow to cool at room temperature for at least 30 minutes before cutting into squares.
Notes
Brown butter tip: Watch the butter carefully once it starts to foam. It goes from brown to burnt quickly. Pull it off the heat as soon as you see golden amber color and smell nuttiness.
Do not press too hard: A light press keeps the bars soft and chewy. Pressing firmly results in dense, hard treats.
Fresh marshmallows matter: Older marshmallows can be dry and may not melt as smoothly, affecting the final texture.
Substitutions: Use vegan butter and Dandies marshmallows for a dairy-free/vegan version. Use certified gluten-free puffed rice cereal for a gluten-free version.
Storage: Store in an airtight container at room temperature for up to 3 days, or freeze individually wrapped bars for up to 6 weeks.
Make-ahead: These can be made one day ahead and stored in an airtight container. Best eaten fresh.
Nutrition Information:
Yield:
24Serving Size:
1 barAmount Per Serving: Calories: 118Total Fat: 3gSaturated Fat: 2gTrans Fat: 0gUnsaturated Fat: 1gCholesterol: 8mgSodium: 95mgCarbohydrates: 22gFiber: 0gSugar: 12gProtein: 1g
This site provides estimated nutritional information. This information comes from online calculators. Although we try to provide accurate nutritional information, these figures are only estimates.
Frequently Asked Questions
Why are my Rice Krispie treats too hard?
Hard Rice Krispie treats are usually the result of overcooking the marshmallow mixture or pressing the mixture into the pan too firmly.
Keep the heat low when melting marshmallows and use a light touch when pressing the bars into the pan to preserve a soft, chewy texture.
Can you make Rice Krispie treats without butter?
You can make them without butter using a dairy-free alternative, but skipping fat entirely is not recommended.
The butter adds flavor and helps the marshmallow mixture stay pliable and soft rather than stiff and crumbly.
How do you keep Rice Krispie treats from getting stale?
Store them in an airtight container at room temperature as soon as they have cooled completely.
Exposure to air is the main cause of staleness, so sealing them tightly makes the biggest difference.
Can you double this recipe?
Yes, this recipe doubles easily.
Use a very large pot to melt the butter and marshmallows, and press the doubled batch into two 9×13-inch pans or one large sheet pan.
Why do you add marshmallows at the end?
Stirring in fresh marshmallows at the very end, after removing the pan from the heat, creates soft, gooey pockets throughout the finished bars.
This technique is what gives bakery-style Rice Krispie treats their signature stretchy, indulgent texture.
Can you use large marshmallows instead of mini marshmallows?
Yes, large marshmallows work fine as a substitute.
Use one 10-ounce bag of large marshmallows in place of mini marshmallows, and allow a little extra time for them to melt completely.
Make These Rice Krispie Treats Today
This Rice Krispie treats recipe is the kind of classic that deserves a permanent spot in your baking rotation.
It is quick, foolproof, and endlessly customizable, whether you keep it simple or dress it up with chocolate, caramel, or seasonal sprinkles. Make a batch today and see why this treat has been a favorite for generations.
Brown butter rice krispie treats
Campfire-style toasted marshmallow syrup