Last updated: June 17, 2026
If you’ve been curious about canning for beginners but aren’t sure where to start, you’re in the right place — and we’re going to answer all your questions right now. By the end of this post, you’ll know exactly which method to use, what equipment you need, and how to safely preserve your first batch of food. Let’s get into it so you can stop wondering and start canning.
What Is Canning and Why Should You Try It?
Canning is the process of sealing food inside airtight glass jars and using heat to destroy the bacteria, molds, and yeasts that cause spoilage. The result is shelf-stable food you can store for months — or even years — without refrigeration.
Whether you have a garden overflowing with tomatoes in summer, want to stock your pantry with homemade jams, or are simply trying to reduce food waste, canning gives you a way to enjoy fresh flavors all year long. It’s one of the most satisfying skills you can add to your kitchen routine, and once you try it, it tends to become a lasting habit.
Home canning has been practiced for over two hundred years, and today’s methods are backed by rigorous food science testing from the USDA and the National Center for Home Food Preservation. When you follow tested recipes and proper technique, canning is completely safe and straightforward — even for absolute beginners.
The Two Methods Every Beginner Needs to Know
There are two main canning methods, and the one you use depends entirely on what you’re preserving. Choosing the wrong method isn’t just a quality issue — it’s a safety issue — so understanding the difference is the most important thing you’ll learn as you start canning for beginners.
Water Bath Canning
Water bath canning uses boiling water (212°F at sea level) to process jars, and it’s appropriate only for high-acid foods. High-acid foods have a pH of 4.6 or lower, which creates an environment where harmful bacteria — including the bacterium that causes botulism — cannot survive.
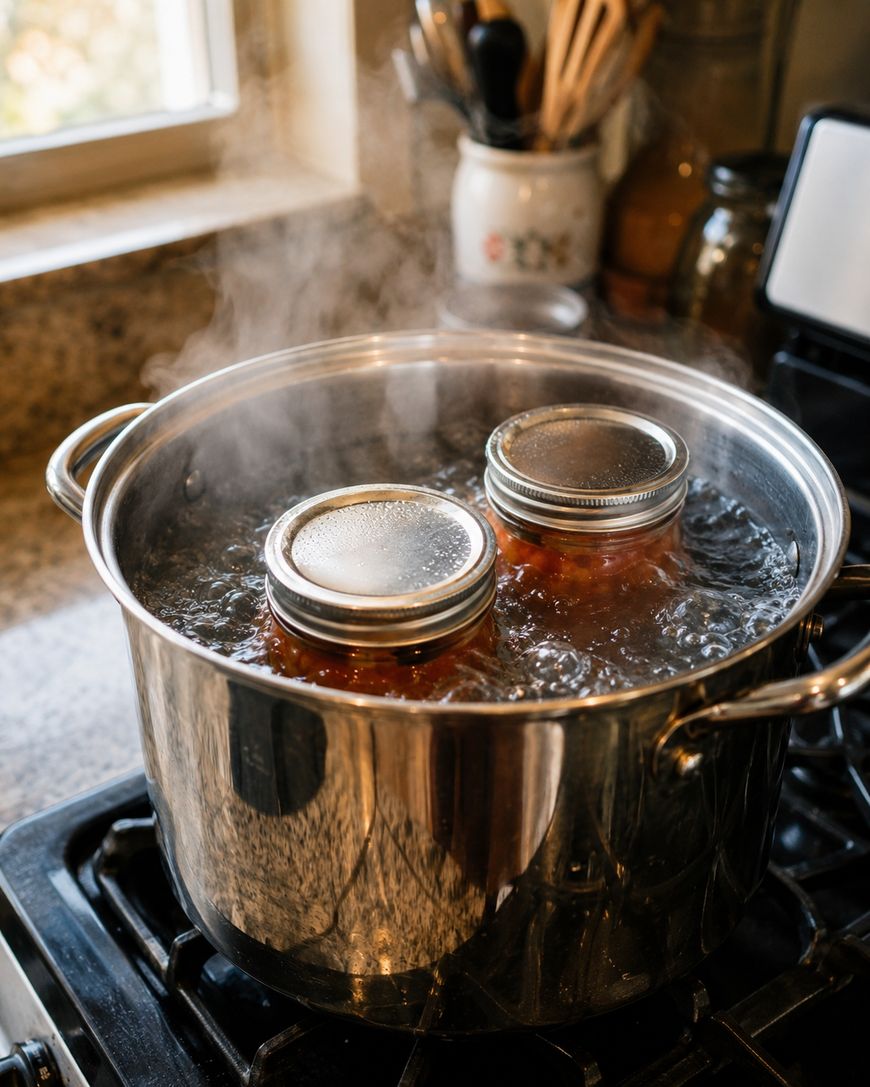
Foods safe for water bath canning include jams, jellies, fruit preserves, pickles, tomatoes with added acid, and fruit juices. This is where most beginners start because the equipment is inexpensive, the process is approachable, and the results are delicious. A simple stockpot with a rack is all you need to get going, and your first batch of strawberry jam or bread and butter pickles can be ready in an afternoon.
Pressure Canning
Pressure canning uses a specialized pressure canner to reach temperatures of 240°F, which is hot enough to destroy botulism spores in low-acid foods. Low-acid foods include vegetables (green beans, corn, carrots), meats, poultry, seafood, and beans.
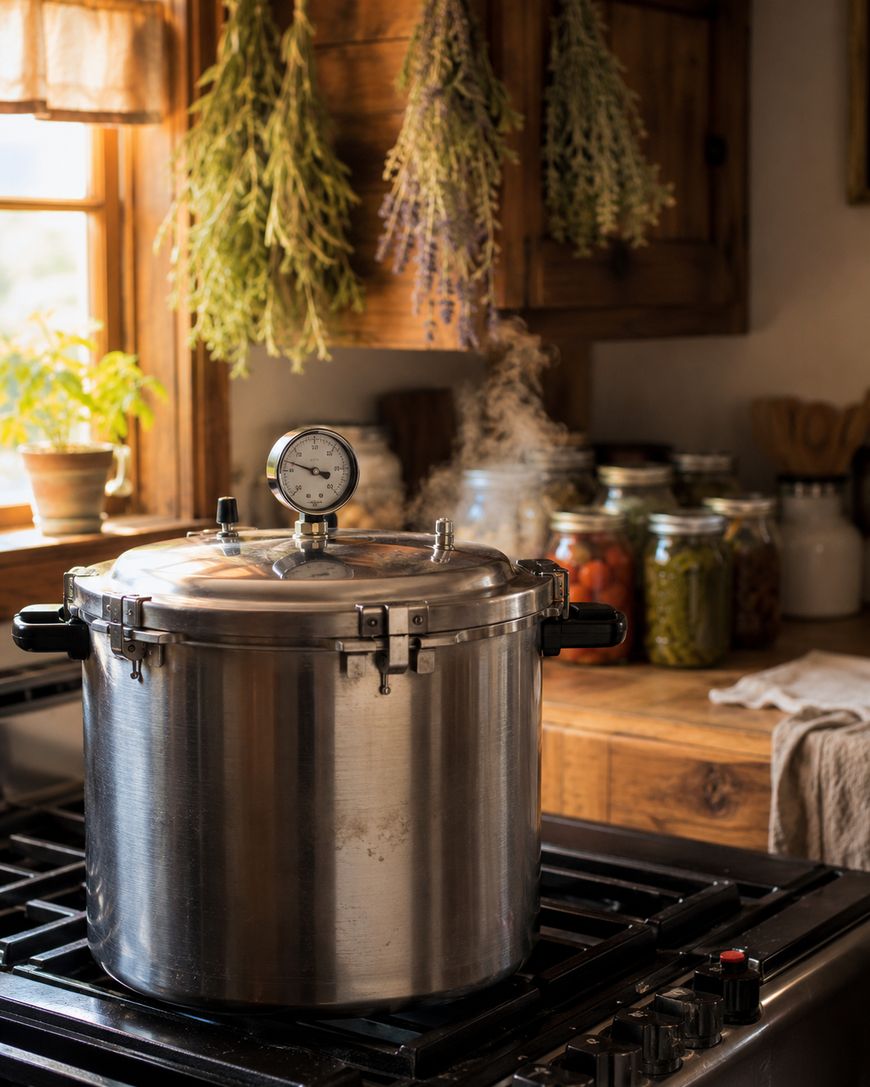
You must never water bath can low-acid foods. No amount of boiling time will make a jar of plain green beans safe on the shelf, because botulism spores can survive at 212°F. A pressure canner is a larger investment than a water bath pot, but it opens up the entire world of vegetable and protein preservation. Once you’re comfortable with water bath canning, pressure canning is a natural and rewarding next step.
Equipment You’ll Need to Start Canning for Beginners
You don’t need a lot of specialized gear to begin, but you do need the right gear. Cutting corners on equipment is one of the most common beginner mistakes, and the right tools make the entire process smoother and safer.
Essential Equipment
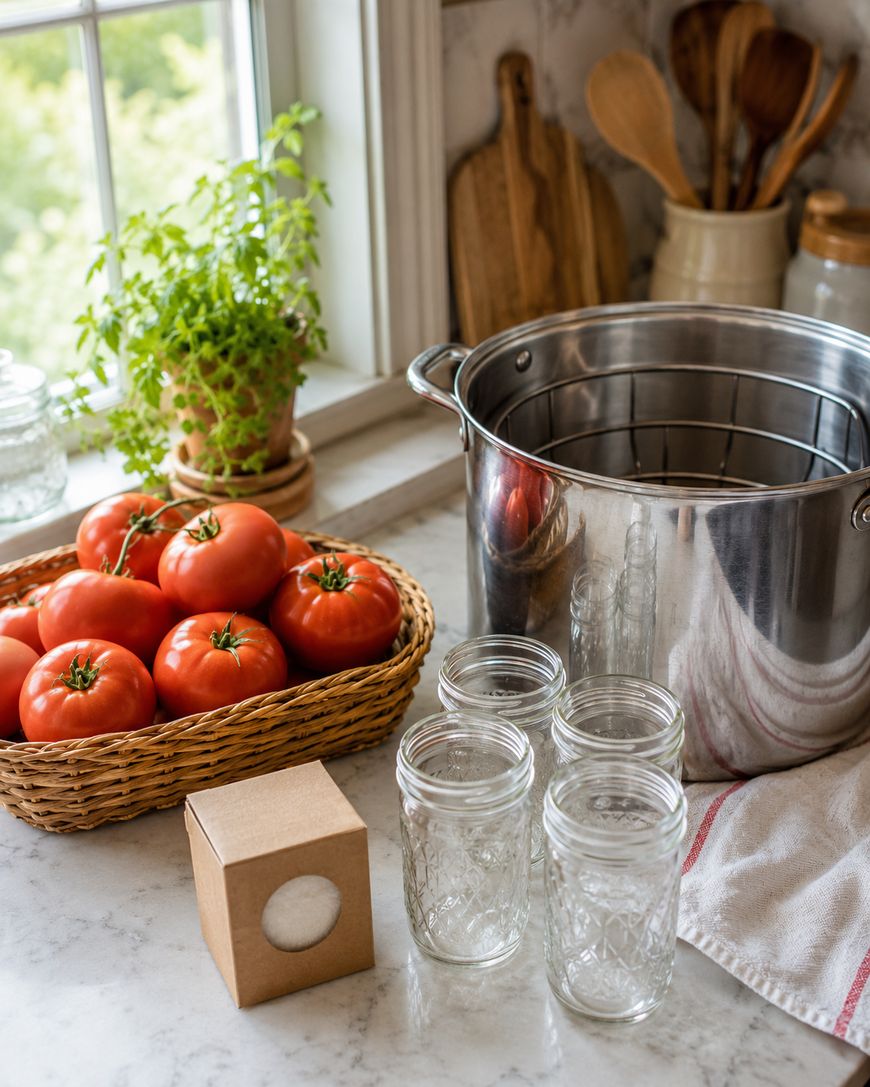
A water bath canner or large stockpot with a rack is your first purchase if you’re starting with high-acid foods. The rack keeps jars off the bottom of the pot so water can circulate underneath, which is critical for even heat processing. Many beginners already own a stockpot large enough to work with half-pint or pint jars — check that it’s deep enough to submerge jars under at least one inch of water.
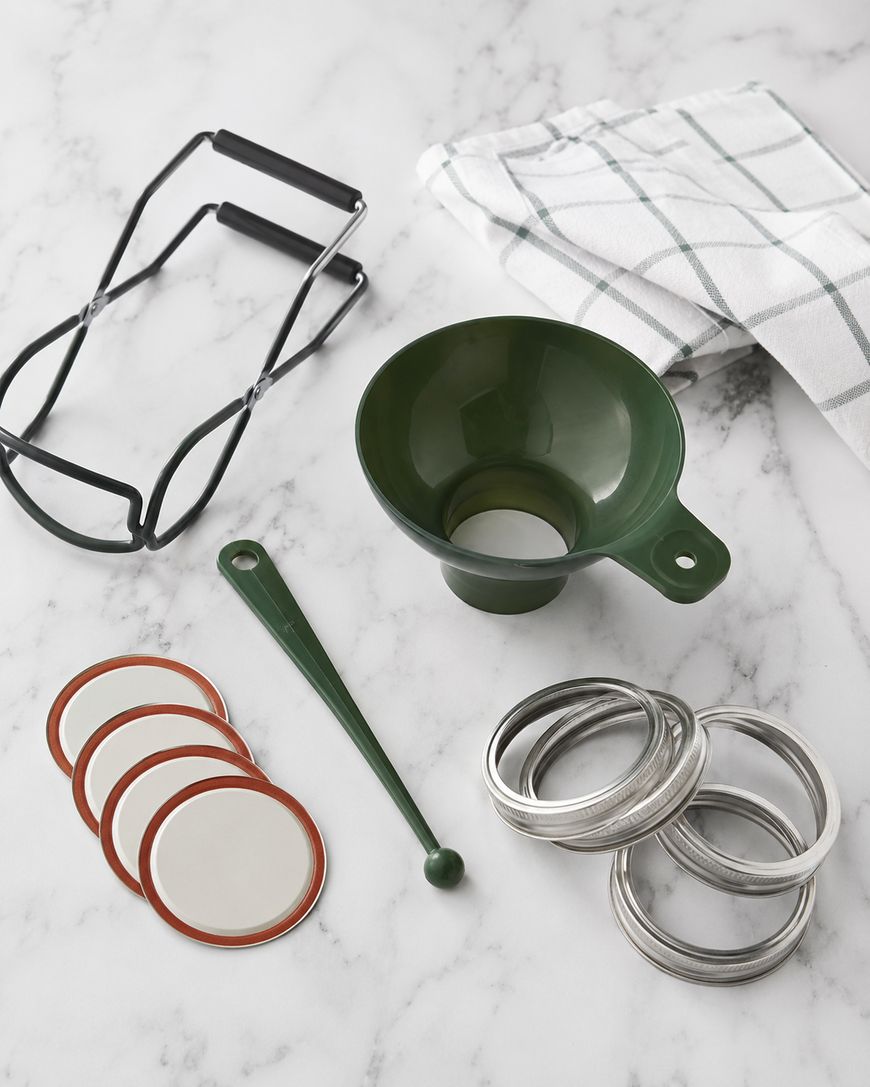
Mason jars (also called Ball jars or canning jars) are the standard choice and come in half-pint, pint, and quart sizes. You’ll use two-piece lids made up of a flat lid with a sealing compound and a screw band. Always use new flat lids for each batch — they’re inexpensive and reusing old lids is a leading cause of seal failure. Screw bands can be reused as long as they’re not rusty or dented.
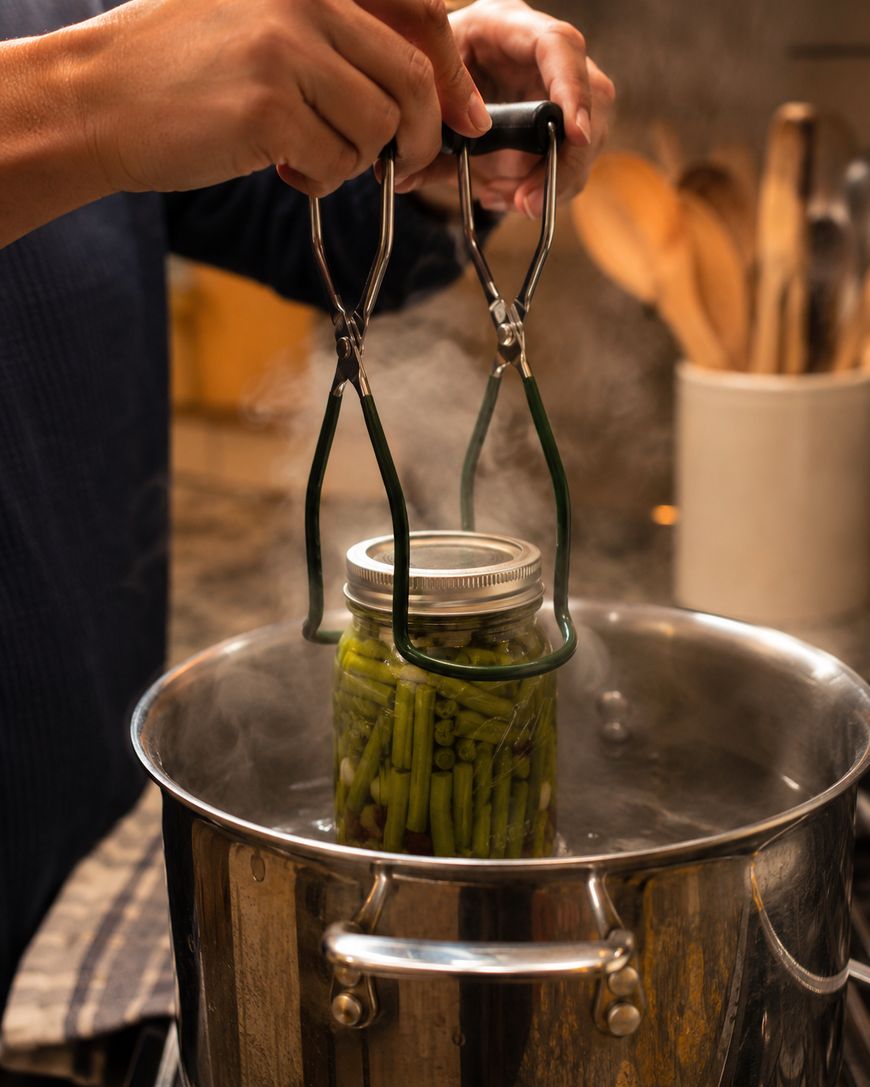
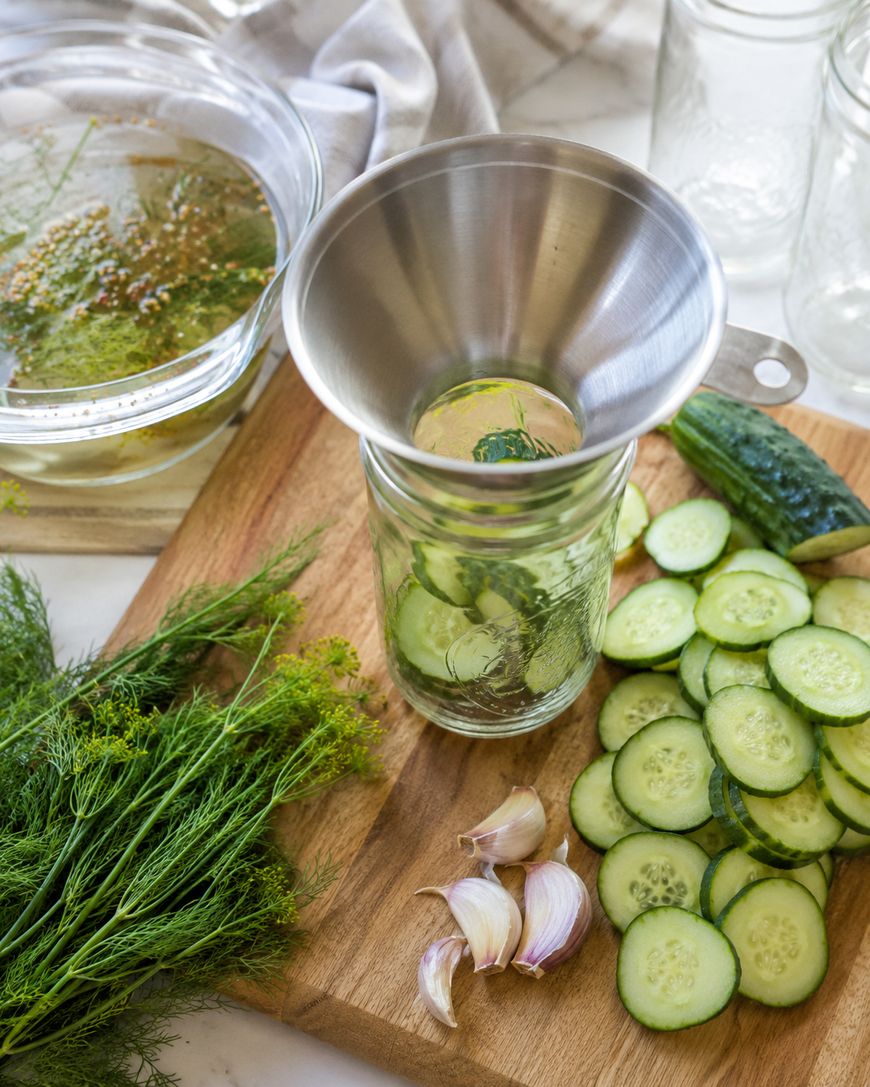
A jar lifter is a non-negotiable safety tool. It lets you lift hot jars in and out of boiling water without burning yourself, and it gives you a secure grip on slippery wet glass. A wide-mouth funnel makes filling jars neat and keeps the jar rim clean, which matters for getting a good seal. A bubble remover and headspace tool helps you check the correct amount of space between the food and the lid — called headspace — which affects both safety and the seal.
Optional but Helpful
A canning kit that bundles the funnel, bubble remover, lid lifter, and jar lifter saves you from buying each piece separately and costs under twenty dollars. A digital kitchen scale is useful when you’re making jam and need precise fruit weights. A timer — your phone works perfectly — is essential because processing times in tested recipes must be followed exactly.
Understanding Headspace, Seals, and Processing Times
Three concepts will come up in every recipe you follow, and understanding them before your first batch will save you a lot of confusion. Headspace is the empty space between the surface of your food and the top of the jar. Too little headspace and the contents may push past the lid seal during processing; too much and the jar may not seal properly. Most recipes call for one-quarter inch for jams, one-half inch for fruits and tomatoes, or one inch for low-acid vegetables.
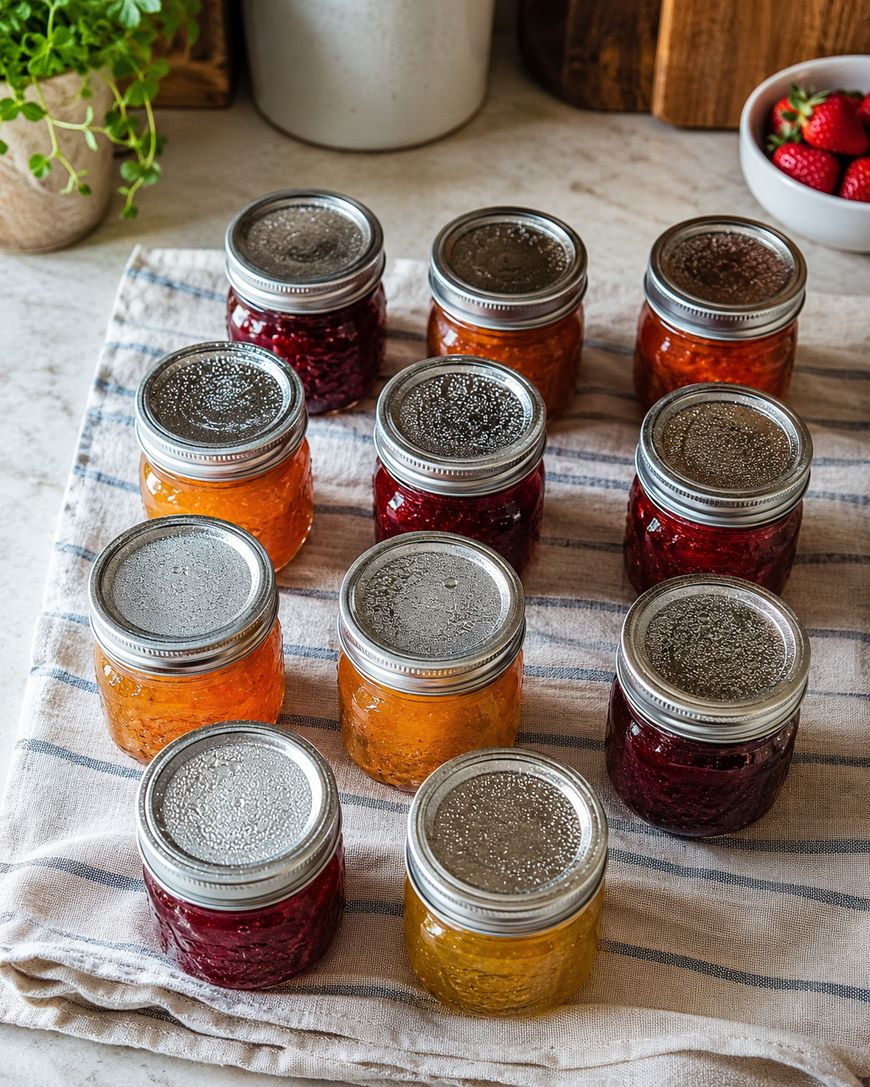
Processing time is the number of minutes jars must stay in boiling water (or under pressure) to be safely preserved. This time varies by recipe, jar size, and your altitude above sea level. If you live above 1,000 feet in elevation, you’ll need to adjust both processing times and pressure levels according to USDA guidelines, because water boils at lower temperatures at higher altitudes.
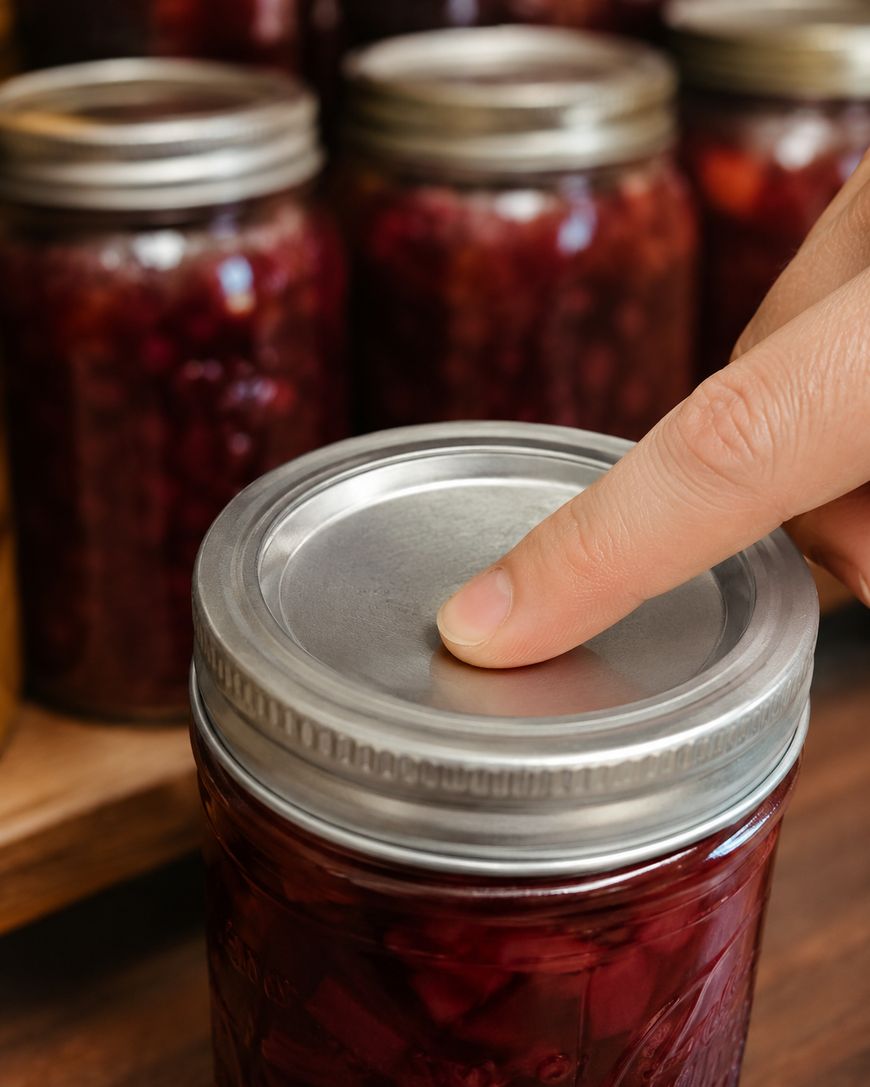
A proper seal is what makes shelf-stable storage possible. After processing, you’ll remove jars and let them cool undisturbed for 12 to 24 hours. As they cool, you’ll hear satisfying pops as the lids seal down. Once cool, press the center of each lid — it should be firm and not flex up and down. Any jars that didn’t seal should go straight into the refrigerator and be used within a few weeks.
Your First Batch: Easy Recipes to Try
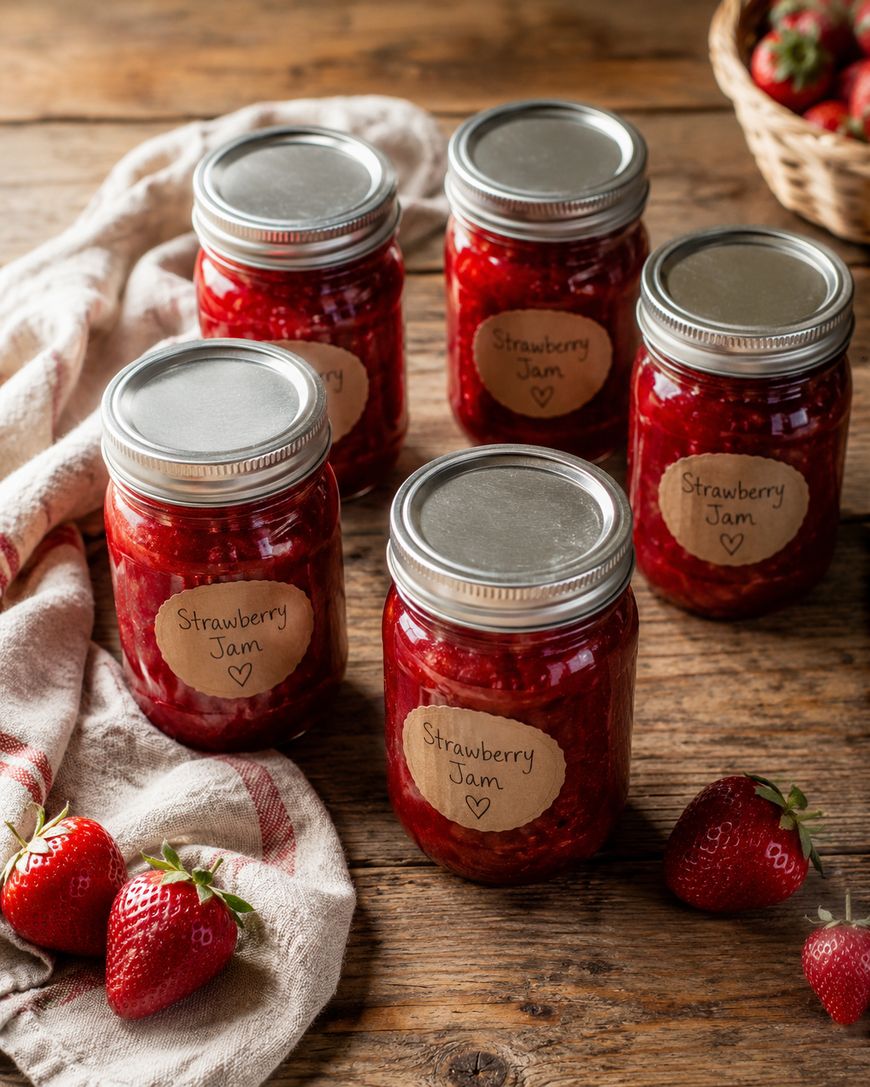
Starting with a simple, forgiving recipe builds your confidence and teaches you the process without overwhelming you. Strawberry jam is one of the most popular first projects because strawberries are flavorful, jam sets reliably with added pectin, and the water bath process for half-pint jars is quick. Bread and butter pickles are another excellent starter — cucumbers are inexpensive, the brine comes together fast, and the slices make excellent burger and sandwich toppers.
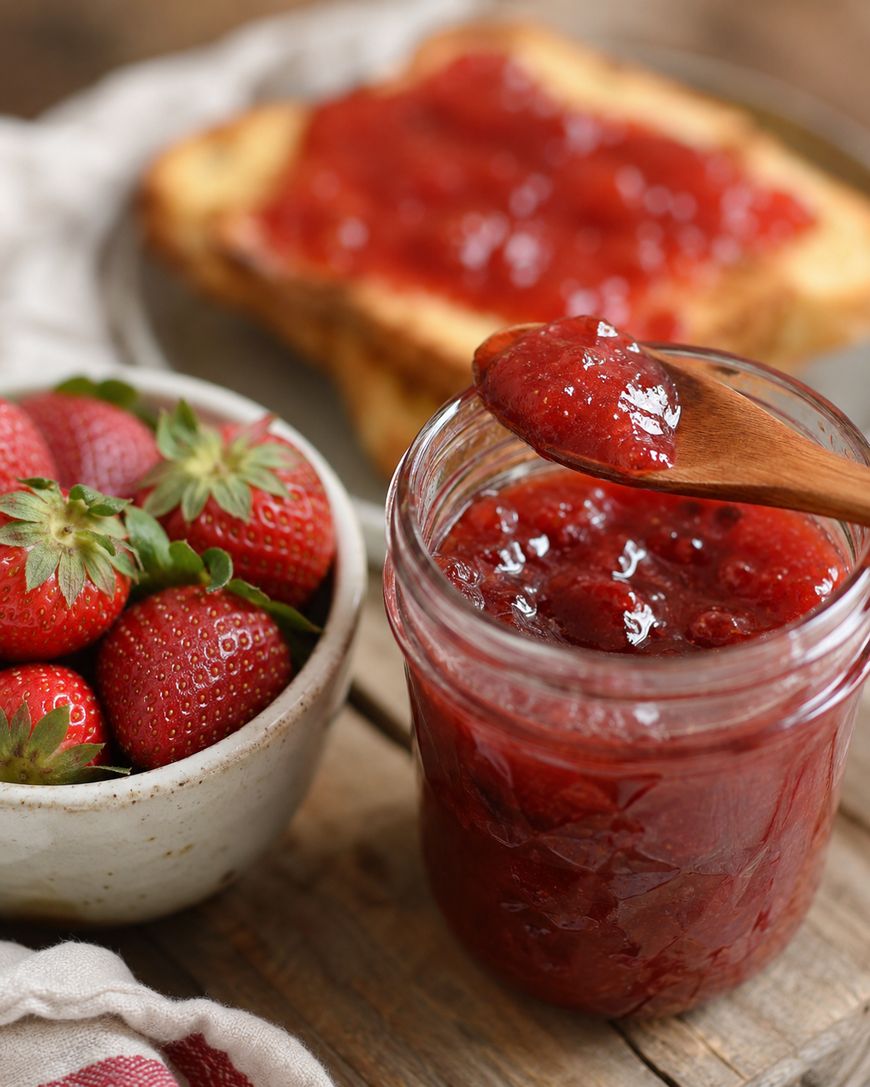
For your first water bath batch, a single recipe yielding four to six jars is the perfect size. It gives you enough repetitions to learn the process without managing so many jars that you feel frantic. Write down your start and stop times, note anything that surprised you, and you’ll find each subsequent batch feels more natural.
When you’re ready to move to pressure canning, plain diced tomatoes or crushed tomatoes are a great bridge because tomatoes can actually be done either way (with added lemon juice for water bath). Green beans — sometimes called dilly beans when flavored with dill and garlic — are a classic pressure canner project and a wonderful gateway into preserving vegetables.
Food Safety Rules You Should Never Skip
Safe canning is non-negotiable, and the rules exist because the consequences of doing it wrong can be serious. Always use tested recipes from trusted sources like the Ball Complete Book of Home Preserving, the USDA Complete Guide to Home Canning, or the National Center for Home Food Preservation website. Tested recipes have been laboratory-verified to achieve a safe internal temperature throughout the jar.
Never alter ingredient ratios in a tested recipe, especially the amounts of acid (vinegar or lemon juice) in water bath recipes. Acid is what makes the food safe for that method, and reducing it can push the pH into unsafe territory. You can safely adjust flavorings like spices or herbs, but the core preservation chemistry must stay intact.
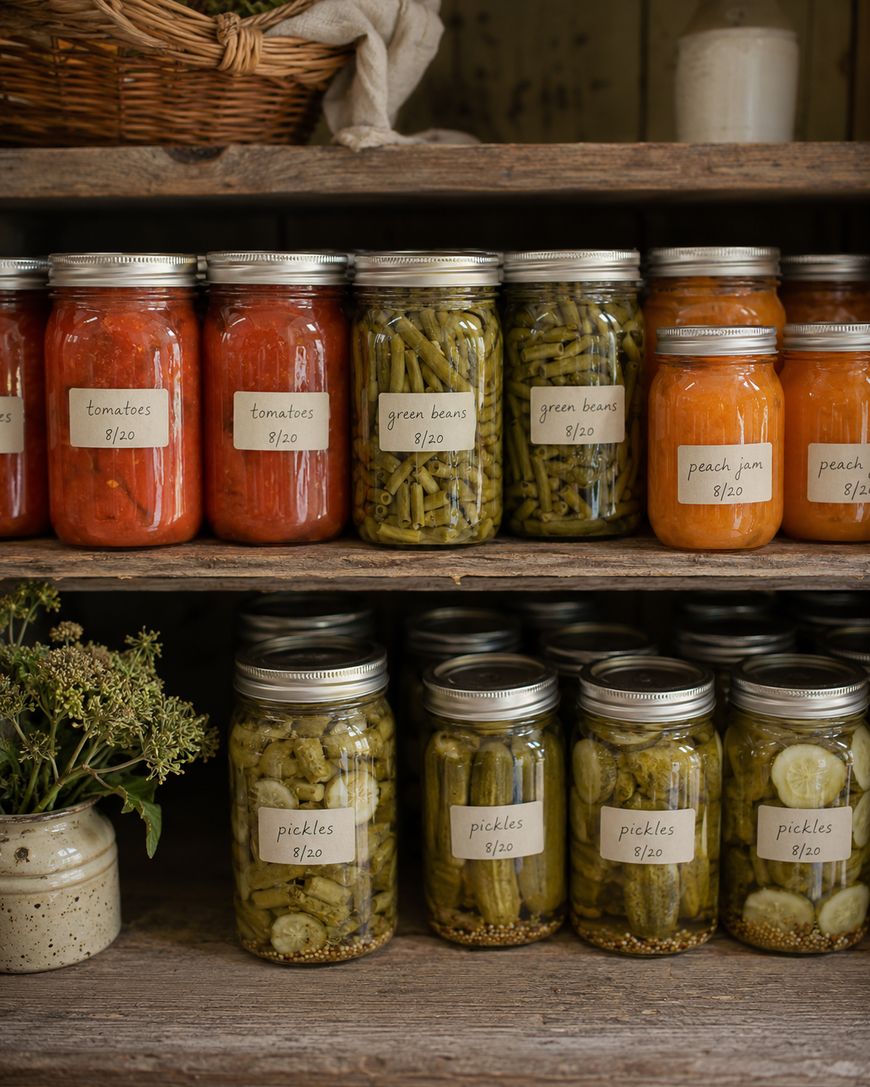
Inspect jars before every use for chips, cracks, or nicks on the rim — a damaged rim won’t seal properly. Wash jars in hot soapy water or the dishwasher before use. Keep jars hot until you fill them to prevent thermal shock when you lower them into boiling water. And always, always label your finished jars with the contents and date so you know what you have and how old it is.
How to Store Your Finished Jars
Properly canned and sealed jars store best in a cool, dark, dry location. A pantry, basement shelf, or kitchen cabinet away from heat and light is ideal. Heat and light degrade both the quality and nutritional value of preserved food over time, even in sealed jars.
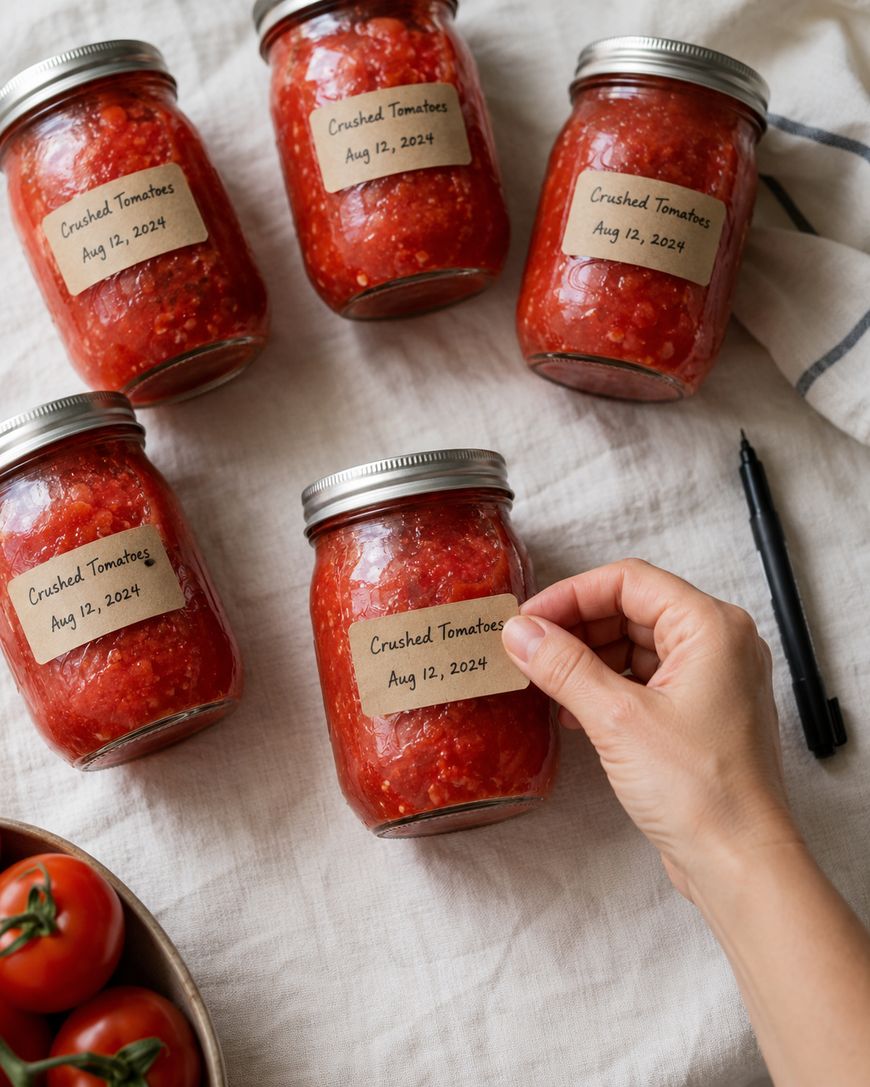
Most home-canned products maintain peak quality for 12 to 18 months, though they remain safe to eat beyond that window if the seal is intact and the jar shows no signs of spoilage. Before opening any jar, inspect it carefully: the lid should still be concave and firm, there should be no off odors, unusual colors, or spurting liquid when opened. When in doubt, throw it out — a jar of jam is not worth a health risk.
Store screw bands separately from sealed jars during storage, or remove them entirely. This makes it easier to notice if a seal has failed, since a loose or raised lid is immediately visible.
Canning for Beginners: Q&A
Do I need special jars, or can I reuse old pasta sauce jars?
You should always use jars specifically designed for home canning, such as Ball, Kerr, or Bernardin brands. Commercial jars from pasta sauce, pickles, or other store-bought products are manufactured for single use and may not withstand the repeated heating and cooling cycles of home canning — they’re more likely to crack or fail to seal properly.
How long does the canning process actually take from start to finish?
Most beginner water bath canning projects take two to three hours from start to finish, including prep, heating the water, filling jars, processing, and cleanup. Your actual processing time in the canner might only be ten to thirty minutes, but heating a large pot of water and letting jars cool adds time on both ends.
Can I can any recipe I find online?
You should only use tested canning recipes from reliable food safety sources. Many recipes shared on food blogs or social media have not been tested to verify they achieve safe internal temperatures or pH levels throughout the jar. Stick with resources like the USDA, the National Center for Home Food Preservation, Ball, or the So Easy to Preserve guide from the University of Georgia.
Why did some of my jars not seal?
The most common reasons jars fail to seal are food debris on the jar rim before lidding, using old or reused flat lids, insufficient processing time, or jars that were cold when placed in hot water. Check your rim carefully before applying the lid, always use new lids, process for the full tested time, and keep your jars warm until you fill them.
Is canning safe for someone who has never done it before?
Absolutely — canning for beginners is very safe when you follow tested recipes and proper procedures. The key is using the correct method for the food you’re preserving, following processing times exactly, and not improvising with untested recipes. Millions of home canners of all skill levels preserve food safely every year, and learning from a reliable resource makes all the difference.
What is the best first canning project for a complete beginner?
Strawberry jam is widely considered the best starting point for new canners. The ingredients are simple, commercial pectin takes the guesswork out of getting a set, and the water bath process for small jars is fast and easy to follow. Plus, homemade strawberry jam is genuinely outstanding and makes a wonderful gift — it’s a win on every level.
Start Your Canning Journey Today
Canning for beginners doesn’t have to feel complicated or intimidating. You now have everything you need: you understand the two methods, you know what equipment to buy, you’ve learned the essential safety rules, and you have a clear picture of what your first batch will look like.
Pick up a box of half-pint mason jars, grab some fresh strawberries or a bag of cucumbers, and find a tested recipe that excites you. Your first batch is going to teach you more than anything you read here can, and you’re going to love having those jars lined up on your shelf at the end of it. We’d love to hear how your first project goes — drop a comment below and tell us what you made.
This post contains affiliate links. A full disclosure is available from the main menu.