Last updated: August 29, 2026
If you want to preserve the bright, fresh flavor of summer tomatoes all year long, canning diced tomatoes is one of the most rewarding skills you can learn. This guide walks you through everything—from choosing the right tomatoes to sealing the last jar—so you can stock your pantry with confidence. You will have safe, shelf-stable diced tomatoes ready to use in soups, stews, sauces, and so much more.
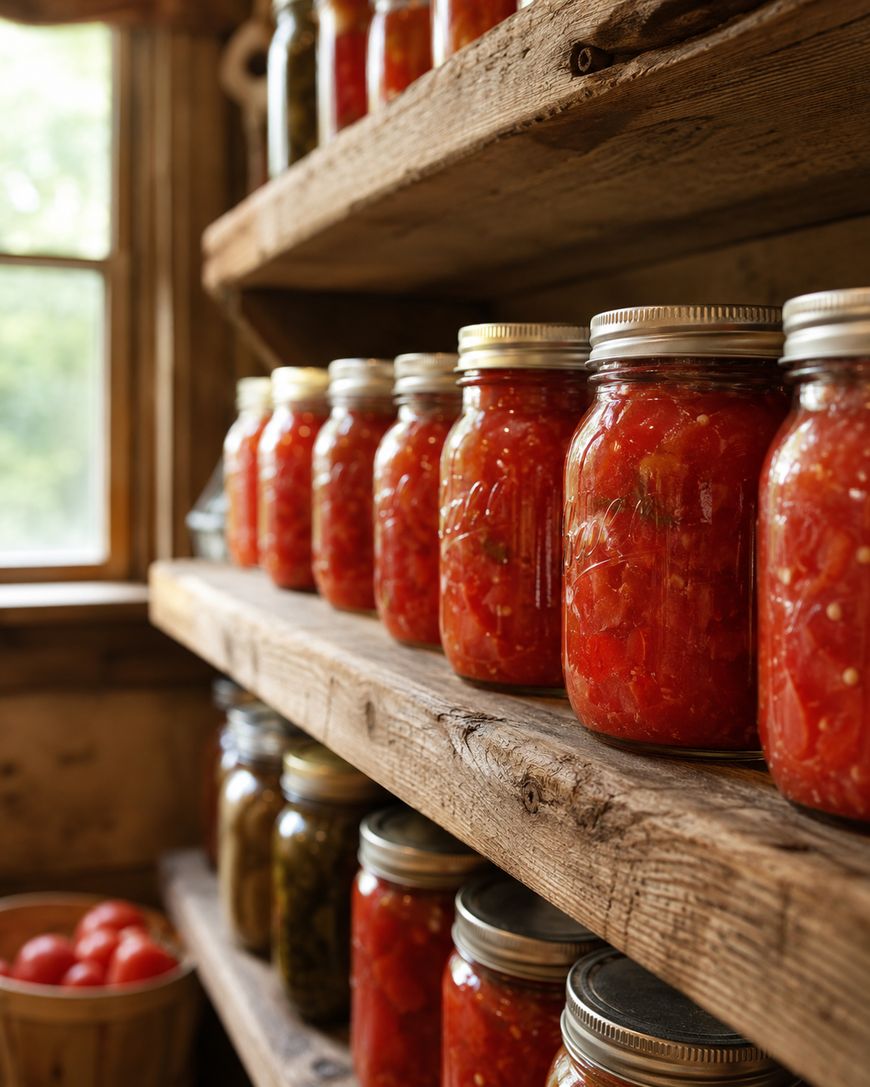
Choosing the Best Tomatoes for Canning Diced Tomatoes
Not all tomatoes are created equal when it comes to canning. Paste tomatoes like Roma, San Marzano, and Amish Paste are the gold standard because they have thick, meaty flesh, fewer seeds, and lower water content than slicing tomatoes.
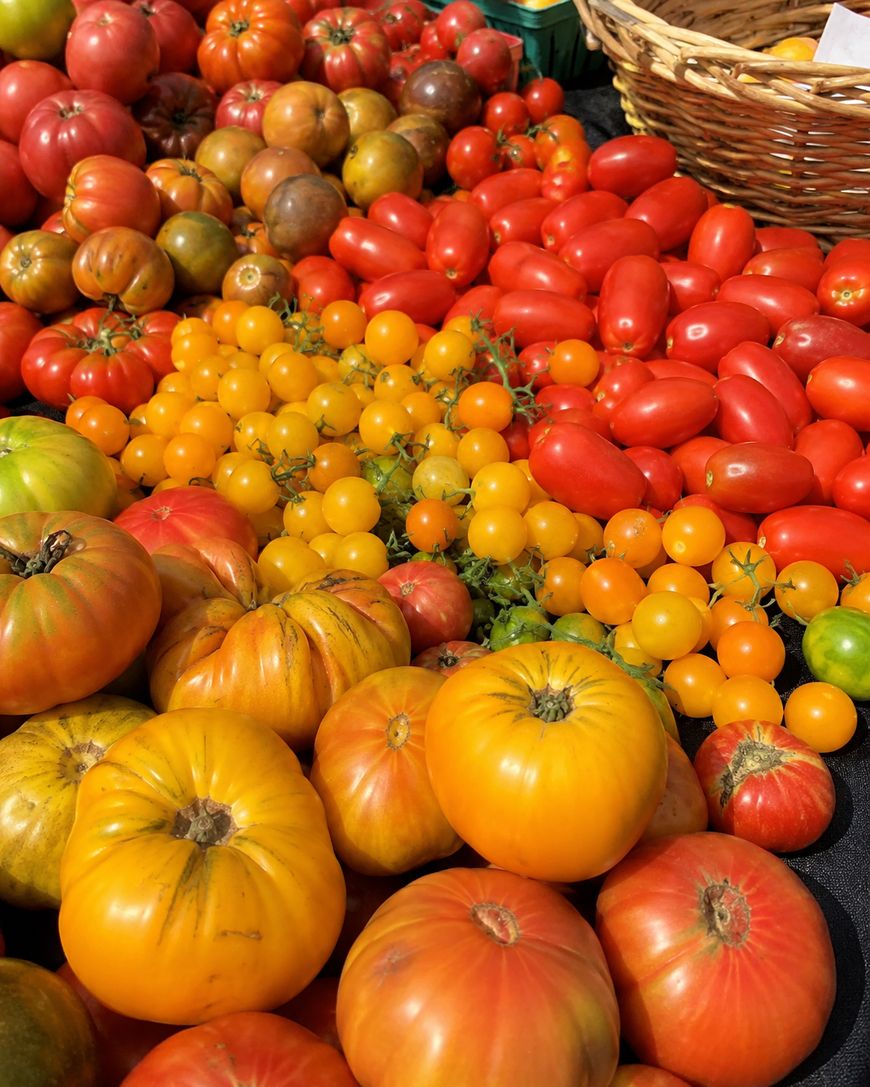
That said, you are not limited to paste varieties. Slicing tomatoes work perfectly well for canning diced tomatoes—they just produce a thinner, more watery product and you will end up with less solid tomato per jar. Many home canners mix paste and slicing tomatoes to balance flavor and yield.
The most important rule is to use fully ripe, unblemished tomatoes. Overripe or damaged tomatoes can affect the acid content and overall safety of your finished product, so inspect each tomato carefully before you start. Any soft spots, mold, or cracks should be cut away generously, or those tomatoes should be set aside entirely.
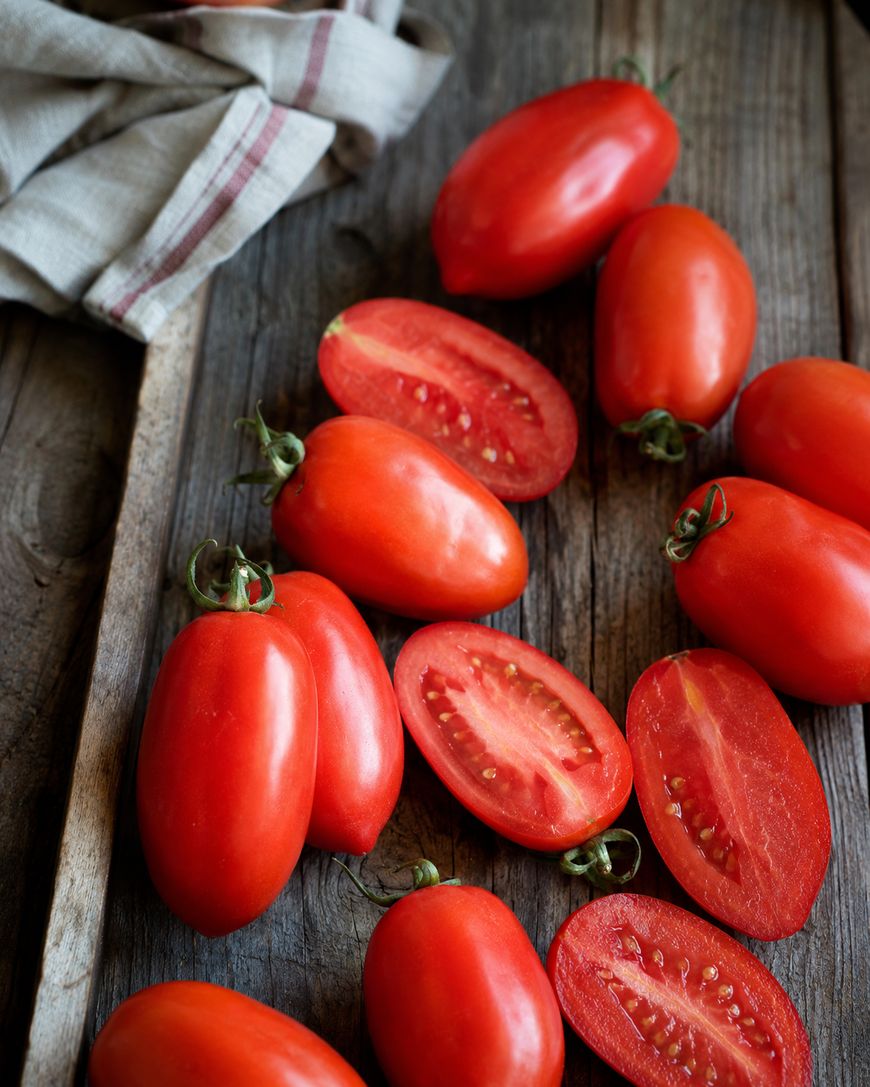
Fresh from the garden is ideal, but farmers market tomatoes at peak ripeness work beautifully. Try to process your tomatoes within a day or two of purchase or harvest for the best flavor and texture. The longer tomatoes sit after picking, the more their quality degrades.
Essential Equipment for Canning Diced Tomatoes
Before you start, make sure you have the right tools. Attempting to can without proper equipment is both frustrating and potentially unsafe.
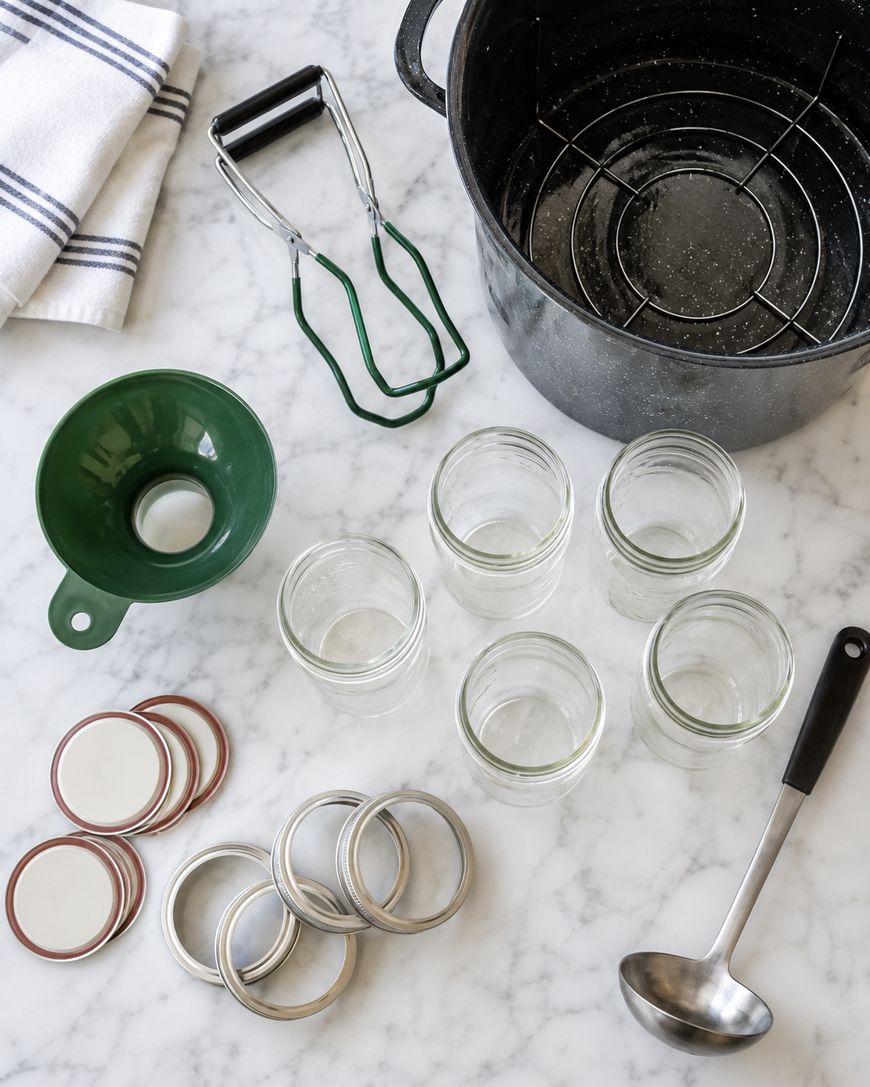
You will need a water bath canner—a large pot with a rack that keeps jars off the bottom. Standard mason jars in pint or quart sizes are the workhorses of home canning. Always use new lids each season, though bands can be reused as long as they are free of rust and dents.
A jar lifter is non-negotiable for safely moving hot jars in and out of boiling water. A wide-mouth funnel makes filling jars far cleaner and easier. You will also want a sharp knife and a large cutting board for dicing, plus a large stockpot for blanching and a separate pot for simmering your tomatoes.
A bubble remover or thin plastic spatula helps release trapped air bubbles from filled jars. A clean cloth or paper towel for wiping jar rims is essential—any residue on the rim can prevent a proper seal. A permanent marker for dating your jars rounds out the kit.
How to Prepare Tomatoes for Canning
Preparation is the most time-intensive part of canning diced tomatoes, but good prep makes everything else go smoothly.
Start by washing your tomatoes thoroughly under cool running water. Then blanch them in batches by dropping them into boiling water for 30 to 60 seconds, just until the skins begin to crack and peel back. Transfer them immediately to a bowl of ice water to stop the cooking process.
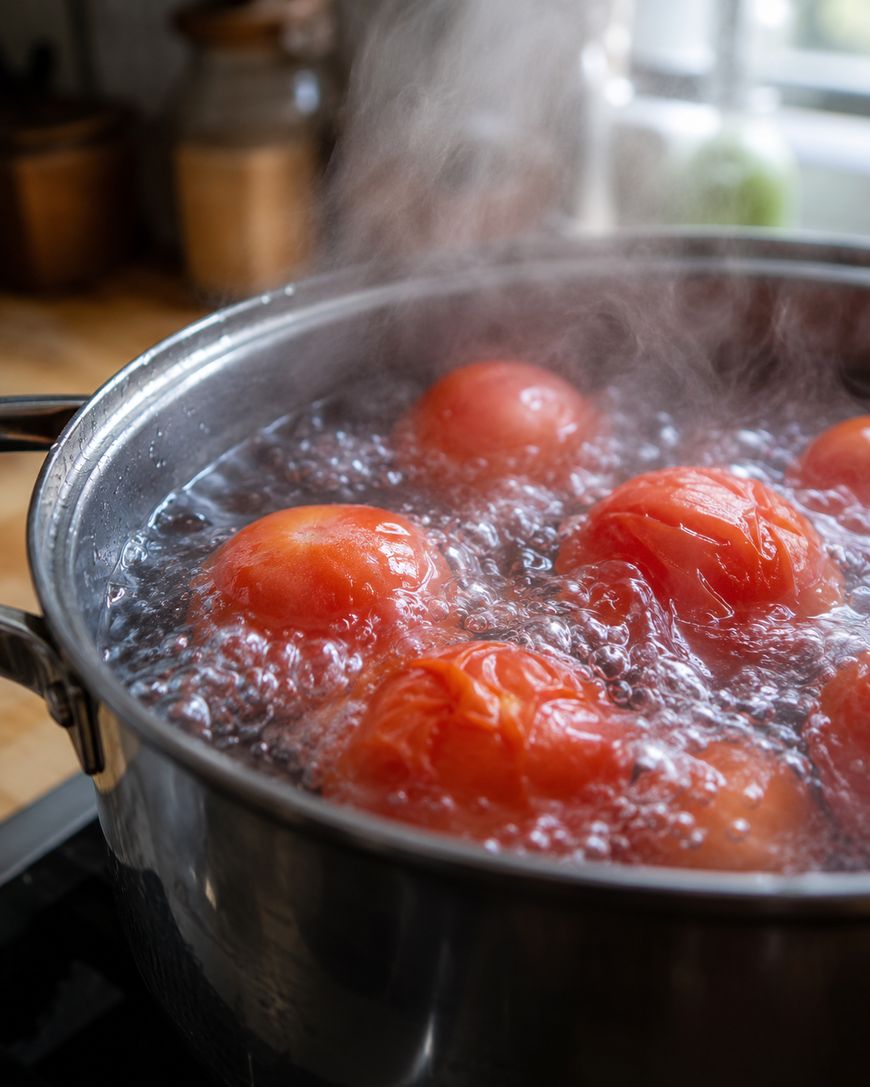
Once the tomatoes are cool enough to handle, the skins slip right off with minimal effort. Core each tomato by cutting out the stem end with a small paring knife. Halve the tomatoes and squeeze or scoop out the seed pockets if you prefer a less watery product—this step is optional but many canners swear by it.
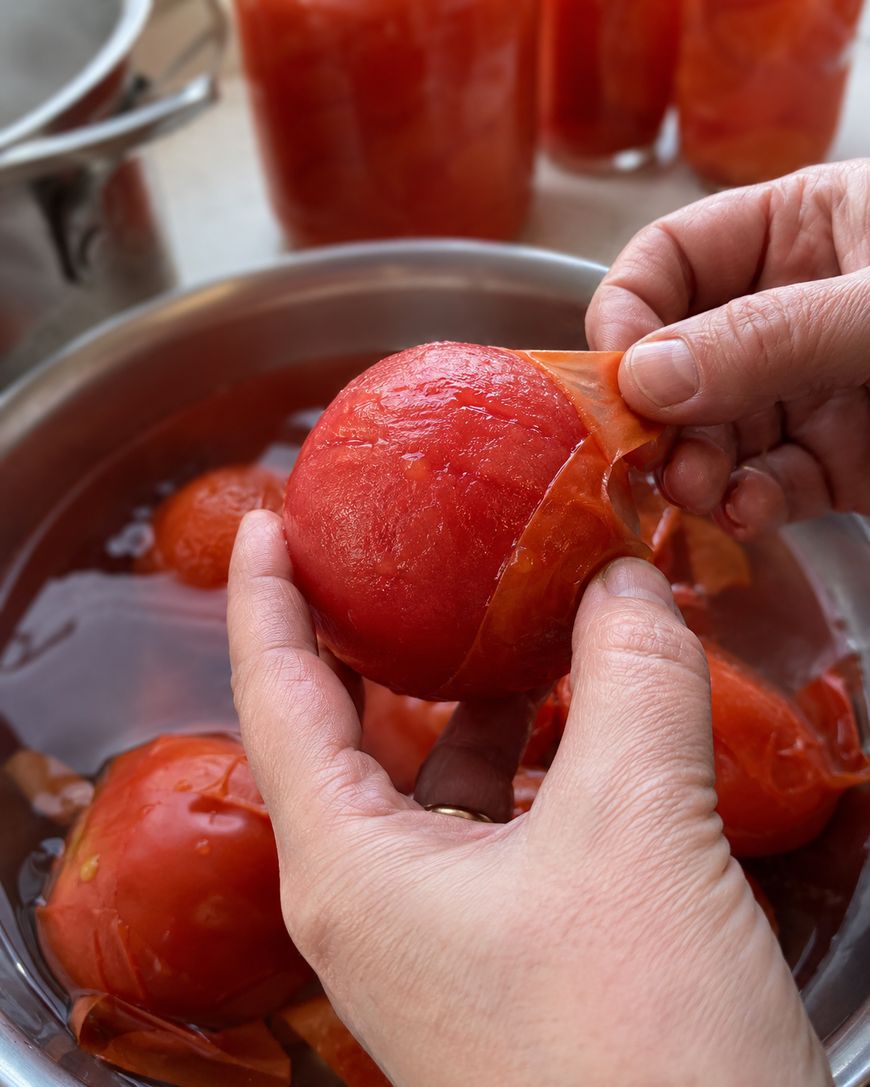
Dice the tomatoes into roughly half-inch pieces. You do not need perfectly uniform cubes; this is home cooking, not a restaurant kitchen. Place the diced tomatoes in a large pot and bring them to a boil over medium-high heat, stirring occasionally to prevent scorching. Simmer for five minutes before filling your jars.
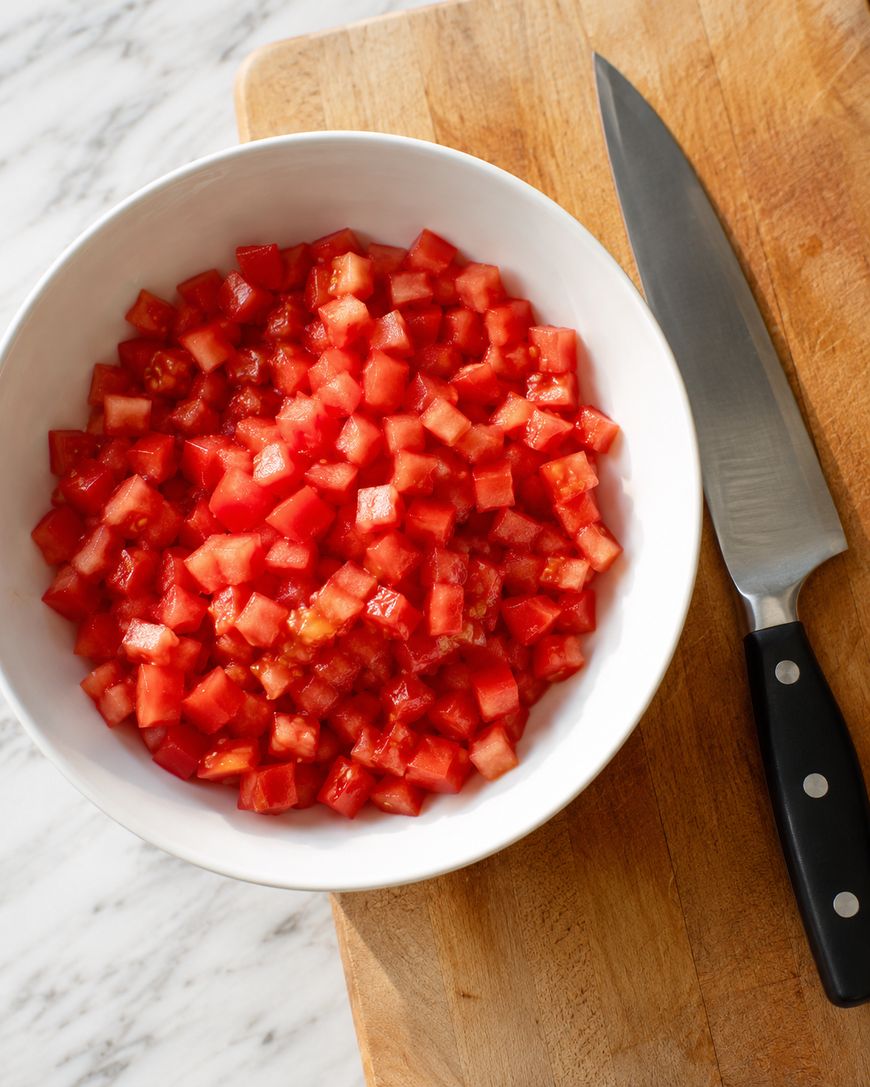
The Importance of Acidification When Canning Diced Tomatoes
This step is critical and cannot be skipped. Tomatoes are a borderline-acid food, meaning their natural acidity can vary enough to make them unsafe for water bath canning without added acid.
Every tested canning recipe for diced tomatoes calls for adding bottled lemon juice or citric acid to each jar before filling. Bottled lemon juice is preferred over fresh because it has a standardized, consistent acidity level. For pint jars, add one tablespoon of bottled lemon juice or a quarter teaspoon of citric acid. For quart jars, use two tablespoons of lemon juice or half a teaspoon of citric acid.

Add the acid directly to the jar before you ladle in the tomatoes. This simple step ensures that your finished product is acidic enough to be safely processed in a water bath canner. Skipping or reducing the acid is not worth the risk—botulism is odorless and tasteless, and it is deadly.
If you find the slight lemon flavor objectionable, it fades significantly after the jars are processed and stored. Most people find it completely undetectable in finished recipes.
Step-by-Step: Filling and Processing Your Jars
With your tomatoes simmered, your jars hot, and your canner ready, it is time to fill and process.
Add your acid to each hot jar. Use your wide-mouth funnel to ladle hot diced tomatoes into the jars, leaving a half-inch of headspace at the top. Run your bubble remover around the inside edge of the jar and through the tomatoes to release any trapped air pockets, then check the headspace and add more tomatoes if needed.
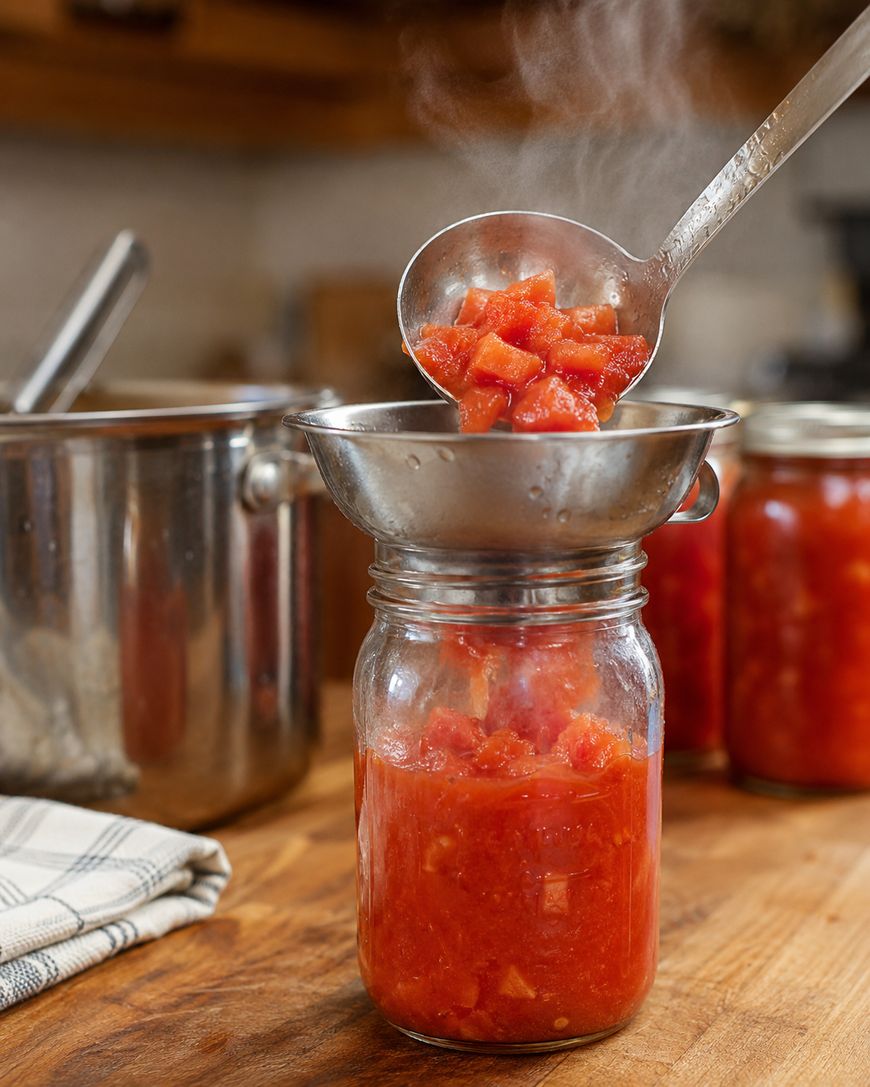
Wipe the jar rim with a clean, damp cloth to remove any residue. Place a new lid on the jar and screw on the band until it is fingertip-tight—snug but not cranked down hard. Use your jar lifter to lower the filled jars into the boiling water bath, making sure they are covered by at least one inch of water.
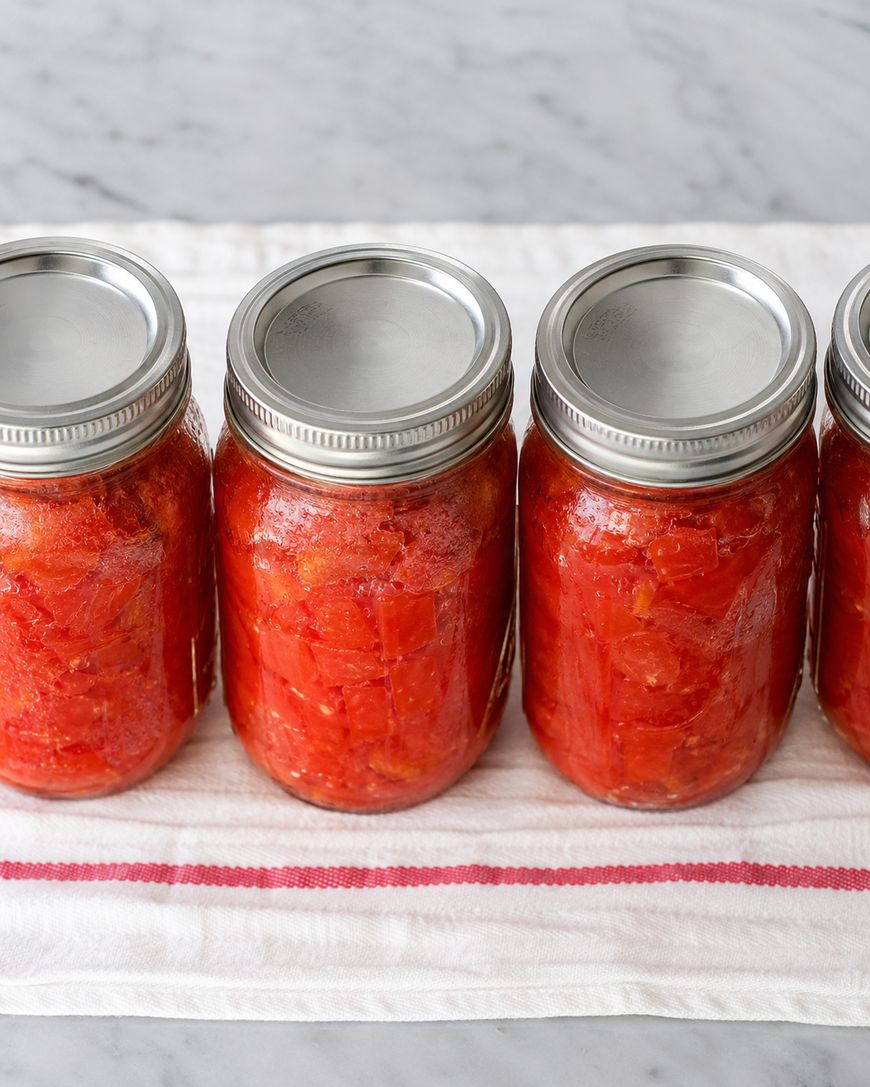
Process pint jars for 35 minutes and quart jars for 45 minutes at a full boil. If you are above 1,000 feet you must add processing time, and the amount depends on your elevation, so check a current altitude adjustment chart from the National Center for Home Food Preservation before you start. When processing time is complete, turn off the heat and let the jars sit in the water for five minutes before removing them. Place jars on a folded towel and leave them undisturbed for 12 to 24 hours. You will hear the satisfying pop of lids sealing as the jars cool.
Checking Seals and Storing Your Canned Diced Tomatoes
After 24 hours, check every lid by pressing the center. A properly sealed lid is concave and does not flex up and down when pressed. Remove the bands and try to lift the lid by the edges—a good seal will hold firmly.
Any jar that did not seal should be refrigerated and used within a few days, or you can reprocess it within 24 hours with a new lid. Do not attempt to store unsealed jars at room temperature.
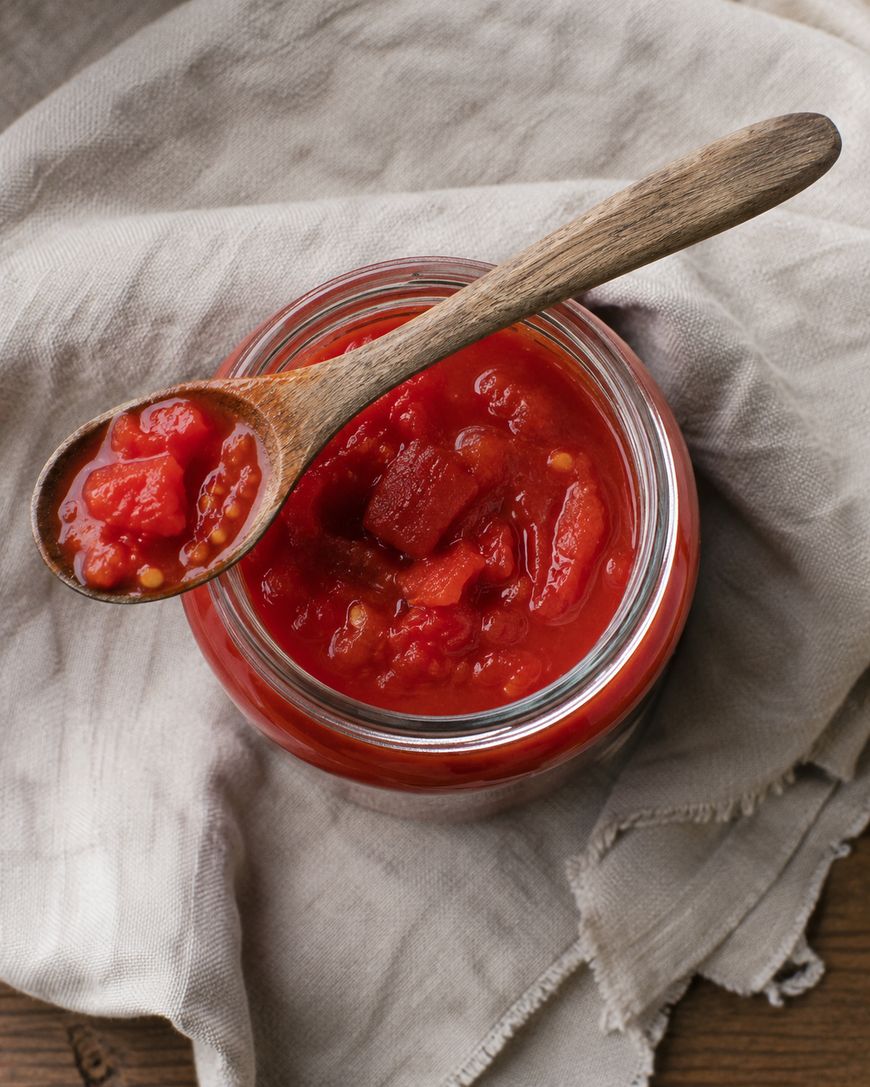
Store sealed jars in a cool, dark location like a pantry or basement. Keep the bands off during storage—if a seal begins to fail, you want to be able to detect it. Label each jar with the contents and date using a permanent marker or adhesive label.
Properly canned diced tomatoes are shelf stable for 12 to 18 months, though the quality is best within the first year. Before opening any jar, inspect it for signs of spoilage: bulging lids, spurting liquid, off odors, or any mold. When in doubt, throw it out.
Common Questions About Canning Diced Tomatoes
Do you have to peel tomatoes before canning?
Peeling is strongly recommended but technically optional in some recipes. Tomato skins can become tough and chewy after processing, and they tend to curl up in the jar in an unappealing way. Most experienced canners peel every time for the best texture.
Can you use a pressure canner instead of a water bath?
Yes, and many canners prefer it. Pressure canning does not let you skip the added acid. The USDA pressure canning processes for tomatoes were developed for acidified tomatoes, so bottled lemon juice or citric acid goes into every jar whether you use a water bath or a pressure canner. Processing times differ from the water bath method, so use a current tested process from the National Center for Home Food Preservation for your jar size and canner gauge type. Do not rely on a remembered time—10 minutes for pints and 15 minutes for quarts at 10 PSI. Follow your pressure canner’s manufacturer guidelines.
Why did my tomatoes float to the top of the jar?
Floating tomatoes are a cosmetic issue, not a safety concern. It happens because raw-pack tomatoes release air and liquid during processing. Hot-packing your tomatoes—simmering them before filling jars—reduces floating significantly. The product is perfectly safe to eat either way.
How long do home-canned diced tomatoes last?
The USDA recommends using home-canned goods within 12 to 18 months for best quality. The tomatoes remain safe beyond that window as long as the seal is intact and there are no signs of spoilage, but flavor and texture begin to decline after the first year.
Can I add garlic, onion, or herbs to my canning diced tomatoes?
You can add a small amount of dried herbs or spices, but adding fresh vegetables like garlic or onion changes the acid balance of the jar and is not recommended for water bath canning. If you want seasoned tomatoes, it is safer to add those flavors when you open the jar and cook with them.
What is the right headspace for canning diced tomatoes?
Half an inch is the standard headspace for diced tomatoes. Too little headspace can prevent a proper seal; too much can result in discoloration of the tomatoes near the top of the jar. Use a headspace measuring tool or the markings on your canning funnel for accuracy.
Putting Your Canned Diced Tomatoes to Work
Once your pantry is stocked, the real reward begins. Home-canned diced tomatoes are endlessly versatile. Open a jar and simmer them into a quick marinara, add them to a pot of chili, stir them into a slow-cooked beef stew, or use them as the base of a shakshuka for weekend brunch.
Because you preserved them at peak ripeness, they carry a depth of flavor that elevates every dish. A jar of your own canned tomatoes in the middle of winter is a direct link back to the garden at its best—a little slice of summer when the world outside is cold and gray.
Start Canning Diced Tomatoes This Season
There has never been a better time to start canning diced tomatoes at home. The equipment is affordable, the process is learnable in a single session, and the payoff—both in flavor and in the satisfaction of stocking your own pantry—is enormous.
Gather your equipment, find a flat of ripe tomatoes at the farmers market or from your garden, and set aside an afternoon. Follow the steps we have outlined here, respect the safety guidelines around acidification and processing times, and you will fill your first batch of jars with confidence. Your future self, reaching for a jar of home-canned diced tomatoes in the depths of winter, will be very glad you did.
Why Canning Diced Tomatoes Is Worth Every Bit of Effort
Home-canned diced tomatoes taste nothing like the store-bought version. When you process tomatoes at peak ripeness, you lock in that sweet, garden-fresh flavor that commercially canned tomatoes simply cannot match.
Beyond flavor, there is something deeply satisfying about looking at a shelf lined with gleaming jars you filled yourself. Canning diced tomatoes connects you to a long tradition of home food preservation, and it gives you control over exactly what goes into your food—no additives, no mystery ingredients.
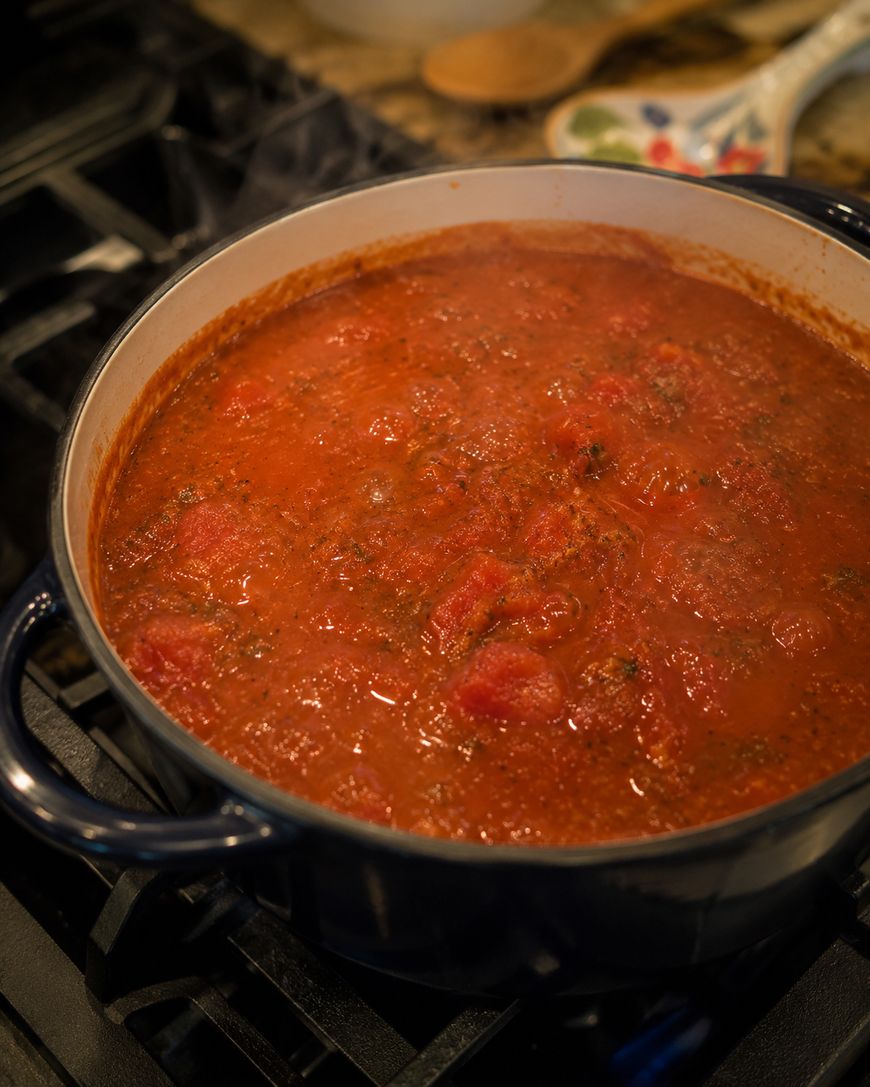
The process does require some time and attention, but once you have worked through it a few times, it becomes second nature. Many home canners say that a single afternoon of canning diced tomatoes yields enough jars to carry them comfortably through the entire fall and winter. The investment of a few hours in August or September pays dividends every time you open a jar in January.
Canning diced tomatoes is also genuinely economical. When tomatoes are in season and prices are low—or if you grow your own—the cost per jar drops dramatically compared to purchasing canned tomatoes all winter. A bushel of ripe tomatoes processed in an afternoon can fill a remarkable number of pint jars.