Last updated: October 9, 2026
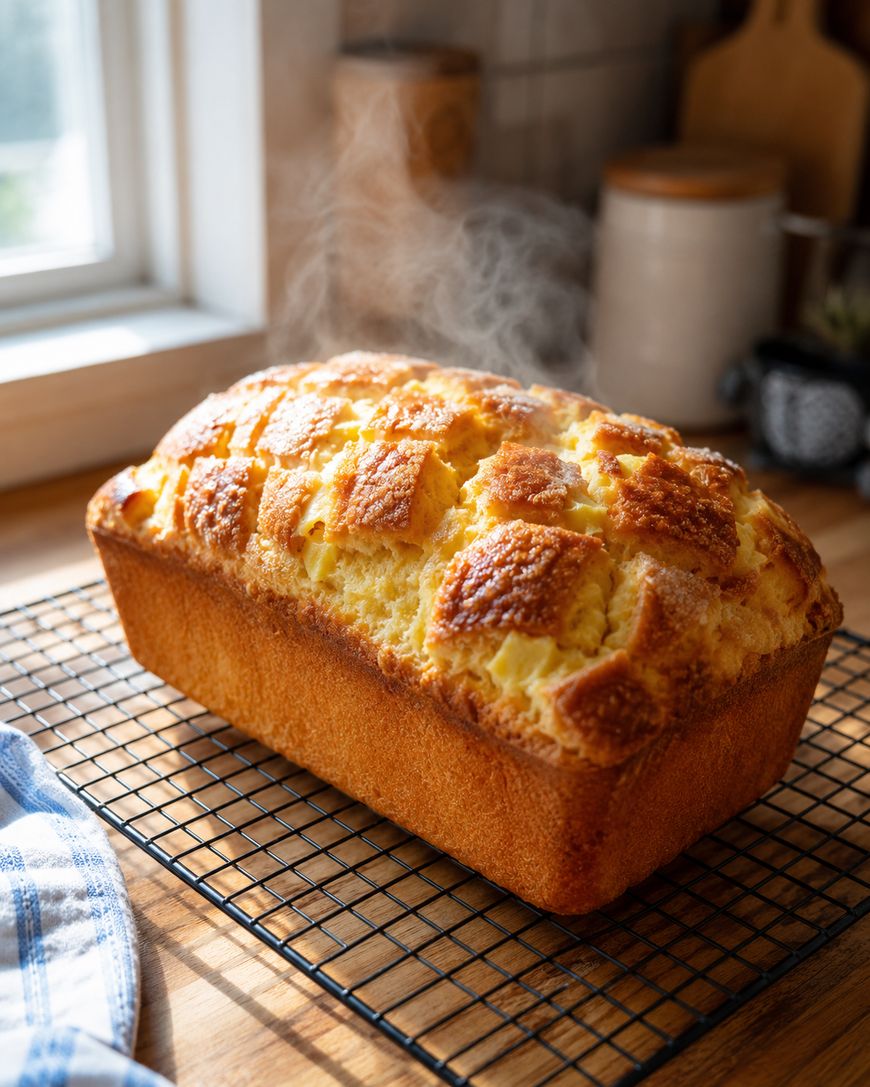
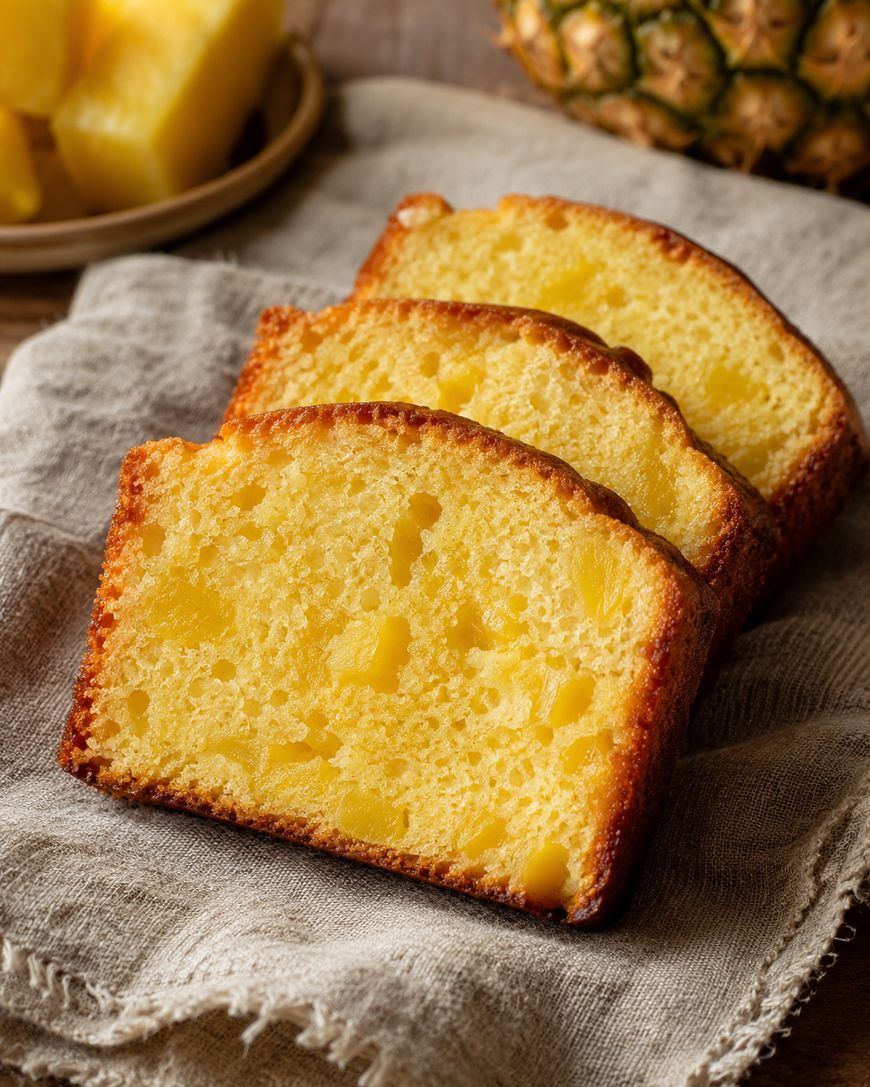
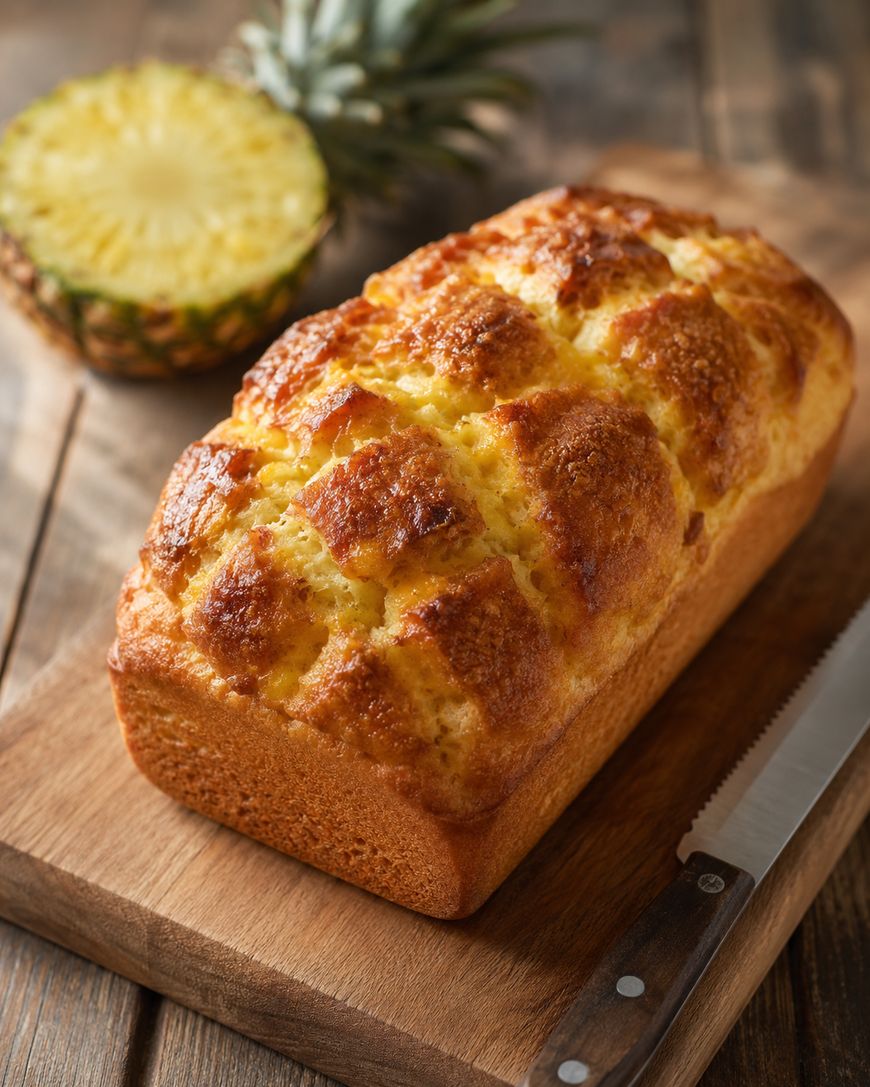
This pineapple bread recipe delivers a golden, tender loaf packed with crushed pineapple in every single bite, and there is a full recipe card below to walk you through each step.
The natural juice from the pineapple keeps the crumb unbelievably moist, making this one of those quick breads that actually gets better on day two.
What You Need to Make Pineapple Bread
The Core Ingredients
All-purpose flour gives the loaf structure without making it dense, and one and a half cups is exactly the right amount for a standard 9×5 loaf pan.
Crushed canned pineapple is the star here, and you use the entire can, juice included. Dole and Libby’s both work well; just make sure the label says “crushed” and not “tidbits” or “chunks,” since you want the fruit evenly distributed.
Two large eggs bind the batter and add richness. Bring them to room temperature before mixing so they incorporate smoothly without causing the butter to seize up.
Granulated sugar sweetens the loaf without competing with the pineapple’s brightness. Brown sugar can be swapped in for a deeper, more caramel-like note.
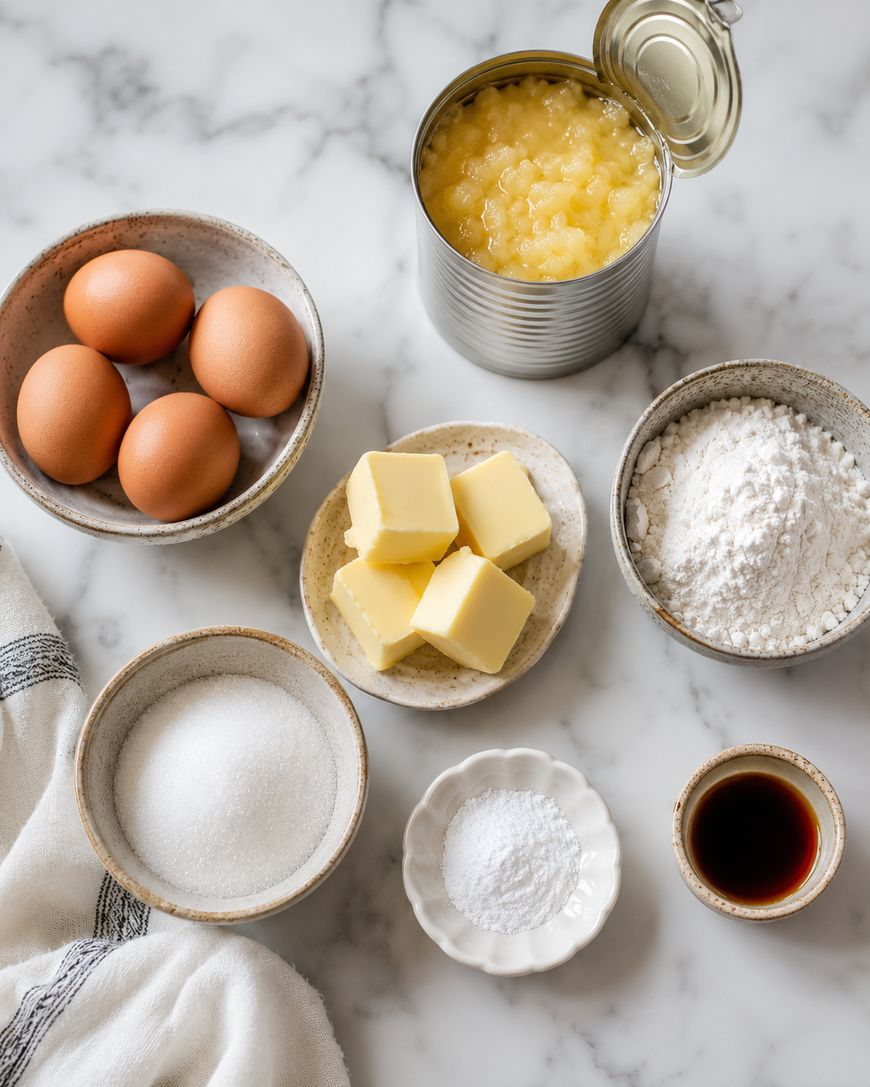
Unsalted butter, melted and cooled, adds flavor and tenderness. Neutral oils like vegetable or avocado oil work as a 1:1 swap if you prefer a dairy-free option.
Baking powder and a pinch of salt do the lifting and flavor-balancing work. Use aluminum-free baking powder if you want a cleaner taste.
Optional Add-Ins Worth Considering
Shredded coconut (sweetened or unsweetened) is the most popular addition to pineapple bread and adds a chewy, tropical texture.
Chopped macadamia nuts or pecans bring a buttery crunch that pairs beautifully with the fruit.
A teaspoon of vanilla extract rounds out the flavor and makes the whole kitchen smell incredible while the loaf bakes.
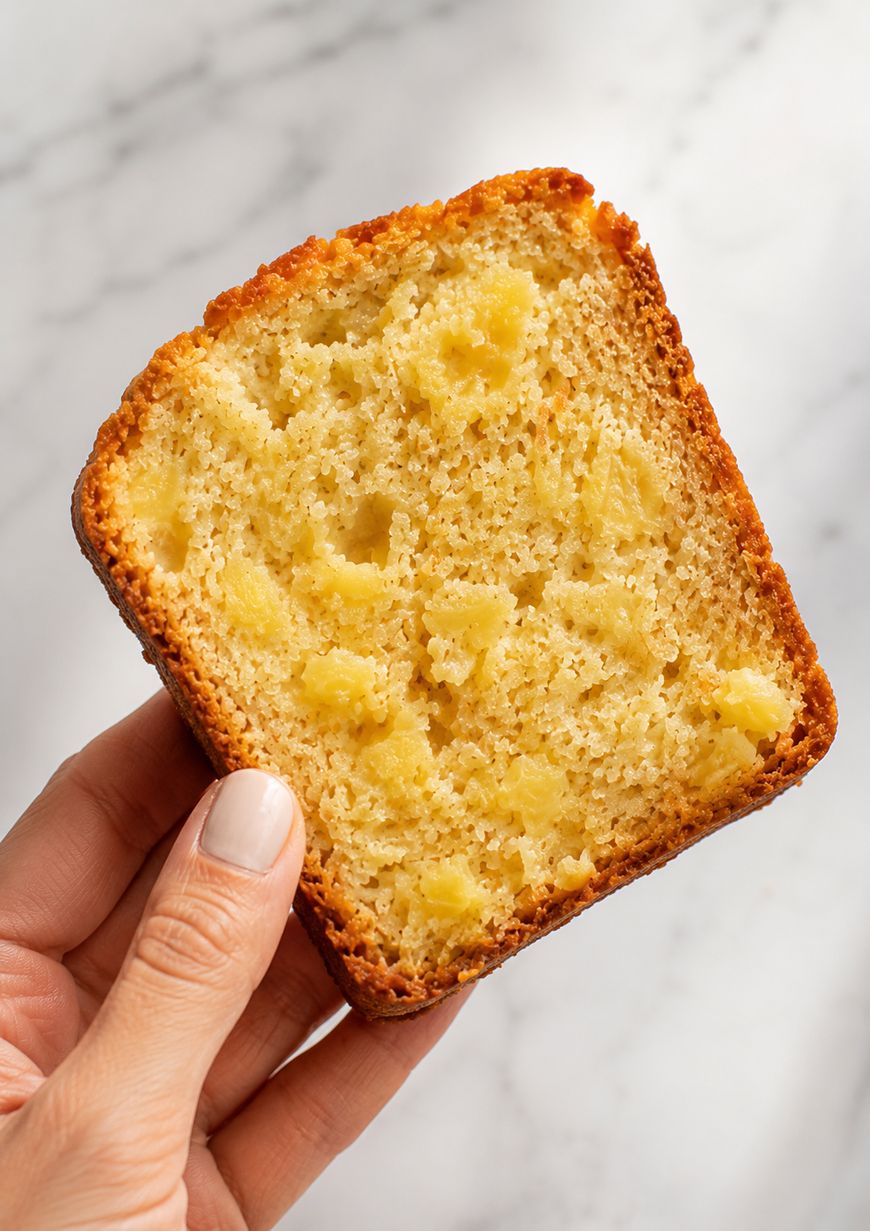
A half teaspoon of cinnamon or a pinch of ground ginger adds warmth without overwhelming the pineapple.
How to Make Pineapple Bread Step by Step
Preparing Your Pan and Oven
Preheat the oven to 350 degrees Fahrenheit (175 degrees Celsius). Grease a 9×5-inch loaf pan with butter or nonstick spray, then line it with a strip of parchment paper that hangs over the long sides. This sling makes it easy to lift the finished loaf out cleanly.
Mixing the Wet Ingredients
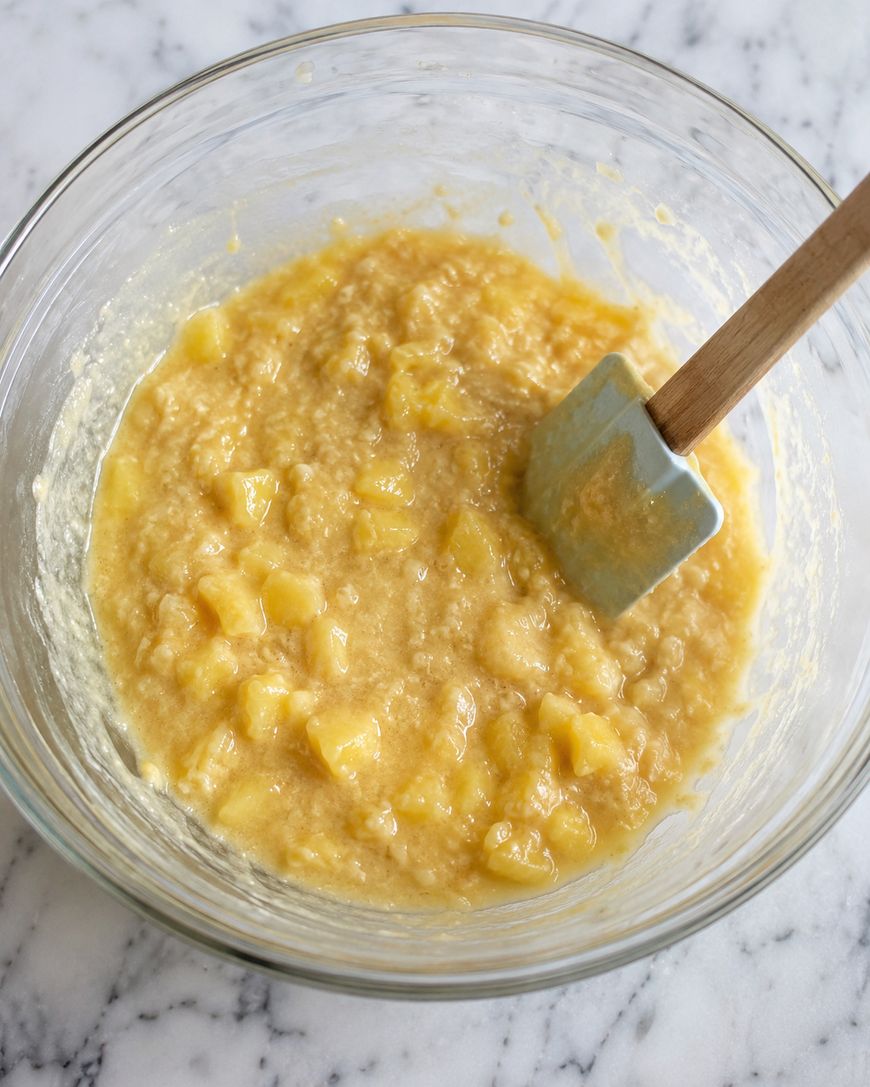
Whisk the melted butter and sugar together in a large bowl until combined. Add the eggs one at a time, whisking well after each addition, then stir in the crushed pineapple with all its juice.
Combining Wet and Dry
In a separate bowl, whisk together the flour, baking powder, and salt. Pour the flour mixture into the pineapple mixture and stir gently with a rubber spatula just until no dry streaks remain.
Overmixing is the most common mistake with quick breads. Once the flour disappears into the batter, stop stirring, even if the batter looks a little lumpy.
Baking to Perfection
Pour the batter into the prepared pan and smooth the top. Bake at 350 degrees for 50 to 60 minutes, checking at the 50-minute mark by inserting a toothpick into the center.
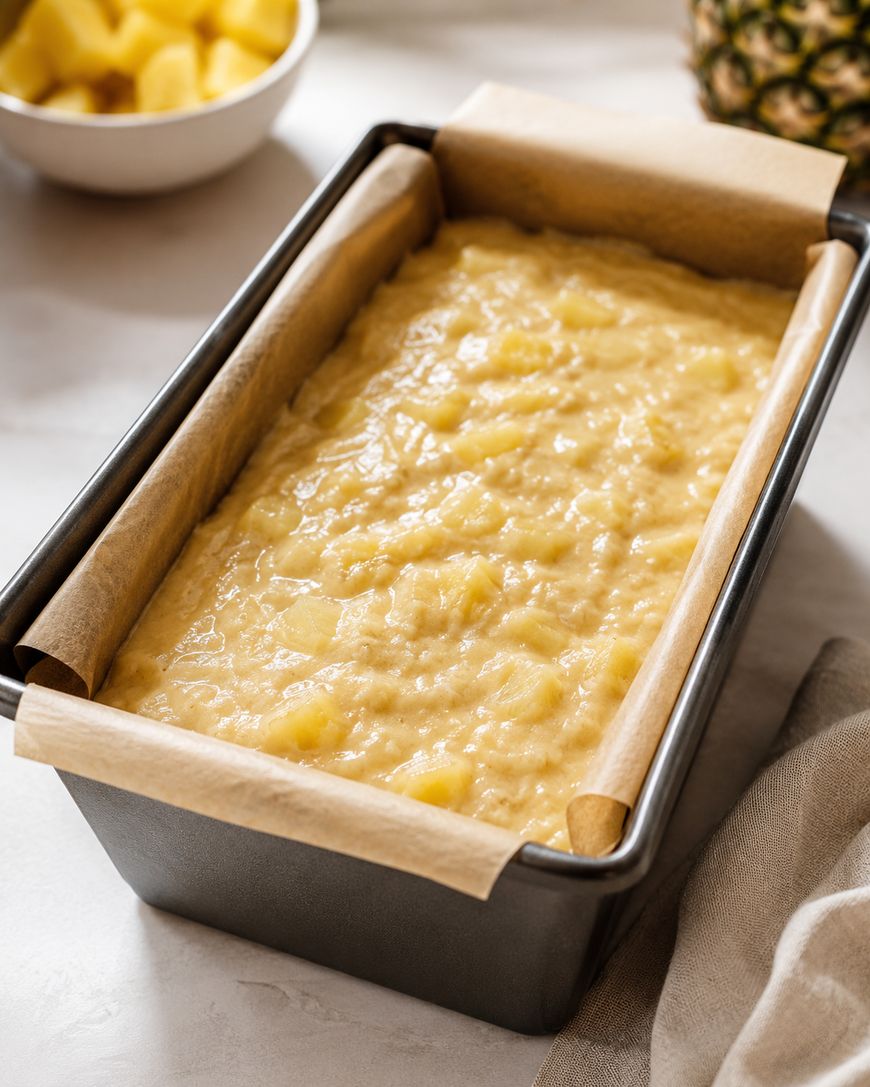
The loaf is done when the toothpick comes out clean and the top is deep golden brown. If the top is browning too fast before the center is set, loosely tent the pan with foil and continue baking.
Cooling the Loaf
Let the bread cool in the pan for 15 minutes before lifting it out using the parchment sling. Transfer to a wire rack and allow it to cool completely before slicing.
Cutting into a warm quick bread causes the crumb to tear and compress. Patience here pays off with clean, bakery-worthy slices.
Tips for the Moistest Pineapple Bread
Do Not Drain the Pineapple
The juice from the can is essential. It adds moisture, flavor, and a subtle acidity that helps the bread stay tender for days after baking.
Measure Flour Correctly
Spoon flour into the measuring cup and level it off with a straight edge rather than scooping directly from the bag. Scooping packs the flour and can add up to 20% more than the recipe intends, leading to a dry, dense loaf.
Room Temperature Eggs and Butter
Cold eggs and butter can cause the batter to look broken or curdled. Letting both sit out for 20 to 30 minutes before you start makes for a smoother, more evenly mixed batter.
Check the Pan Size
A 9×5-inch pan is the standard for this recipe. An 8×4-inch pan will cause the batter to overflow or the center to stay raw. If that is all you have, divide the batter between two smaller pans and reduce the bake time to around 35 to 40 minutes.
Variations to Try
Pineapple Coconut Bread
Fold in half a cup of sweetened shredded coconut along with the pineapple. The coconut toasts slightly during baking and adds a chewy, fragrant layer to every slice.

Cream Cheese Swirl
Beat four ounces of softened cream cheese with two tablespoons of sugar and one egg yolk. Pour half the pineapple batter into the pan, dollop the cream cheese mixture over it, then cover with the remaining batter and swirl gently with a knife.
Pineapple Glaze
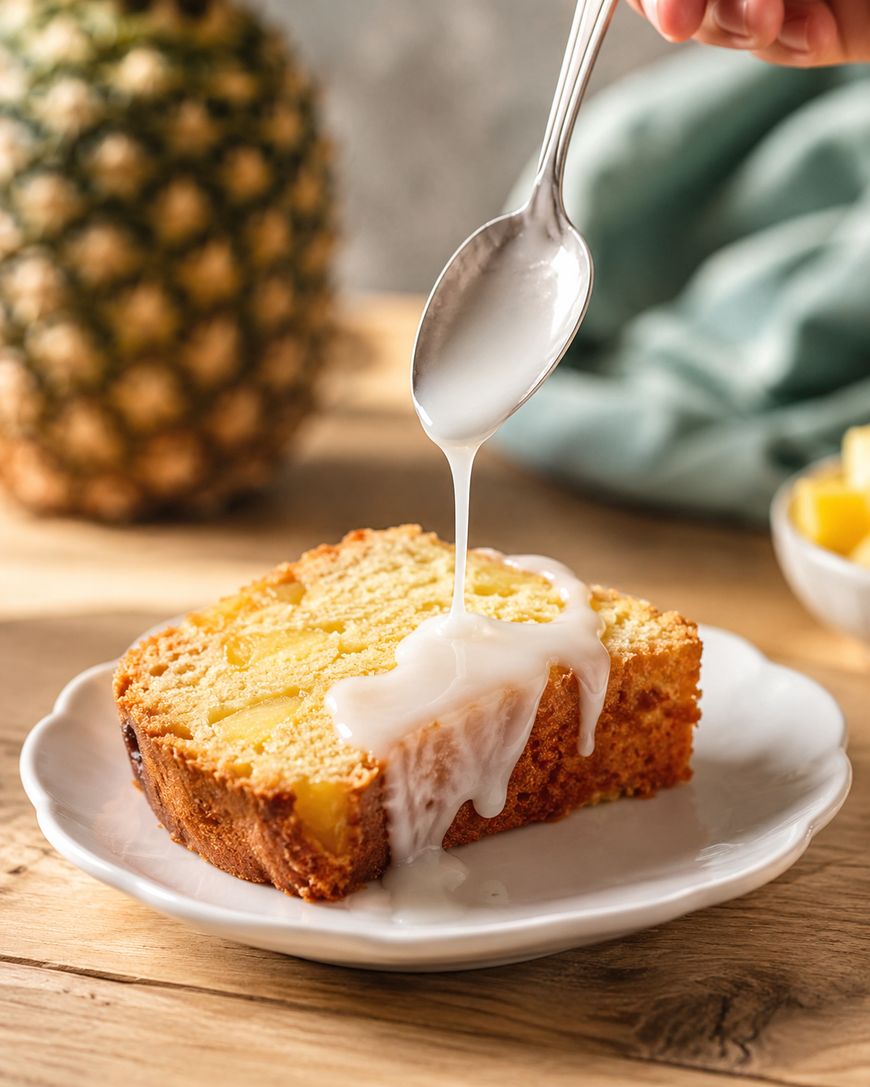
Whisk together one cup of powdered sugar with two to three tablespoons of the reserved pineapple juice until smooth and drizzleable. Pour over the completely cooled loaf for a glossy, sweet finish.
Mini Loaves or Muffins
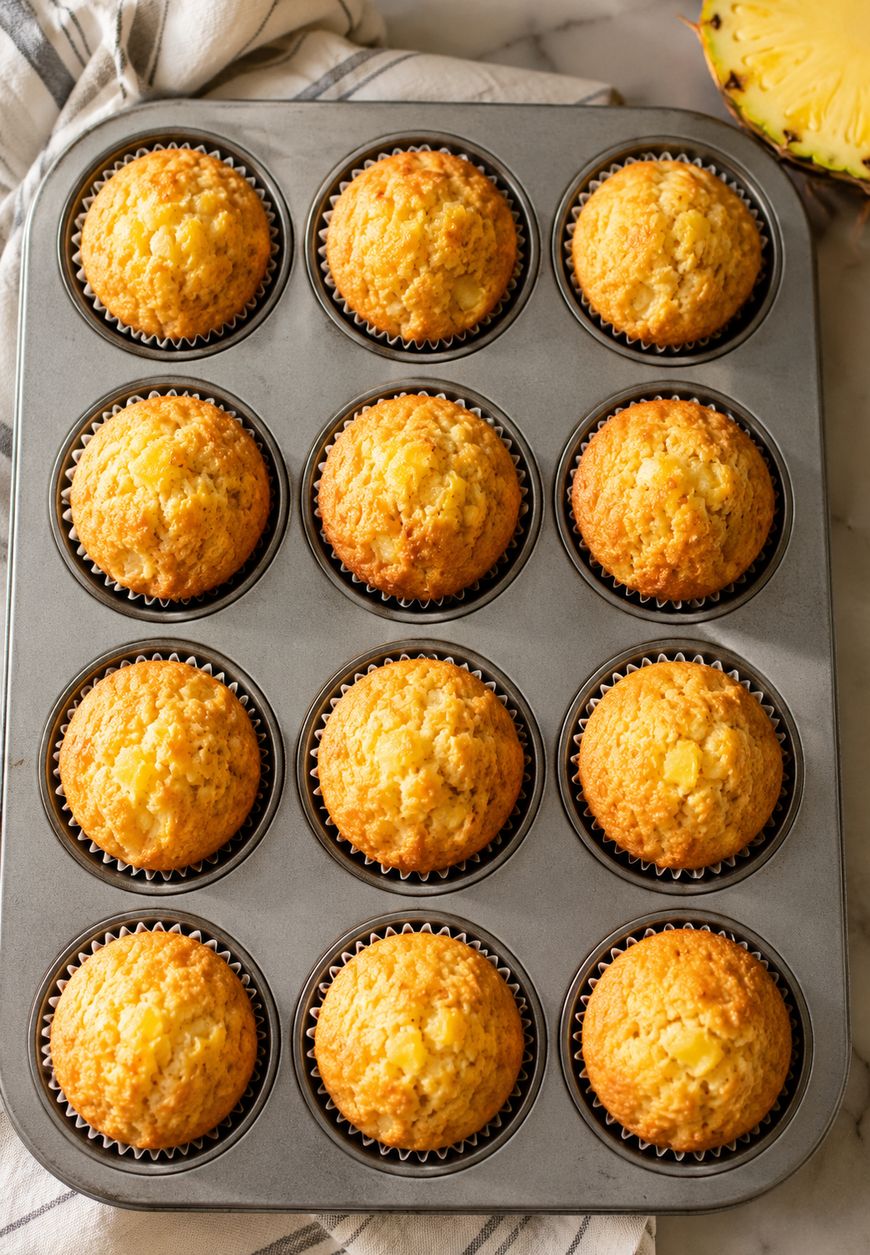
This batter works perfectly in a standard muffin tin or mini loaf pans. Fill cups or pans about two-thirds full and bake muffins at 350 degrees for 18 to 22 minutes, mini loaves for 28 to 32 minutes.
Storage and Make-Ahead Instructions
Room Temperature
Wrap the cooled loaf tightly in plastic wrap or store it in an airtight container at room temperature for up to three days. The bread actually improves overnight as the pineapple flavor deepens.
Refrigerator
Refrigerated, the bread keeps well for up to one week. Bring slices to room temperature or warm them briefly in the microwave (about 15 seconds) before serving.
Freezer
Pineapple bread freezes beautifully for up to three months. Wrap the whole loaf or individual slices in plastic wrap, then in a layer of aluminum foil or a zip-top freezer bag. Thaw overnight in the refrigerator or at room temperature for a couple of hours.
Serving Suggestions
Serve slices plain at breakfast alongside a cup of coffee or tea. The loaf is rich enough on its own but also excellent spread with softened butter, cream cheese, or a thin layer of coconut butter.
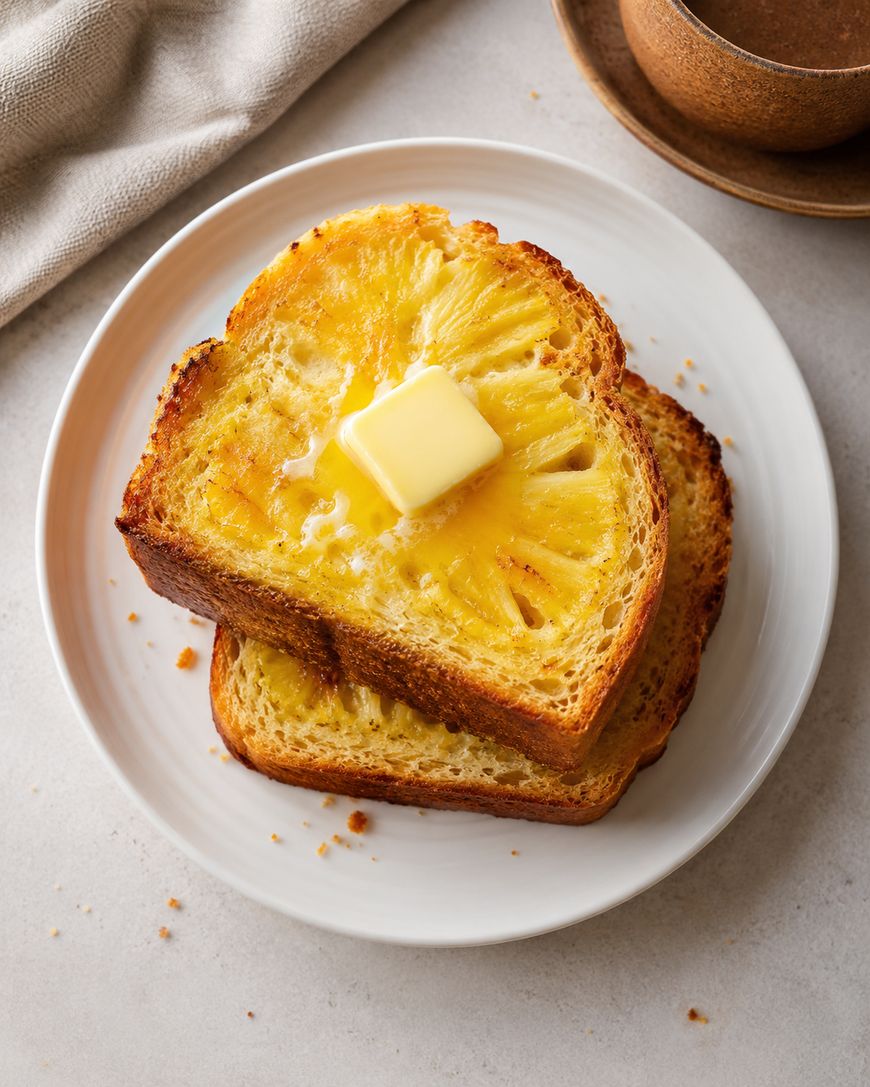
For dessert, warm a slice and top it with a scoop of vanilla ice cream and a drizzle of caramel sauce. It also makes a wonderful base for a simple trifle layered with whipped cream and fresh mango.
The Origins of Pineapple Bread
Quick breads, meaning loaves leavened with baking powder rather than yeast, became widely popular in the United States during the early 20th century as reliable chemical leaveners became household staples.
Pineapple became an affordable pantry ingredient after Dole established its Hawaiian cannery operations in the early 1900s, and canned crushed pineapple quickly found its way into home baking recipes across the country.
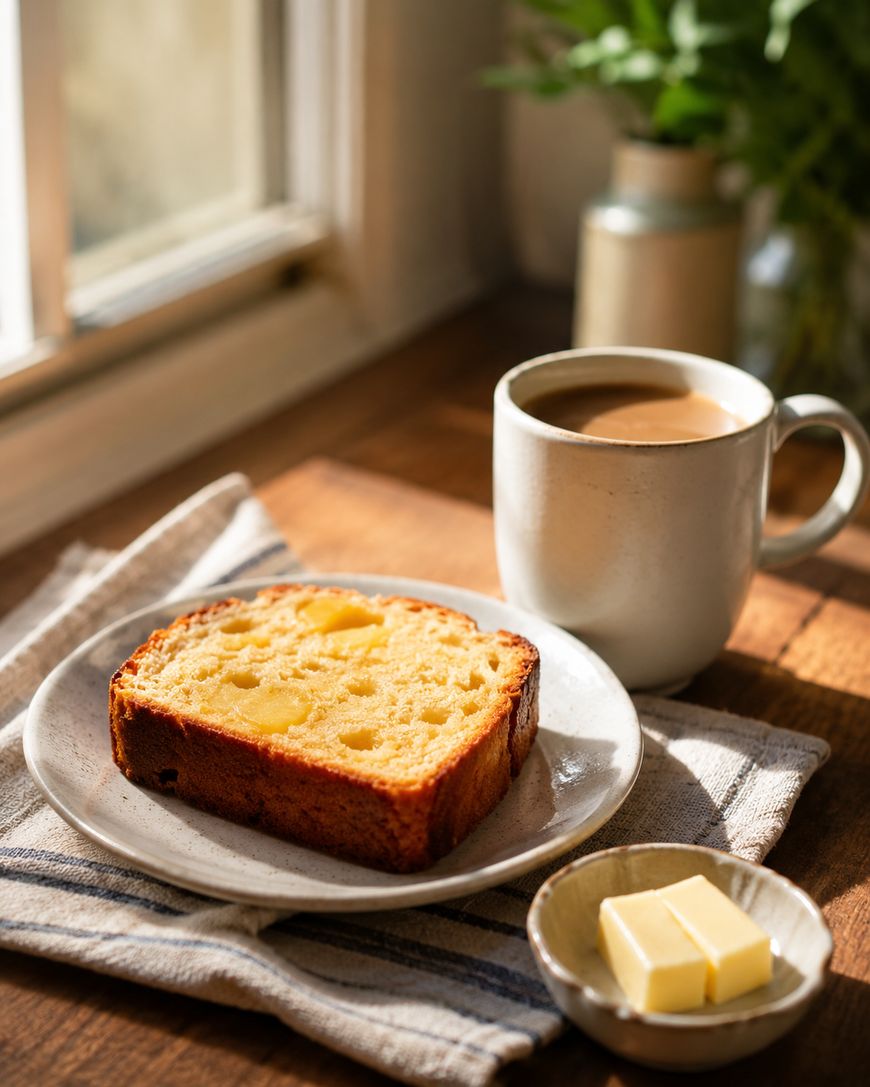
The combination of pineapple and quick bread has appeared in American home cookbooks since at least the 1930s and 1940s, and the recipe has remained a beloved staple in Southern and Midwestern home baking communities ever since.
For the full measurements, ingredient list, and step-by-step instructions in one easy place, scroll down to the recipe card below.
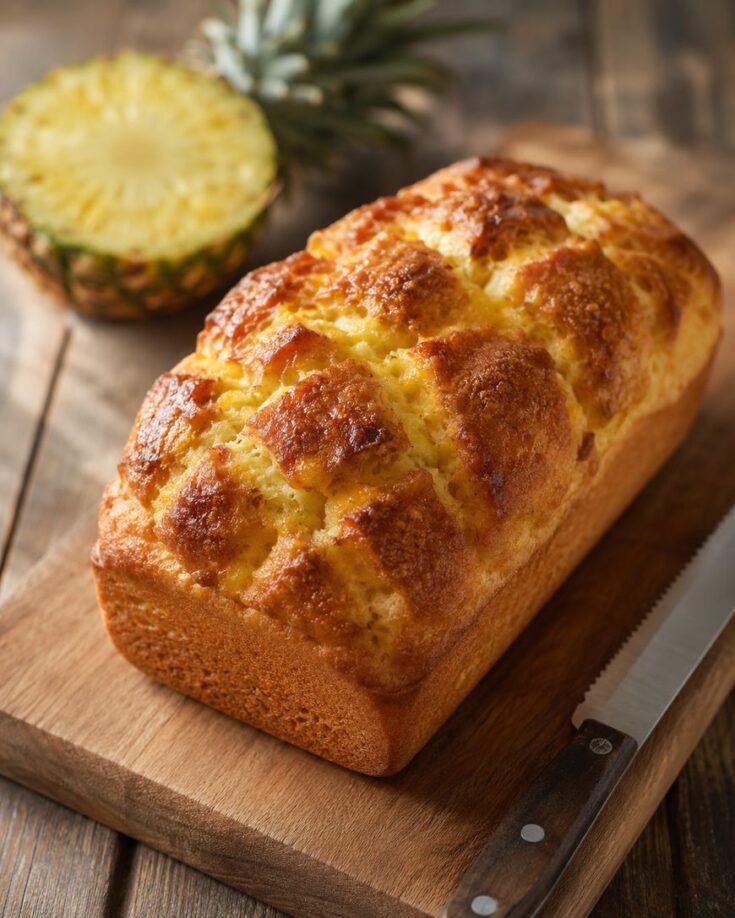
Pineapple Bread
A tender, golden quick bread packed with crushed pineapple and its juice for unbeatable moisture. Simple pantry ingredients, one bowl, and under an hour from start to finish.
Ingredients
- 1 1/2 cups all-purpose flour
- 3/4 cup granulated sugar
- 1 teaspoon baking powder
- 1/4 teaspoon salt
- 2 large eggs, room temperature
- 1/2 cup unsalted butter, melted and cooled
- 1 can (20 oz) crushed pineapple, undrained
- 1 teaspoon vanilla extract
Instructions
- Preheat the oven to 350 degrees F (175 degrees C). Grease a 9x5-inch loaf pan and line with parchment paper.
- In a large bowl, whisk together the melted butter and sugar until combined. Add the eggs one at a time, whisking well after each addition. Stir in the vanilla extract and the entire can of crushed pineapple with its juice.
- In a separate bowl, whisk together the flour, baking powder, and salt.
- Add the dry ingredients to the wet ingredients and fold gently with a rubber spatula just until no dry streaks remain. Do not overmix.
- Pour the batter into the prepared pan and smooth the top.
- Bake for 50 to 60 minutes, until a toothpick inserted in the center comes out clean and the top is deep golden brown. Tent loosely with foil if the top browns too quickly.
- Cool in the pan for 15 minutes, then lift out using the parchment sling and transfer to a wire rack. Cool completely before slicing.
Notes
Do not drain the pineapple. The juice is essential for moisture and flavor.
Store wrapped at room temperature for up to 3 days, refrigerated for up to 1 week, or frozen for up to 3 months.
Nutrition Information:
Yield:
10Serving Size:
1 sliceAmount Per Serving: Calories: 248Total Fat: 10gSaturated Fat: 6gTrans Fat: 0gUnsaturated Fat: 4gCholesterol: 61mgSodium: 115mgCarbohydrates: 37gFiber: 1gSugar: 22gSugar Alcohols: 22gProtein: 3g
This site provides estimated nutritional information. This information comes from online calculators. Although we try to provide accurate nutritional information, these figures are only estimates.
Frequently Asked Questions About Pineapple Bread
Can you use fresh pineapple instead of canned?
Fresh pineapple works, but it requires an extra step. Fresh pineapple contains bromelain, an enzyme that can prevent eggs and gluten from setting properly during baking. Briefly cooking the fresh pineapple in a small saucepan over medium heat for five minutes deactivates the enzyme, and the cooked fruit can then be used exactly as you would canned crushed pineapple.
Why did my pineapple bread sink in the middle?
A sunken center is almost always caused by underbaking or opening the oven door too early in the bake. Make sure the oven is fully preheated before the pan goes in, and resist opening the door until at least the 45-minute mark. Always test with a toothpick rather than going by color alone.
Can this recipe be made gluten-free?
A good 1:1 gluten-free all-purpose flour blend (such as Bob’s Red Mill or King Arthur Measure for Measure) substitutes directly in this recipe without other changes. Gluten-free quick breads sometimes need an extra five minutes of bake time, so test a minute or two beyond the standard range.
How do you keep pineapple bread moist?
Using the full can of crushed pineapple with its juice is the single most important factor. Storing the loaf wrapped airtight at room temperature rather than in the refrigerator also prevents the crumb from drying out. Adding a tablespoon of sour cream or Greek yogurt to the batter is another reliable trick for extra tenderness.
Can you make pineapple bread ahead of time?
Yes, and it is actually recommended. Bake the loaf the day before you need it, wrap it tightly once it is fully cooled, and store it at room temperature overnight. The flavor is noticeably better the next day as the pineapple permeates the entire crumb. It keeps well for three days at room temperature or one week in the refrigerator.
Does pineapple bread need to be refrigerated?
It does not need to be refrigerated if you plan to finish it within three days. Room temperature storage in an airtight container keeps the crumb softer and more tender than refrigeration. If your kitchen is very warm or humid, the refrigerator is the safer choice, and slices warm up quickly in the microwave.
A Simple Loaf Worth Baking Again and Again
Pineapple bread is the kind of recipe that earns a permanent spot in a home baker’s rotation because it is genuinely easy, reliably delicious, and endlessly adaptable.
Whether you serve it plain at breakfast, dressed up with a pineapple glaze for a brunch table, or tucked away in the freezer for a busy week, this golden, fruit-packed loaf delivers every time.
Give it a bake this week and let the tropical sweetness of pineapple bread do the rest.