Last updated: September 11, 2026
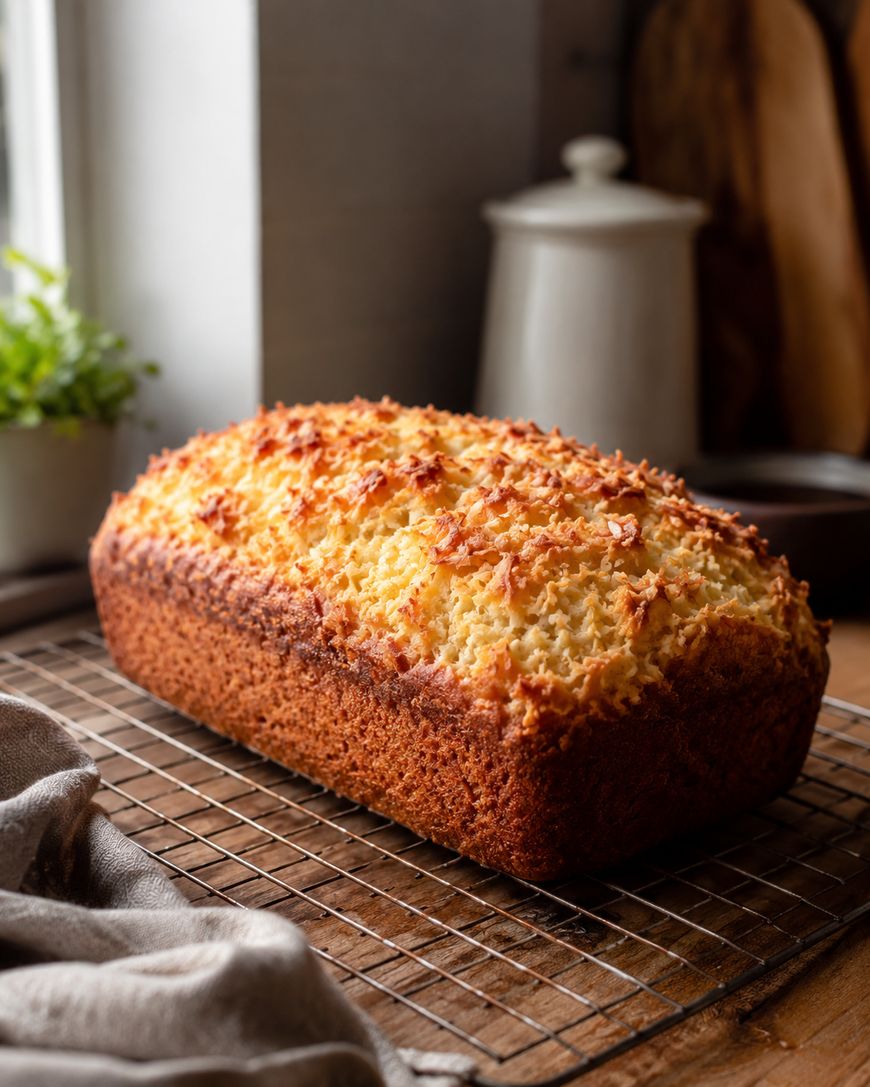
This coconut bread recipe is the kind of bake that fills your kitchen with the warm, sweet scent of toasted coconut and comes out of the oven perfectly golden every single time. Whether you are new to baking or a seasoned home cook, this recipe is straightforward enough to make on a weekday and impressive enough to serve to guests — and the recipe card below has everything you need.
What Makes This Coconut Bread Special
Most quick breads rely on butter alone for moisture, but this recipe uses a combination of butter and coconut milk to create a crumb that stays tender for days.
The result is a loaf that is rich without being heavy, with a subtle coconut flavor that comes through in every bite without being overpowering.
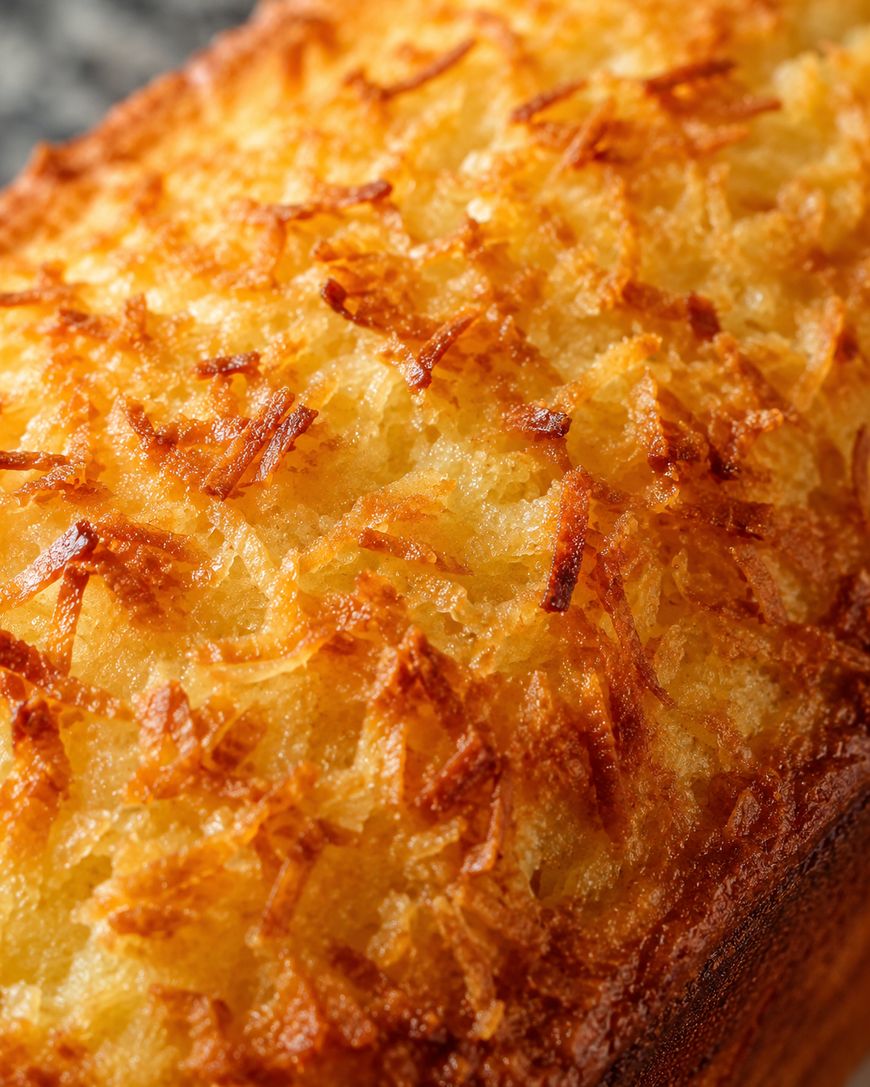
Shredded coconut is folded directly into the batter, giving the bread texture and a gentle chew that sets it apart from a plain vanilla loaf.
Toasting the coconut before it goes in takes only five minutes and adds a nutty depth that makes a noticeable difference in the finished bread.
Ingredients You Will Need
Dry Ingredients
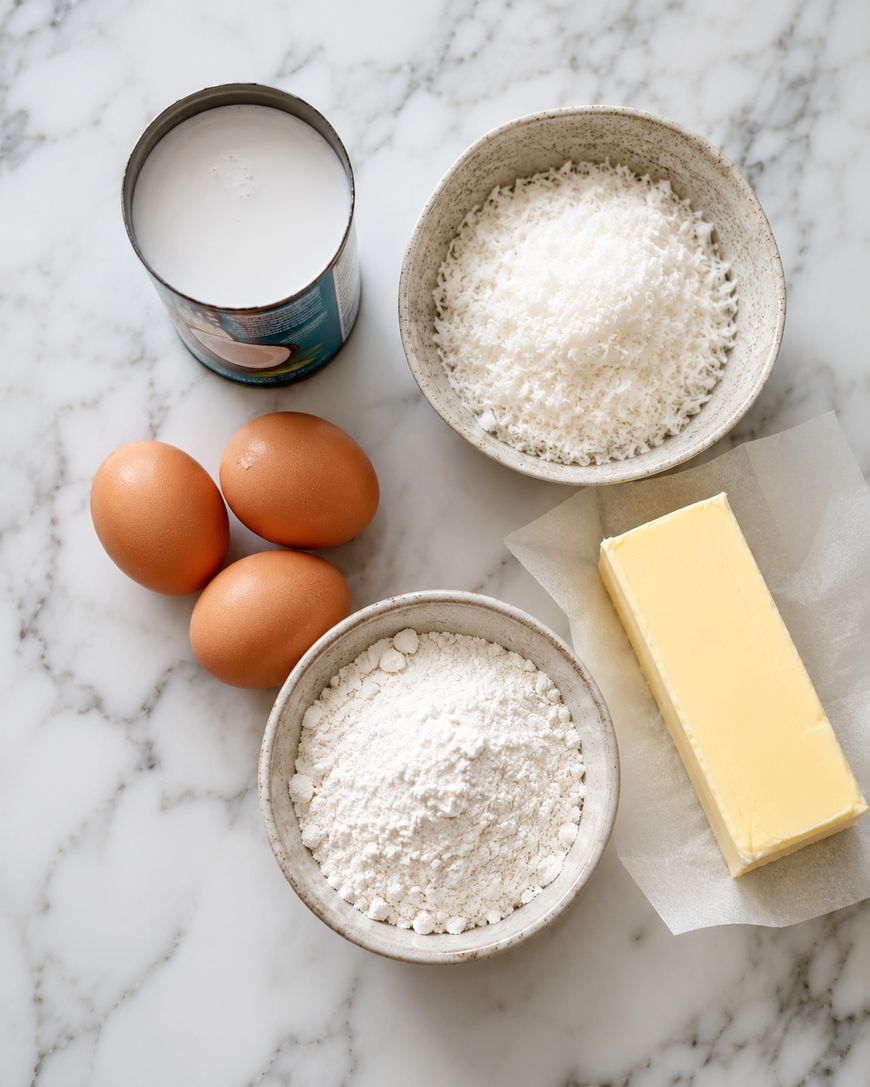
All-purpose flour forms the base of the batter and gives the loaf structure without making it dense.
Baking powder is the leavening agent here — make sure yours is fresh, as old baking powder is the most common culprit behind a flat quick bread.
A measured amount of salt balances the sweetness and brightens the coconut flavor, so do not skip it.
Granulated sugar sweetens the bread to a dessert-adjacent level without crossing into cake territory.
Wet Ingredients
Full-fat coconut milk is strongly recommended over the lite version, as the higher fat content is what keeps the crumb moist after baking.
Two large eggs bind the batter and contribute to the bread’s lift and golden color.
Melted unsalted butter adds richness and helps the crust brown evenly in the oven.
Pure vanilla extract rounds out the flavor and complements the coconut without competing with it.
The Coconut
Sweetened shredded coconut works well here, though unsweetened shredded coconut can be used if you prefer a less sweet result.
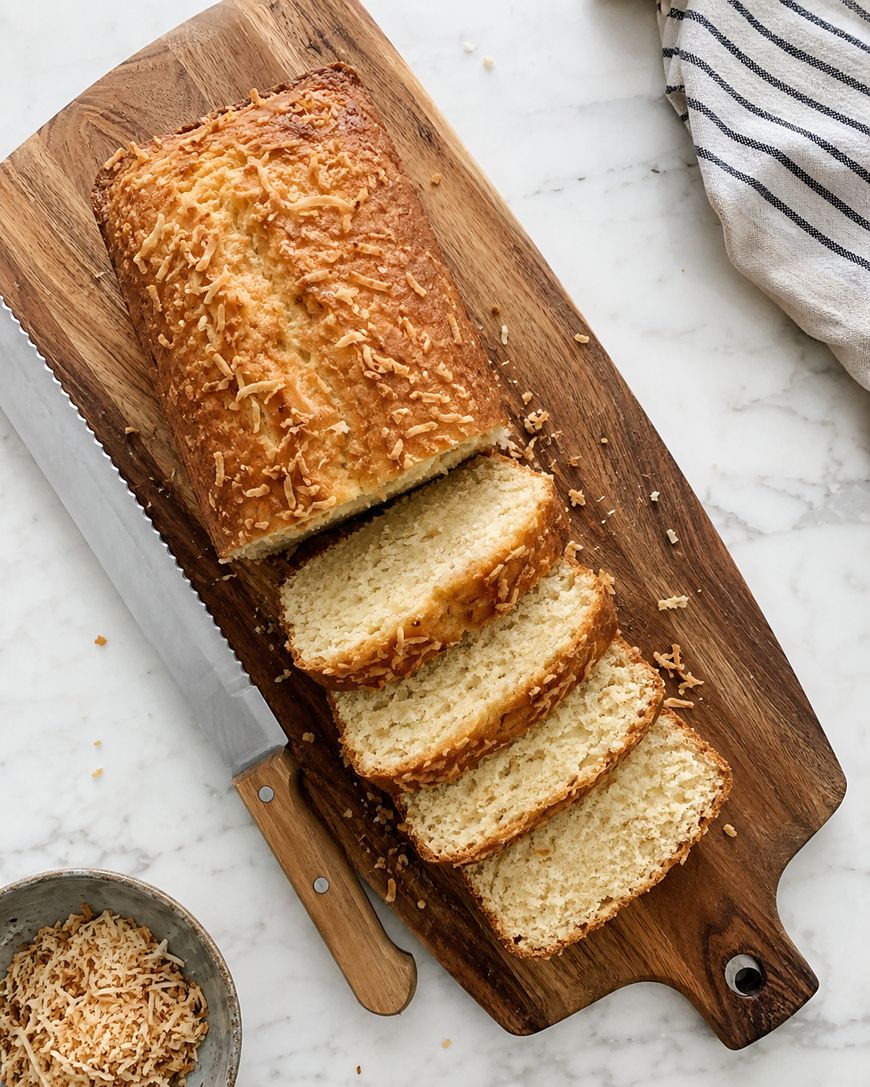
Toasting half the coconut for the batter and reserving the rest for the top creates visual contrast and layered texture in every slice.
How to Make Coconut Bread
Prepare Your Pan and Oven
Preheat the oven to 350 degrees Fahrenheit and grease a standard 9×5-inch loaf pan generously with butter or nonstick spray.
Lining the pan with a strip of parchment paper that overhangs the long sides makes it easy to lift the finished loaf out cleanly.
Toast the Coconut
Spread the shredded coconut in a single layer on a dry skillet over medium heat and stir frequently for three to five minutes until golden.

Watch the pan carefully during this step, as coconut can go from perfectly toasted to burned in under a minute.
Mix the Dry Ingredients
Whisk the flour, baking powder, salt, and sugar together in a large bowl until evenly combined.
Making a well in the center of the dry ingredients before adding the wet ones helps everything come together with minimal mixing.
Mix the Wet Ingredients
In a separate bowl, whisk the coconut milk, eggs, melted butter, and vanilla until smooth and fully combined.
If your coconut milk has separated in the can, whisk it vigorously before measuring to ensure a consistent fat content throughout the batter.
Combine and Fold
Pour the wet ingredients into the well in the dry ingredients and stir with a spatula until just combined — a few streaks of flour are fine at this stage.
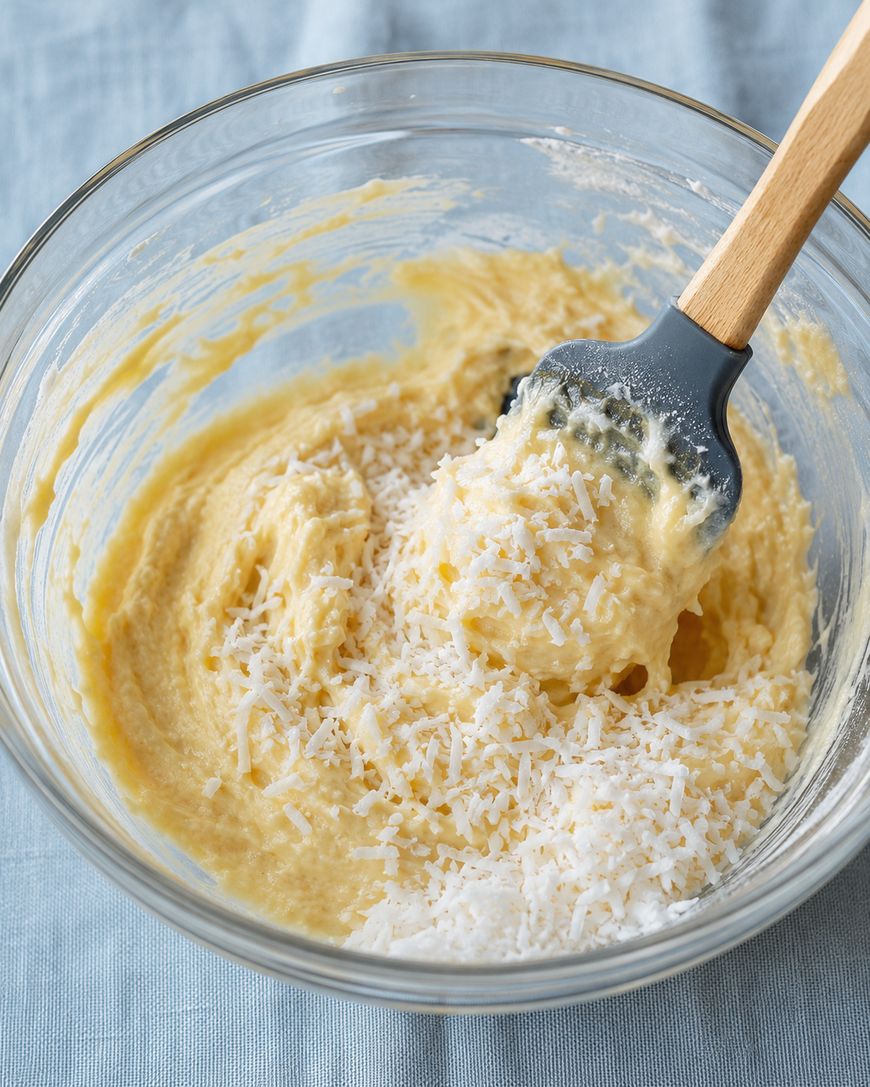
Fold in three-quarters of the toasted coconut, being careful not to overmix, as overworking the batter develops gluten and can make the finished loaf tough.
Bake
Transfer the batter to the prepared loaf pan, smooth the top, and scatter the reserved toasted coconut over the surface.
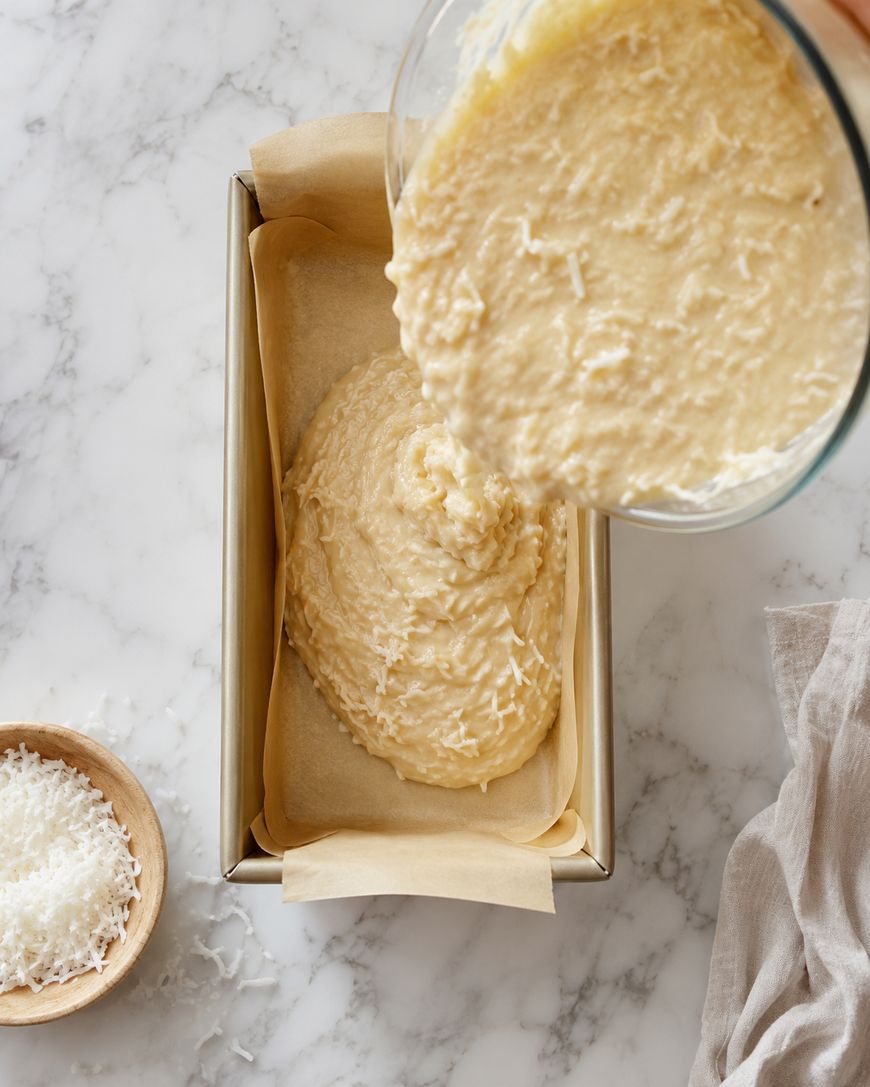
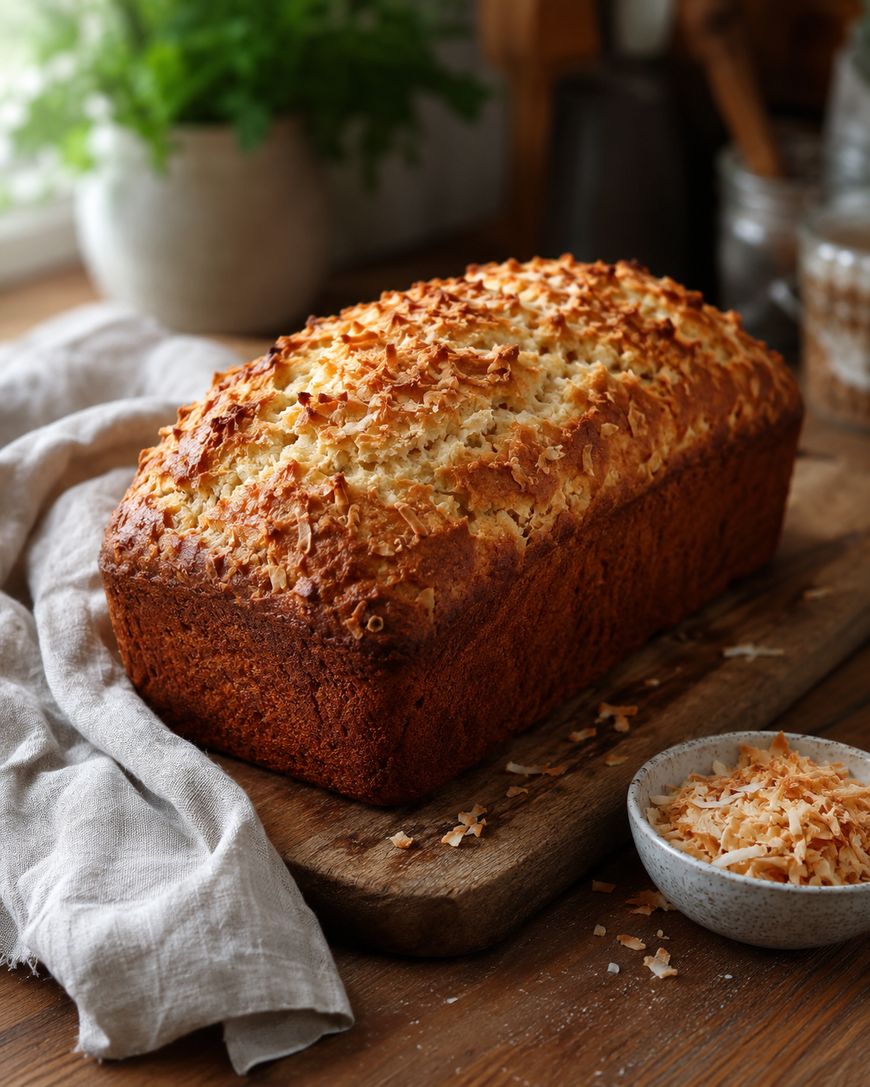
Bake for 55 to 65 minutes, or until a toothpick inserted into the center comes out clean and the top is deep golden brown.
If the top browns too quickly before the center is set, tent the loaf loosely with a piece of aluminum foil after the first 40 minutes.
Allow the bread to cool in the pan for 15 minutes before lifting it out onto a wire rack to cool completely.
Tips for the Best Results
Do Not Overmix
The number one rule for any quick bread is to stop stirring as soon as the flour disappears into the batter.
Overmixing activates the gluten in the flour and turns a tender loaf into a dense, rubbery one.
Use Room Temperature Eggs
Cold eggs can cause the melted butter in the batter to seize and solidify into small lumps.
Setting the eggs on the counter for 20 minutes before baking is a small step that results in a smoother, more evenly textured batter.
Check for Doneness Early
Ovens vary, so start checking the loaf at the 50-minute mark by inserting a toothpick into the thickest part of the center.
The bread is done when the toothpick comes out with just a few moist crumbs, not wet batter.
Variations and Substitutions
Coconut Lime Bread
Add the zest of two limes to the batter along with one tablespoon of fresh lime juice for a bright, citrusy variation that pairs beautifully with the coconut.
A lime glaze made from powdered sugar and lime juice drizzled over the cooled loaf makes this version feel particularly special.
Coconut Chocolate Chip Bread
Fold half a cup of dark chocolate chips into the batter along with the toasted coconut for a combination that feels indulgent without being overwhelming.
The slight bitterness of dark chocolate balances the sweetness of the coconut in a way that milk chocolate does not.
Dairy-Free Option
This bread is already naturally dairy-free if you replace the butter with an equal amount of refined coconut oil, which has a neutral flavor.
Refined coconut oil has had the coconut scent removed and will not make the bread taste like sunscreen, unlike unrefined virgin coconut oil.
Gluten-Free Option
A one-to-one gluten-free all-purpose flour blend can be substituted for the regular flour in equal measure.
The texture will be slightly denser, but the flavor remains intact and the bread slices cleanly once fully cooled.
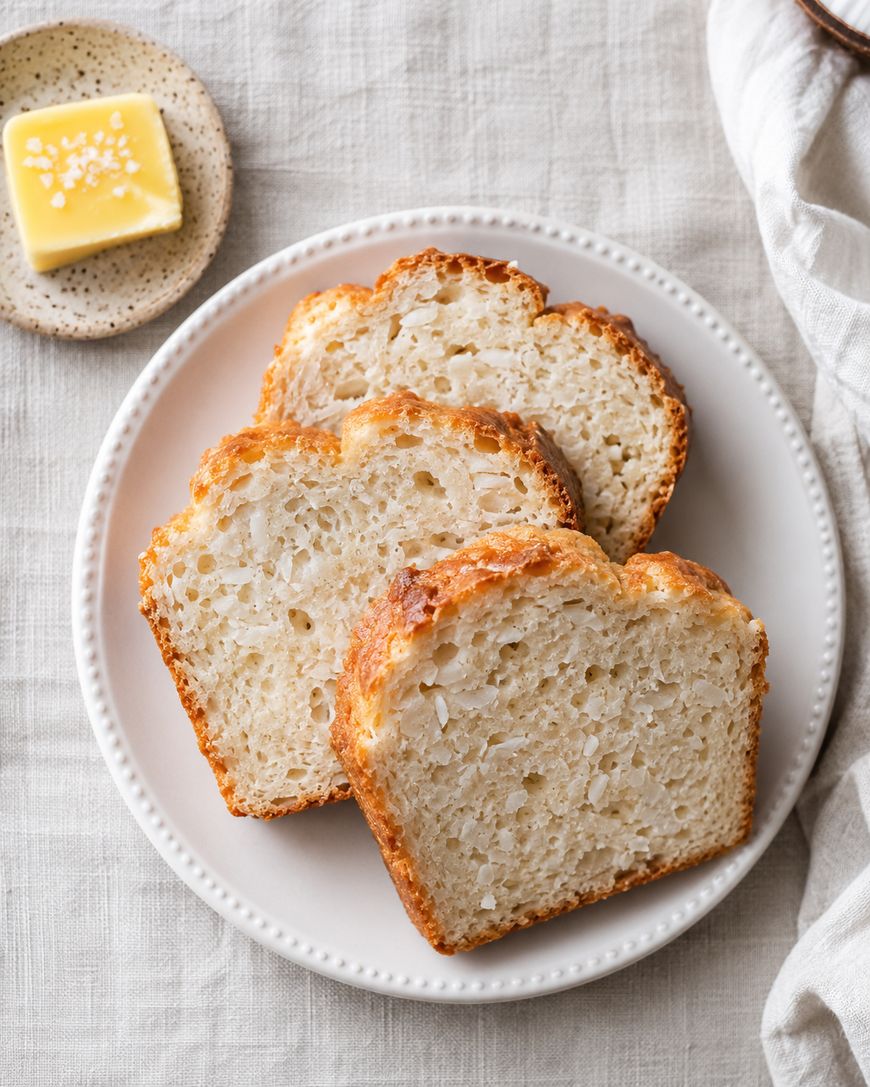
How to Store Coconut Bread
Wrap the cooled loaf tightly in plastic wrap or store it in an airtight container at room temperature for up to three days.
Refrigerating the bread extends its shelf life to about a week, though the crumb will firm up slightly — a brief warm in the microwave brings it back to its original softness.
For longer storage, slice the cooled loaf, wrap individual slices in plastic wrap, and freeze in a zip-top bag for up to three months.
Slices can be thawed at room temperature in about an hour or toasted directly from frozen in a toaster oven.
Serving Suggestions
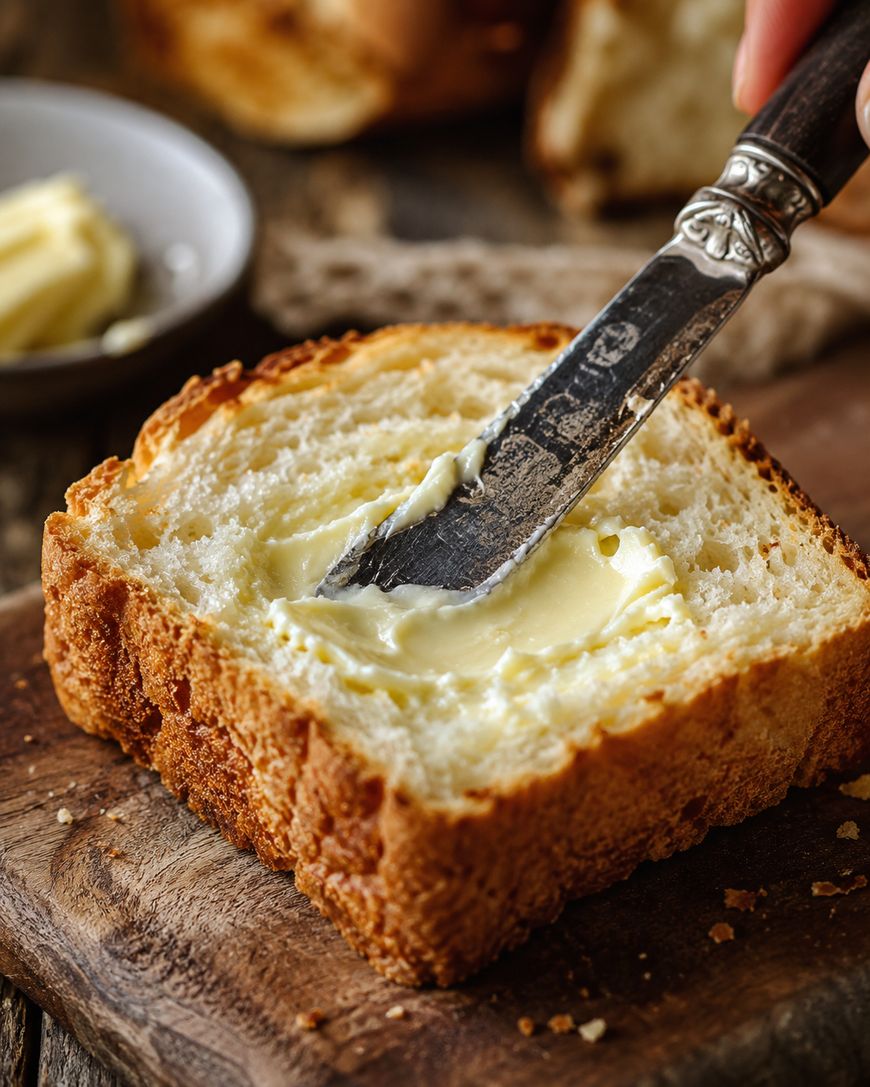
This coconut bread recipe is excellent served slightly warm with a generous spread of salted butter, which melts into the crumb and amplifies the richness.
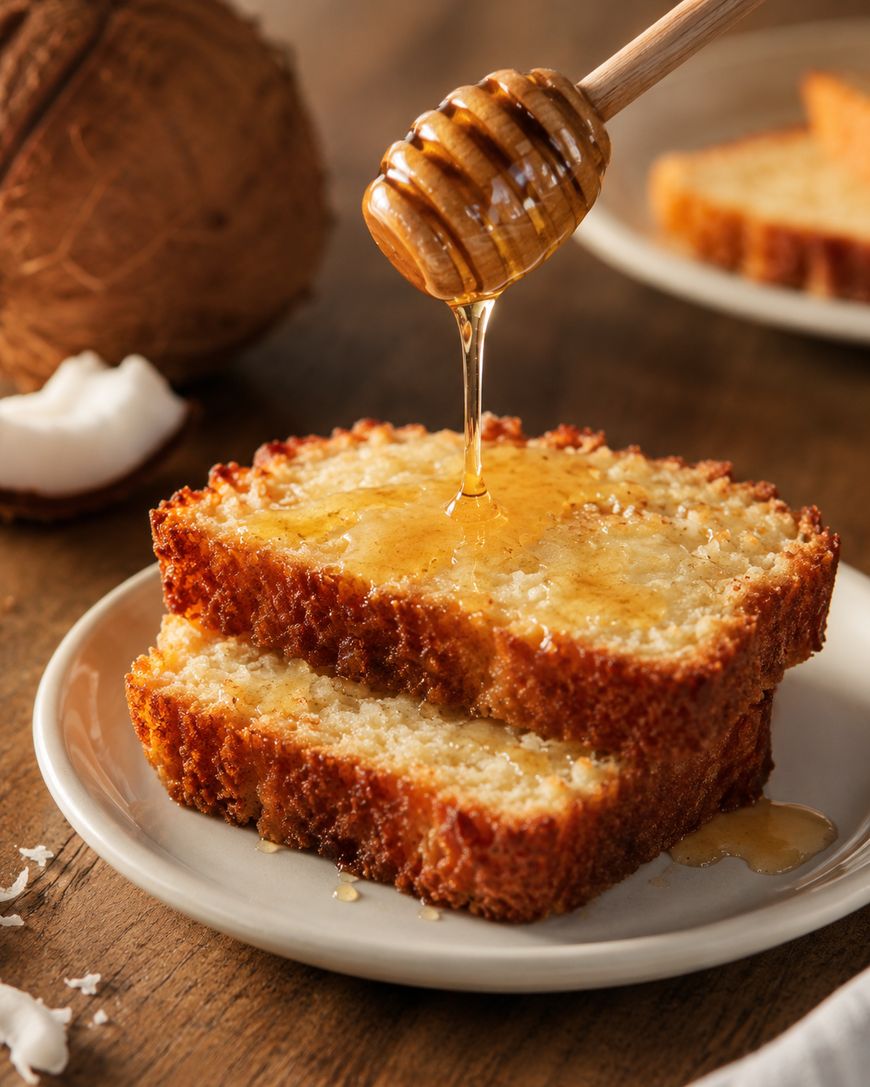
A drizzle of honey or a spoonful of mango jam alongside a slice makes for a breakfast or brunch pairing that leans into the tropical flavor profile.
The bread also works well as a base for French toast — the coconut flavor carries through beautifully when soaked in egg custard and pan-fried in butter.
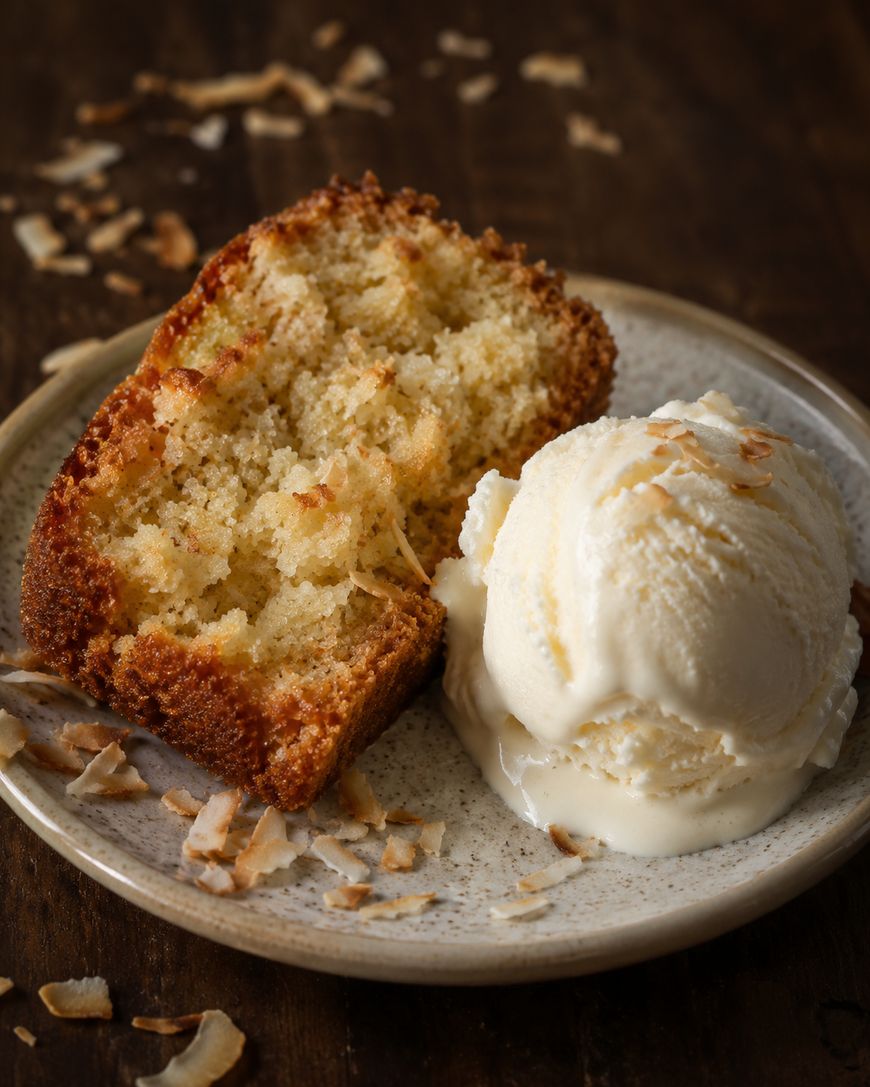
For a simple dessert, serve a thick slice alongside a scoop of vanilla or coconut ice cream and a sprinkle of toasted coconut flakes.
The Origins of Coconut Bread
Coconut bread has roots across many tropical baking traditions, appearing in slightly different forms throughout the Caribbean, Southeast Asia, and the Pacific Islands.
In Caribbean baking, particularly in Jamaica and Trinidad, coconut bread is a beloved staple that is often made in large batches for weekend breakfasts or holiday gatherings.
The version made in many Southeast Asian households uses pandan leaves alongside the coconut for a fragrant, green-tinted loaf with a flavor that is deeply aromatic.
What all these traditions share is an appreciation for the coconut as a pantry staple — not a novelty ingredient — and a philosophy that simple, high-quality ingredients produce the best results.
This recipe draws on those traditions while keeping the technique accessible for everyday home baking.
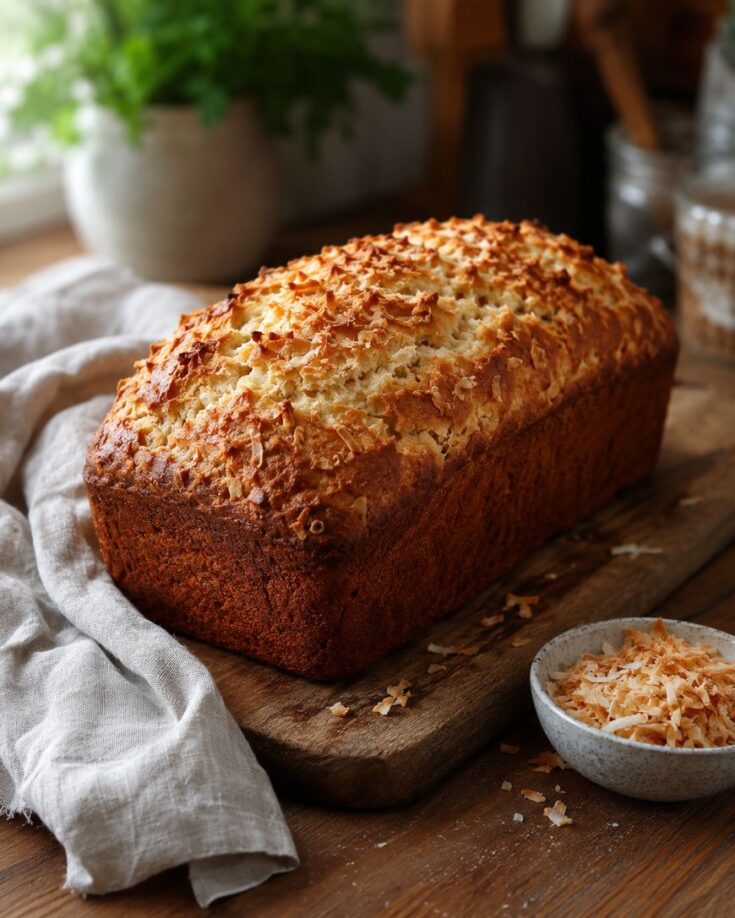
Coconut Bread Recipe
A soft, moist coconut bread recipe made with coconut milk and toasted shredded coconut. Simple to make and packed with tropical flavor.
Ingredients
- 2 cups all-purpose flour , 250g
- 1 1/2 tsp baking powder
- 1/2 tsp salt
- 3/4 cup granulated sugar , 150g
- 1 cup full-fat canned coconut milk , 240ml
- 2 large eggs , room temperature
- 1/3 cup unsalted butter , 75g, melted and cooled
- 1 tsp pure vanilla extract
- 1 1/2 cups sweetened shredded coconut , 120g, divided
Instructions
- Preheat oven to 350 degrees F. Grease a 9x5-inch loaf pan and line with parchment paper.
- Spread shredded coconut in a dry skillet over medium heat. Toast, stirring frequently, 3-5 minutes until golden. Set aside.
- In a large bowl, whisk together flour, baking powder, salt, and sugar.
- In a separate bowl, whisk coconut milk, eggs, melted butter, and vanilla until smooth.
- Pour wet ingredients into dry ingredients and stir until just combined.
- Fold in 1 cup toasted coconut. Do not overmix.
- Pour batter into pan and smooth the top. Scatter remaining 1/2 cup coconut over surface.
- Bake 55-65 minutes until a toothpick comes out clean. Tent with foil after 40 minutes if top browns too quickly.
- Cool in pan 15 minutes, then transfer to a wire rack to cool completely before slicing.
Notes
Use full-fat canned coconut milk for best results. Store wrapped at room temperature up to 3 days, refrigerate up to 1 week, or freeze sliced up to 3 months.
Nutrition Information:
Yield:
285Serving Size:
1 sliceAmount Per Serving: Calories: 14Total Fat: 10gSaturated Fat: 0gTrans Fat: 4gUnsaturated Fat: 37gCholesterol: 45mgSodium: 180mgCarbohydrates: 2gFiber: 18gSugar: 4g
This site provides estimated nutritional information. This information comes from online calculators. Although we try to provide accurate nutritional information, these figures are only estimates.
Frequently Asked Questions
Can you use coconut flour instead of all-purpose flour in this recipe?
Coconut flour cannot be swapped one-to-one for all-purpose flour because it absorbs significantly more liquid — up to four times as much. A recipe using coconut flour as the primary flour requires a completely different ratio of wet to dry ingredients, along with additional eggs to provide structure. This recipe is developed specifically for all-purpose flour, so a different coconut flour recipe should be used if that is the goal.
Why is my coconut bread dense and gummy in the center?
A dense, gummy center almost always means the bread was underbaked. Because loaf pans are thick and the batter is moist, the center can look set on top while still being underdone inside. Always test with a toothpick inserted into the very center of the loaf, and do not rely on color alone. If the toothpick comes out wet, return the bread to the oven and check again in five-minute increments.
Can this recipe be made into muffins instead of a loaf?
The batter works well in a standard 12-cup muffin tin lined with paper liners. Fill each cup about two-thirds full and bake at 350 degrees Fahrenheit for 20 to 25 minutes, or until a toothpick comes out clean. The muffin version bakes much faster than the loaf, so watch the oven carefully after the 18-minute mark. The yield is approximately 12 standard muffins.
What type of coconut milk works best in this recipe?
Full-fat canned coconut milk is the best choice for this coconut bread recipe because the higher fat content produces a noticeably moister crumb. Carton-style coconut milk beverages are much more diluted and will result in a drier, less flavorful loaf. Lite canned coconut milk is an acceptable substitute but will produce a slightly less rich result.
Can the bread be made ahead of time?
This bread actually improves slightly after the first day, as the flavors meld and the crumb settles into a more cohesive texture. It can be baked up to two days in advance and stored wrapped at room temperature. For make-ahead ease, the dry ingredients can also be measured and mixed together up to a week ahead and stored in an airtight container until ready to use.
How do you keep the coconut topping from burning before the bread is cooked through?
If the toasted coconut on top of the loaf begins to darken significantly before the bread is done, tent the pan loosely with a sheet of aluminum foil. The foil slows the browning of the surface without trapping steam or affecting the bake. Remove the foil for the final five minutes of baking to allow the top to firm back up.
Conclusion
This coconut bread recipe delivers everything a good quick bread should: a moist, tender crumb, a golden crust, and a flavor that is distinctive without being complicated.
Whether served warm from the oven with butter, packed into a lunchbox, or dressed up as a dessert, this loaf is a reliable and genuinely delicious addition to any baking rotation.
The recipe scales well, freezes beautifully, and welcomes variations — once the base version is mastered, it becomes a template for a dozen different flavor directions.