Last updated: October 20, 2026
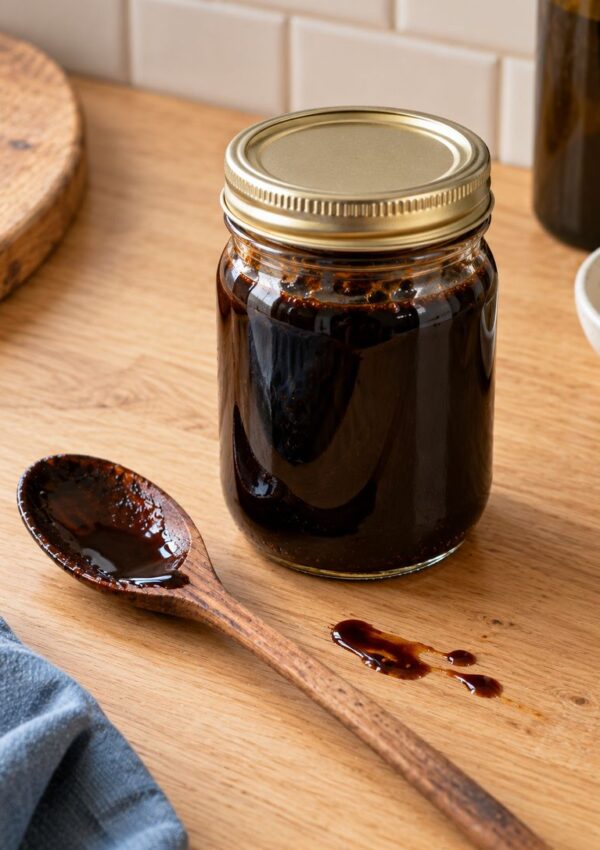
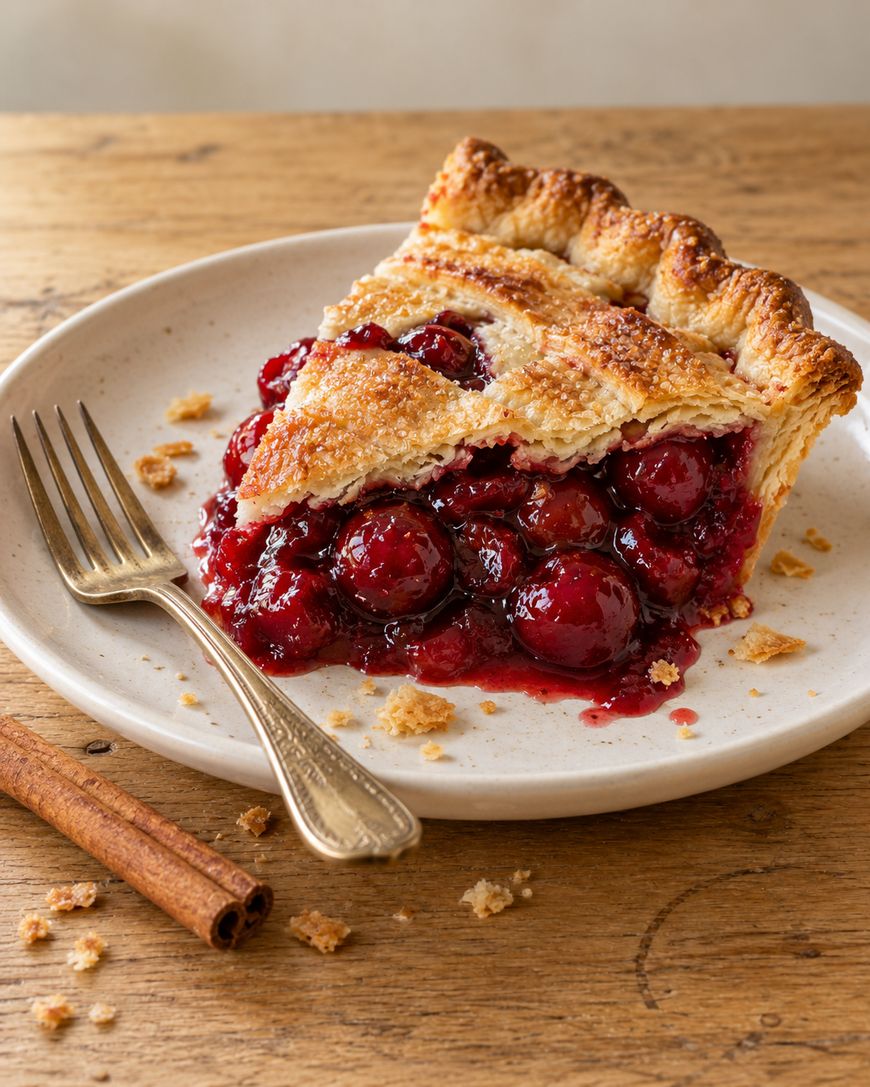
This cherry pie filling comes together on the stovetop in about 20 minutes and turns thick, glossy, and ruby red without a can in sight.
The full recipe card sits below, and everything here explains how to get a perfect set every time.
What Goes Into Cherry Pie Filling
Cherry pie filling needs only eight ingredients, and most of them are already in your pantry. You need pitted cherries, granulated sugar, cornstarch, water, lemon juice, vanilla extract, almond extract, and a pinch of fine salt.

Choosing the Best Cherries
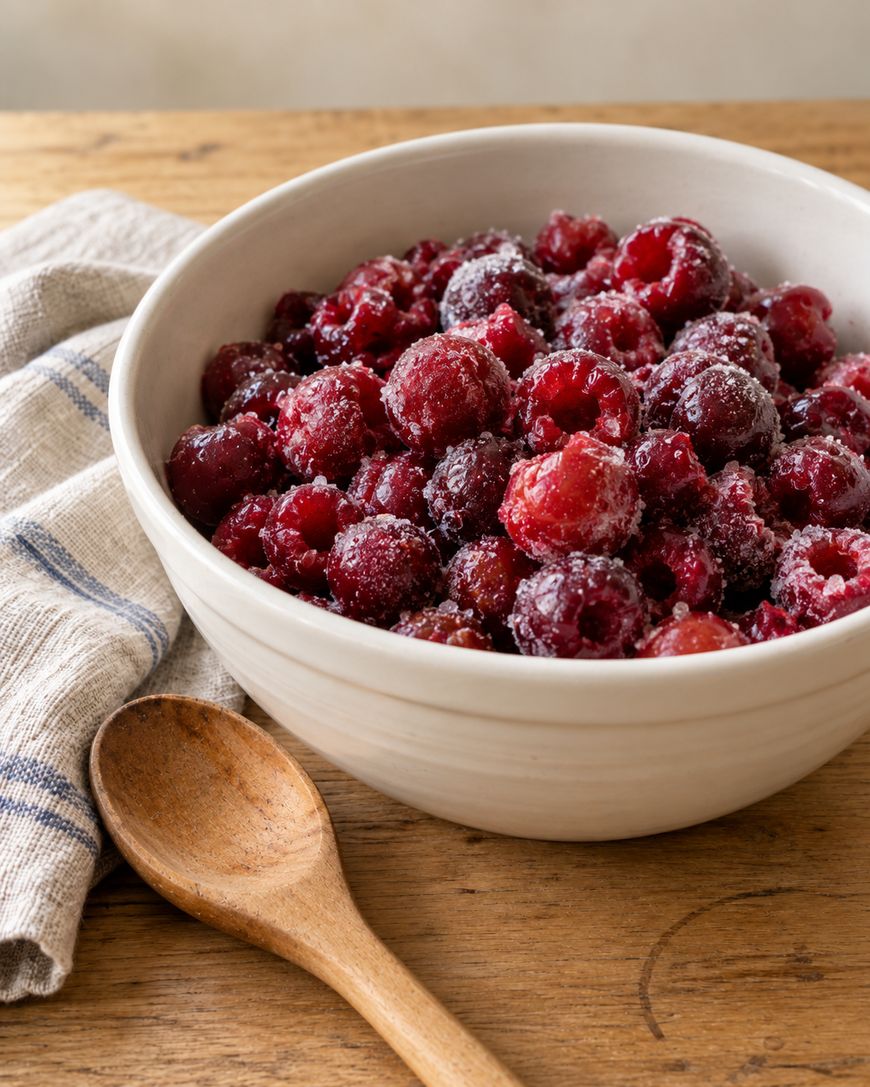
Tart cherries such as Montmorency are the classic choice because their sharp flavor stands up to the sugar and stays bright after cooking. Frozen pitted tart cherries work just as well as fresh and save you the work of pitting, so use them straight from the freezer without thawing.
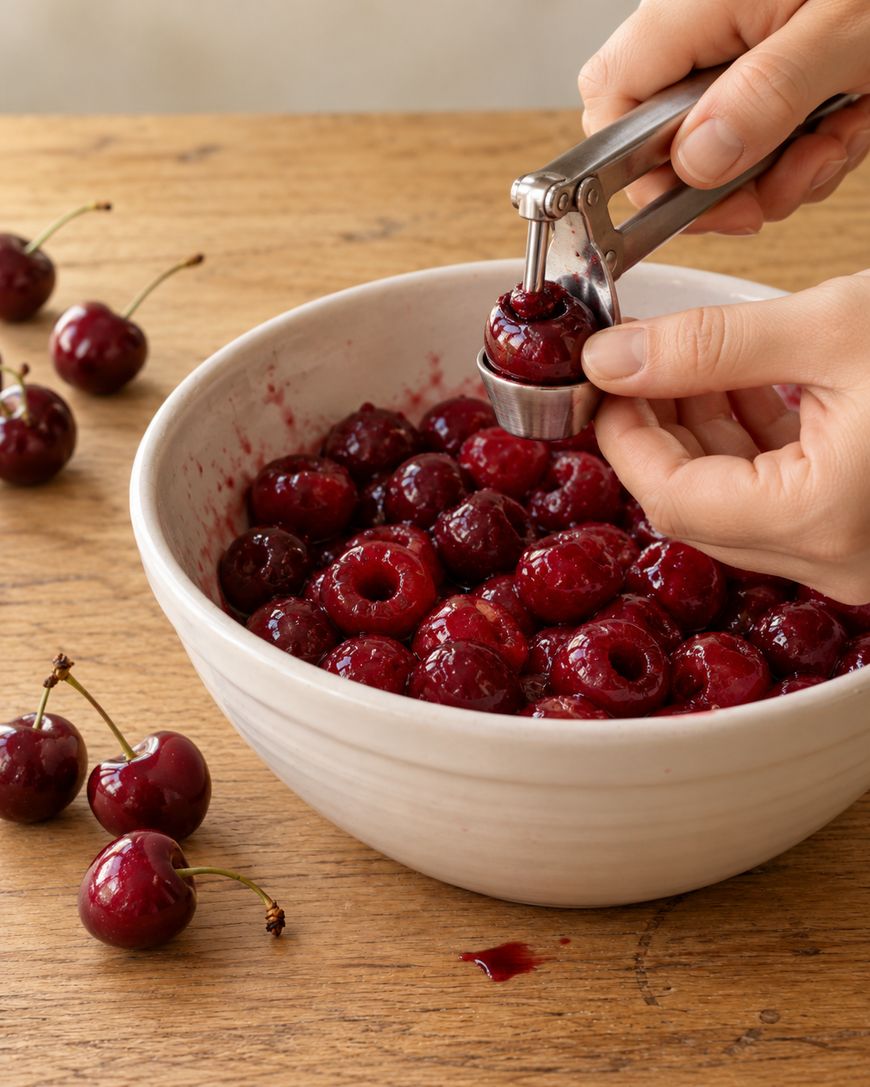
Four cups of pitted cherries, which is about 20 ounces, makes enough filling for one 9-inch pie. If you are starting with fresh cherries, plan on about 1 1/2 pounds whole to end up with that much after pitting.
Sugar, Cornstarch, and Lemon Juice
Three quarters of a cup of granulated sugar sweetens tart cherries without erasing their tang. Three tablespoons of cornstarch whisked into cold water do the thickening, while one tablespoon of fresh lemon juice at the end keeps the flavor sharp and the color vivid.
Vanilla and Almond Extract
A half teaspoon of vanilla rounds out the fruit, and a quarter teaspoon of almond extract gives the filling that unmistakable bakery cherry flavor. Cherries and almonds share a fragrant compound called benzaldehyde, which is why the pairing tastes so natural.
An eighth of a teaspoon of fine salt sharpens every other flavor in the pan. You will not taste it, but you will notice if it is missing.
How to Make Cherry Pie Filling on the Stovetop
You make cherry pie filling by simmering cherries with sugar until they release their juice, thickening that juice with a cornstarch slurry, and finishing off the heat with lemon and extracts. The whole process takes about 20 minutes, and you only need one saucepan.
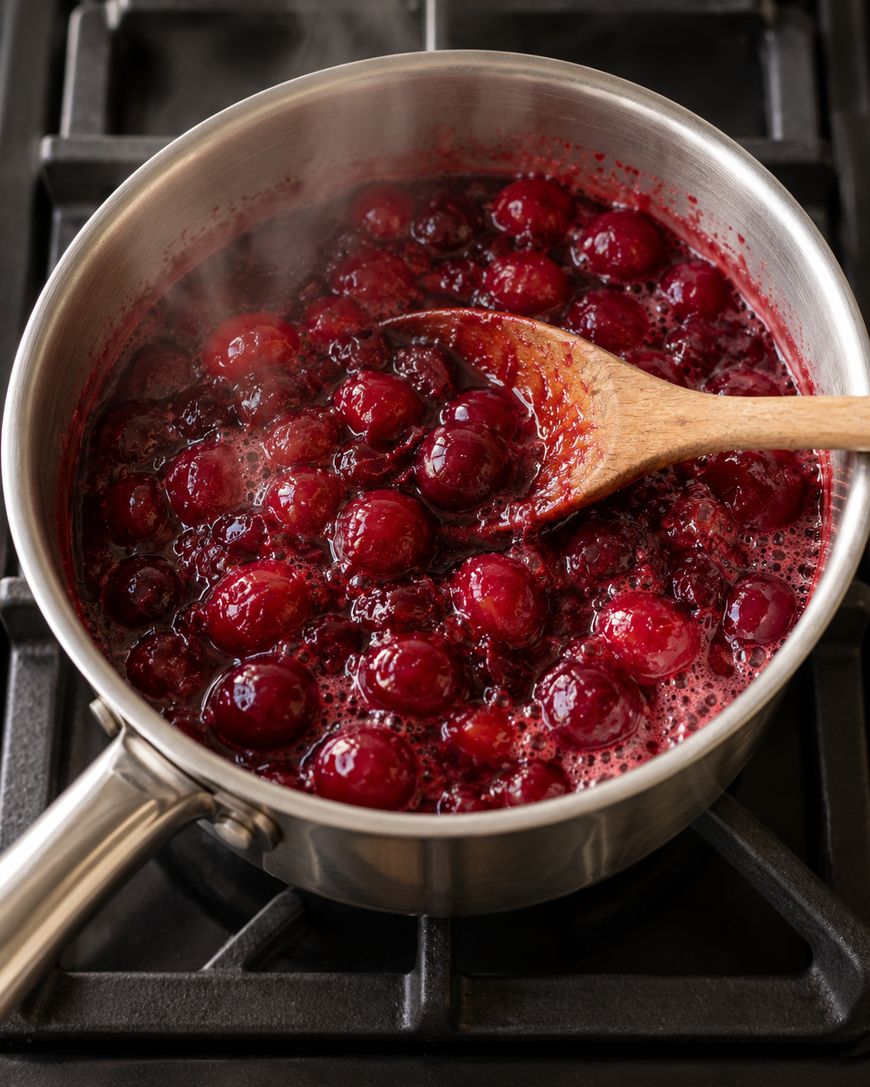
Simmer the Cherries
Combine the cherries, sugar, salt, and 1/4 cup of the water in a medium saucepan over medium heat. Bring everything to a gentle simmer, stirring often, and cook for 5 to 7 minutes.
The cherries will soften and the pan will fill with deep red juice. Frozen cherries take the full 7 minutes, while fresh cherries are often ready a little sooner.
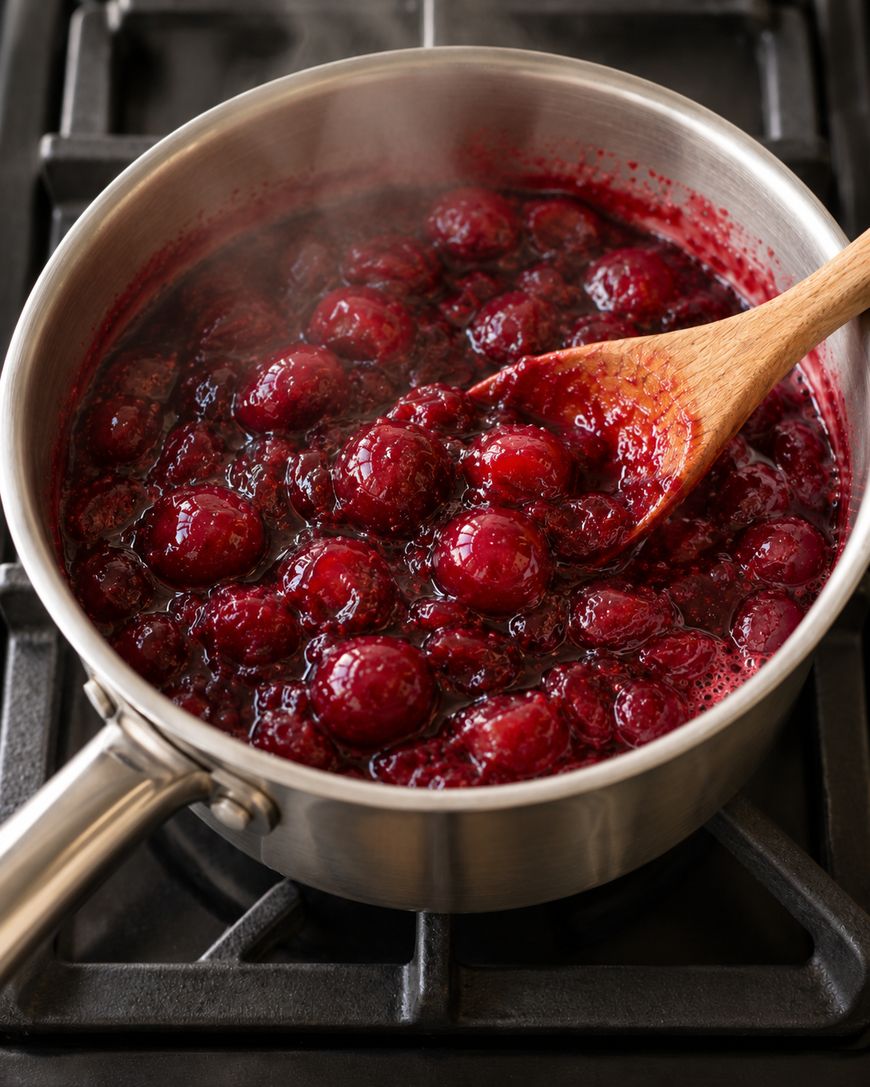
Thicken With a Cornstarch Slurry
Whisk the cornstarch with the remaining 1/4 cup of cold water in a small bowl until no lumps remain. Pour the slurry into the simmering cherries and stir constantly.
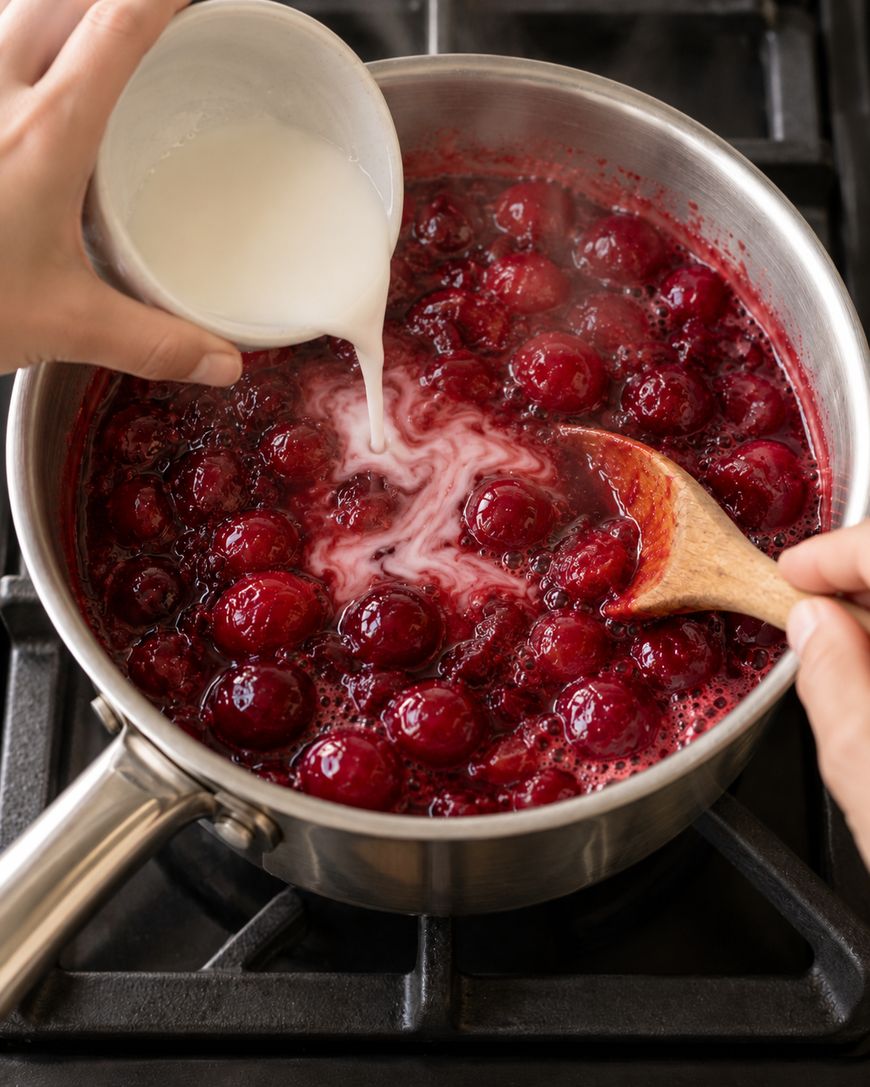
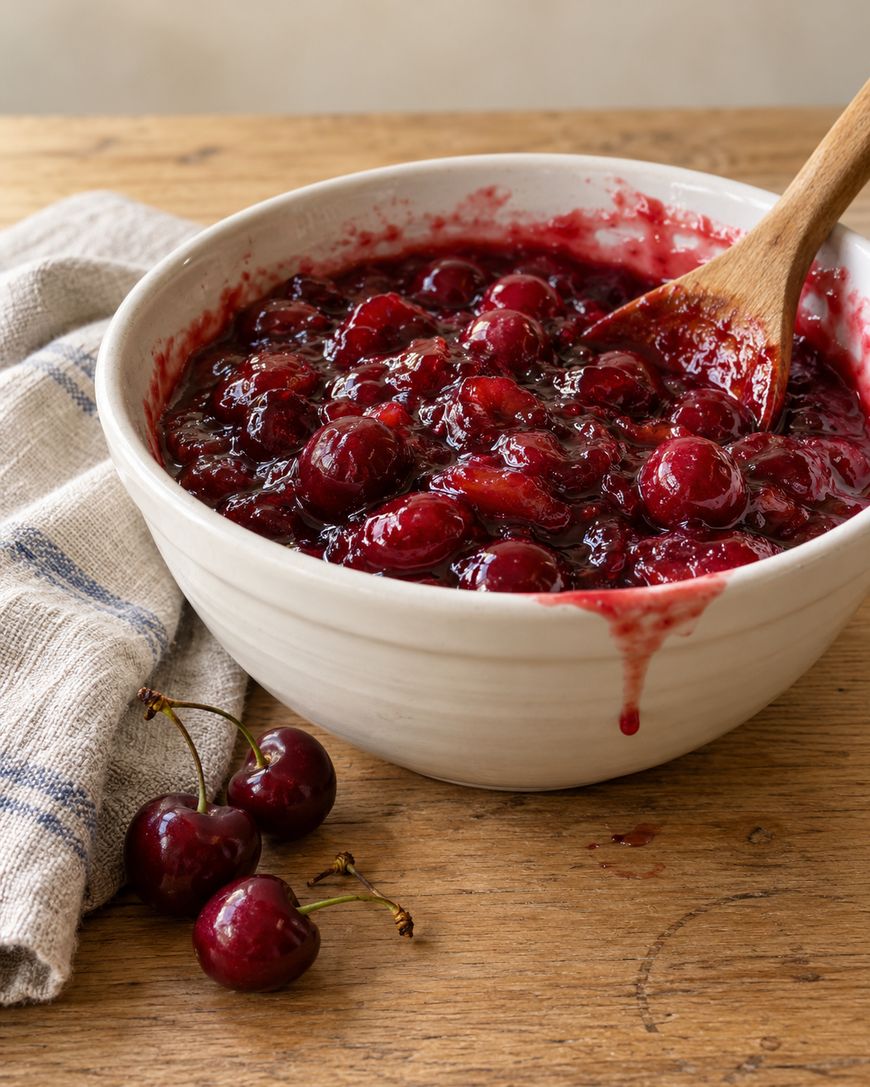
Keep the mixture bubbling gently for 2 to 3 minutes. It is ready when the juice turns thick, glossy, and slightly translucent and coats the back of a spoon.
Finish and Cool
Take the pan off the heat and stir in the lemon juice, vanilla, and almond extract. The filling will look slightly loose at this point, and that is exactly right.
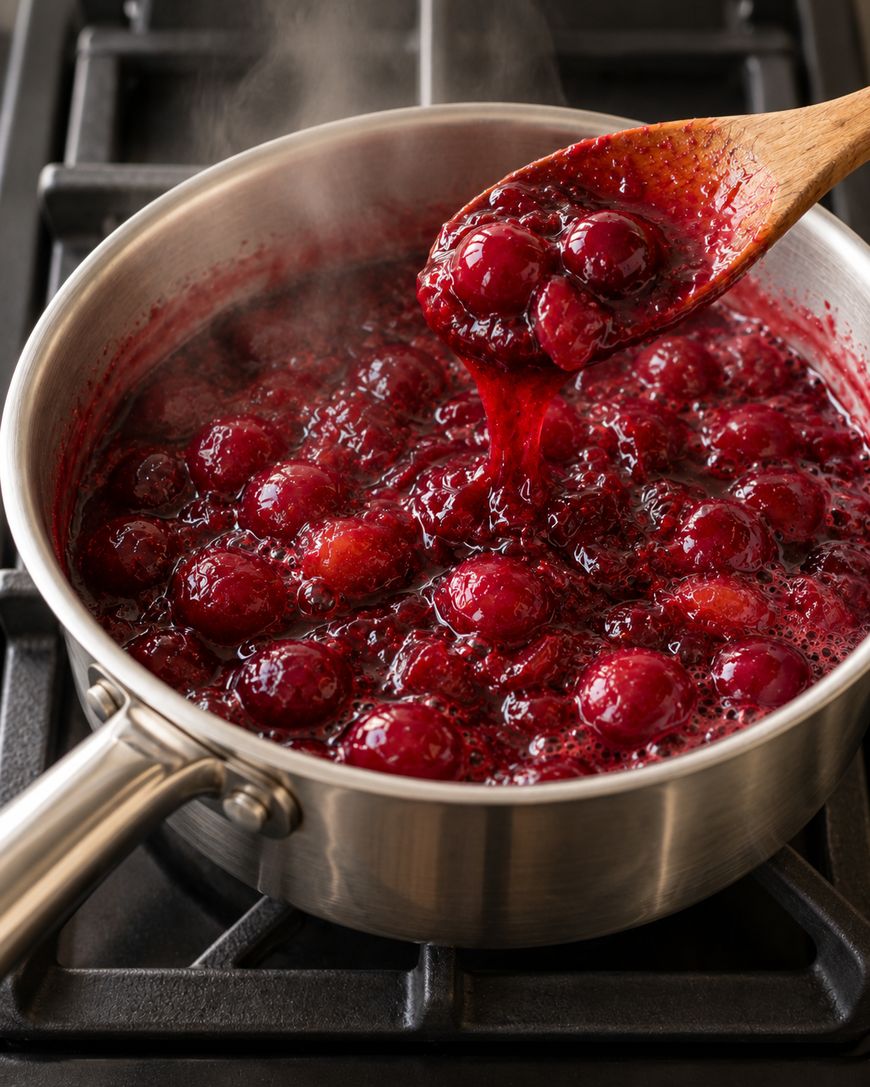
Let it cool for at least 30 minutes before spooning it into a crust, and cool it completely before refrigerating or freezing. As it cools, the cornstarch sets and the filling thickens into a spoonable, jammy texture.
Tips for Thick, Glossy Cherry Pie Filling
The most common problem with homemade cherry pie filling is a runny result, and it almost always comes down to the cornstarch. A few small habits fix it for good.
Mix the Cornstarch With Cold Water
Cornstarch dropped straight into hot liquid clumps instantly and leaves white lumps behind. Whisking it with cold water first lets the granules spread out evenly so they thicken the juice smoothly.
Let the Slurry Bubble
Cornstarch needs to reach a gentle bubble before it reaches full thickening power. Keep stirring for the full 2 to 3 minutes after adding the slurry, and do not pull the pan off the heat the moment the juice starts to look thicker.
Add the Lemon Juice Last
Acid can weaken cornstarch if the two cook together for a long time. Adding the lemon juice off the heat protects the thickening and keeps the fresh, bright cherry flavor intact.
Adjust the Sweetness Early
If your cherries are especially sour, stir in an extra tablespoon of sugar before you add the slurry. The card keeps the base amount, so treat that tablespoon as an optional tweak and taste a cherry from the pan first.
Variations and Substitutions for Cherry Pie Filling
This cherry pie filling is flexible, and a few easy swaps change the flavor without changing the method. Each one uses the same steps from the card.
Keep the cornstarch at 3 tablespoons whichever cherries you choose, since that amount controls how firmly the filling sets. Everything else is a matter of taste.
Using Sweet Cherries
Bing, Rainier, and other sweet cherries make a softer, milder filling. Reduce the sugar to 1/2 cup and keep the lemon juice exactly as written so the filling does not taste flat.
Adding Warm Spices
A small pinch of cinnamon or a few grains of nutmeg adds cozy autumn warmth. The card leaves spices out so the cherry flavor stays front and center, so consider them an optional extra.
Leaving Out the Almond Extract
If almond is not your favorite or someone at the table has a nut allergy, skip the almond extract. The filling still tastes clearly of cherry, just a little less like a bakery.
Ways to Use Cherry Pie Filling
Cherry pie filling is far more useful than its name suggests, and one batch can cover several desserts. Cool it first, then use it anywhere you would reach for a can.
Classic Cherry Pie
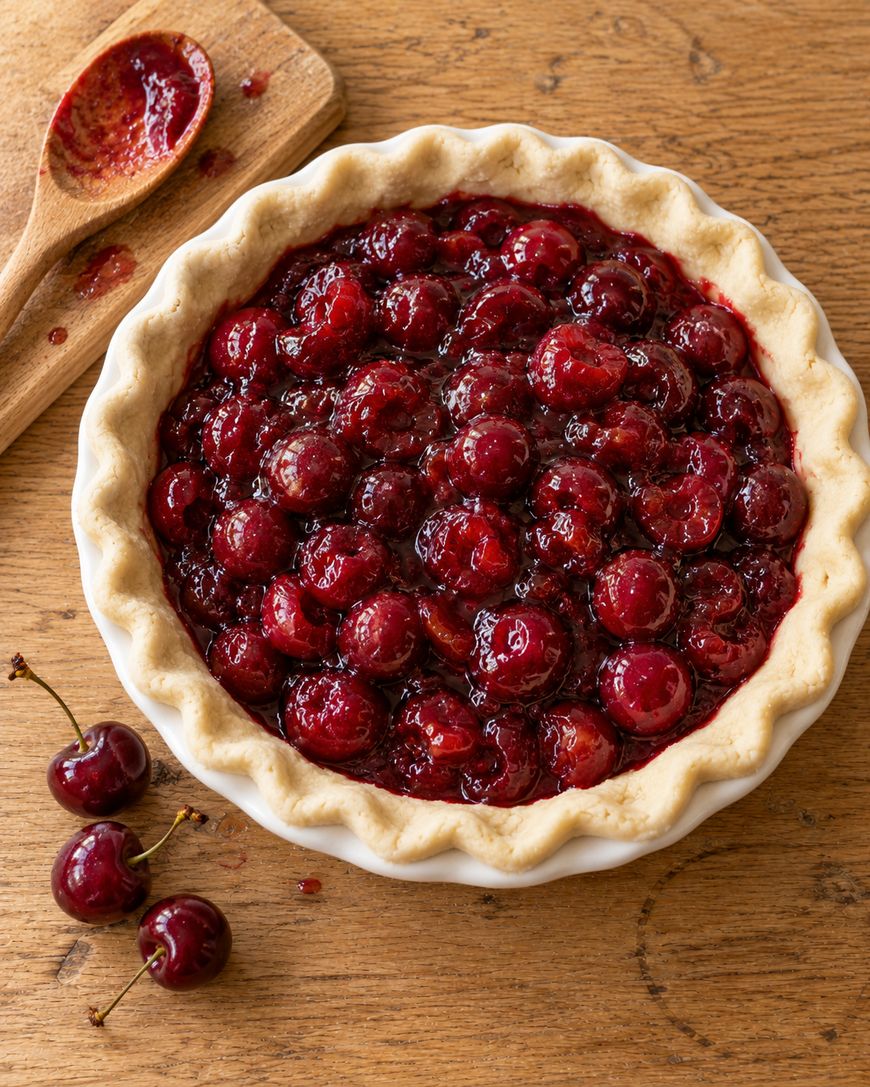
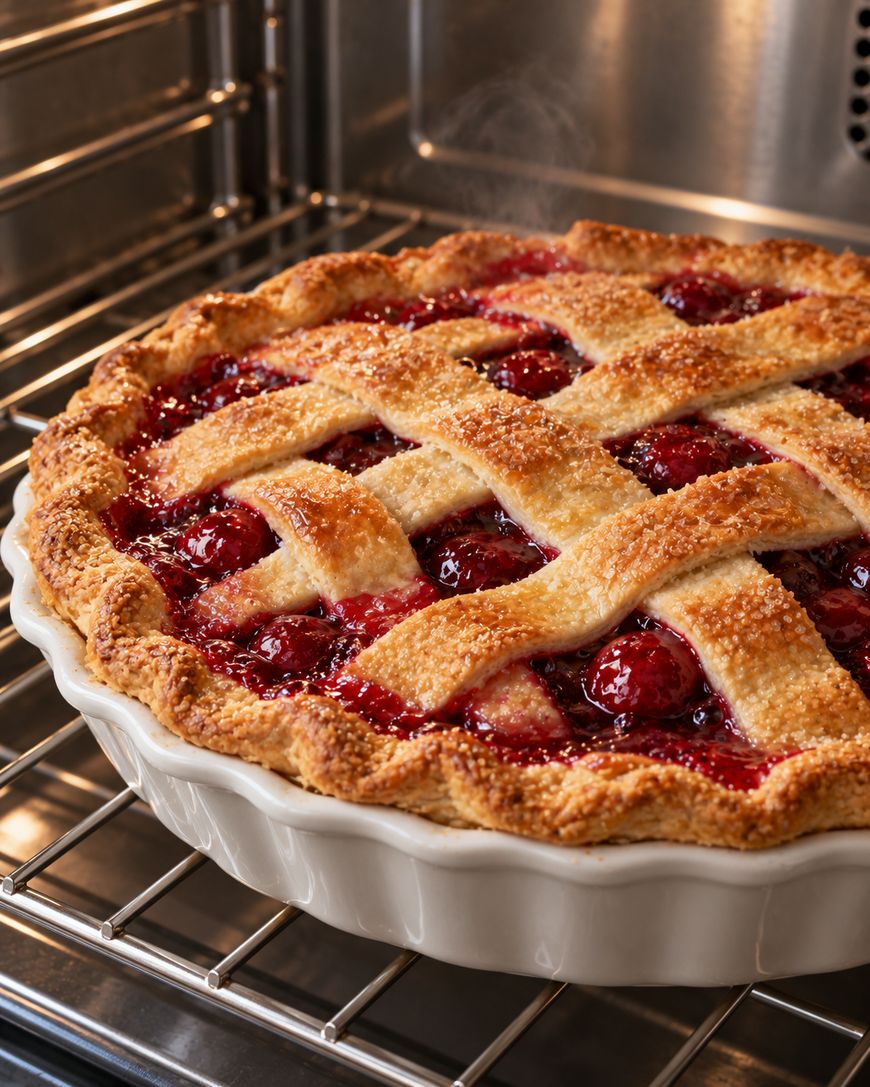
Spoon the cooled filling into an unbaked pie crust, add a top crust or a lattice, and bake according to your crust recipe. Because the filling is already cooked and thickened, the pie only needs to bake until the crust is deep golden.
Cobbler, Crisp, and Hand Pies
Pour the filling into a baking dish and top it with biscuit dough or a buttery oat crumble for a quick cobbler or crisp. You can also fold it into puff pastry squares for hand pies or spoon it into the center of a Danish.
Toppings and Breakfast
Cherry pie filling turns a plain cheesecake into a showpiece and makes vanilla ice cream feel like a sundae. It is also wonderful over pancakes, waffles, yogurt, and warm oatmeal.
How to Store Cherry Pie Filling
Cool the filling completely, then keep it in an airtight container in the refrigerator for up to 4 days. That timing follows USDA guidance for refrigerated leftovers.
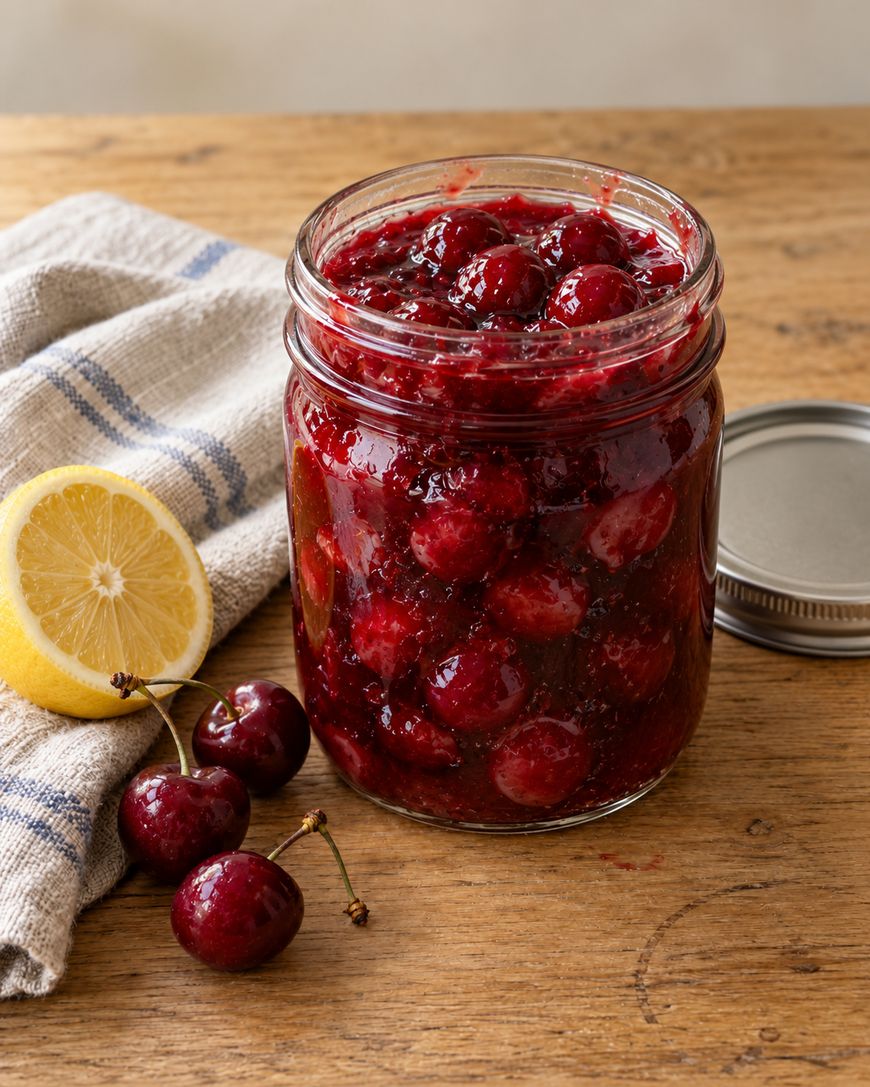
For longer storage, freeze it in a freezer-safe container or zip-top bag for up to 3 months for the best quality. Thaw it overnight in the refrigerator and stir well before using.
Stir the filling before each use, since a little juice may settle on top. Writing the date on the container helps you keep track of those 4 days.
Why This Filling Is Not for Canning
Do not use this recipe for home canning. The National Center for Home Food Preservation recommends a modified starch called Clear Jel for canned pie fillings, because regular cornstarch thickens so much that heat cannot move through the jar reliably during processing.
If you want shelf-stable cherry pie filling, follow a tested canning recipe from the NCHFP. For this recipe, the refrigerator and freezer are the safe choices.
The Story Behind Cherry Pie
Cherries have been baked into pies in European kitchens for centuries, and settlers brought both the fruit and the habit across the Atlantic. Cherry pie has long been a favorite at summer cookouts and holiday tables, and a warm slice with vanilla ice cream is still a diner classic.
Today the United States grows most of its tart cherries in Michigan, where Montmorency orchards around Traverse City supply bakers across the country.
Canned pie filling became a pantry staple in American kitchens during the twentieth century, and many families still reach for it on busy days. Making your own takes barely longer than a trip to the store, and the flavor is brighter, fresher, and entirely under your control.
It is a small step that makes every cherry dessert taste more homemade.
Ready to cook? Grab the recipe card below, and scroll further for answers to the most common questions.
Homemade Cherry Pie Filling
Thick, glossy, from-scratch cherry pie filling made on the stovetop with fresh or frozen tart cherries in about 20 minutes.
Ingredients
- 4 cups pitted tart cherries, fresh or frozen (about 20 ounces, or about 1 1/2 pounds whole fresh cherries)
- 3/4 cup granulated sugar
- 3 tablespoons cornstarch
- 1/2 cup water, divided
- 1 tablespoon fresh lemon juice
- 1/2 teaspoon vanilla extract
- 1/4 teaspoon almond extract
- 1/8 teaspoon fine salt
Instructions
- Combine the cherries, sugar, salt, and 1/4 cup of the water in a medium saucepan over medium heat.
- Bring to a gentle simmer, stirring often, and cook for 5 to 7 minutes, until the cherries soften and release their juice.
- Whisk the cornstarch with the remaining 1/4 cup cold water in a small bowl until smooth.
- Stir the slurry into the cherries and keep simmering, stirring constantly, for 2 to 3 minutes, until the filling is thick, glossy, and bubbling.
- Remove the pan from the heat and stir in the lemon juice, vanilla extract, and almond extract.
- Cool for at least 30 minutes before using, or cool completely before refrigerating or freezing.
Notes
Frozen cherries go straight into the pan without thawing. For sweet cherries such as Bing, reduce the sugar to 1/2 cup. Refrigerate in an airtight container for up to 4 days, or freeze for up to 3 months for best quality, then thaw overnight in the refrigerator. This filling is not safe for home canning; use a tested canning recipe with Clear Jel from the National Center for Home Food Preservation instead.
Nutrition Information:
Yield:
6Serving Size:
1/2 cupAmount Per Serving: Calories: 165Total Fat: 0gSaturated Fat: 0gSodium: 50mgCarbohydrates: 41gFiber: 2gSugar: 34gProtein: 1g
Cherry Pie Filling FAQs
Do You Need to Thaw Frozen Cherries First?
No, use them straight from the freezer. They go directly into the saucepan and simply need the full 7 minutes of simmering to soften and release their juice.
How much filling does this recipe make?
This recipe makes about 3 cups of cherry pie filling, which is enough for one standard 9-inch pie. For a deep-dish pie, make a double batch in a larger saucepan.
Why is my cherry pie filling runny?
Most of the time the cornstarch did not simmer long enough. Return the pan to medium heat, bring it back to a gentle bubble, and keep stirring for 2 to 3 minutes, then remember that the filling thickens further as it cools.
Can You Use Sweet Cherries Instead of Tart Cherries?
Yes, sweet cherries like Bing work well. Reduce the sugar to 1/2 cup and keep the lemon juice so the filling still tastes bright.
Can You Can This Cherry Pie Filling?
No, this recipe is meant for the refrigerator and freezer only. Home canning needs a tested recipe that uses Clear Jel, such as those published by the National Center for Home Food Preservation.
Why This Cherry Pie Filling Works
This cherry pie filling works because the cornstarch goes in after the cherries have already released their juice. That means the starch thickens the actual syrup in the pan, so the filling is the right consistency before it ever meets a crust.
Whisking the cornstarch into cold water first keeps the texture smooth, and simmering the slurry for a few minutes activates its full thickening power. The ratio of 3 tablespoons of cornstarch to 4 cups of cherries gives a filling that holds a clean slice without turning stiff or pasty.
Finishing with lemon juice off the heat protects both the thickening and the color, while the vanilla and almond extract round out the flavor. The result tastes like fresh cherries at their best rather than sugary candy.
Starting with a cooked filling also means a pie does not flood in the oven, because the cherries have already given up their liquid. That makes the bake more predictable and the slices cleaner.
Make Cherry Pie Filling Part of Your Fall Baking
A batch of homemade cherry pie filling takes about 20 minutes, one saucepan, and a handful of pantry staples. Pick up a bag of frozen tart cherries this week, simmer a batch, and spoon it into a pie, a cobbler, or over a bowl of ice cream.
Once you taste the difference, you may never go back to the can.
The filling also freezes beautifully, so you can stock the freezer now and bake all season. Leave a rating on the recipe card and tell us in the comments how you used yours.
If you loved this cherry pie filling, try it alongside a flaky homemade crust for the full cherry pie experience. Fruit desserts like this are the easiest way to make a plain weeknight feel like a celebration.
Whether you bake it into a lattice-topped pie or simply spoon it over ice cream, a jar of homemade cherry pie filling in the refrigerator makes dessert easy. Start a batch tonight and see how quickly it disappears.