Last updated: August 20, 2026
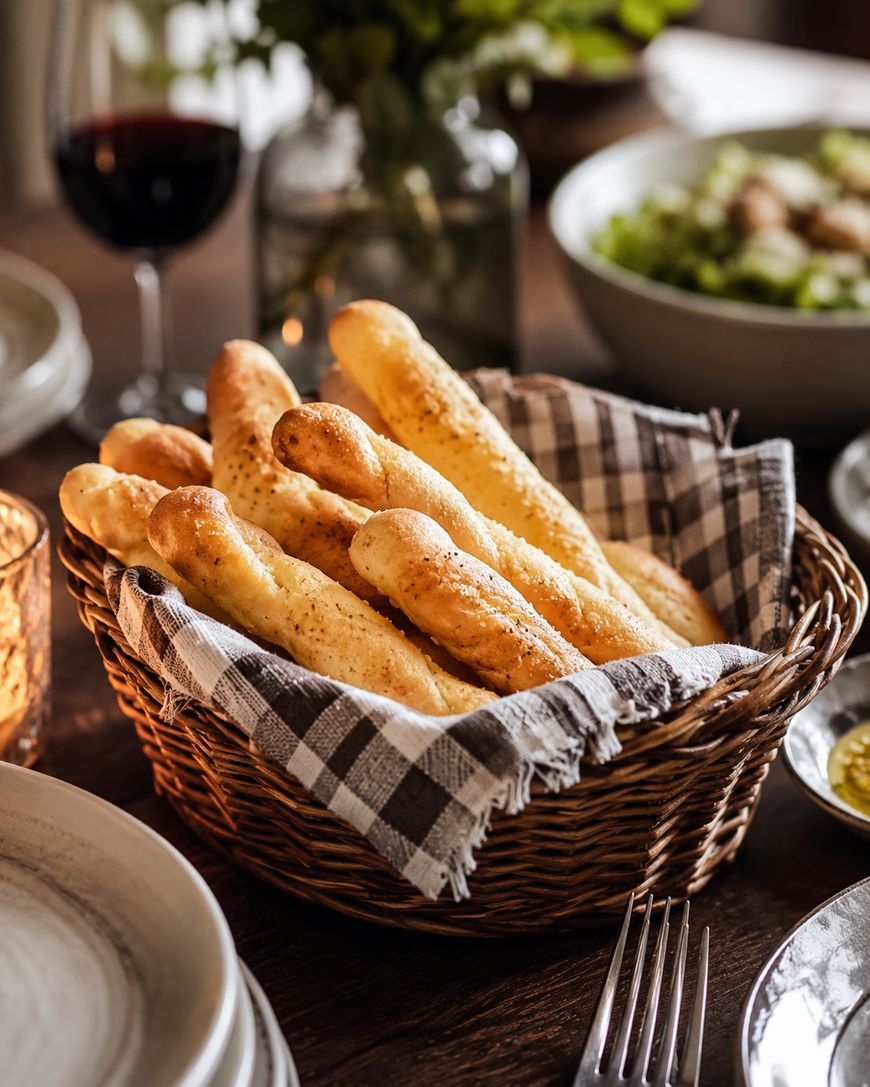
You know the feeling when the breadbasket lands on the table before anything else, and you know you should pace yourself and you know you will not. These copycat Olive Garden breadsticks recreate that exact moment in your own kitchen, with a soft golden crumb and a garlic butter finish that hits the second they come out of the oven. The recipe card below has every measurement and step laid out so you can follow along without any guesswork.
Why This Recipe Works
The magic of an Olive Garden breadstick comes down to two things: a soft, slightly sweet dough and a garlic salt butter wash applied while the bread is still hot. Most homemade breadstick recipes skip one or the other, which is why they never quite taste like the restaurant version.
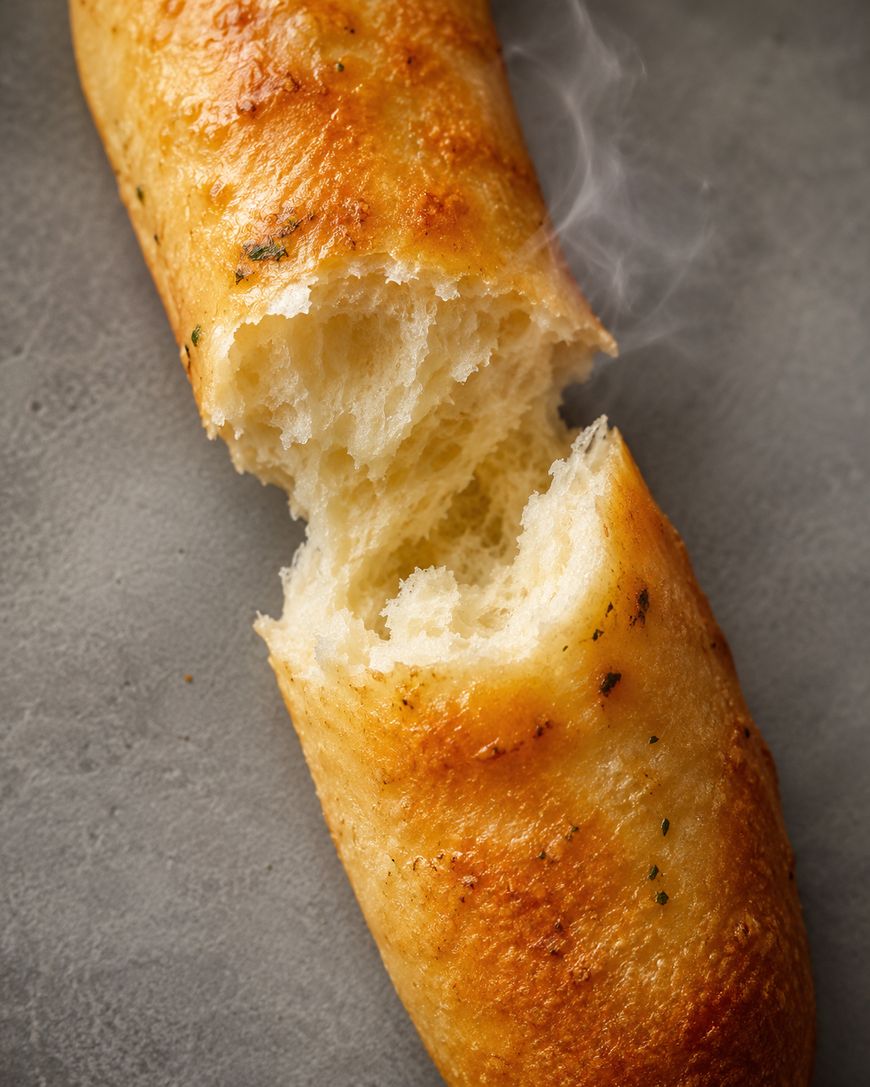
This dough uses a touch of sugar and just enough butter to keep the crumb tender without turning the bread cakey. Bread flour gives you the chew that all-purpose flour cannot quite deliver, though all-purpose will still work in a pinch.
Ingredients You Will Need
The dough itself only needs a handful of pantry staples. Bread flour is worth seeking out here, since the higher protein content gives the breadsticks that characteristic chew you get at the restaurant.
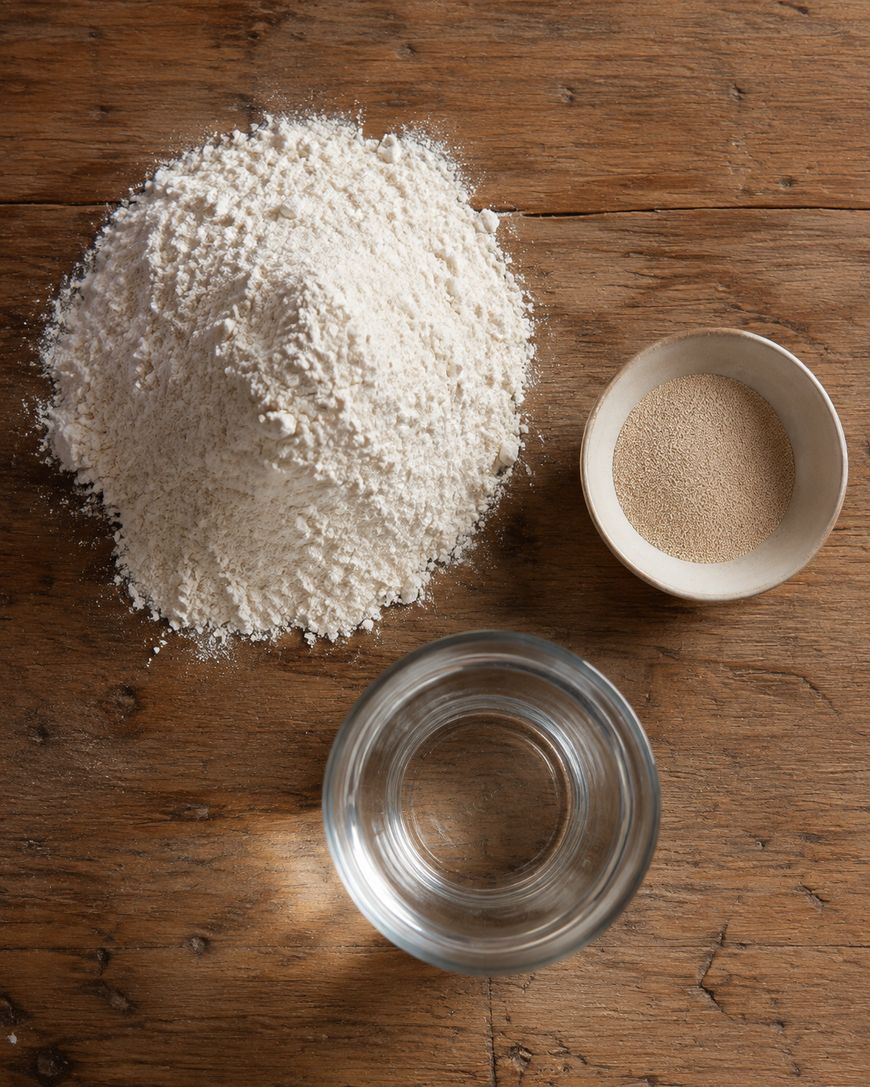
Active dry yeast is what makes these breadsticks rise into that pillowy shape. Warm water, somewhere around 110 degrees Fahrenheit, wakes the yeast up without killing it, so check the temperature with a thermometer if you have one on hand.
Sugar feeds the yeast and adds a whisper of sweetness that balances the garlic butter later. Salt controls the fermentation and rounds out the flavor of the crumb.
Melted butter goes into the dough itself for tenderness, and a second batch of butter, mixed with garlic salt, gets brushed on right after baking. The full quantities for all of this live in the recipe card, so refer there when you are ready to measure.
Making the Dough
Start by proofing the yeast in warm water with the sugar for about five minutes, until it looks foamy on top. If nothing happens in that window, the yeast is dead and you will want to start over with a fresh packet.
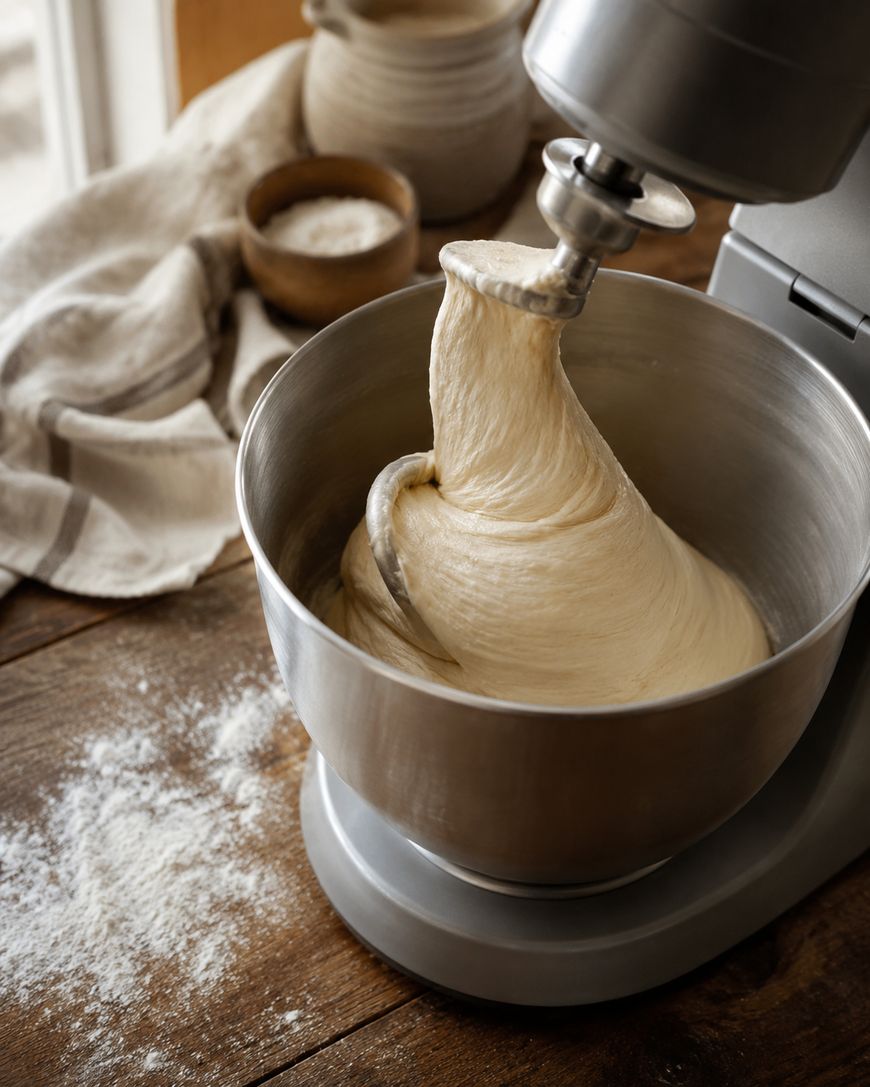
Once the yeast is active, combine it with the flour, salt, and melted butter in a stand mixer fitted with a dough hook, or in a large bowl if you are kneading by hand. Mix until a shaggy dough forms, then knead for about 8 minutes until the dough turns smooth and elastic.
The dough should feel tacky but not sticky to the touch. If it clings heavily to your fingers, work in an extra tablespoon of flour at a time until it releases cleanly.
First Rise
Shape the dough into a ball and place it in a lightly oiled bowl, turning once to coat the surface. Cover with plastic wrap or a damp towel and let it rise in a warm spot until doubled in size, which usually takes about an hour.
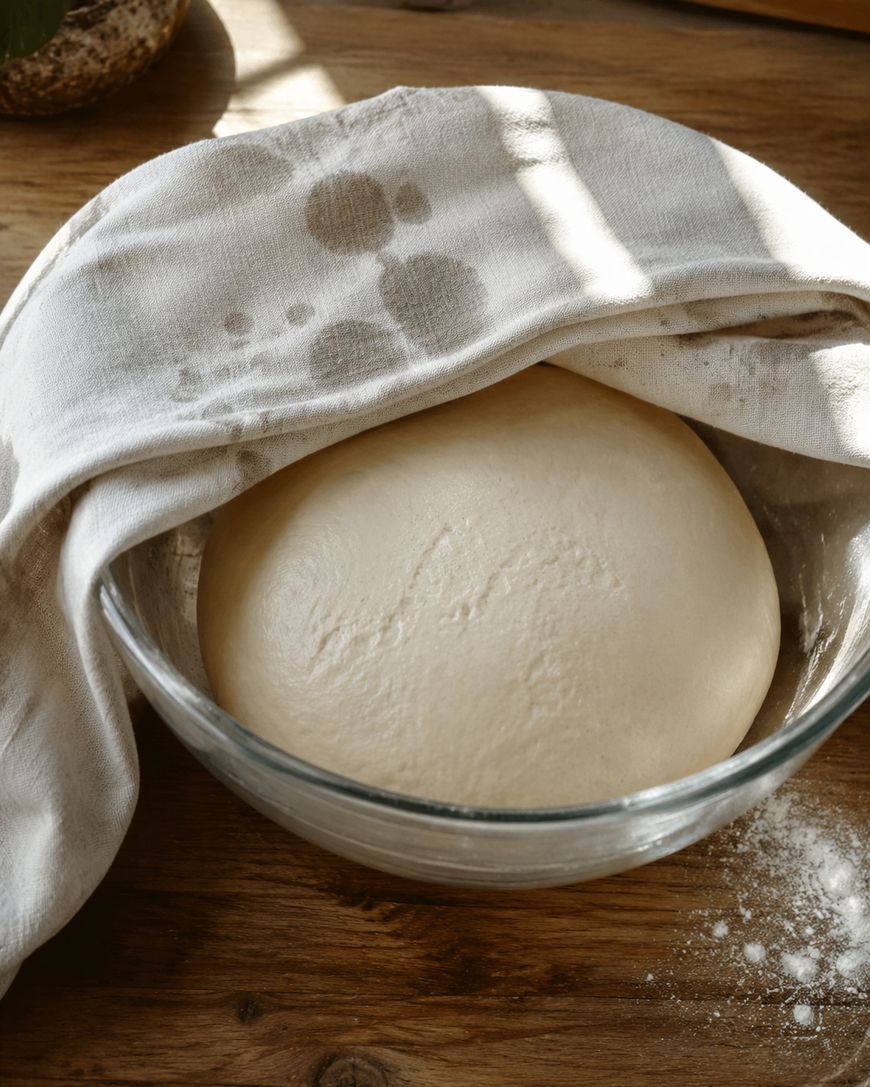
A turned-off oven with the light on makes a reliable proofing spot, especially in a cold kitchen. Resist the urge to rush this step, since a full rise is what gives the breadsticks their light, airy texture.
Shaping the Breadsticks
Once the dough has doubled, punch it down gently and turn it out onto a lightly floured surface. Divide it into 12 to 16 equal pieces, depending on how thick you want the final breadsticks.

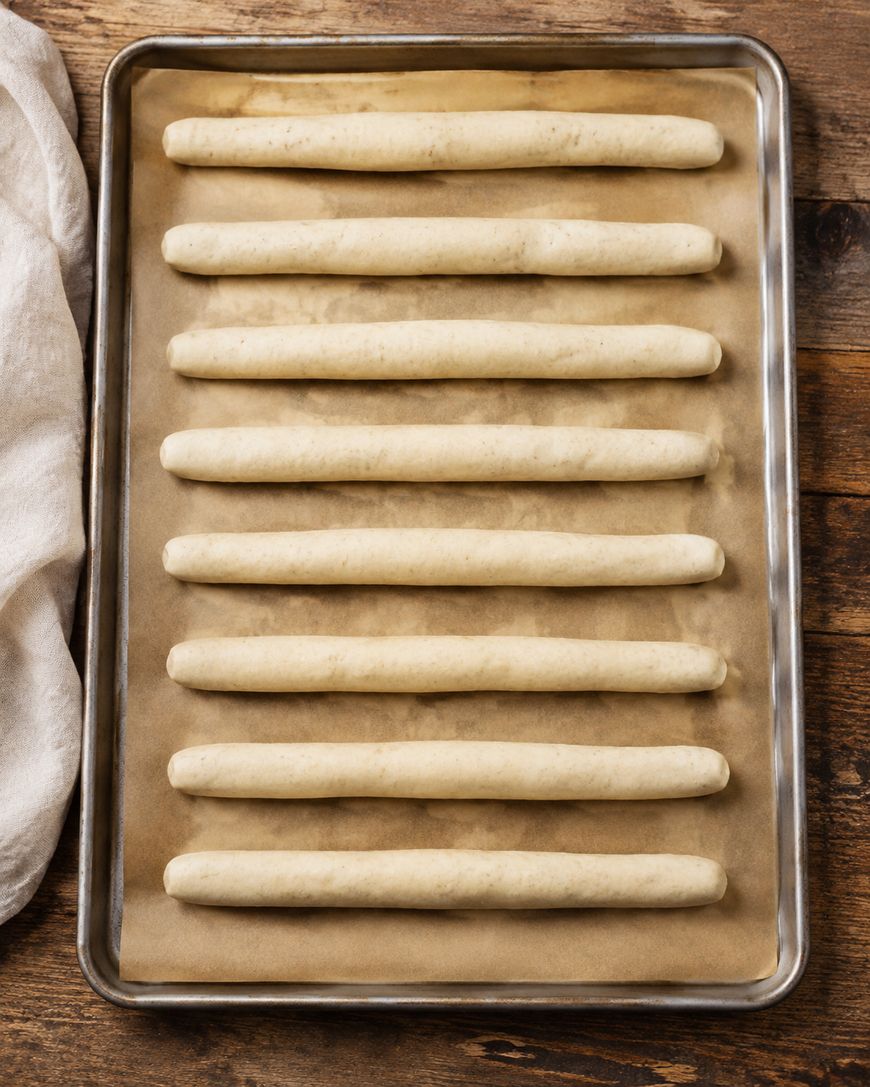
Roll each piece between your palms into a log about 7 inches long, tapering slightly at the ends the way the restaurant version does. Place the shaped logs on a parchment-lined baking sheet, spacing them about an inch and a half apart so they have room to expand.
Second Rise and Baking
Cover the shaped breadsticks loosely and let them rise again for 20 to 30 minutes, until they look noticeably puffier. This second rise is shorter than the first, but skipping it entirely will leave you with dense bread.
Bake in a preheated oven until the tops turn a light golden brown, watching closely toward the end since ovens vary. The exact time and temperature are in the recipe card, along with a visual cue for doneness so you are not guessing.

The Garlic Butter Finish
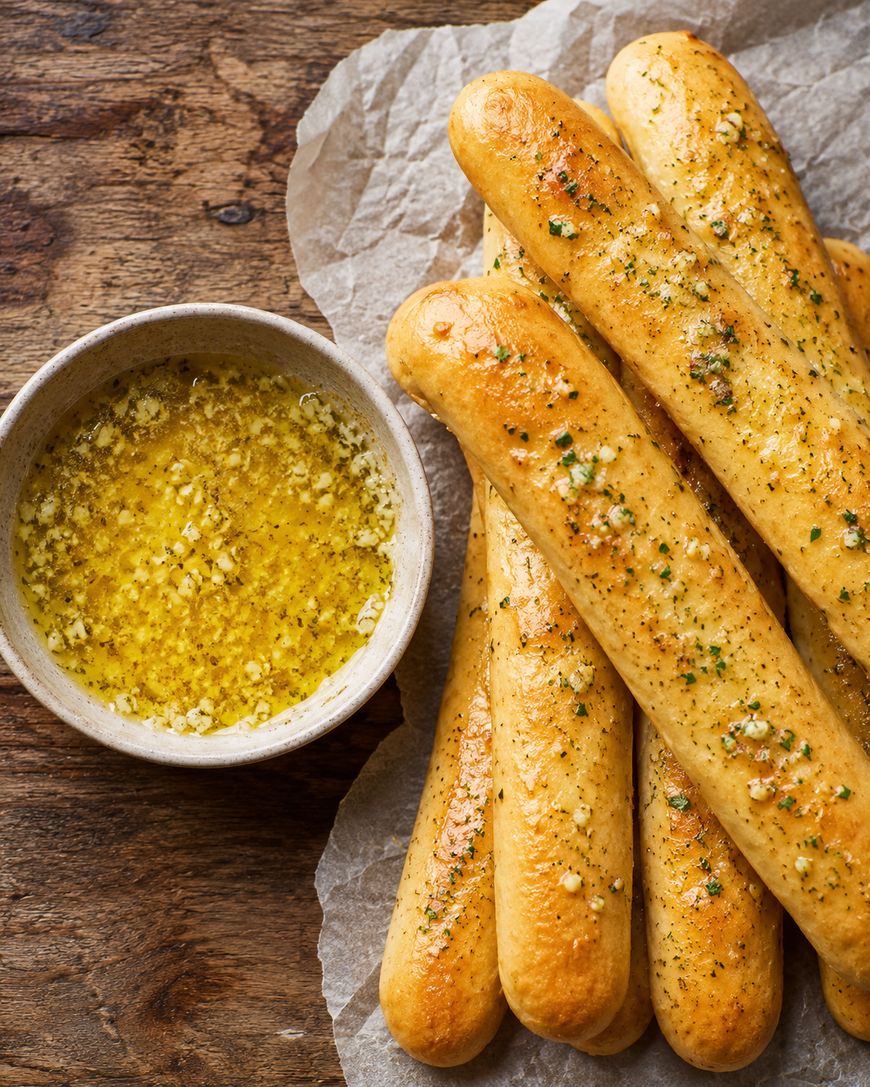
While the breadsticks bake, melt butter and stir in garlic salt to make the finishing wash. Brush this over the breadsticks the moment they come out of the oven, while the surface is still hot enough to absorb the butter fully.

A silicone pastry brush works best here since it holds enough butter to coat generously without tearing the delicate crust. Some people like a second light coat about five minutes later for extra shine and flavor, and that step is entirely optional.
Variations and Substitutions
Swap the garlic salt for garlic powder and a pinch of kosher salt if that is what you have stocked. A sprinkle of finely grated parmesan over the buttered breadsticks turns them into a cheesy version that pairs especially well with pasta.
For a herbed variation, add a half teaspoon of dried Italian seasoning to the garlic butter before brushing. If you want a slightly sweeter breadstick reminiscent of dinner rolls, increase the sugar in the dough by an extra tablespoon.
Whole wheat flour can replace up to half the bread flour for a heartier texture, though the breadsticks will be denser and less fluffy. All-purpose flour works as a substitute for bread flour across the board if that is what is in your pantry.
Storage and Reheating
Store cooled breadsticks in an airtight container or resealable bag at room temperature for up to two days. For longer storage, freeze them in a single layer before transferring to a freezer bag, where they will keep well for up to two months.

Reheat refrigerated or frozen breadsticks wrapped loosely in foil in a 300 degree Fahrenheit oven for about 10 minutes, or until warmed through. A quick 15-second stint in the microwave also works if you are short on time, though the crust will soften.
Serving Suggestions
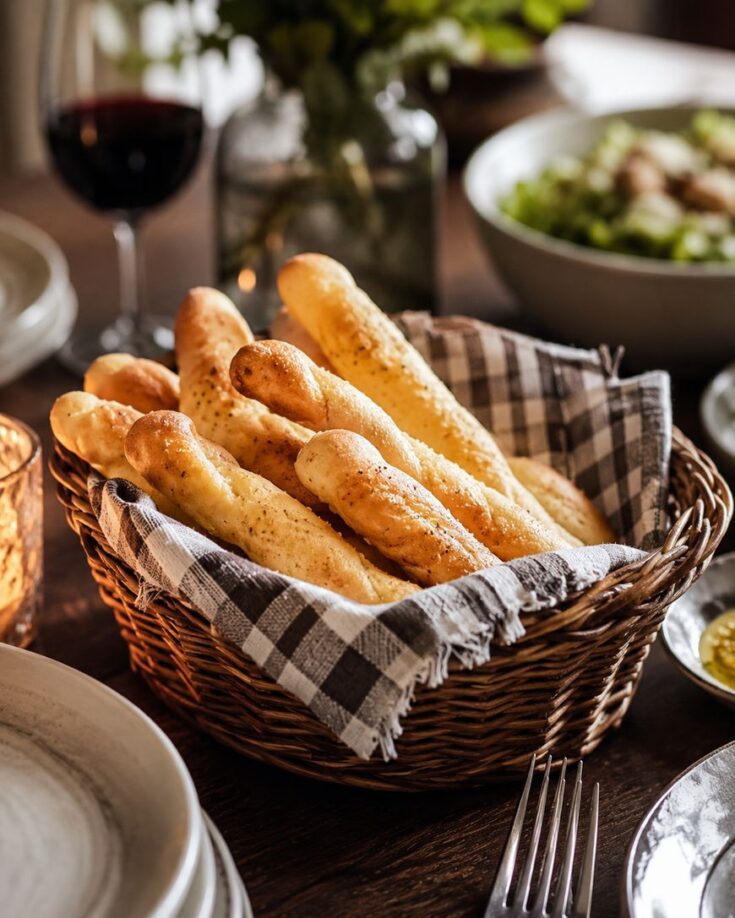
These breadsticks are built for dunking, so serve them alongside a bowl of marinara or alfredo sauce for that full restaurant-style experience. They also make an excellent side for a big bowl of pasta, minestrone soup, or a simple green salad with Italian dressing.

For a party spread, cut baked breadsticks into thirds and serve with a trio of dipping sauces so guests can mix and match. Leftover breadsticks also make a surprisingly good base for garlic bread croutons if you cube and toast them.
Where This Recipe Comes From
Olive Garden built its reputation in part on the unlimited breadbasket that arrives before the meal even starts, and the breadsticks became a defining part of that experience for millions of diners. Home cooks have been reverse engineering the recipe for decades, chasing that same soft interior and buttery, garlicky top.
This version leans on classic Italian-American bread-baking technique, the same approach behind many dinner roll and focaccia recipes, adapted to match the shape and flavor profile people associate with the restaurant chain. It is not an official recipe, but it gets remarkably close.
Ready to see the exact measurements and step-by-step instructions. The recipe card below has everything laid out so you can follow along in the kitchen.
Copycat Olive Garden Breadsticks
Soft, buttery, garlic-brushed breadsticks that taste just like the ones from the Olive Garden breadbasket, made at home with simple pantry staples.
Ingredients
- 1 cup warm water (about 110 degrees F)
- 2 1/4 teaspoons active dry yeast (1 packet)
- 2 tablespoons granulated sugar
- 3 cups bread flour
- 1 1/2 teaspoons salt
- 2 tablespoons unsalted butter, melted
- 4 tablespoons unsalted butter, melted (for topping)
- 1 teaspoon garlic salt
Instructions
- In a large bowl or stand mixer bowl, stir together the warm water, yeast, and sugar. Let sit for 5 minutes until foamy.
- Add the bread flour, salt, and 2 tablespoons melted butter to the yeast mixture.
- Mix and knead with a dough hook, or by hand, for about 8 minutes until the dough is smooth and elastic.
- Shape the dough into a ball, place in a lightly oiled bowl, cover, and let rise in a warm spot for about 1 hour, until doubled.
- Punch down the dough and turn it out onto a floured surface.
- Divide the dough into 14 equal pieces and roll each into a 7-inch log, tapering the ends slightly.
- Place the logs on a parchment-lined baking sheet, spaced about 1 1/2 inches apart.
- Cover loosely and let rise again for 20 to 30 minutes, until puffy.
- Preheat the oven to 375 degrees F.
- Bake for 10 to 12 minutes, until the tops are light golden brown.
- While the breadsticks bake, stir the garlic salt into the remaining 4 tablespoons melted butter.
- Brush the garlic butter generously over the breadsticks as soon as they come out of the oven.
- Serve warm.
Notes
For a cheesy version, sprinkle finely grated parmesan over the buttered breadsticks immediately after brushing. Store leftovers in an airtight container at room temperature for up to 2 days, or freeze for up to 2 months.
Nutrition Information:
Yield:
14Serving Size:
1 breadstickAmount Per Serving: Calories: 150Total Fat: 5gSaturated Fat: 3gSodium: 280mgCarbohydrates: 23gFiber: 1gSugar: 2gProtein: 3g
Common Questions
Can I make the dough ahead of time?
Yes, you can prepare the dough through the first rise, then refrigerate it overnight in a covered bowl. Let it come to room temperature for about 30 minutes before shaping and continuing with the second rise.
Why are my breadsticks dense instead of fluffy?
Dense breadsticks usually mean the yeast was not fully active or the dough did not rise long enough. Check your yeast’s expiration date and give the dough the full rise time in a warm environment before moving on.
Can I use instant yeast instead of active dry yeast?
Instant yeast works well and can be mixed directly into the dry ingredients without proofing in water first. If you do proof it anyway, expect the foam to appear slightly faster than with active dry yeast.
What can I use instead of a stand mixer?
A large bowl and clean hands work just as well, it just takes a bit more elbow grease and about 10 minutes of kneading. Look for the same smooth, elastic texture as the sign the dough is ready.
How do I keep the breadsticks soft after baking?
Brushing generously with the garlic butter while they are still hot is the biggest factor in keeping them soft. Storing them in an airtight container once cooled also helps trap moisture in the crumb.
Can I freeze the dough instead of the baked breadsticks?
Yes, shape the breadsticks and freeze them on a tray before they rise a second time, then transfer to a freezer bag. When ready to bake, thaw and let them complete their second rise before going into the oven.
Final Thoughts
Once you have made these copycat Olive Garden breadsticks at home, you may find yourself reaching for this recipe more often than the actual restaurant. They come together with simple pantry ingredients, and the garlic butter finish makes them impossible to stop eating warm from the pan.