Last updated: September 26, 2026
You need one reliable roll on the Thanksgiving table, and these Thanksgiving rolls are the ones you’ll keep coming back to every November. This recipe card below walks you through every step, so you can queue it up on your phone while your hands are busy with flour.
Why This Recipe Belongs On Your Table
Thanksgiving rolls earn their spot next to the turkey and the mashed potatoes because they do something none of the other sides can: they mop up gravy, stretch a plate of leftovers, and give kids something to grab before dinner is officially served.
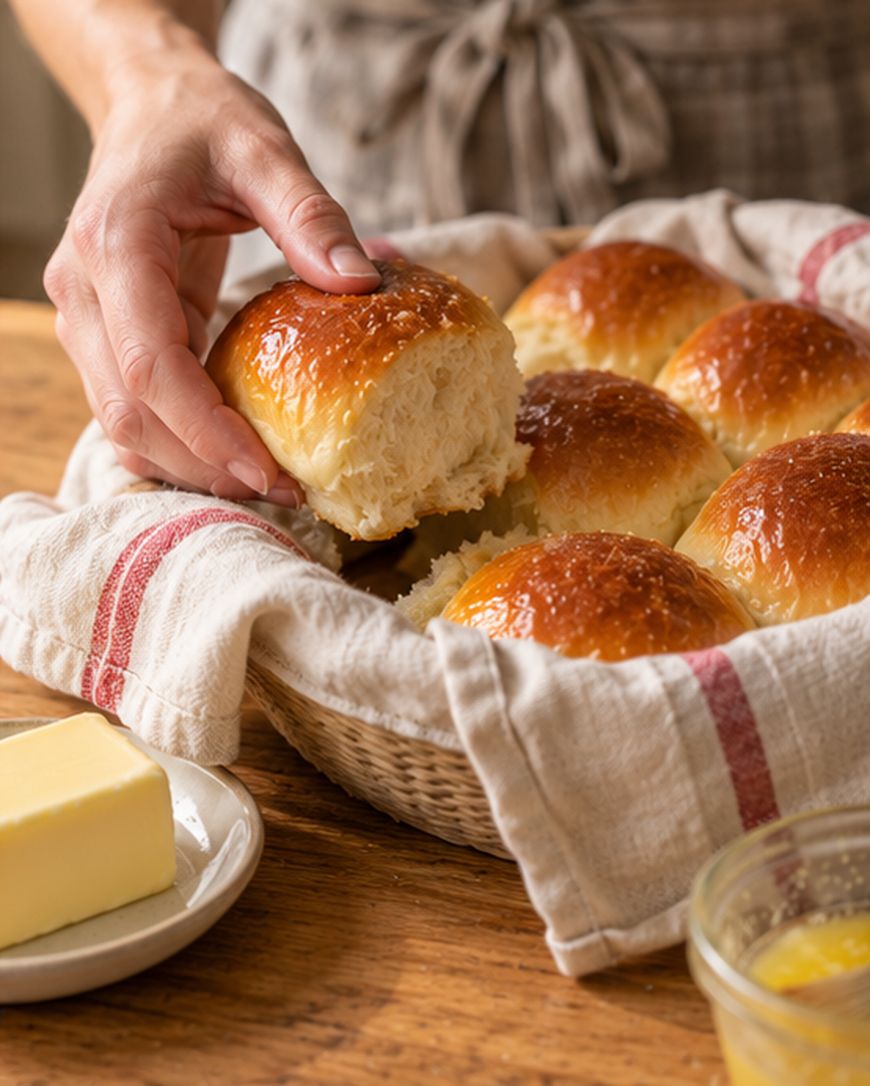
This version leans soft and slightly sweet, closer to a classic dinner roll than a crusty artisan loaf, because that is what most Thanksgiving tables expect and what disappears fastest from the basket.
What You’ll Need
The dough comes together from pantry staples: all-purpose flour, whole milk, unsalted butter, granulated sugar, active dry yeast, eggs, and salt.
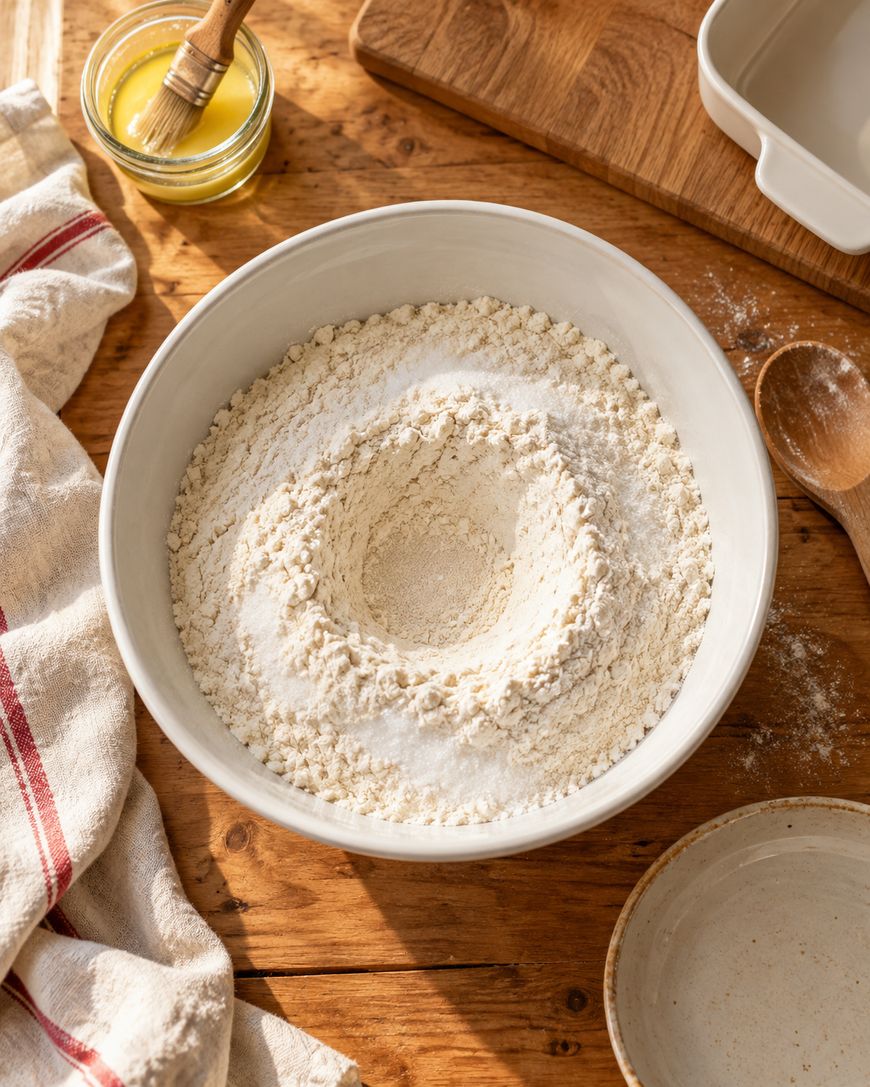
Warm the milk to about 110°F before adding the yeast, since milk that’s too hot will kill the yeast and milk that’s too cool will slow it down to a crawl.
Room-temperature butter and eggs blend into the dough far more evenly than cold ones, so pull them out about an hour before you start mixing.
Mixing and Kneading
Dissolve the yeast in the warm milk with a spoonful of the sugar and let it sit for about five minutes, until it looks foamy on top.
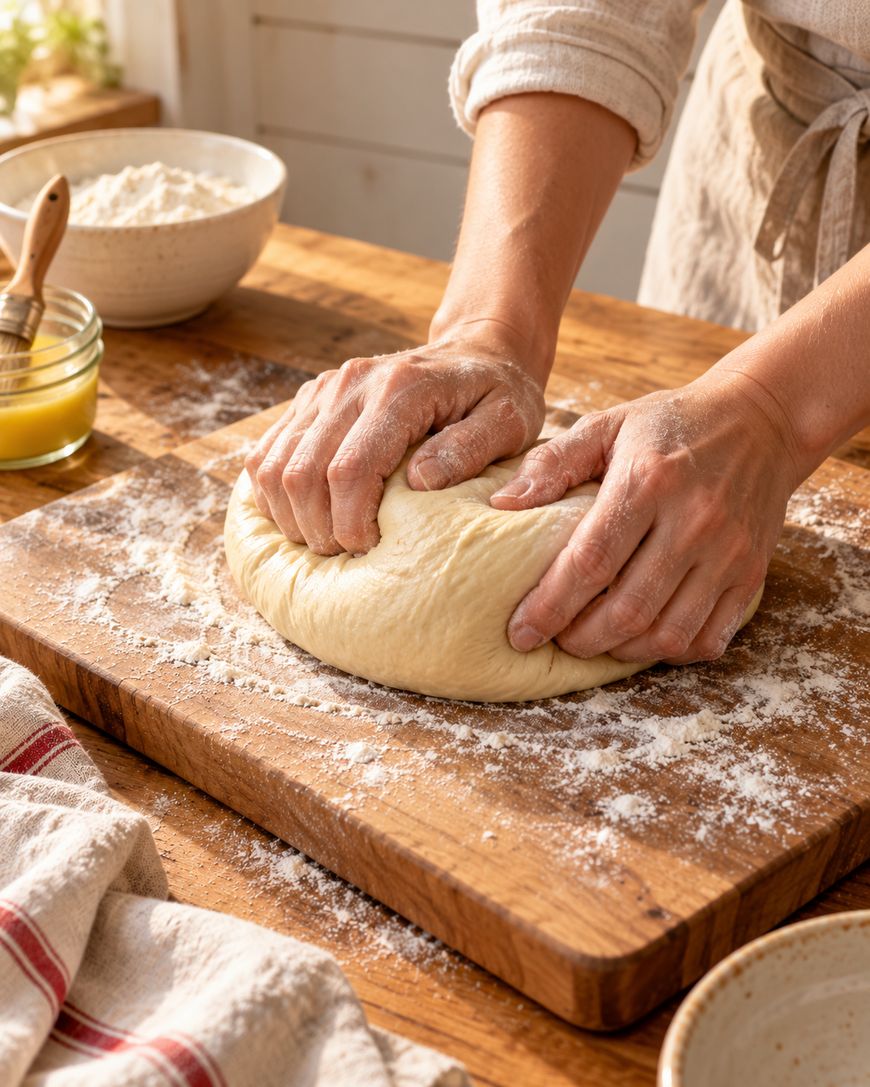
That foam is your proof that the yeast is alive, and if it doesn’t show up, your yeast is likely expired and the dough won’t rise properly.
Combine the yeast mixture with the melted butter, remaining sugar, eggs, and salt, then gradually work in the flour until a shaggy dough forms.
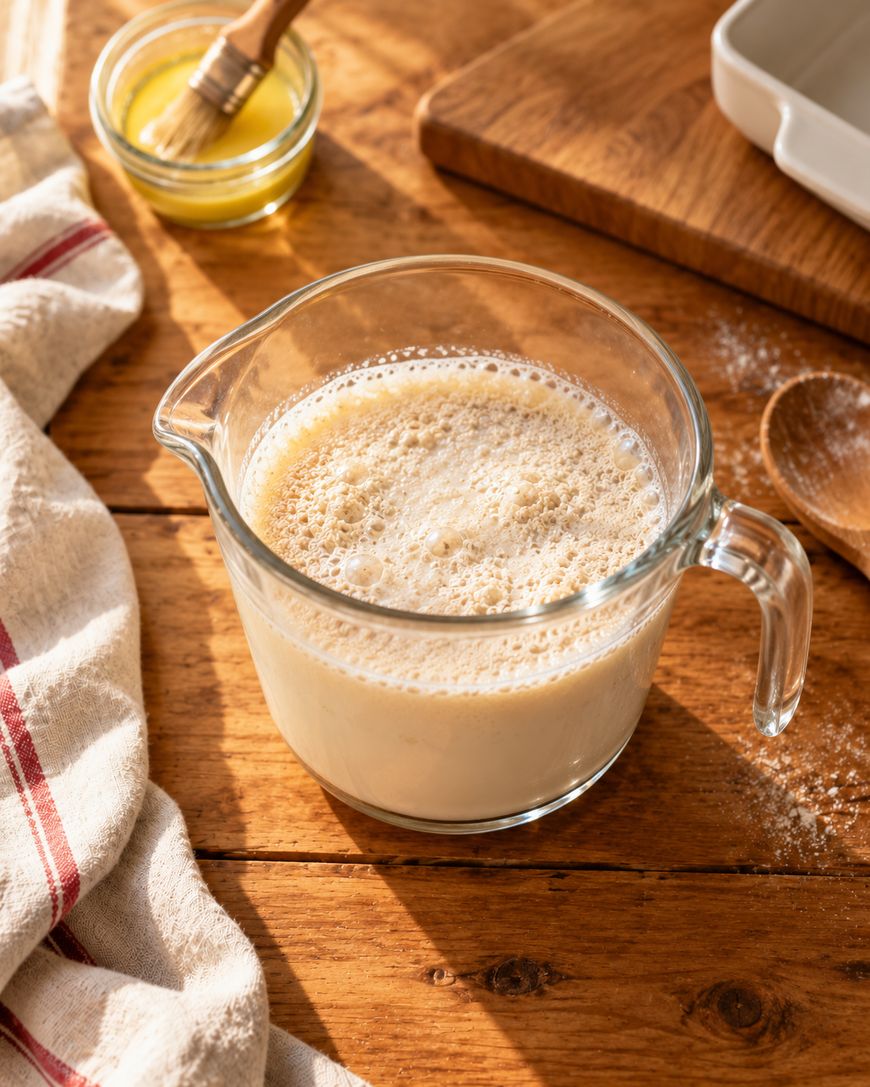
Knead the dough by hand for about eight minutes, or with a stand mixer’s dough hook for about six, until it turns smooth, elastic, and slightly tacky but no longer sticky to the touch.
The First Rise
Place the dough in a lightly greased bowl, cover it with plastic wrap or a damp towel, and set it somewhere warm and draft-free.
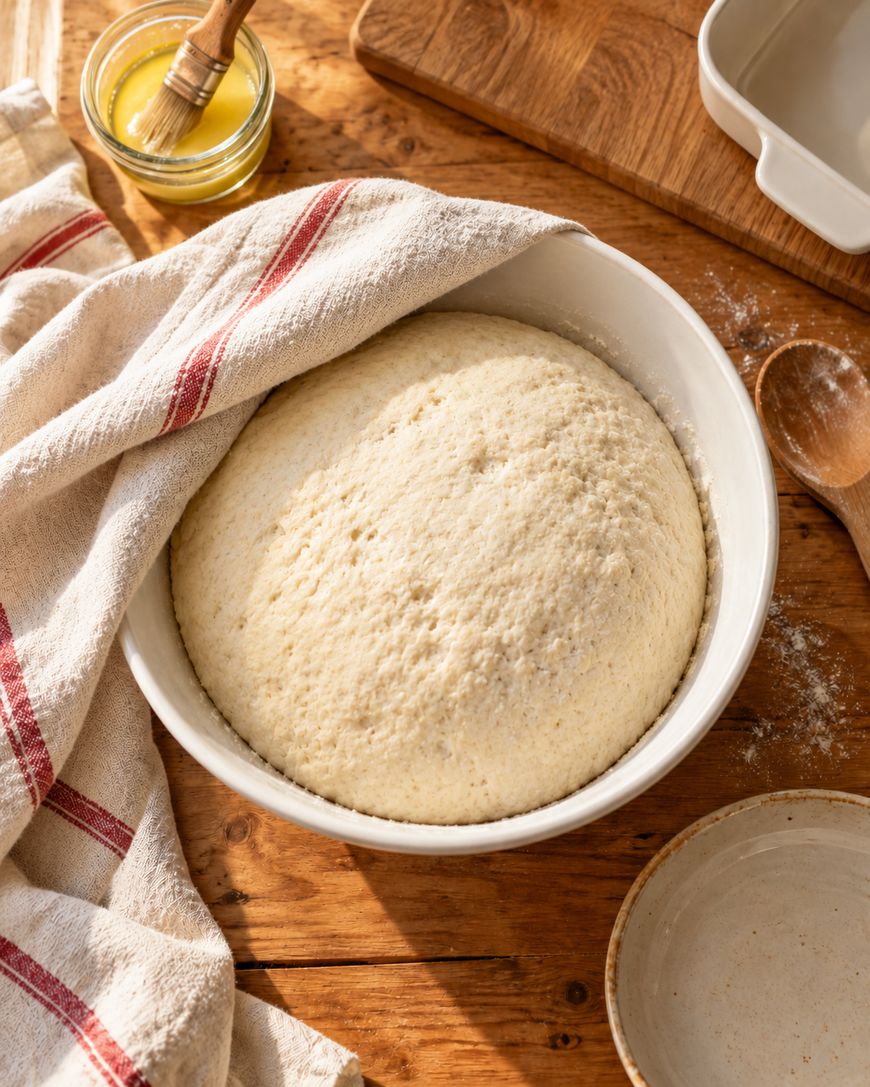
An hour to ninety minutes is typical for the dough to double in size, though a cooler kitchen can stretch that closer to two hours.
Press two fingers into the dough gently; if the indentation stays, the first rise is done and you’re ready to shape.
Shaping the Rolls
Punch the dough down to release the air, then divide it into equal pieces, usually around fifteen for a standard 9×13 pan.
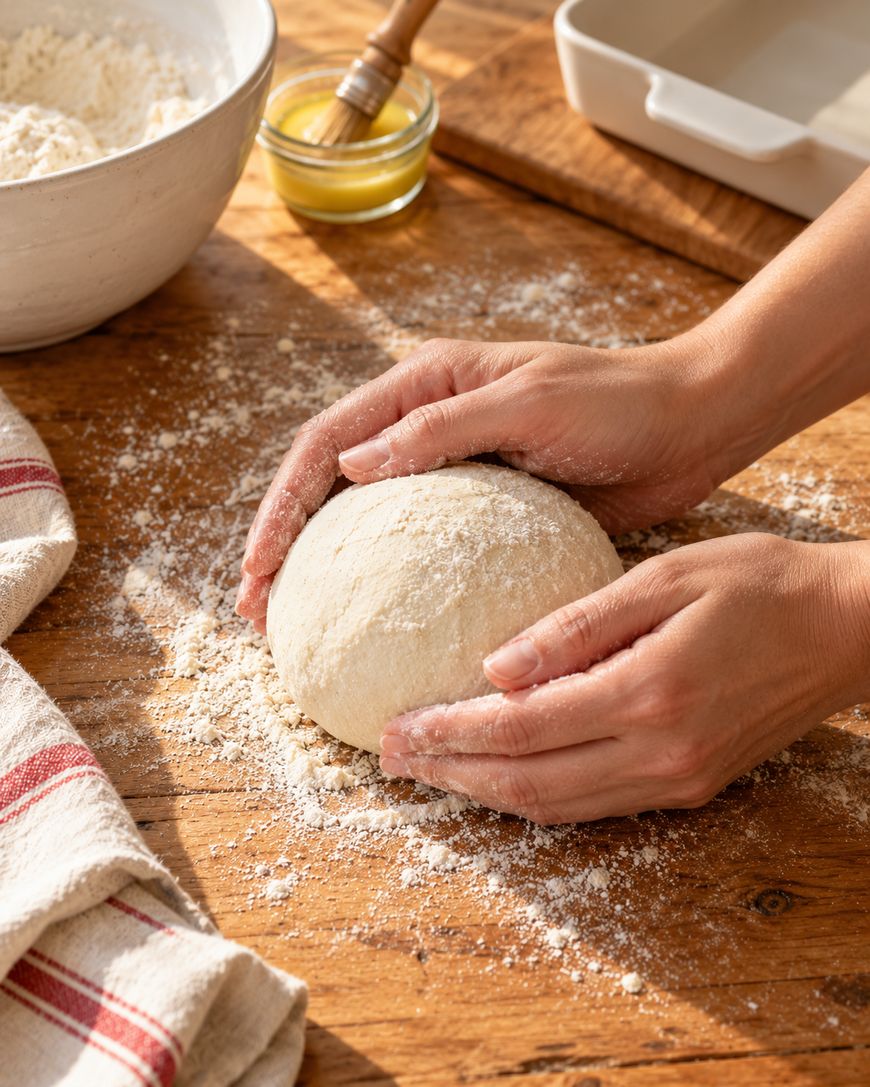
Roll each piece into a smooth ball by cupping your hand over the dough and moving it in small circles against the counter, tucking the seams underneath.
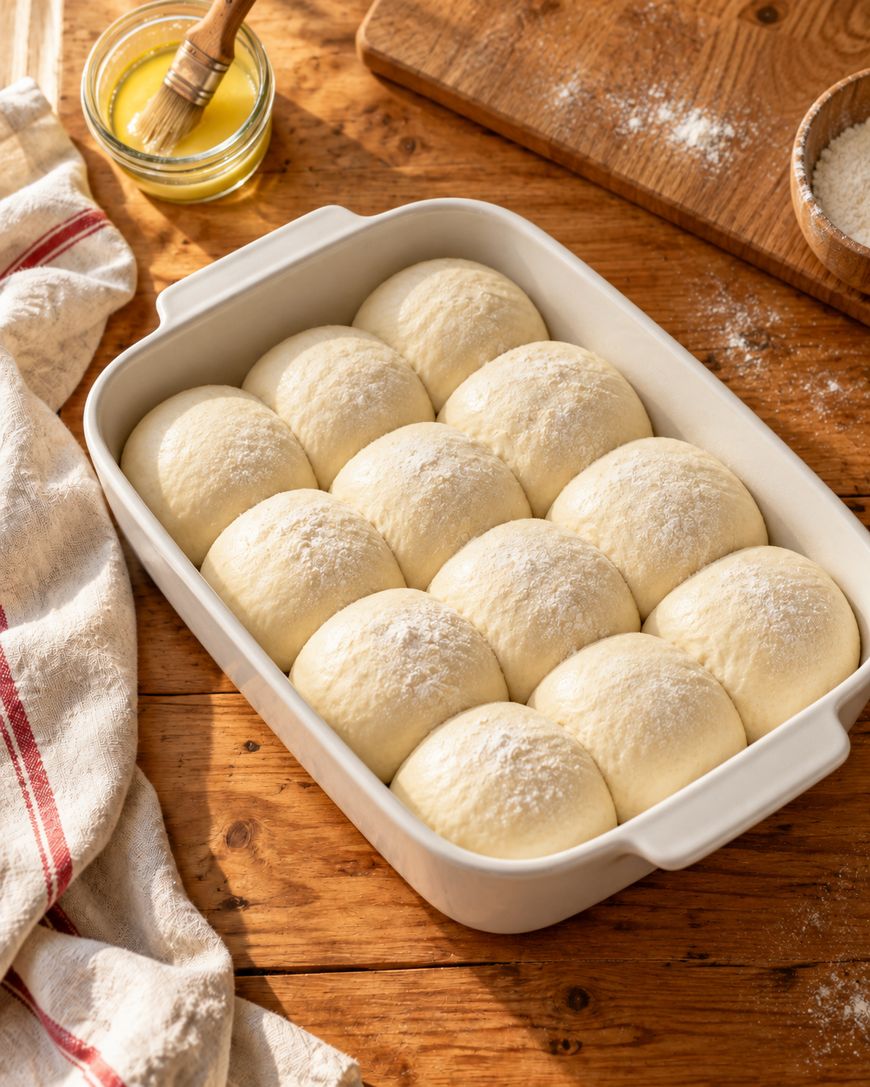
Arrange the shaped rolls close together in a buttered baking dish so they rise and bake into each other, giving you that classic pull-apart texture.
The Second Rise and Baking
Cover the shaped rolls loosely and let them rise again for about 30 to 45 minutes, until they look puffy and are touching their neighbors.

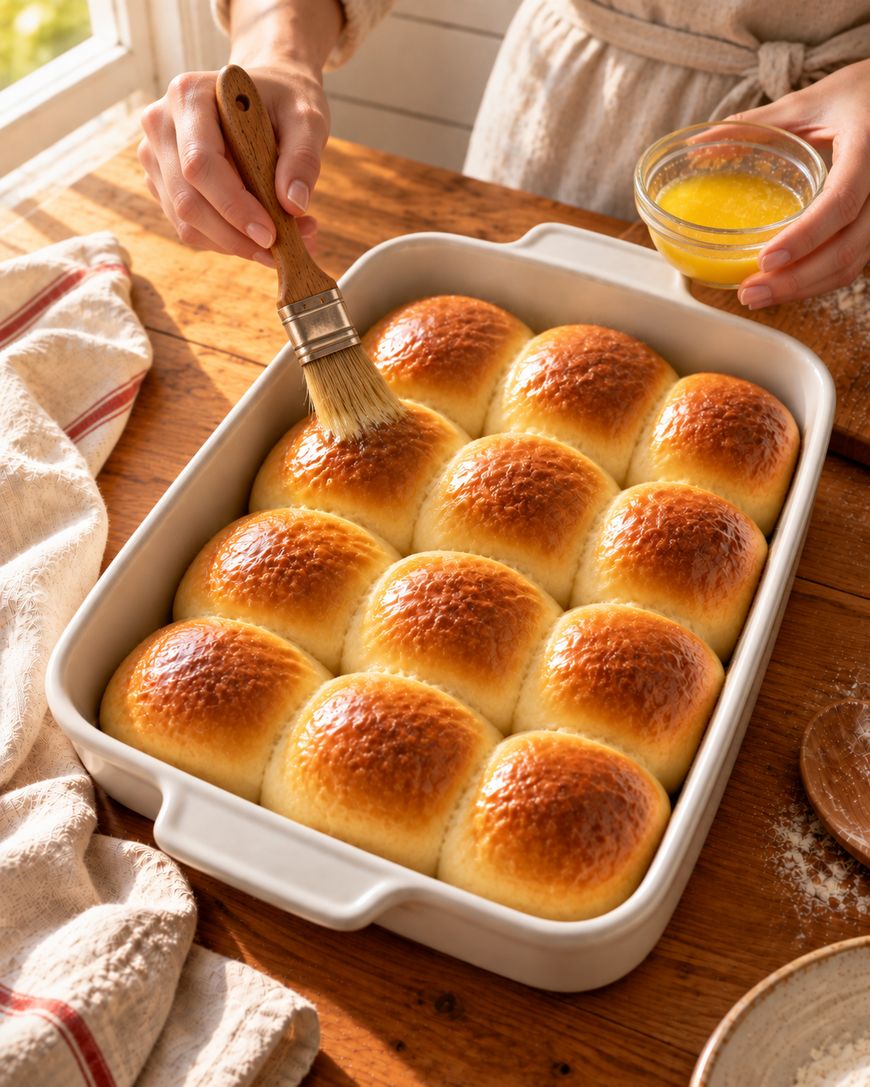
Bake in a preheated 375°F oven for 18 to 22 minutes, until the tops turn a deep golden brown and the rolls sound hollow when tapped.
Brush the hot rolls immediately with melted butter for a shiny, flavorful crust that keeps the tops soft as they cool.
Make-Ahead and Freezing
Shape the rolls the day before, cover the pan tightly, and refrigerate overnight for a slow second rise, then let them sit at room temperature for about 30 minutes before baking as directed.

Baked and cooled rolls freeze well for up to two months when wrapped tightly in foil and placed in a freezer bag, and they reheat beautifully wrapped in foil in a 300°F oven for about 15 minutes.
This make-ahead flexibility is exactly why Thanksgiving rolls are one of the easiest things to knock off your day-of list.
Variations and Substitutions
Swap half the all-purpose flour for whole wheat flour for a heartier roll, keeping in mind the texture will be slightly denser.
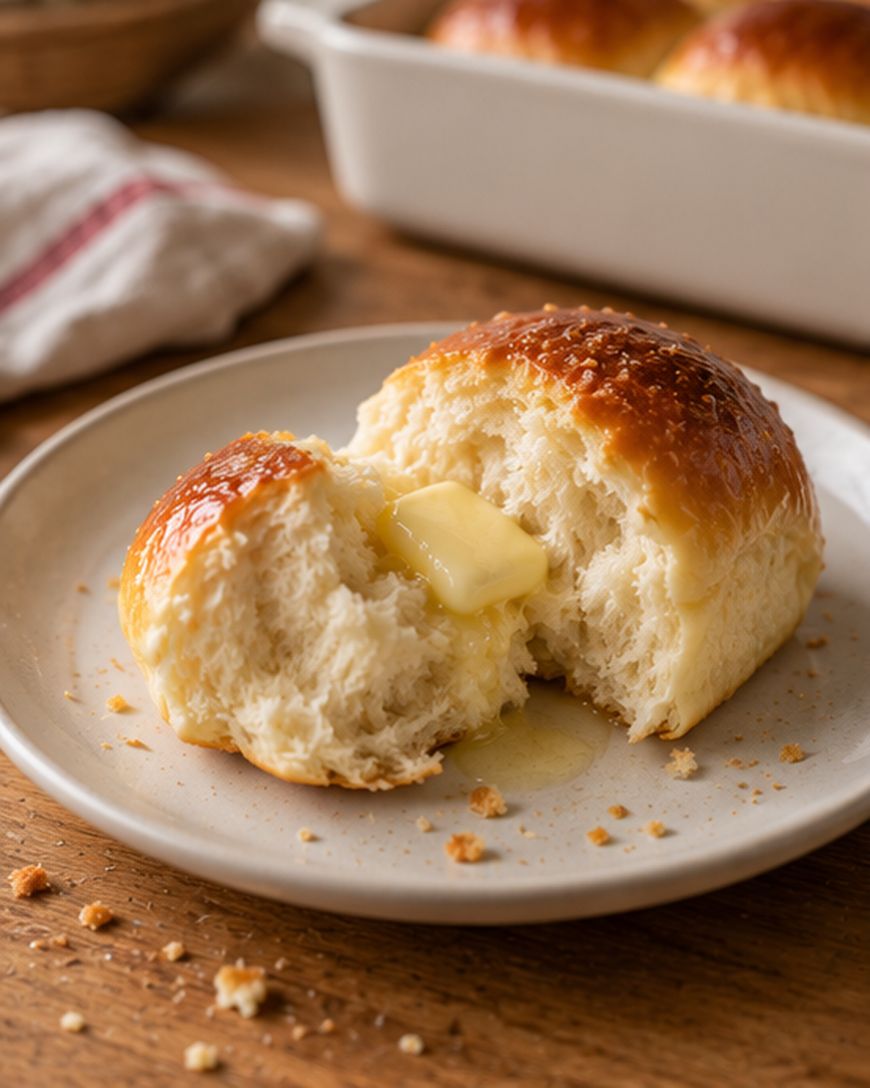
Brush the tops with a mix of melted butter and honey right out of the oven for a subtly sweet finish that pairs especially well with turkey and cranberry sauce.
For herb rolls, fold in a tablespoon of chopped fresh rosemary or thyme when you add the flour, echoing the herbs already on your Thanksgiving table.
Storage and Serving Suggestions
Store leftover rolls in an airtight container at room temperature for up to three days, or in the refrigerator for up to a week.
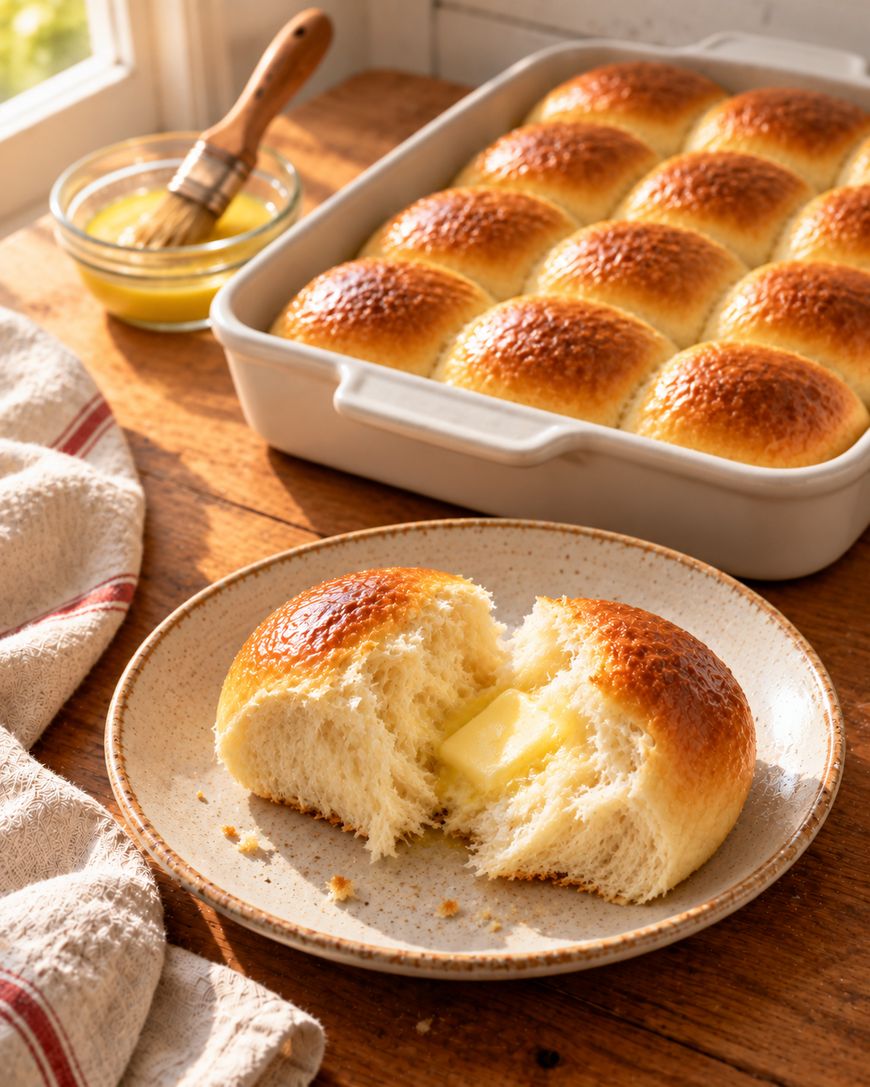
Warm rolls briefly in a 300°F oven or in the microwave for about 10 seconds before serving to bring back their fresh-baked softness.
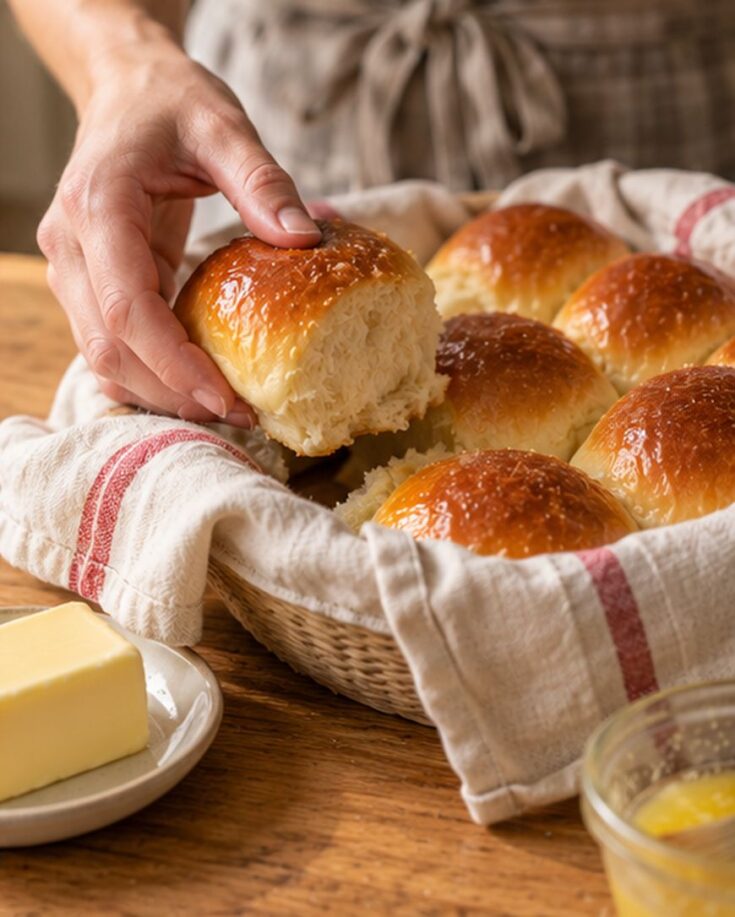
Serve them warm in a cloth-lined basket alongside softened butter, and expect the basket to need a refill before the pies come out.
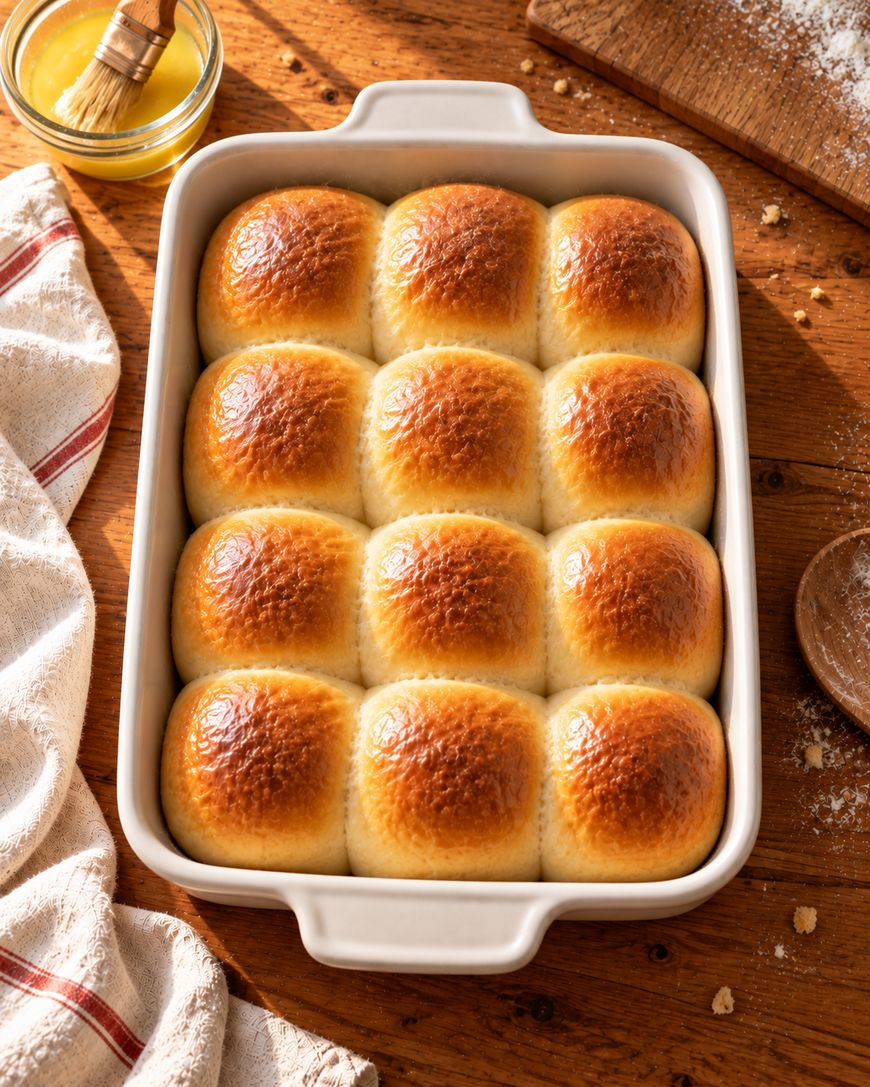
Thanksgiving Rolls
Soft, buttery, pull-apart Thanksgiving rolls with a golden top, perfect for mopping up gravy and stretching leftovers.
Ingredients
- 1 cup whole milk, warmed to 110°F
- 2 1/4 teaspoons active dry yeast (1 standard packet)
- 1/3 cup granulated sugar, divided
- 1/3 cup unsalted butter, melted, plus extra for brushing
- 2 large eggs, room temperature
- 1 teaspoon salt
- 3 1/2 cups all-purpose flour
Instructions
- Combine the warm milk, yeast, and 1 tablespoon of the sugar in a large bowl. Let sit for 5 minutes, until foamy.
- Whisk in the melted butter, remaining sugar, eggs, and salt.
- Gradually add the flour, mixing until a shaggy dough forms.
- Knead by hand for 8 minutes or with a stand mixer's dough hook for 6 minutes, until smooth and elastic.
- Place the dough in a greased bowl, cover, and let rise in a warm spot for 60 to 90 minutes, until doubled.
- Punch down the dough and divide into 15 equal pieces. Roll each into a smooth ball.
- Arrange the rolls in a buttered 9x13-inch baking dish so they touch.
- Cover loosely and let rise again for 30 to 45 minutes, until puffy.
- Bake at 375°F for 18 to 22 minutes, until deep golden brown.
- Brush immediately with melted butter and serve warm.
Notes
Make ahead by shaping the rolls, refrigerating the covered pan overnight, and letting them sit at room temperature for 30 minutes before baking. Baked rolls freeze well for up to 2 months wrapped tightly in foil.
Nutrition Information:
Yield:
15Serving Size:
1 rollAmount Per Serving: Calories: 190Total Fat: 6gSaturated Fat: 3gSodium: 160mgCarbohydrates: 29gFiber: 1gSugar: 5gProtein: 5g
Your Questions About Thanksgiving Rolls, Answered
Can I make the dough in a stand mixer?
Yes, a stand mixer with a dough hook works well for both mixing and kneading, and it cuts the hands-on time significantly compared to kneading by hand.
Why didn’t my rolls rise?
The most common culprit is yeast that didn’t activate, usually from milk that was too hot or yeast that had expired, so always check for that foamy layer before moving on.
Can I use instant yeast instead of active dry?
Yes, you can substitute instant yeast in the same amount and skip the initial proofing step, mixing it directly into the flour instead.
How do I know the rolls are fully baked?
Look for a deep golden top and an internal temperature of about 190°F on an instant-read thermometer, or tap the top and listen for a hollow sound.
Can I make these rolls dairy-free?
Swap the whole milk for a plant-based milk and the butter for a plant-based butter substitute in equal amounts, and the rolls will still turn out soft.
What size pan should I use?
A 9×13-inch baking dish fits about fifteen rolls snugly, which is what gives them that classic pull-apart shape as they rise together.
Why This Recipe Works
The combination of warm milk, sugar, and yeast creates a fast, reliable foam that tells you the leavening power is active before you commit the rest of your ingredients.
Kneading develops the gluten structure that traps gas from the yeast, which is what gives these rolls their light, pillowy crumb instead of a dense, bread-like texture.
Baking the rolls close together in the pan means they support each other as they rise, locking in moisture along the sides so the interior stays soft even after they cool.
The immediate butter brushing after baking isn’t just for flavor: it seals in steam right as the rolls come out of the oven, which is what keeps that golden top from turning hard and crusty later.
Bringing It All Together
These Thanksgiving rolls are simple enough for a first-time bread baker and reliable enough to earn a permanent spot on your holiday table.
Once you’ve made them one November, don’t be surprised if your family starts asking for a batch of these Thanksgiving rolls well before the turkey ever gets carved.
The Best Sides for Christmas Dinner Your Table Needs This Year