Last updated: September 6, 2026
Want a beautiful handmade wreath without spending a fortune at the craft store? This DIY pinecone wreath how to guide walks you through the whole process, from gathering pinecones to hanging your finished creation on the front door. You will have a cozy, natural wreath ready in an afternoon.
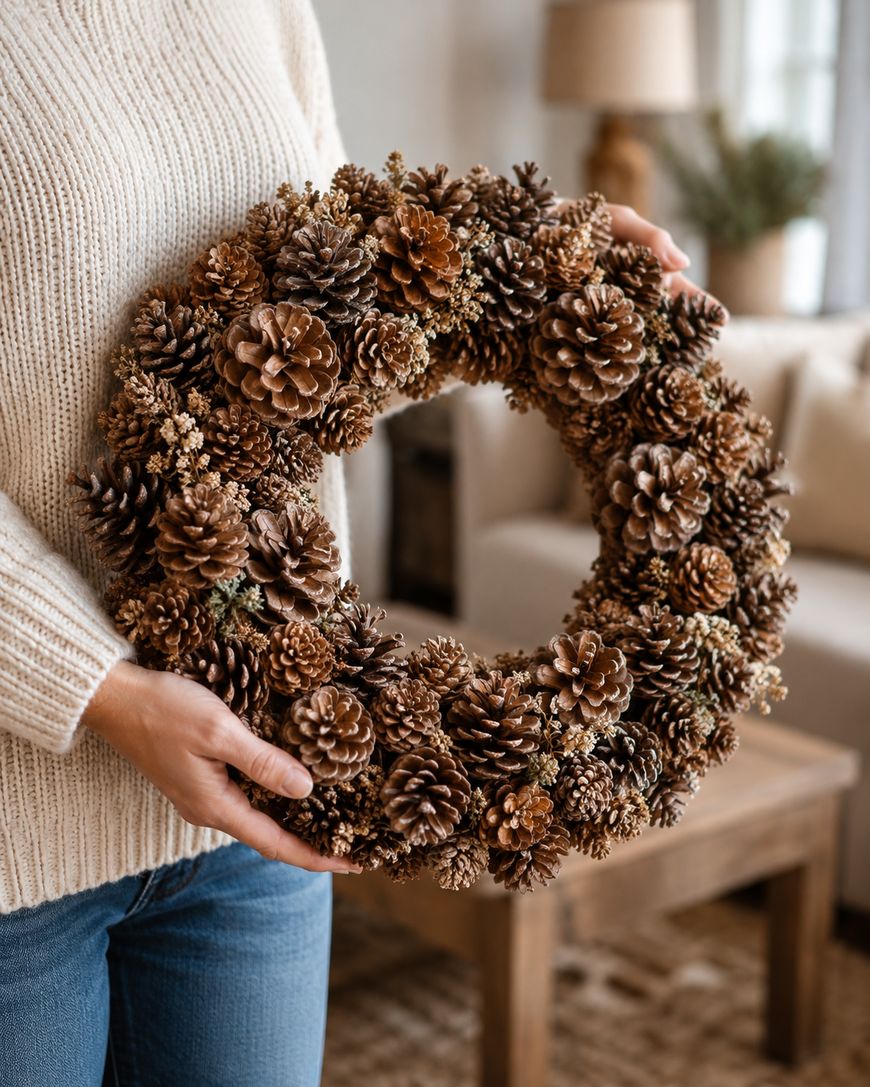
What You Need To Get Started
You do not need many supplies to make a pinecone wreath, which is part of what makes this project so approachable. A wire wreath form is the base you will build everything onto, and you can find one at most craft stores or online.
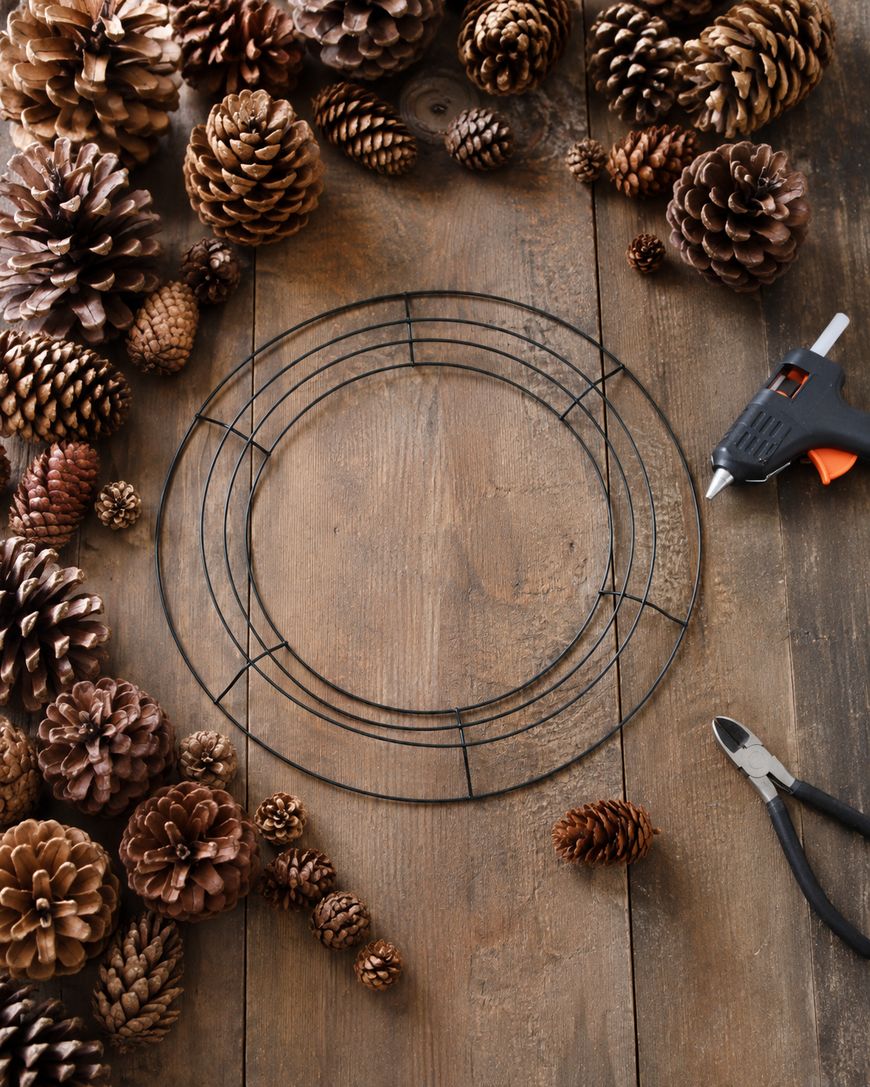
You will also want a hot glue gun with plenty of glue sticks on hand, since pinecones can take more glue than you expect. Floral wire or thin craft wire helps secure larger pinecones directly to the frame for extra hold.
Gather a generous pile of pinecones in a few different sizes. Mixing large, medium, and small pinecones gives your wreath natural depth and texture instead of a flat, uniform look. A pair of wire cutters and scissors rounds out your basic tool kit.
Step 1: Gather And Prep Your Pinecones
Start by collecting pinecones from your yard, a nearby park, or a wooded trail. Look for cones that are dry, fully open, and free of visible mold or sap damage.
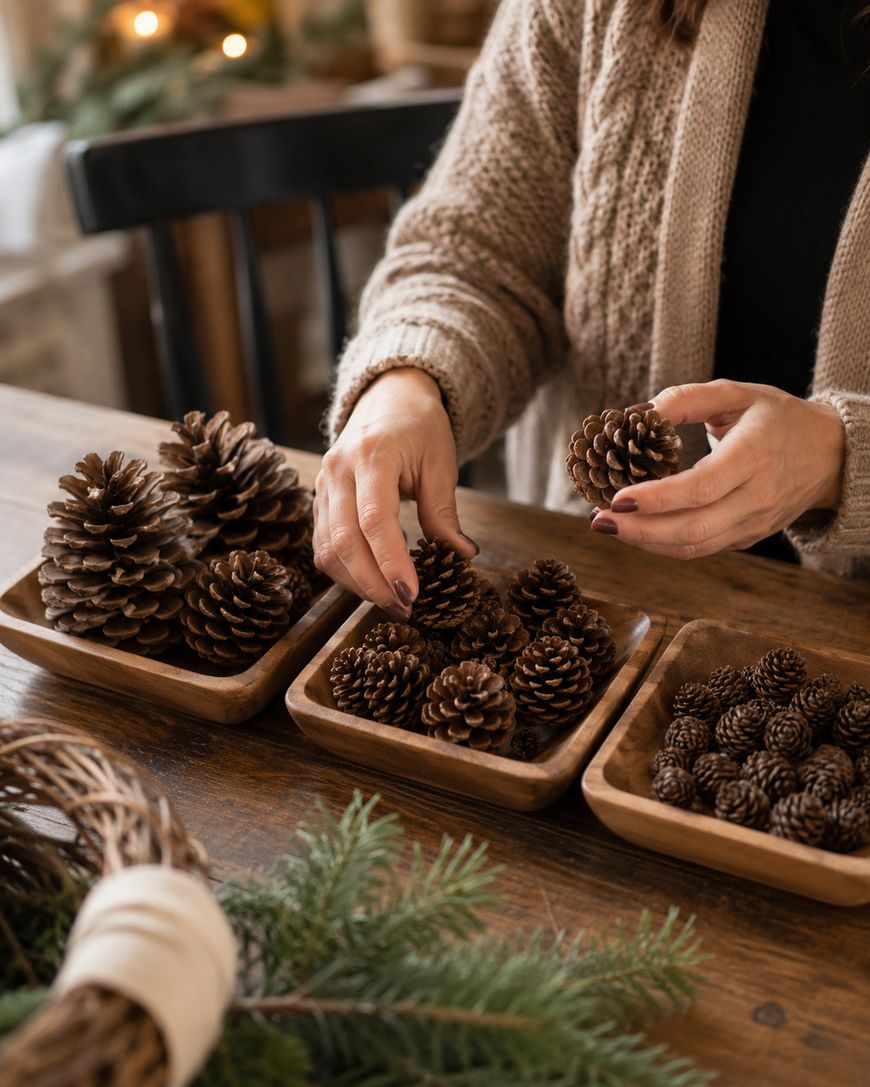
If your pinecones came from outside, bake them at a low oven temperature for a short time before using them. This step, recommended by many extension offices and gardening resources, helps drive out moisture and any tiny insects hiding inside the scales.
Once cooled, sort your pinecones by size into a few piles. This makes the assembly step below much faster since you will not be searching through a giant pile every time you need a small cone to fill a gap.
Step 2: Attach The Largest Pinecones First
Begin with your biggest, most eye-catching pinecones. Working with the largest pieces first gives your wreath its overall shape and rhythm before you fill in the smaller details.
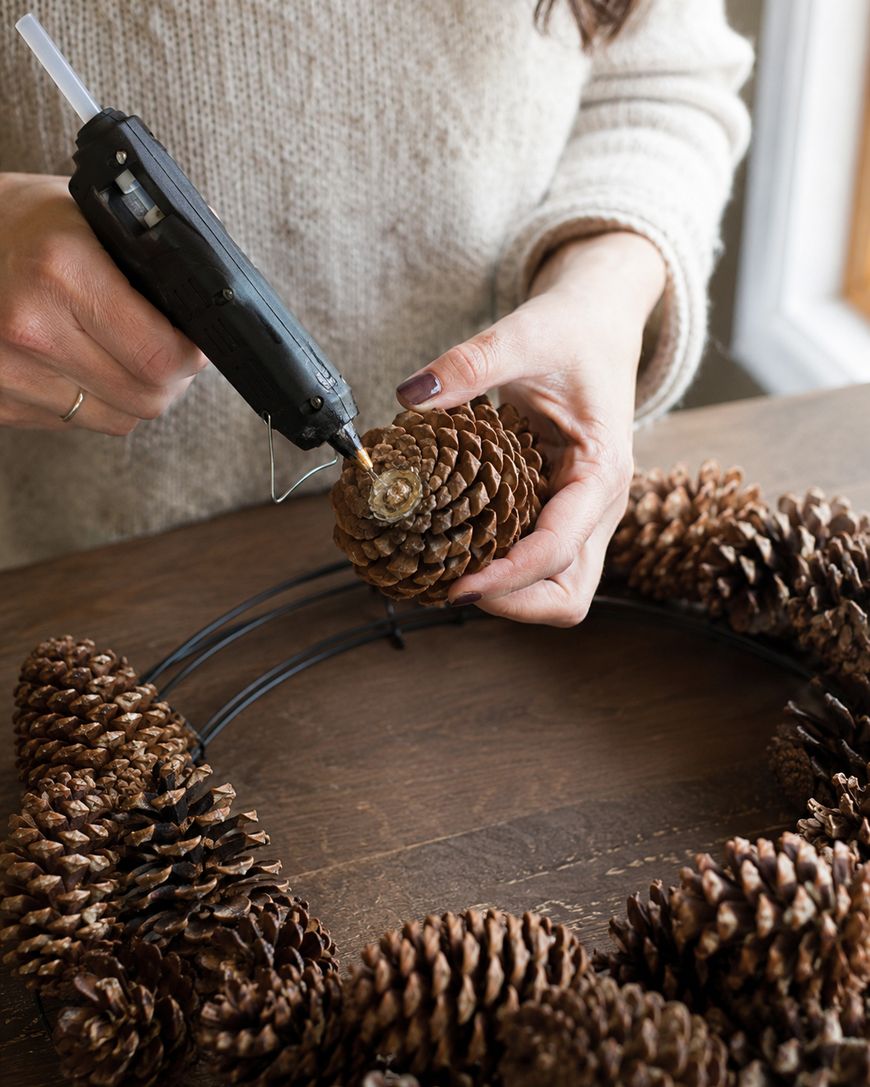
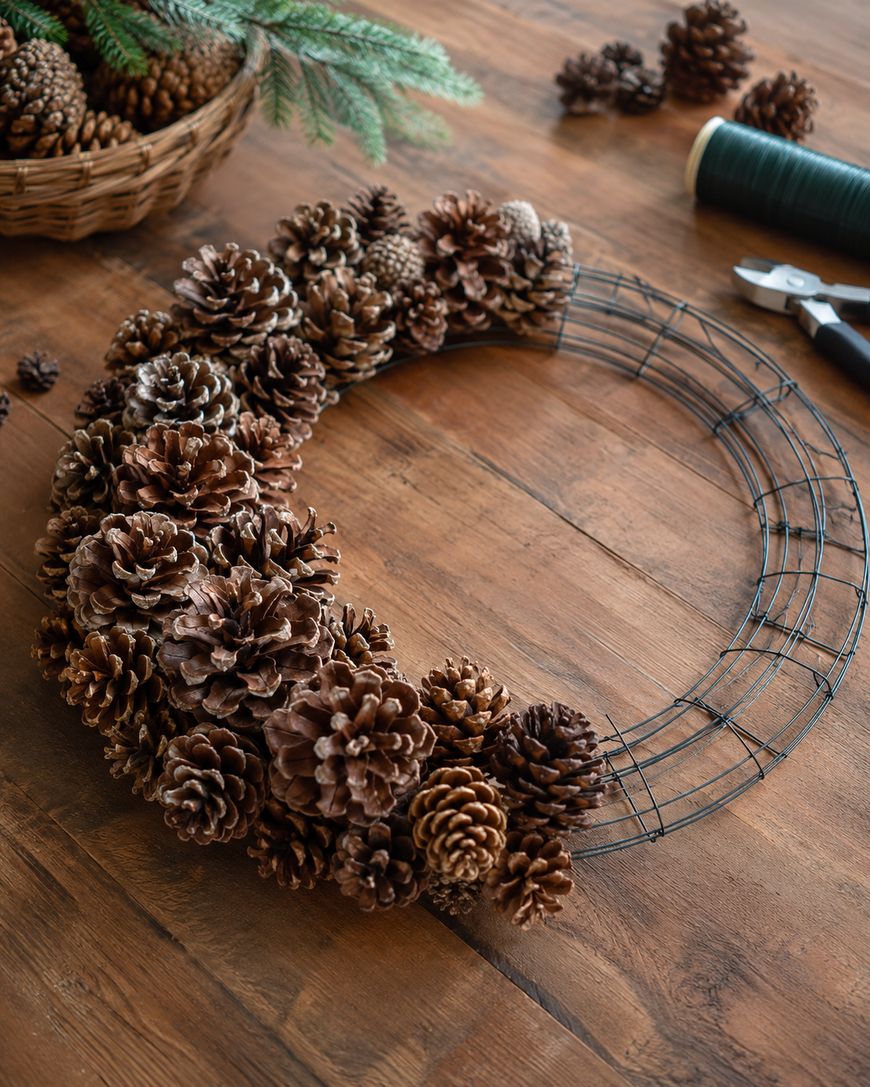
Apply a generous amount of hot glue to the base of each pinecone, then press it firmly onto the wire wreath form. Hold each cone in place for several seconds so the glue has time to set before you move on.
Space your large pinecones evenly around the form, leaving gaps for the medium and small cones you will add next. Working in small sections rather than trying to plan the whole wreath at once keeps the process from feeling overwhelming.
Step 3: Fill In With Medium And Small Pinecones
Once your large pinecones are secure, start filling the gaps with medium-sized cones. Angle them in different directions so the wreath has movement and does not look too rigid or symmetrical.
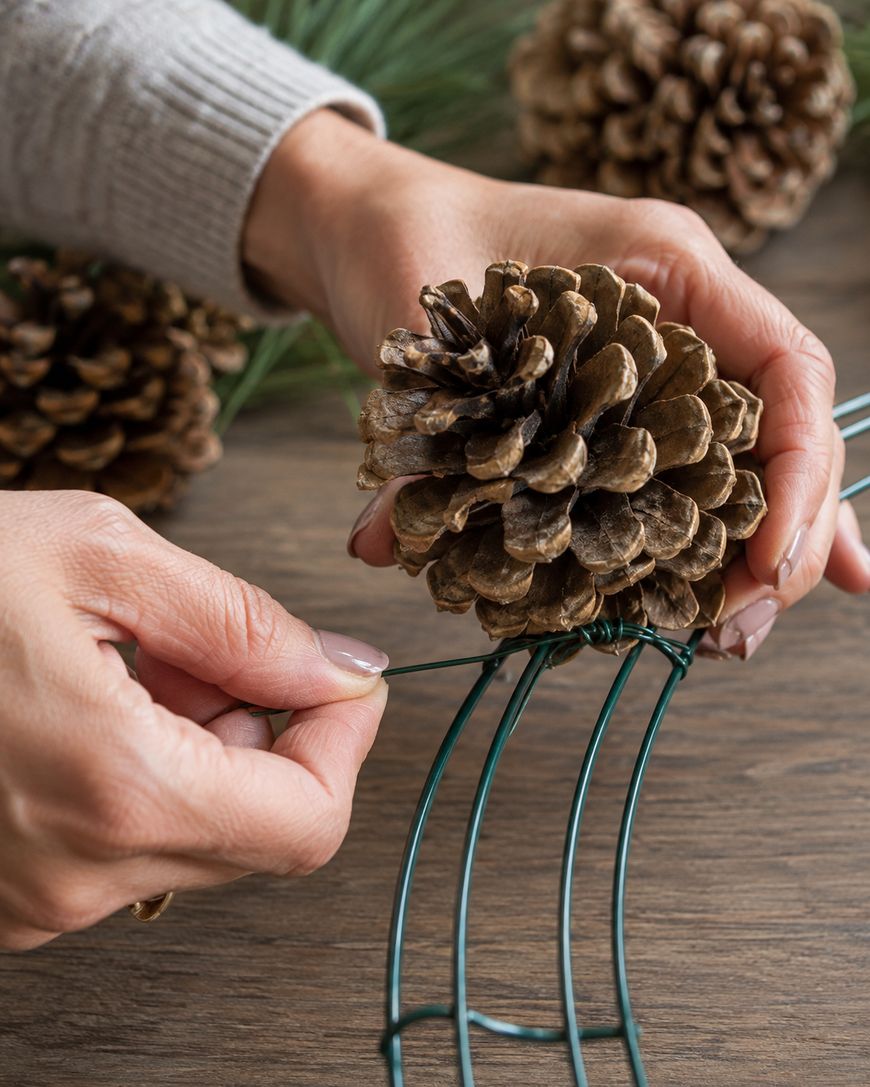
Small pinecones are perfect for tucking into tight spaces where the wire form still peeks through. Take your time here, turning the wreath as you go to check for any bare patches from every angle.
If a pinecone will not sit flush against the curve of the form, secure it with a short length of floral wire threaded through the lower scales and twisted around the wire frame. This gives stubborn pieces extra hold that glue alone sometimes cannot provide.
Step 4: Add A Ribbon Or Bow
A simple ribbon bow instantly elevates a pinecone wreath from rustic to polished. Choose a ribbon color that complements your front door or the season you are decorating for.
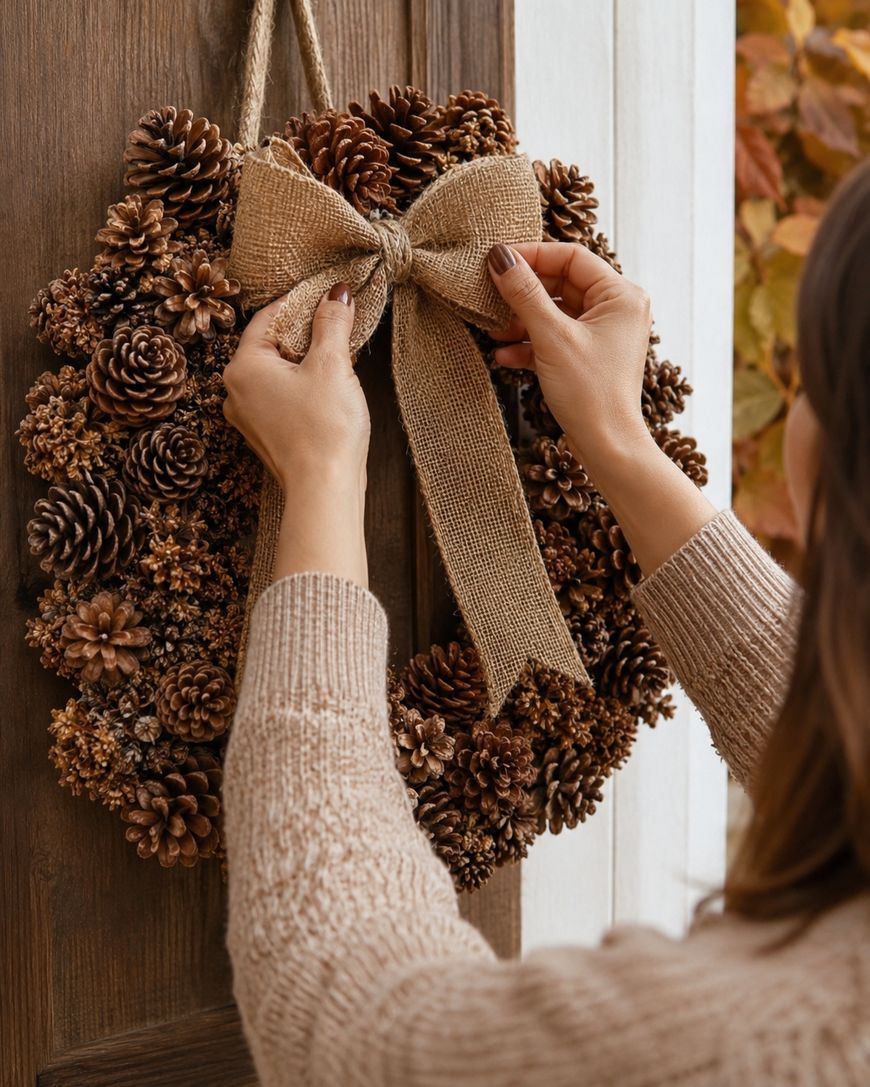
Attach the bow near the top of the wreath, either by wiring it directly to the frame or hot gluing it over a spot where a few pinecones meet. A hanging loop of ribbon or wire on the back lets you display the finished piece easily.
Creative Variations To Try
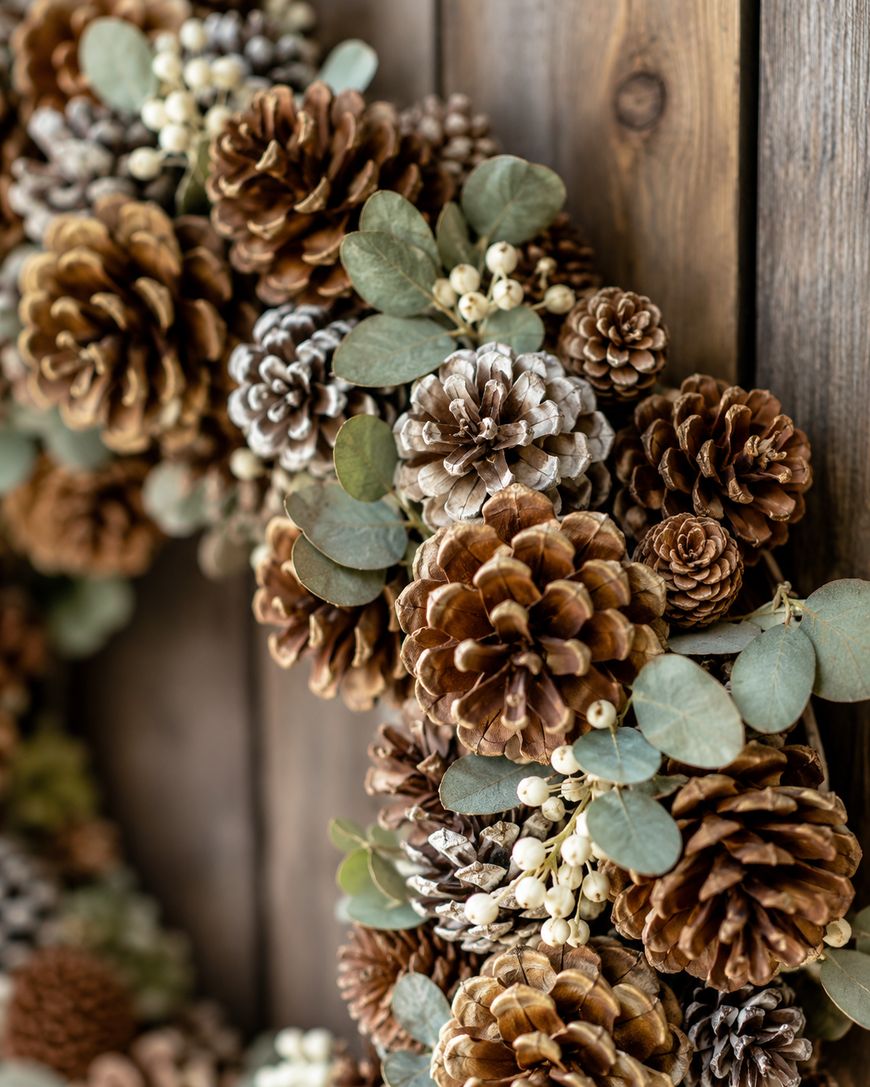
Once you have the basic pinecone wreath how to steps down, there is plenty of room to make the project your own. Tuck in sprigs of faux greenery or dried eucalyptus between the pinecones for extra texture and color.
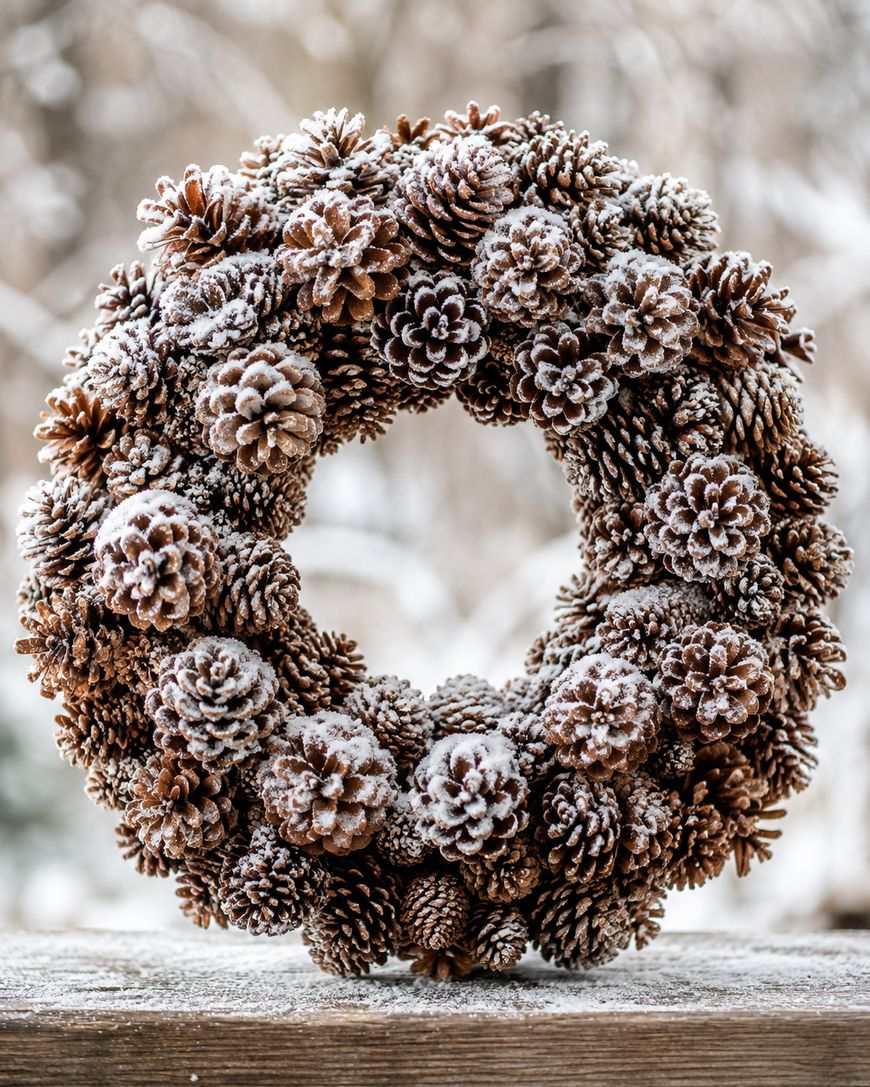
Small ornaments, faux berries, or tiny pinecone slices painted in seasonal colors can be nestled throughout the wreath as well. A light dusting of craft snow or glitter spray gives the whole piece a frosted, wintery feel if that is the look you are after.
Why A Pinecone Wreath Is Worth Making
A pinecone wreath brings warmth and texture to a front door in a way that store-bought options often cannot match. Because you are working with natural materials, no two wreaths ever turn out quite the same, which gives your finished piece a one-of-a-kind feel.
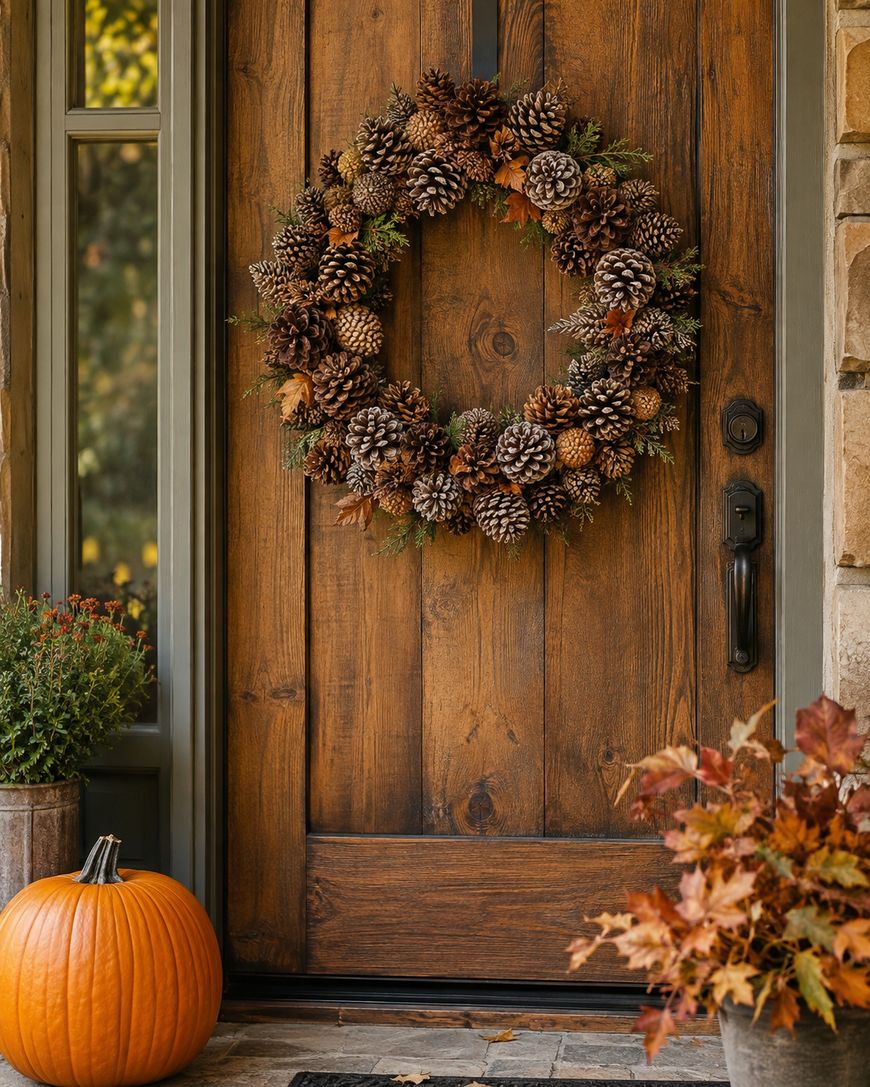
This project is also budget-friendly, since pinecones are free to gather and the rest of the supplies are inexpensive and reusable for future crafts. It is a satisfying weekend activity that results in a decoration you can display for an entire season, or year after year with proper storage.
Frequently Asked Questions
How long does a pinecone wreath last?
A well-made pinecone wreath can last for several seasons if you store it indoors between uses. Keeping it away from direct rain and excess humidity helps the pinecones stay open and intact for years.
Do I need to clean pinecones before using them?
Yes, a quick rinse and a low-temperature bake helps remove dirt, sap, and any hidden insects. Letting the cones dry and cool completely before gluing keeps your finished wreath from developing mold.
What size wreath form should I use?
A twelve to fourteen inch wire form works well for most front doors and is easy for beginners to fill. You can always size up once you are comfortable with the process and want a fuller, more dramatic look.
Can I use a hot glue gun for the whole project?
Hot glue works for most of the wreath, but very large or heavy pinecones sometimes need floral wire for extra security. Combining both methods gives you the strongest, longest-lasting hold.
How do I store my pinecone wreath?
Store your wreath in a large plastic storage bag or box in a cool, dry space like a closet. Avoid stacking heavy items on top of it so the pinecones keep their shape between seasons.

Can I make a pinecone wreath without a wire form?
You can glue pinecones directly onto a straw or foam wreath base if you prefer a different starting shape. A wire form is simply the most lightweight and widely available option for this kind of project.
Bring This Pinecone Wreath How To Guide To Life
Now that you have the full pinecone wreath how to process, all that is left is to gather your supplies and get started. Set aside an afternoon, grab your favorite ribbon, and create a wreath that will welcome you home all season long.

Acorn Crafts for Adults You’ll Actually Want to Display
Pressed Flower Crafts: Beautiful Projects You Can Make at Home
This post contains affiliate links. A full disclosure is available from the main menu.