Last updated: September 13, 2026
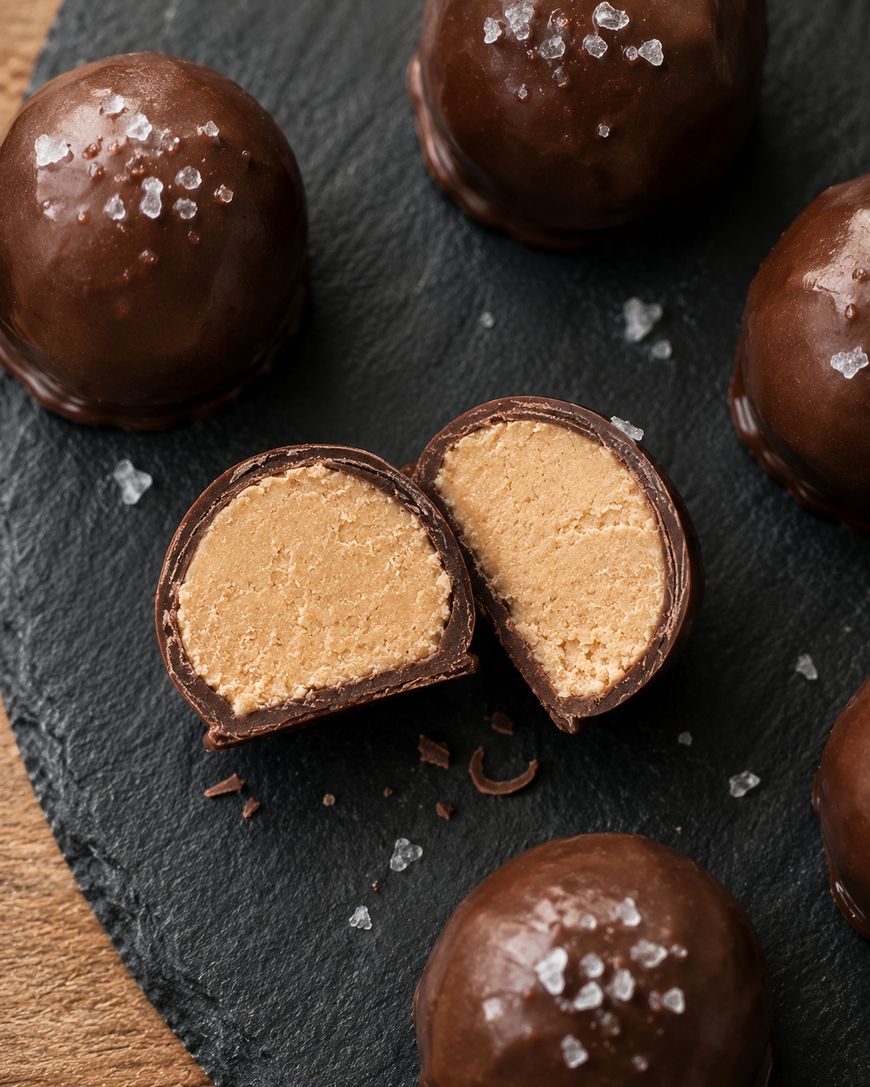
This peanut butter balls recipe delivers rich, creamy centers coated in a crisp chocolate shell — no oven required, no complicated technique, just pantry staples and about 30 minutes. See the recipe card below for exact measurements and quick-reference steps.
What You Need to Make Peanut Butter Balls
The Peanut Butter Filling
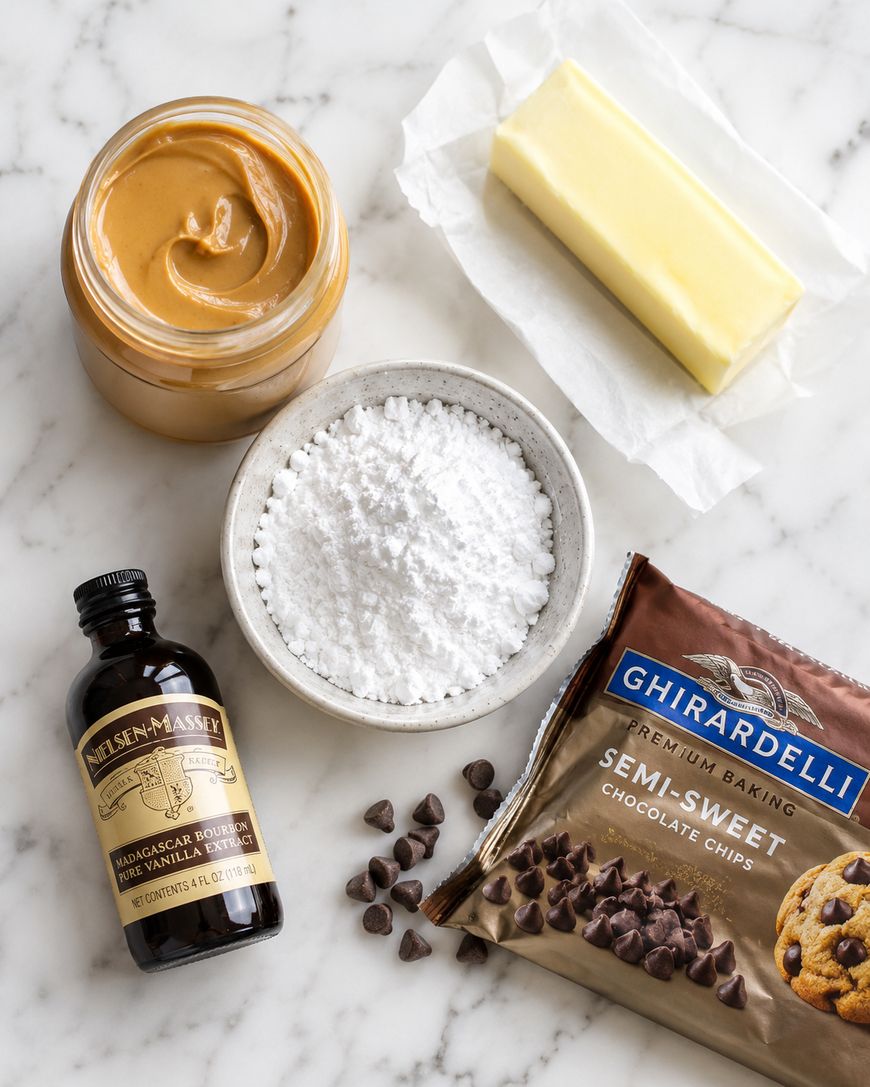
Creamy peanut butter is the backbone of this recipe, and brand matters more than most people expect. Jif and Skippy both produce a smooth, stable filling because their added oils and sugars behave predictably when mixed.
Natural peanut butter — the kind where oil separates at the top — introduces too much moisture and makes the filling loose and difficult to roll.
Powdered sugar is the other key player. It absorbs the oil in the peanut butter and transforms the mixture from a sticky paste into something firm enough to roll into balls without falling apart. Most recipes call for two to three cups, and adjusting that ratio is the easiest way to control the final texture.
Unsalted butter, softened to room temperature, binds everything together and rounds out the flavor. One quarter cup is the standard, though some bakers swap it for an equal amount of softened cream cheese for a slightly tangier result.
Vanilla extract adds depth. A full teaspoon is the right amount — enough to notice, not enough to overpower.
The Chocolate Coating
Semi-sweet chocolate chips are the most widely used coating for peanut butter balls. They melt smoothly, set firmly at room temperature, and provide the right contrast to the sweet filling. Ghirardelli and Guittard are reliable choices at the grocery store level.
Coconut oil is almost always added to the melted chocolate, typically one tablespoon per cup of chips. It thins the chocolate to a dippable consistency and gives the finished shell a glossy appearance. Vegetable shortening or paramount crystals work the same way if coconut oil is unavailable.
Chocolate bark (also sold as candy melts or almond bark) is a popular shortcut. It contains no cocoa butter, so it melts and sets without tempering, and the result is a thicker, more forgiving shell. The tradeoff is a slightly waxy flavor compared to real chocolate.
How to Make Peanut Butter Balls Step by Step
Making the Filling
Combine softened butter, peanut butter, and vanilla extract in a large mixing bowl and stir until smooth and fully incorporated. Add the powdered sugar in two additions, stirring between each one to prevent it from puffing out of the bowl.
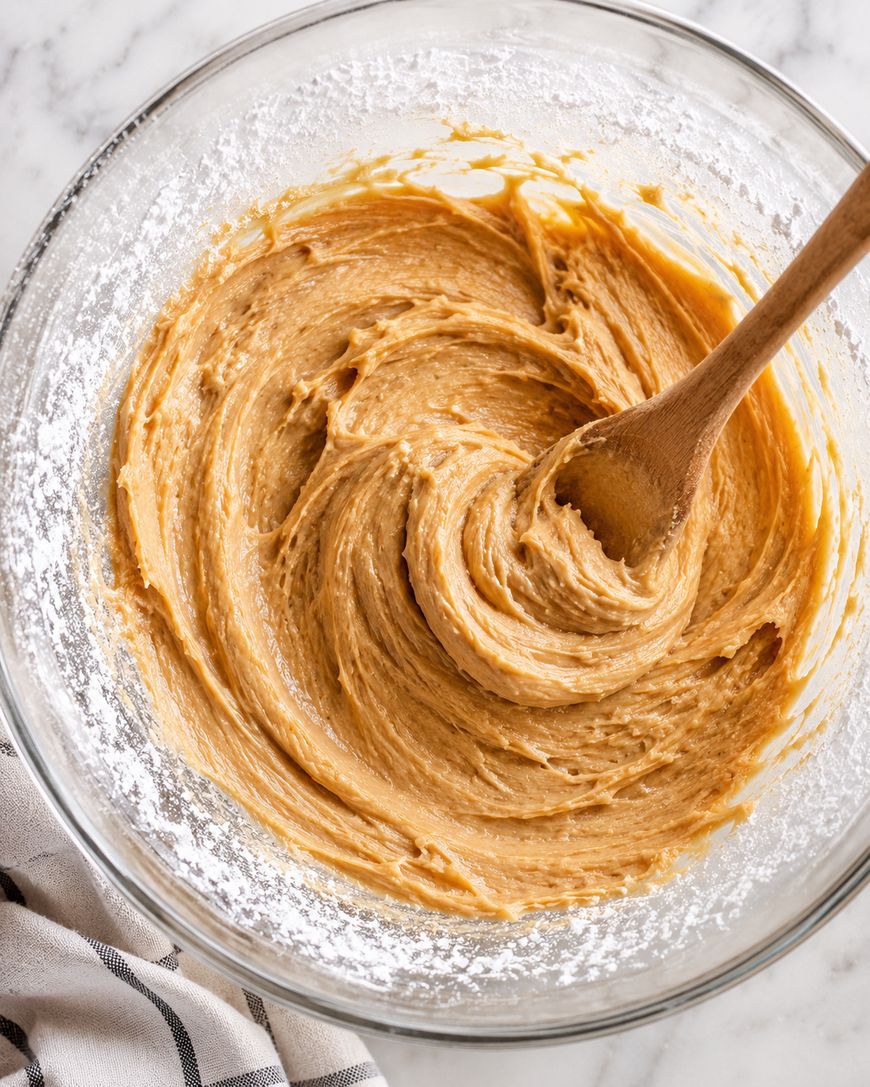
The finished mixture should pull away from the sides of the bowl cleanly and hold its shape when pressed between two fingers. If it feels too soft to roll, add powdered sugar one tablespoon at a time. If it crumbles, add peanut butter by the teaspoon until it comes together.
Rolling and Chilling
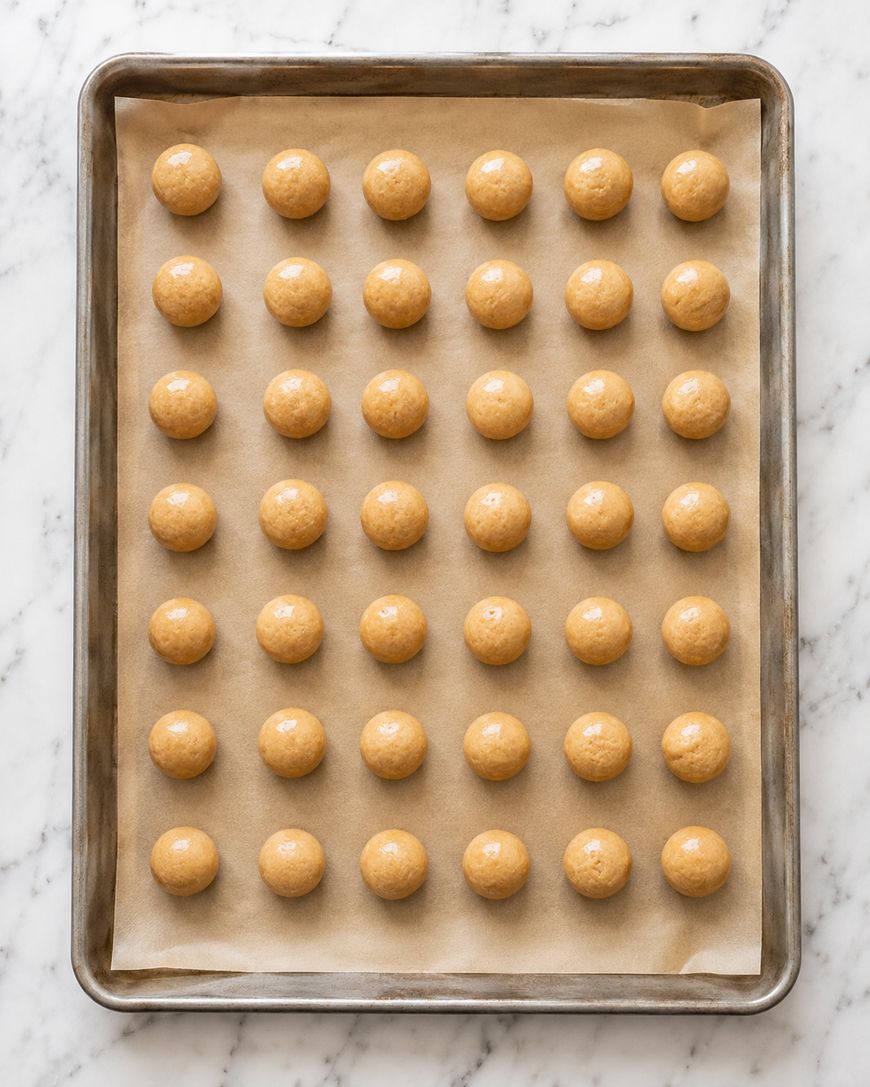
Scoop the mixture using a one-tablespoon cookie scoop for uniform balls, then roll each portion between your palms until smooth. Place the finished balls on a parchment-lined baking sheet.
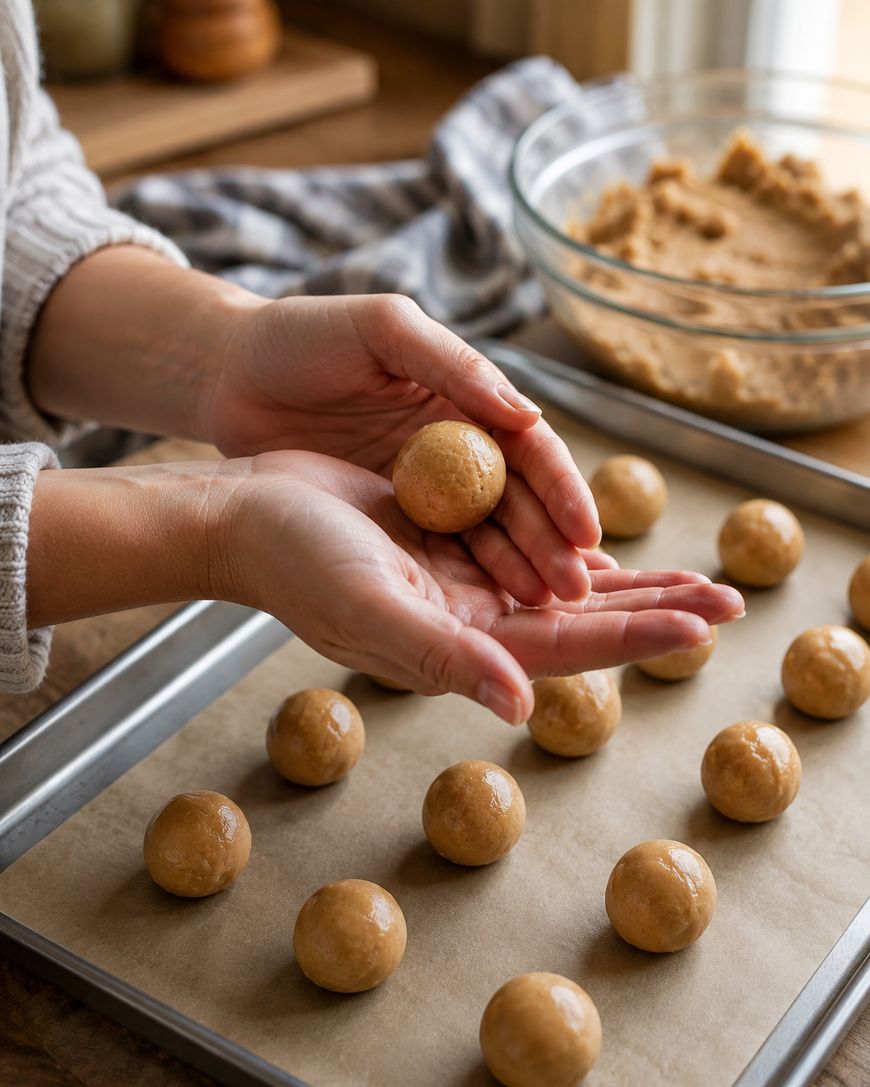
Refrigerate for at least 30 minutes before dipping. This step is non-negotiable — warm filling melts into the chocolate and destroys the coating. An overnight chill produces an even firmer, cleaner result.
Melting the Chocolate
Combine chocolate chips and coconut oil in a microwave-safe bowl. Microwave in 30-second intervals at 50 percent power, stirring between each interval, until the mixture is completely smooth. High heat scorches chocolate quickly, so low and slow is the correct approach here.
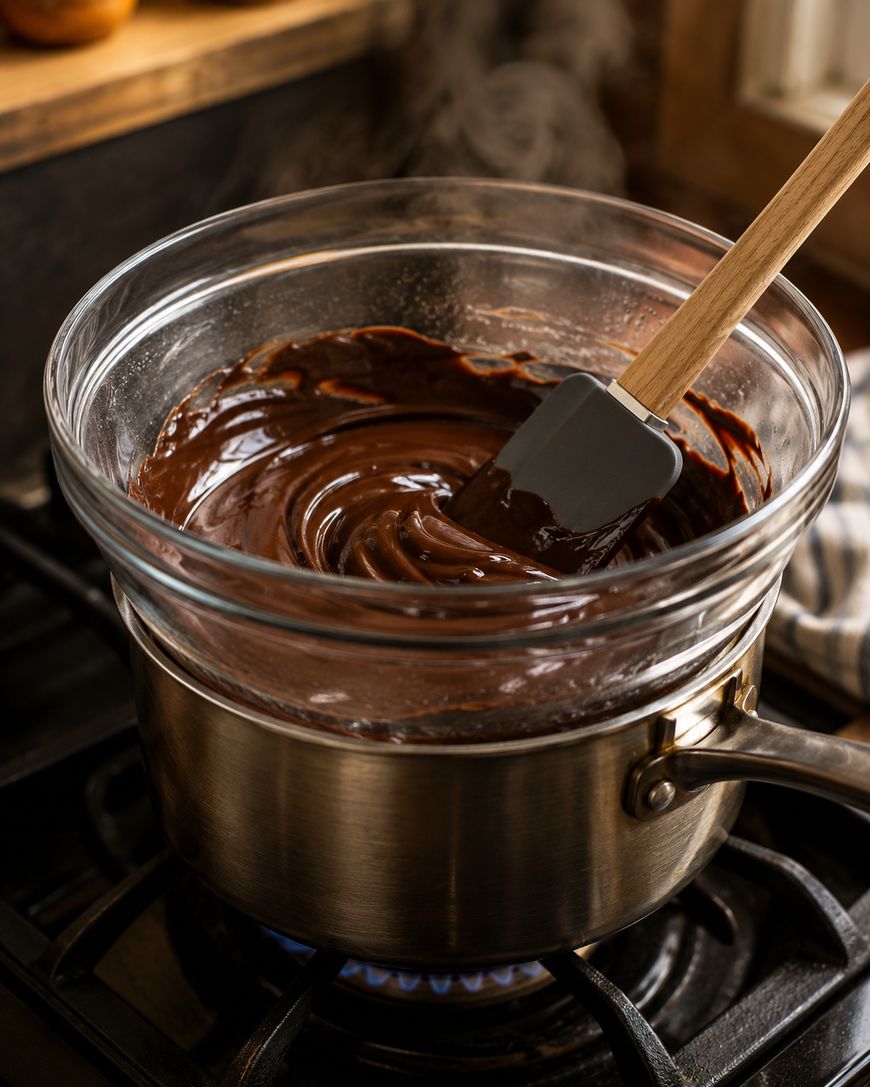
A double boiler works just as well: set a heatproof bowl over a saucepan of barely simmering water, making sure the bottom of the bowl does not touch the water, and stir until melted.
Dipping the Balls
Drop a chilled peanut butter ball into the melted chocolate. Use two forks or a dipping tool to roll it until fully coated, then lift it out and tap the fork against the side of the bowl to let excess chocolate fall away. Transfer the coated ball back to the parchment-lined sheet.
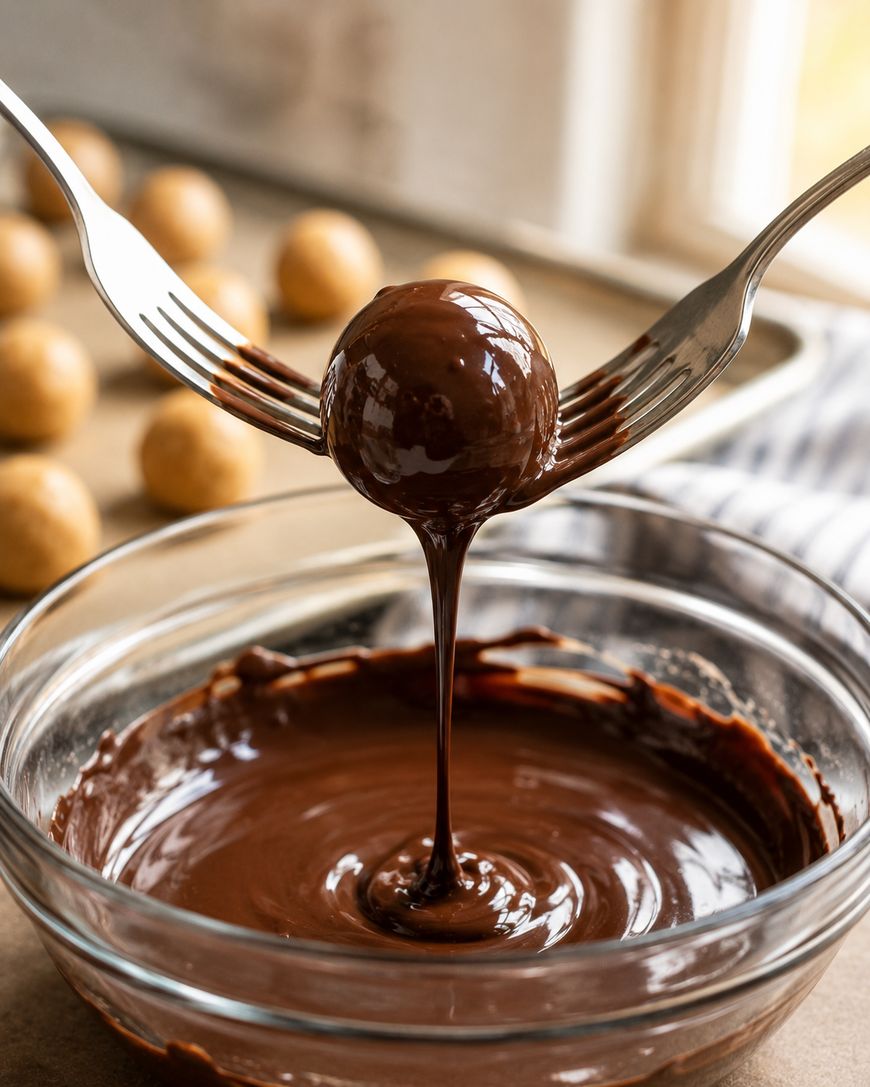
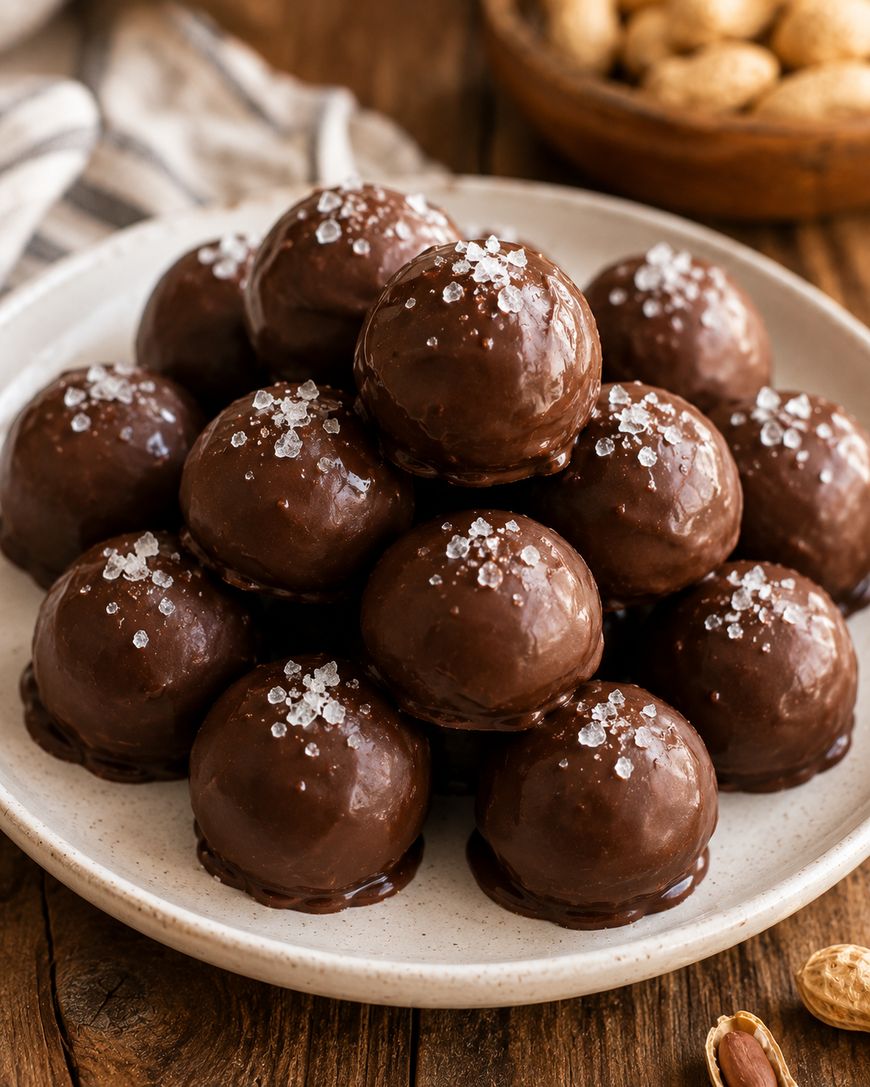
Work quickly. The chilled filling cools the chocolate fast, so if the bowl starts to seize, give it another 10 seconds in the microwave. Finish each ball with a sprinkle of flaky sea salt, crushed pretzels, or holiday sprinkles before the chocolate sets.
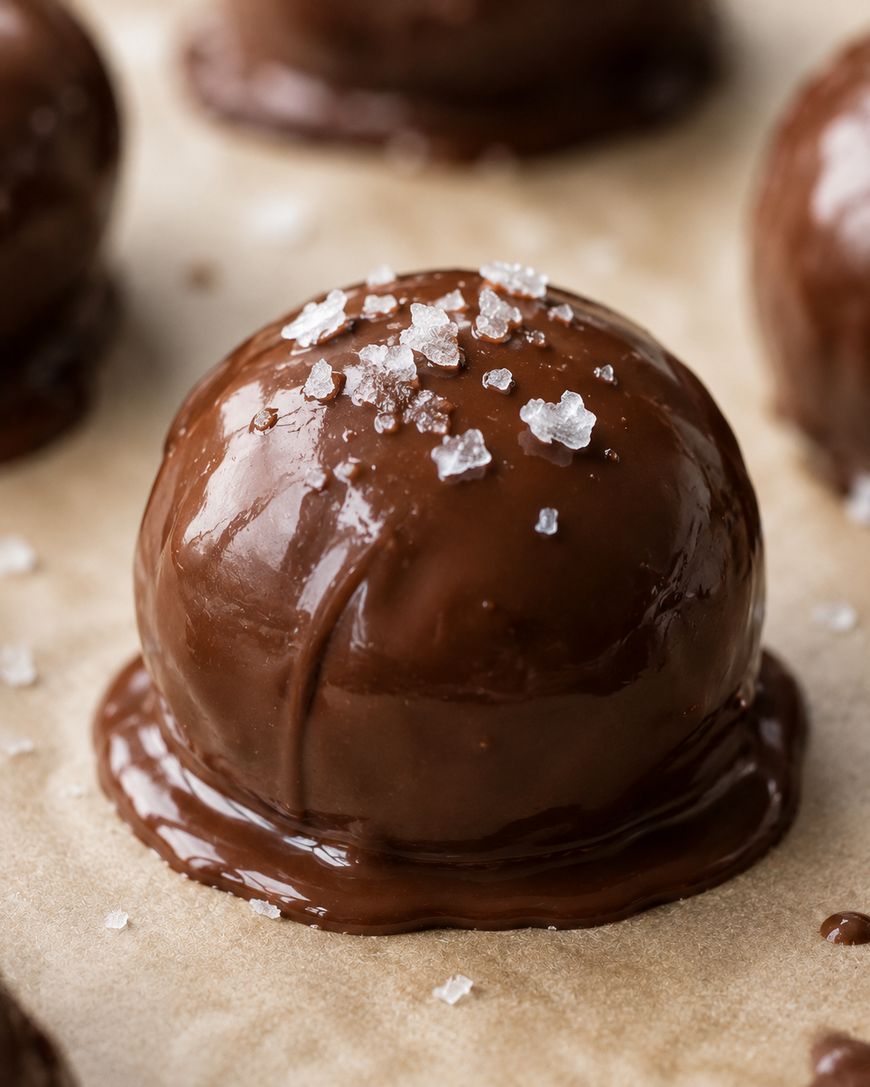
Allow the chocolate to harden completely at room temperature (about 15 minutes) or in the refrigerator (about 5 minutes) before stacking or storing.
Variations and Substitutions
Buckeye-Style Peanut Butter Balls
The Buckeye is Ohio’s most famous sweet, and the only difference between a Buckeye and a fully coated peanut butter ball is that the top of the filling is left exposed. Hold each ball on a toothpick during dipping and stop just short of the top, leaving a circle of peanut butter visible.
White Chocolate Coating
White chocolate melts and sets the same way as semi-sweet, and the combination of white chocolate and peanut butter is noticeably sweeter and creamier than the classic version. Add a drop of food coloring to the white chocolate for pastel holiday variations.

Nut-Free Versions
Sunflower seed butter is the most reliable peanut butter substitute for nut-free households. It behaves nearly identically in the filling, though it can turn the mixture slightly green over time due to a reaction between chlorogenic acid and baking soda. Cookie butter (Biscoff spread) produces a spiced, caramelized version that has become a popular variation in its own right.
Adding Rice Cereal
Stirring one cup of Rice Krispies into the peanut butter filling before rolling adds a light crunch and reduces the density of the centers. This variation is sometimes called a No-Bake Buckeye Crunch. Use the same ratios as the base recipe and add the cereal last, folding gently to avoid crushing it.
Storage and Shelf Life
Store finished peanut butter balls in an airtight container in the refrigerator for up to two weeks. Layer them between sheets of parchment or wax paper to prevent sticking.
They freeze exceptionally well. Arrange the balls in a single layer on a baking sheet and freeze until solid, then transfer to a freezer-safe bag or container. Stored this way, they keep for up to three months. Thaw in the refrigerator overnight before serving.
Serving Suggestions
Peanut butter balls are a natural fit for holiday dessert trays alongside other no-bake standbys like chocolate crinkle cookies, fudge, and pecan clusters. Arrange them in mini cupcake liners for a polished presentation at parties or as a hostess gift.
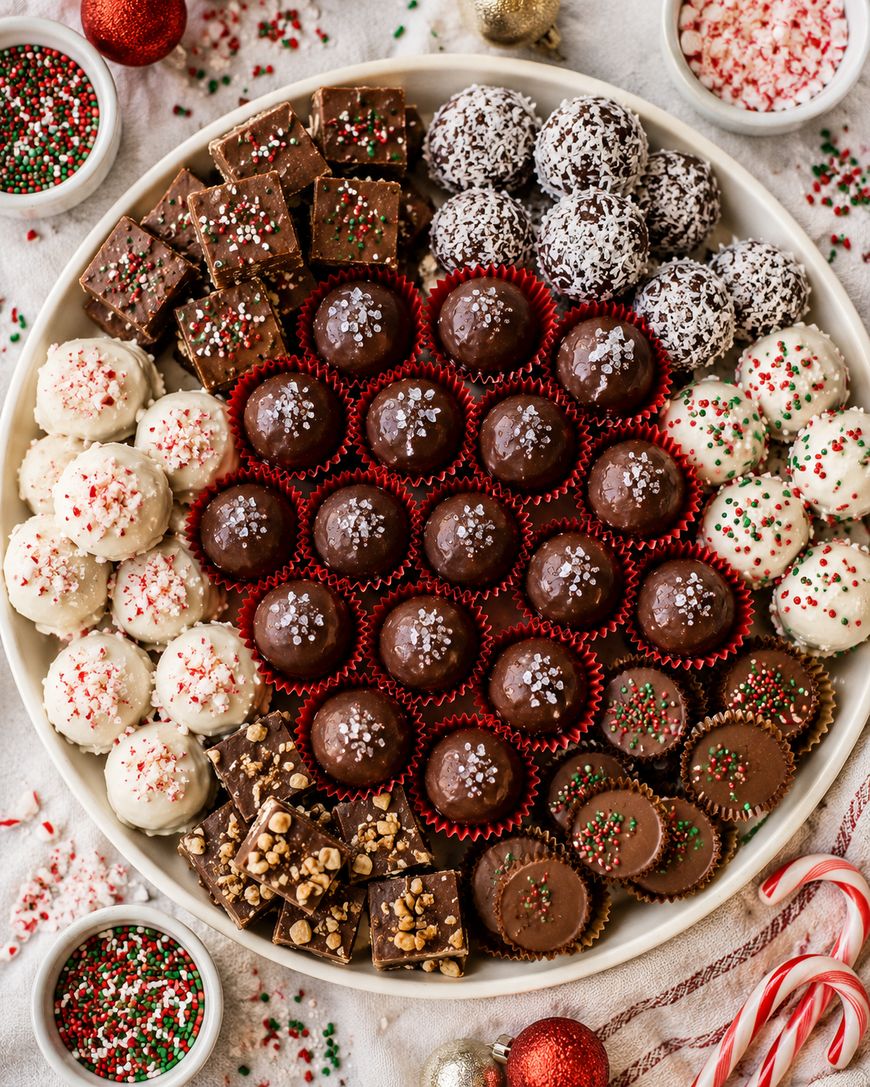
For everyday serving, pull them straight from the refrigerator and let them sit at room temperature for five minutes before eating. The filling softens slightly as it warms and the flavor intensifies.
The History Behind Peanut Butter Balls
Peanut butter became a commercial product in the United States in the late 19th century, but the no-bake confection most people recognize today gained widespread popularity in American home kitchens during the mid-20th century alongside the rise of packaged powdered sugar and commercially processed peanut butter.
The Buckeye variation is most closely associated with Ohio, where the nut of the Ohio buckeye tree (Aesculus glabra) provided the visual inspiration for the partly-dipped design. Recipes for Buckeyes began appearing in Ohio community cookbooks in the 1960s and 1970s and eventually spread nationally through food magazines and, later, early cooking websites.
Use the recipe card below to get started, then customize to your kitchen and your crowd.
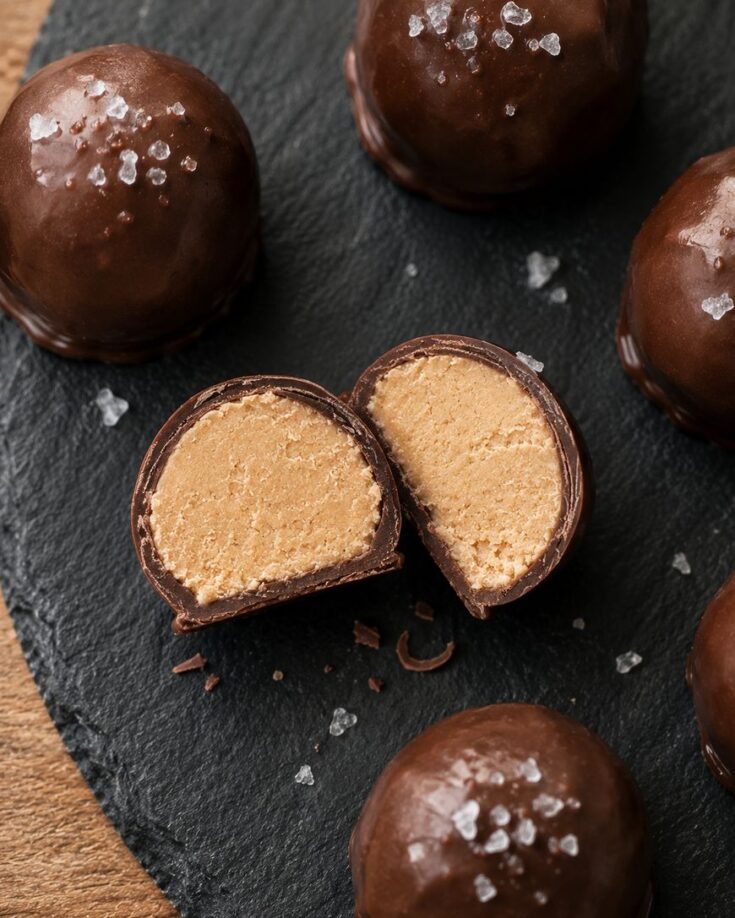
Peanut Butter Balls Recipe
Creamy peanut butter centers dipped in a crisp chocolate shell -- a no-bake treat that comes together in under 30 minutes with simple pantry ingredients.
Ingredients
- 1 cup creamy peanut butter (such as Jif or Skippy)
- 1/4 cup unsalted butter, softened to room temperature
- 1 teaspoon vanilla extract
- 2 1/2 cups powdered sugar, sifted
- 2 cups semi-sweet chocolate chips
- 1 tablespoon coconut oil
- Flaky sea salt for topping, optional
Instructions
- Line a large baking sheet with parchment paper and set aside.
- In a large bowl, beat together the peanut butter, softened butter, and vanilla extract until smooth and combined.
- Add the powdered sugar in two additions, stirring between each, until the mixture forms a firm, rollable dough. If it feels too soft, add more powdered sugar one tablespoon at a time.
- Scoop the mixture by the tablespoon and roll into smooth balls between your palms. Place on the prepared baking sheet.
- Refrigerate the balls for at least 30 minutes until firm.
- Combine chocolate chips and coconut oil in a microwave-safe bowl. Microwave at 50% power in 30-second intervals, stirring between each, until fully melted and smooth.
- Drop each chilled ball into the chocolate. Use two forks to roll and coat, then lift and tap the fork against the bowl edge to remove excess chocolate.
- Return the coated ball to the parchment-lined sheet. Top with flaky sea salt if desired.
- Let the chocolate set at room temperature for 15 minutes, or refrigerate for 5 minutes. Serve immediately or store in an airtight container.
Notes
For Buckeye-style balls, hold each ball on a toothpick while dipping and leave a small circle of peanut butter exposed at the top. Natural peanut butter is not recommended -- the separated oils make the filling too soft to roll. Balls can be frozen for up to 3 months. Thaw overnight in the refrigerator before serving.
Nutrition Information:
Yield:
36Serving Size:
1 ballAmount Per Serving: Calories: 148Total Fat: 8gSaturated Fat: 3gSodium: 44mgCarbohydrates: 17gFiber: 1gSugar: 14gProtein: 3g
This site provides estimated nutritional information. This information comes from online calculators. Although we try to provide accurate nutritional information, these figures are only estimates.
Frequently Asked Questions
Why are my peanut butter balls too soft to roll?
The most common cause is too little powdered sugar relative to the amount of peanut butter. Add powdered sugar one tablespoon at a time, mixing thoroughly between additions, until the mixture holds its shape when pressed. Chilling the bowl in the refrigerator for 15 minutes before rolling also helps if the filling feels loose. Natural peanut butter with separated oil is another frequent culprit — switching to a stabilized brand like Jif resolves this in most cases.
Can peanut butter balls be made ahead of time?
Yes, and they often taste better the next day once the flavors have had time to meld. The uncoated filling balls can be rolled, placed on a parchment-lined sheet, and refrigerated for up to three days before dipping. Finished, chocolate-coated balls keep in the refrigerator for two weeks or in the freezer for three months, making them one of the most practical make-ahead confections in any holiday baking lineup.
Why did my chocolate coating crack?
Chocolate cracks when there is a significant temperature difference between the filling and the coating. If the peanut butter balls are very cold from the freezer and the chocolate is hot, the rapid contraction as the chocolate sets causes it to fracture. Let frozen balls thaw in the refrigerator rather than going straight from freezer to dipping bowl. Adding coconut oil to the chocolate also increases flexibility in the finished shell and reduces cracking.
How do you get a smooth chocolate shell without streaks?
The key is allowing the excess chocolate to drip off completely before placing the ball on parchment. Hold the dipped ball on the fork over the bowl and tap gently until no more chocolate falls. If a pool forms around the base on the parchment, use a toothpick to drag it back under the ball in a circular motion before it sets.
Can these be made dairy-free?
Yes with two small adjustments. Replace the butter with refined coconut oil (same quantity) and use dairy-free chocolate chips such as those from Enjoy Life Foods or Hu Kitchen. Everything else in the base recipe is already dairy-free. The result is nearly identical to the original in both texture and flavor.
What is the difference between peanut butter balls and Buckeyes?
The difference is purely visual. Both use the same peanut butter filling and chocolate coating. In a Buckeye, the dipping stops just before the top of the ball, leaving a circle of exposed peanut butter that resembles the nut of the Ohio buckeye tree. A fully coated peanut butter ball covers the filling entirely.
The Best Peanut Butter Balls Recipe Worth Making Again
This peanut butter balls recipe earns its place in every no-bake repertoire because it is genuinely simple, completely reliable, and produces a result that looks and tastes far more impressive than the effort required. Make a double batch the first time — they disappear faster than expected, and having extras in the freezer is never a bad outcome.