Last updated: October 17, 2026
This pita bread recipe makes eight soft, puffy rounds with real pockets using flour, yeast, water, salt, and olive oil. The recipe card below has every ingredient and step, and the walkthrough that follows explains how to get a full puff every time.
The Pita Bread Recipe at a Glance
Pita bread is a yeasted flatbread that balloons in a very hot oven, and the steam trapped inside the dough is what creates the hollow pocket. This pita bread recipe makes 8 pitas about 7 inches wide and takes roughly 2 hours 10 minutes from start to finish, with only about 50 minutes of hands-on work.

The dough is mixed in one bowl, kneaded for about 8 minutes by hand, and left to rise for 1 hour until it doubles. After that you divide it into 8 pieces, roll each one thin, give the rounds a short rest, and bake them on a preheated surface at 500°F for 3 to 4 minutes.
Three habits matter more than anything else for a good puff. Roll every round to an even 1/4 inch thickness, let the rounds rest before they go in the oven, and preheat the baking surface for a full 30 minutes.
Equipment for Baking Pita Bread at Home
A baking steel or pizza stone gives the best puff because it holds a lot of heat and hits the dough with it all at once. If you do not own either one, a heavy half sheet pan turned upside down and preheated in the oven works almost as well.
You also need a large mixing bowl, a rolling pin, a bench scraper or sharp knife for dividing the dough, and a clean kitchen towel. A pizza peel makes sliding the rounds onto the hot surface easier, but the back of a cutting board or a second sheet pan does the same job.
Pita Bread Recipe Ingredients and Why They Matter
The dough uses 3 cups (375 grams) of all-purpose flour, which gives pita a soft, tender chew without much effort. Bread flour such as King Arthur also works and makes a slightly chewier pita, and you can swap it in for the same weight.
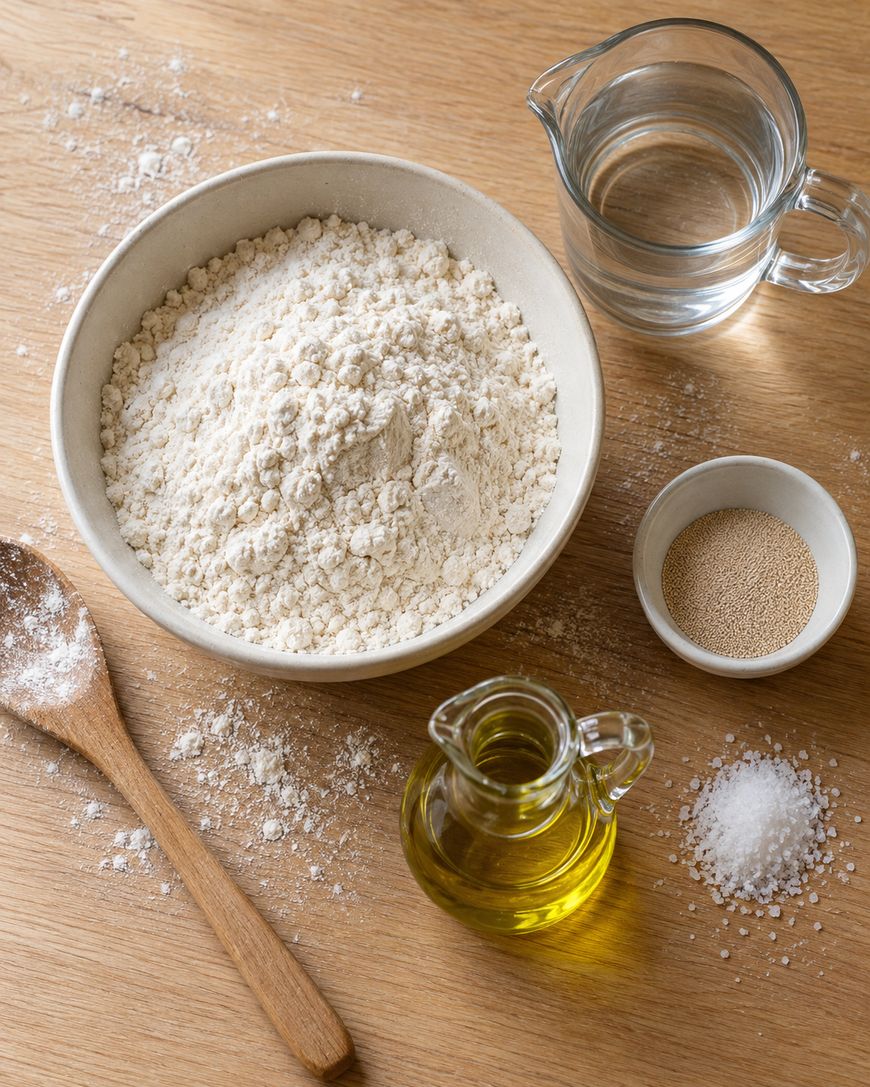
You also need 2 1/4 teaspoons (one 7 gram packet) of instant yeast, 1 teaspoon of granulated sugar, and 1 1/4 teaspoons of fine sea salt. Instant yeast can be whisked straight into the flour, so there is no separate proofing step to manage.
The liquid is 1 cup (240 milliliters) of warm water, about 105 to 115°F, plus 2 tablespoons of extra virgin olive oil. Water that feels comfortably warm on the inside of your wrist is right, because water that is too hot can weaken the yeast and slow the rise.
Keep a little extra olive oil on hand for greasing the rising bowl and a small amount of flour for dusting the counter. The olive oil adds flavor and keeps the baked pitas flexible enough to fold without cracking.
Step by Step Pita Bread Recipe Method
Every stage of this pita bread recipe is simple, but each one sets up the puff, so it helps to know what you are looking for at each point. We walk through the whole method here so you can cook it from the page alone.
Mix and Knead the Dough
Whisk the flour, yeast, sugar, and salt together in a large bowl, then pour in the warm water and olive oil. Stir with a wooden spoon until a shaggy dough forms, then turn it out onto a lightly floured counter.
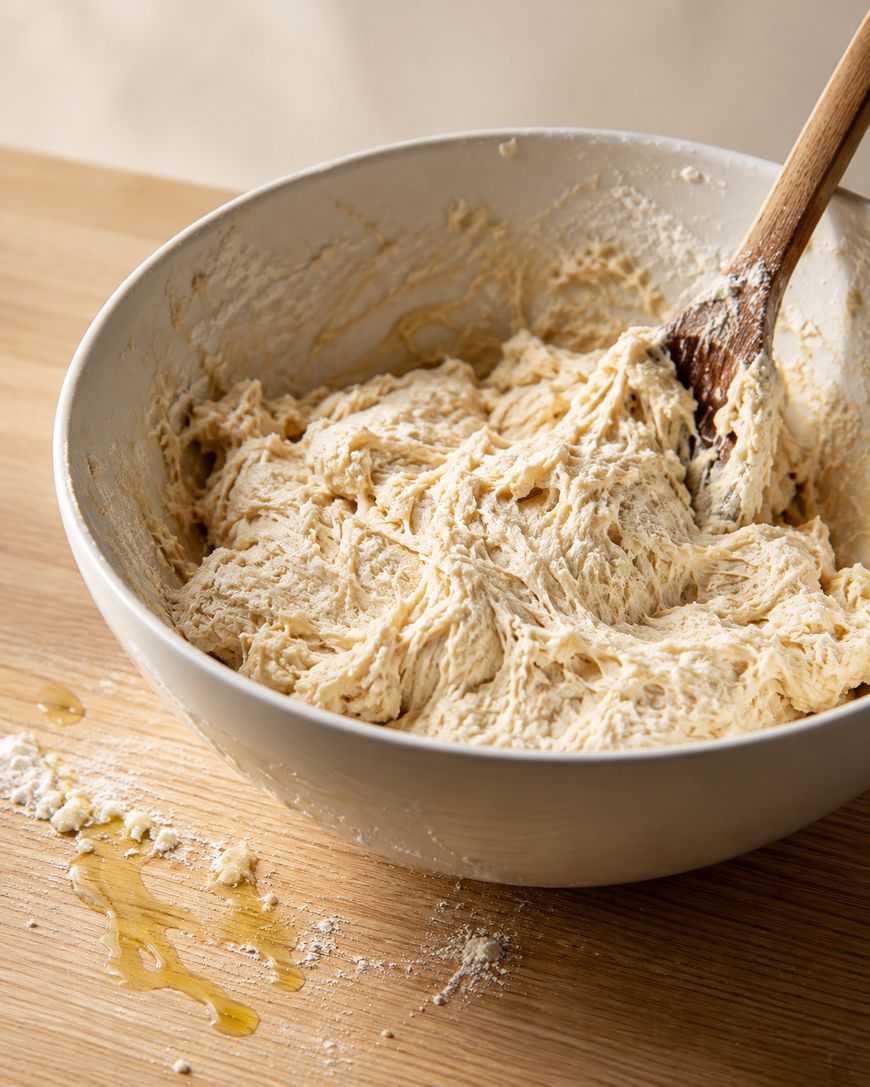
Knead for about 8 minutes, or for 5 minutes with a stand mixer and dough hook on medium-low speed. The dough is ready when it feels smooth and elastic and springs back slowly when you press it with a fingertip.
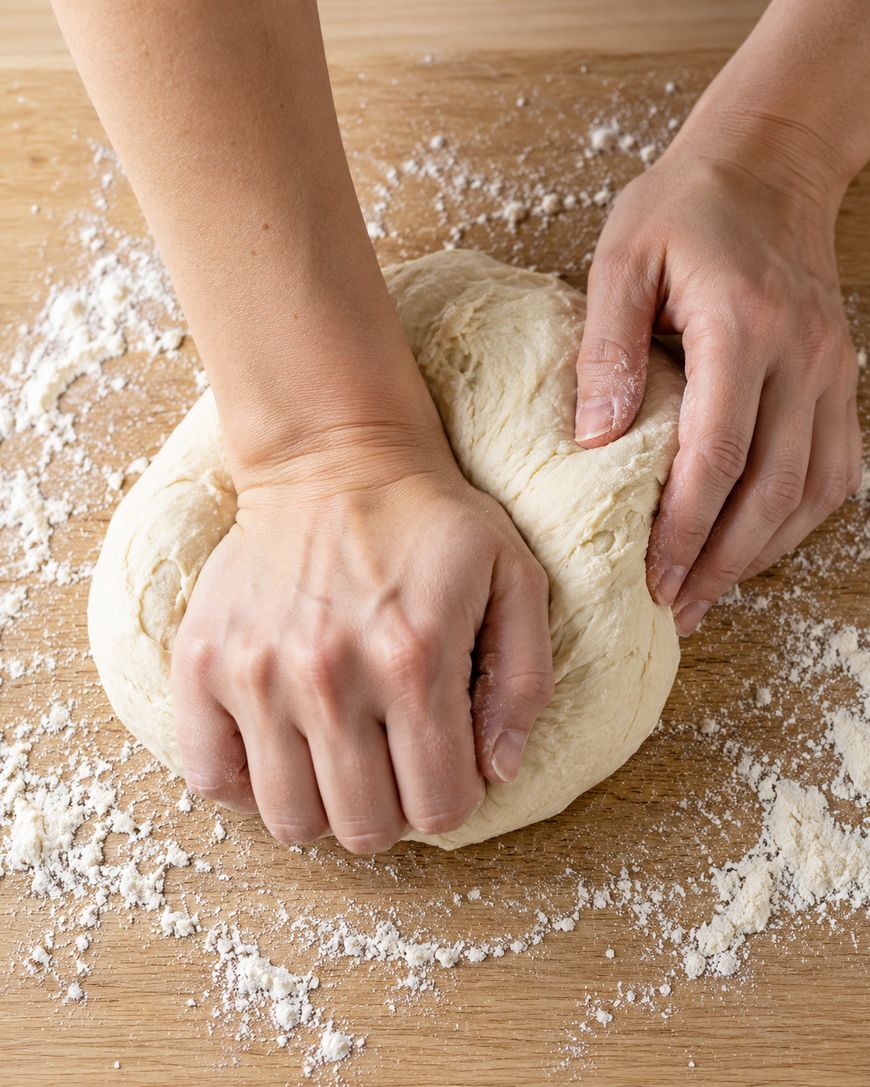
It should feel slightly tacky but not sticky. If it clings to your hands, add flour a tablespoon at a time, because too much flour makes dry pitas that refuse to puff.
Let the Dough Rise
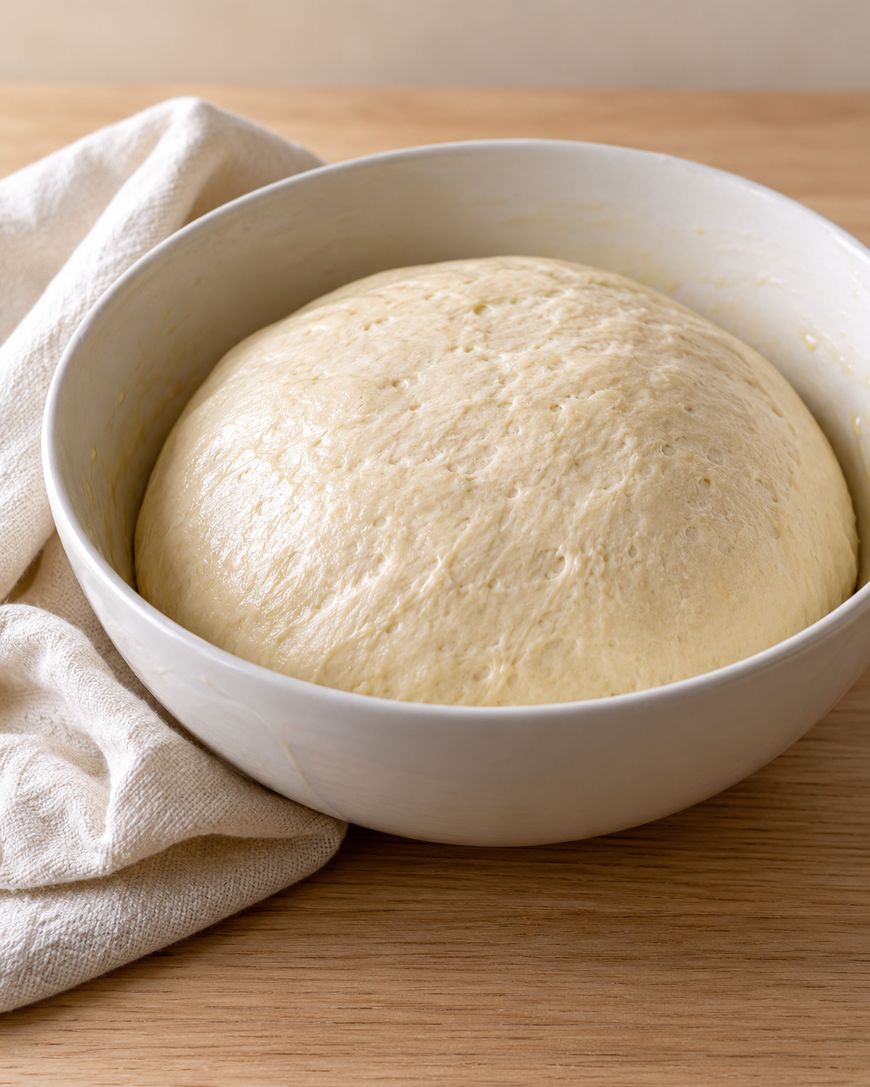
Shape the dough into a ball, place it in a lightly oiled bowl, and turn it once to coat it. Cover the bowl with a towel or plastic wrap and let it rise at room temperature, around 75°F, for 1 hour until doubled in size.
About 30 minutes before you plan to bake, set a baking steel, pizza stone, or upside-down heavy sheet pan on a middle oven rack and heat the oven to 500°F. This long preheat is what gives the rounds the blast of heat they need to puff.
If you want to get ahead, you can refrigerate the risen dough in a covered bowl for up to 24 hours. Let it sit on the counter for 30 minutes before you divide it.
Divide, Rest, and Roll the Pitas
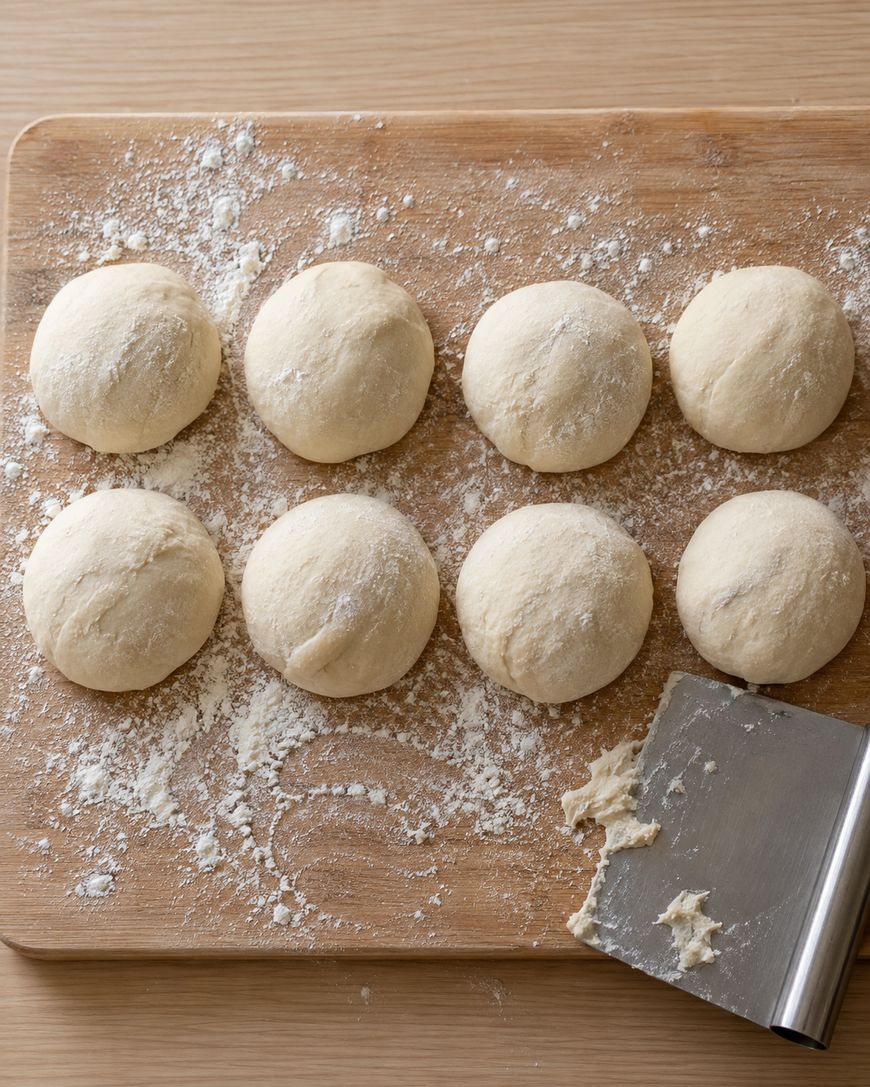
Gently press the air out of the dough and turn it onto a lightly floured counter. Cut it into 8 equal pieces of about 3 ounces (85 grams) each, then roll each piece into a smooth ball and cover the balls with a towel for 10 minutes.
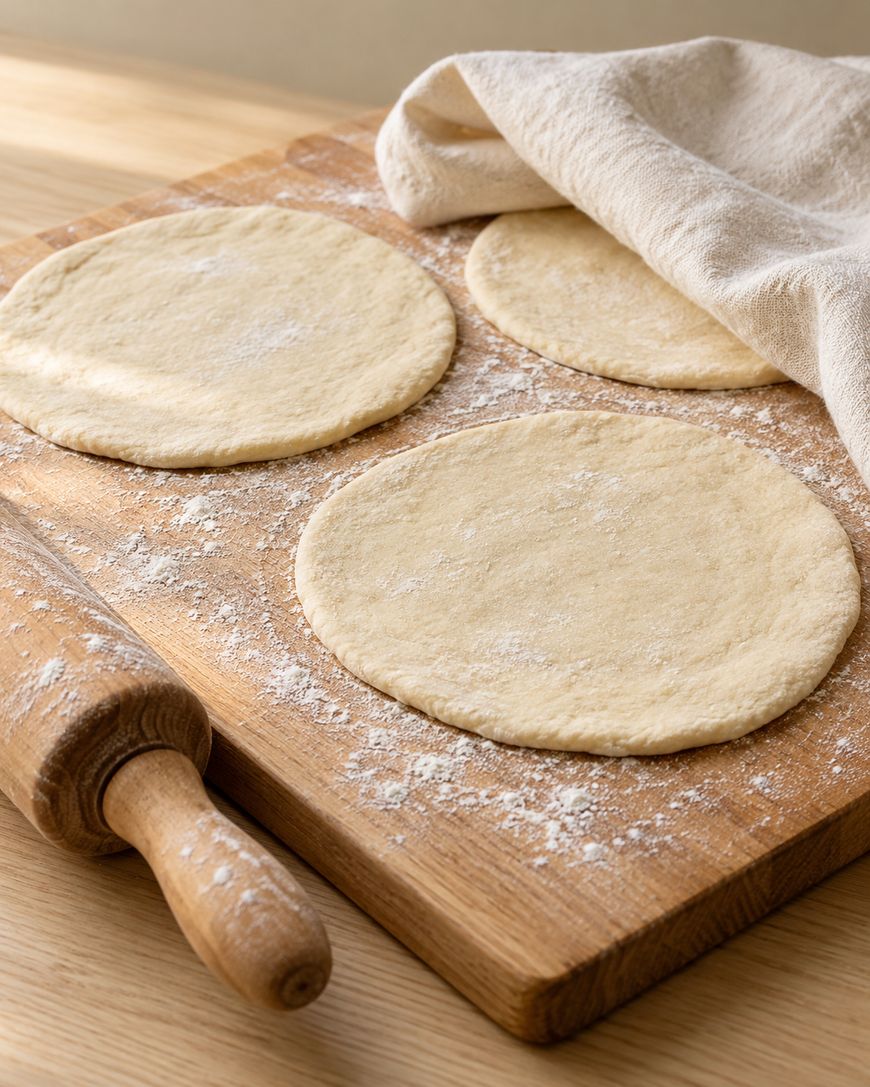
Roll each ball into a round about 7 inches wide and 1/4 inch thick, working from the center outward and turning the dough as you go. Even thickness is the secret here, because a thin spot lets steam escape and a thick spot stays flat.

Use as little flour as you can on the counter. Set the finished rounds on a floured surface, cover them with a towel, and let them rest for 10 minutes while the oven finishes heating.
Bake the Pitas
Place two rounds at a time directly onto the hot baking surface, close the oven, and bake for 3 to 4 minutes. The pitas should puff within the first 2 minutes and finish pale golden with a few light brown spots, so resist the urge to open the door early or flip them.

Remove the puffed pitas with a spatula or tongs and wrap them right away in a clean kitchen towel. The trapped steam softens the crust so the bread stays pliable instead of turning crisp.
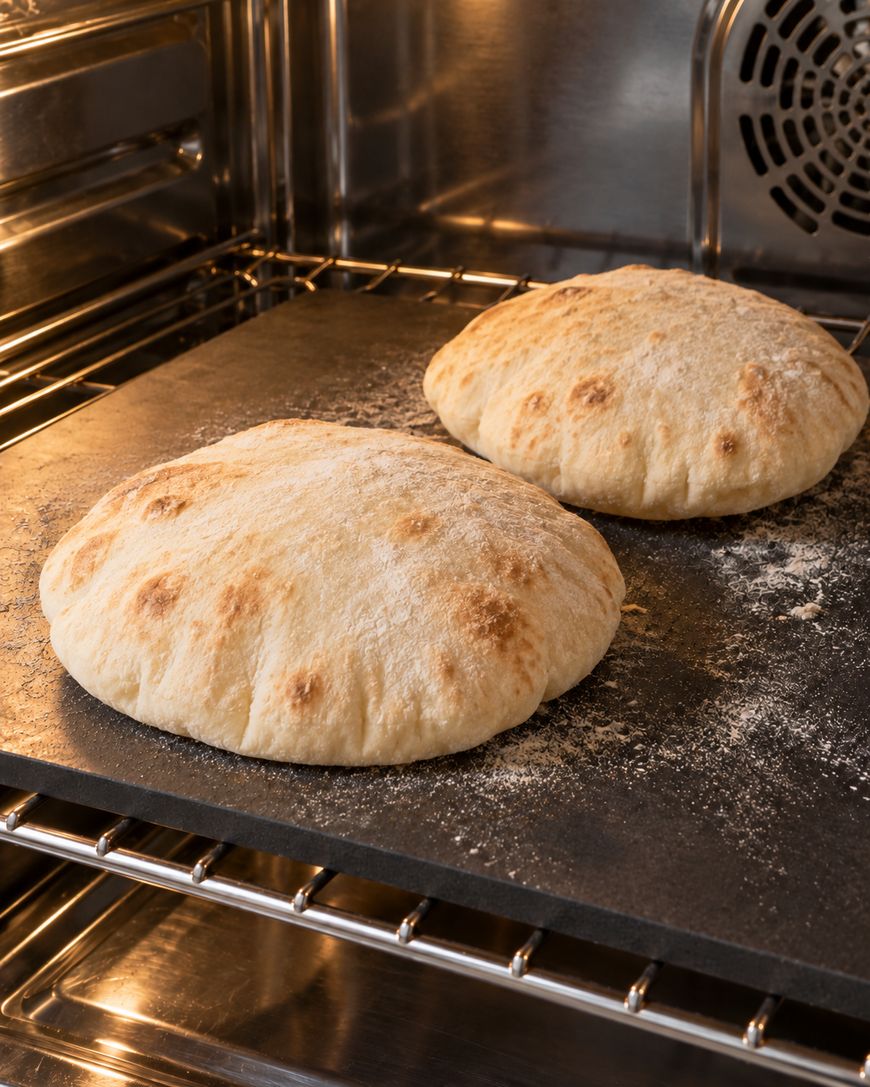
Repeat with the remaining rounds, giving the oven a minute to recover its heat between batches if you can. Four batches of two take about 16 to 20 minutes in total.
Variations and Serving Ideas for Homemade Pita
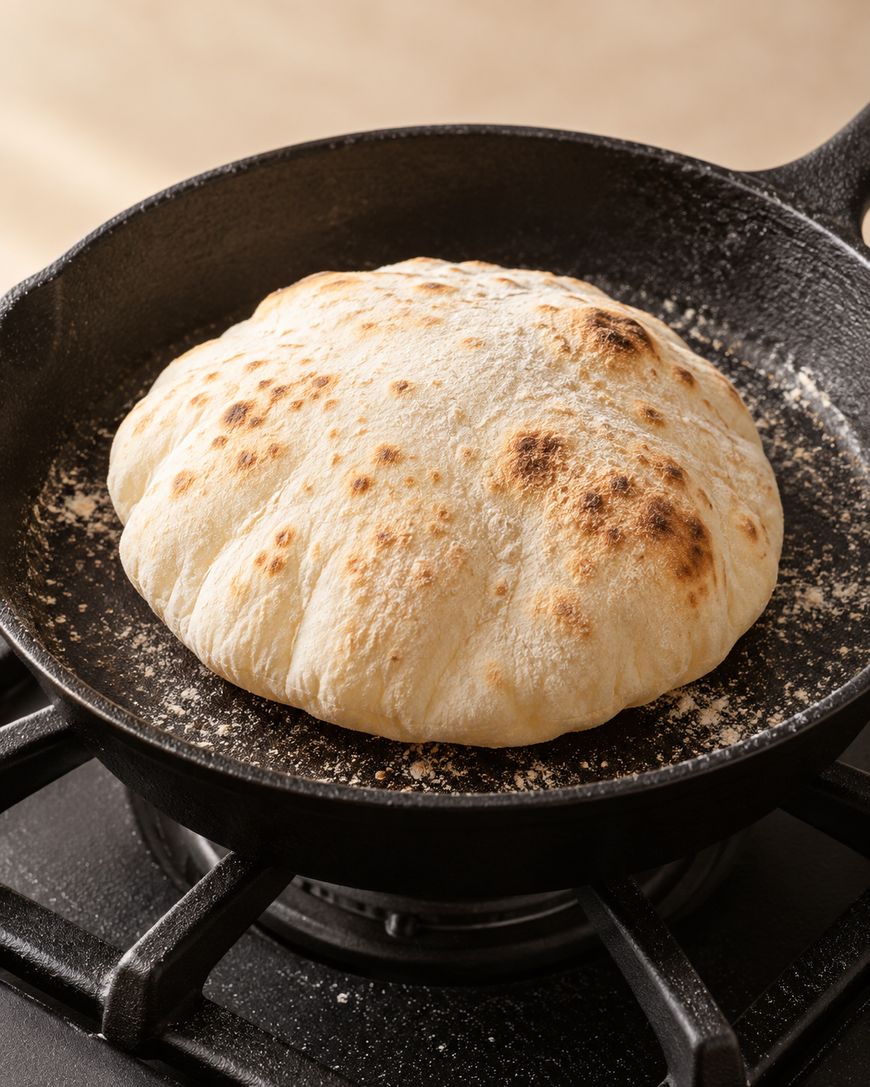
You can cook these pitas on the stovetop in a dry cast iron skillet over medium-high heat for about 1 to 2 minutes per side. The card below uses the oven because it puffs the pitas more reliably, so treat the skillet method as an optional shortcut when you do not want to heat the oven.
For a heartier pita, replace up to 1 cup of the all-purpose flour with whole wheat flour and add an extra tablespoon of water. The card leaves this out, so treat it as optional, and expect a denser, nuttier bread.
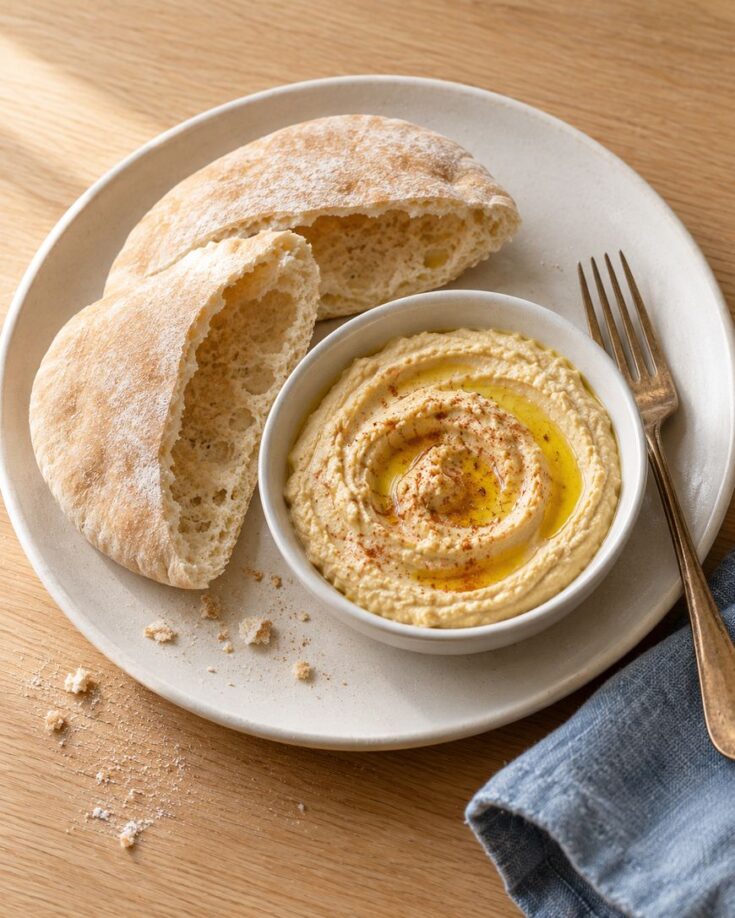
Warm pita is perfect with hummus, baba ganoush, tzatziki, or a drizzle of olive oil and za’atar. It also holds up as a wrap for falafel, gyro-style grilled chicken, or roasted vegetables, and it makes a quick personal pizza base with sauce and mozzarella.
To turn leftovers into pita chips, cut the rounds into wedges, brush them with olive oil, and bake at 375°F until crisp. They are a good use for pitas that are a day or two old.
Storing, Freezing, and Reheating Pita Bread
Let the pitas cool completely, then store them in an airtight container or zip-top bag at room temperature for up to 2 days. Refrigeration dries bread out faster, so the counter is the better place for them.
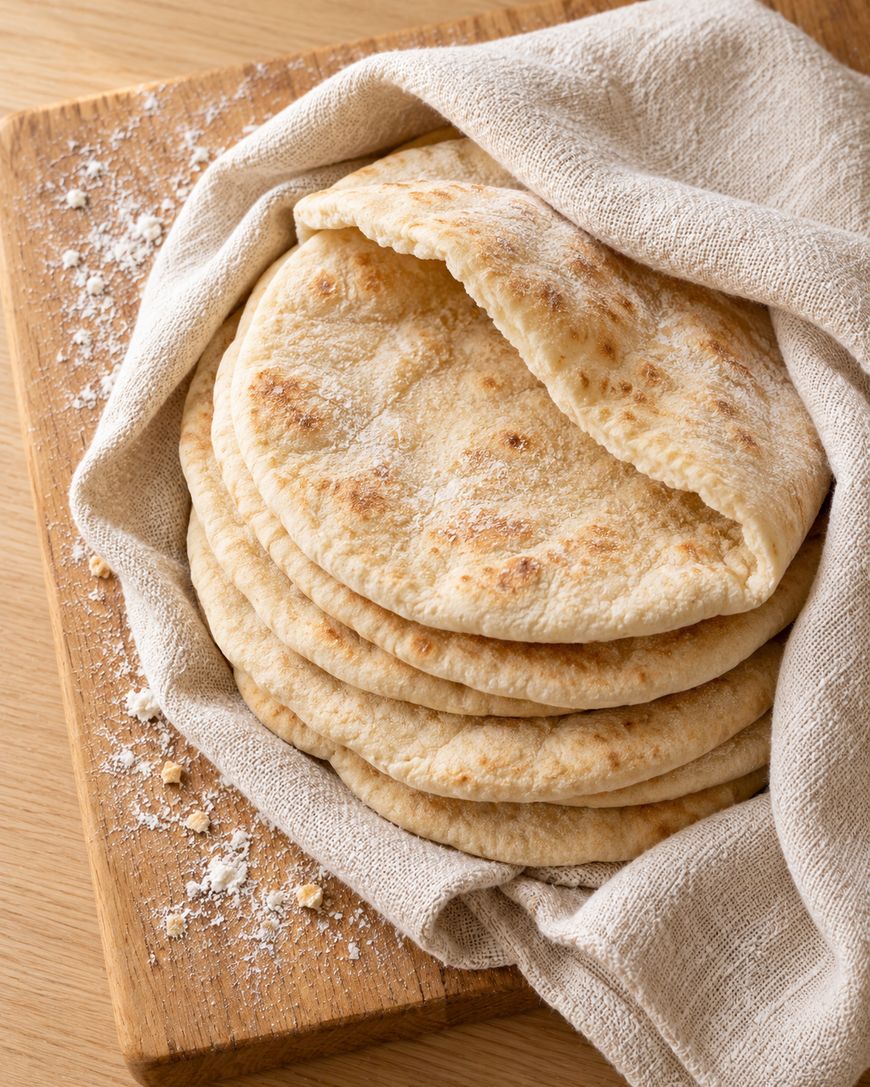
For longer storage, stack the cooled pitas with a square of parchment between each one and freeze them in a freezer bag for up to 3 months. Thaw them at room temperature for about 30 minutes.
To reheat, warm each pita in a dry skillet for about 30 seconds per side or in a toaster for a minute. The pockets soften again and the bread tastes freshly baked.
A Short History of Pita Bread
Flatbreads like pita have been baked across the Middle East and the eastern Mediterranean for thousands of years, traditionally in very hot clay or stone ovens. The intense heat of those ovens is exactly what the preheated steel or stone in your kitchen imitates.
The word pita is used in Greek, Arabic, and Hebrew, though the bread it describes varies by region. Pocket pita, the kind in this pita bread recipe, is common across Levantine cooking, where it is torn, folded, and used to scoop up dips and stews.
Today pita is a staple around the world, and the same simple dough has been adapted into gyros, wraps, and chips. Making it at home takes only a few hours and shows how few ingredients good bread really needs.
The full ingredient list and numbered steps are ready in the recipe card below, so you can print it or keep it open while you bake.
Pita Bread
Soft, puffy homemade pita bread with real pockets, made with flour, yeast, water, salt, and olive oil and baked on a very hot steel or stone.
Ingredients
- 3 cups (375 g) all-purpose flour, plus more for dusting
- 2 1/4 teaspoons (1 packet, 7 g) instant yeast
- 1 teaspoon granulated sugar
- 1 1/4 teaspoons fine sea salt
- 1 cup (240 ml) warm water, about 105 to 115°F
- 2 tablespoons extra virgin olive oil
- Extra olive oil, for greasing the bowl
Instructions
- Whisk the flour, yeast, sugar, and salt together in a large bowl, add the warm water and olive oil, and stir with a wooden spoon until a shaggy dough forms.
- Turn the dough onto a lightly floured counter and knead for about 8 minutes, or for 5 minutes with a stand mixer and dough hook on medium-low speed, until smooth, elastic, and slightly tacky.
- Shape the dough into a ball, place it in a lightly oiled bowl, turn it once to coat, cover, and let it rise at room temperature, around 75°F, for 1 hour until doubled in size.
- About 30 minutes before baking, set a baking steel, pizza stone, or upside-down heavy sheet pan on a middle oven rack and heat the oven to 500°F.
- Gently press the air out of the dough, turn it onto a lightly floured counter, cut it into 8 equal pieces of about 3 ounces (85 g) each, roll each piece into a smooth ball, cover with a towel, and rest for 10 minutes.
- Roll each ball into a round about 7 inches wide and 1/4 inch thick, using as little flour as possible, then set the rounds on a floured surface, cover with a towel, and rest for 10 minutes.
- Place 2 rounds at a time directly onto the hot baking surface, close the oven, and bake for 3 to 4 minutes until puffed and pale golden with a few light brown spots, without opening the door early or flipping.
- Remove the pitas with a spatula or tongs, wrap them right away in a clean kitchen towel to keep them soft, and repeat with the remaining rounds.
- Serve warm, or cool completely before storing.
Notes
The risen dough can be refrigerated in a covered bowl for up to 24 hours, then left on the counter for 30 minutes before dividing. Store cooled pitas in an airtight container at room temperature for up to 2 days. Freeze for up to 3 months with parchment between each pita, thaw at room temperature for about 30 minutes, and reheat in a dry skillet for about 30 seconds per side or in a toaster for a minute. If the pitas do not puff, check that the baking surface preheated for a full 30 minutes and that the rounds were rolled to an even 1/4 inch. Optional additions not in the recipe as written: cook in a dry cast iron skillet over medium-high heat for 1 to 2 minutes per side instead of the oven, replace up to 1 cup of the all-purpose flour with whole wheat flour and add 1 extra tablespoon of water, or cut leftover pitas into wedges, brush with olive oil, and bake at 375°F until crisp for pita chips.
Nutrition Information:
Yield:
8Serving Size:
1 pitaAmount Per Serving: Calories: 200Total Fat: 4gSaturated Fat: 1gSodium: 365mgCarbohydrates: 36gFiber: 1gSugar: 1gProtein: 5g
Pita Bread Recipe Questions
Why didn’t my pita bread puff up?
The most common causes are an oven that was not hot enough, dough rolled too thin or unevenly, and rounds that were not rested before baking. Preheat the baking surface for a full 30 minutes at 500°F, roll to an even 1/4 inch, and make sure you are not stretching or tearing the dough while shaping.
Can you make this pita bread recipe without a baking steel?
Yes, heat a heavy half sheet pan upside down on the middle rack for the same 30 minutes and bake the rounds directly on its surface. A pizza stone also works.
Can you use whole wheat flour?
You can replace up to 1 cup of the all-purpose flour with whole wheat flour and add an extra tablespoon of water. The pitas will be a little denser and nuttier, and they still puff as long as you roll them evenly.
How long does homemade pita bread last?
Store cooled pitas in an airtight container at room temperature for up to 2 days. For longer storage, freeze them with parchment between each round for up to 3 months and reheat in a dry skillet or toaster.
Is this pita bread recipe vegan?
Yes. The dough contains flour, yeast, sugar, salt, water, and olive oil, with no dairy or eggs, so it works for vegan and dairy-free tables as written.
Why This Pita Bread Recipe Works
This recipe works because it focuses on steam. A well-kneaded dough with enough water holds together as a thin sheet, and when it hits a very hot surface the water inside turns to steam and inflates the round into a pocket.
Kneading for 8 minutes builds enough gluten to trap that steam, while a single 1 hour rise gives the dough flavor without making it too slack to roll. Olive oil keeps the finished bread soft and flexible, and a short rest after rolling relaxes the dough so it bakes up evenly instead of shrinking.
The 500°F preheated steel or stone is the last piece. It transfers heat quickly to the underside of the round, which sets the bottom crust and forces the steam upward into the center, and wrapping the pitas in a towel straight from the oven keeps them tender.
Make This Pita Bread Recipe Tonight
This pita bread recipe gives you soft, warm pitas with real pockets in about two hours, using ingredients you probably already have. Gather your flour and yeast, set the oven preheating while the dough rises, and see for yourself how easy it is.
Save the recipe card for your next dinner, serve the pitas with hummus or grilled chicken, and leave a rating once you have tried it.