Last updated: September 15, 2026
This pizza dough recipe turns five pantry staples into a chewy, blistered crust that rivals your favorite pizzeria, and the recipe card below has the exact measurements and timing you need.
Why This Pizza Dough Recipe Works
A great pizza dough comes down to hydration, gluten development, and a properly timed rise, and this recipe balances all three without any fuss.
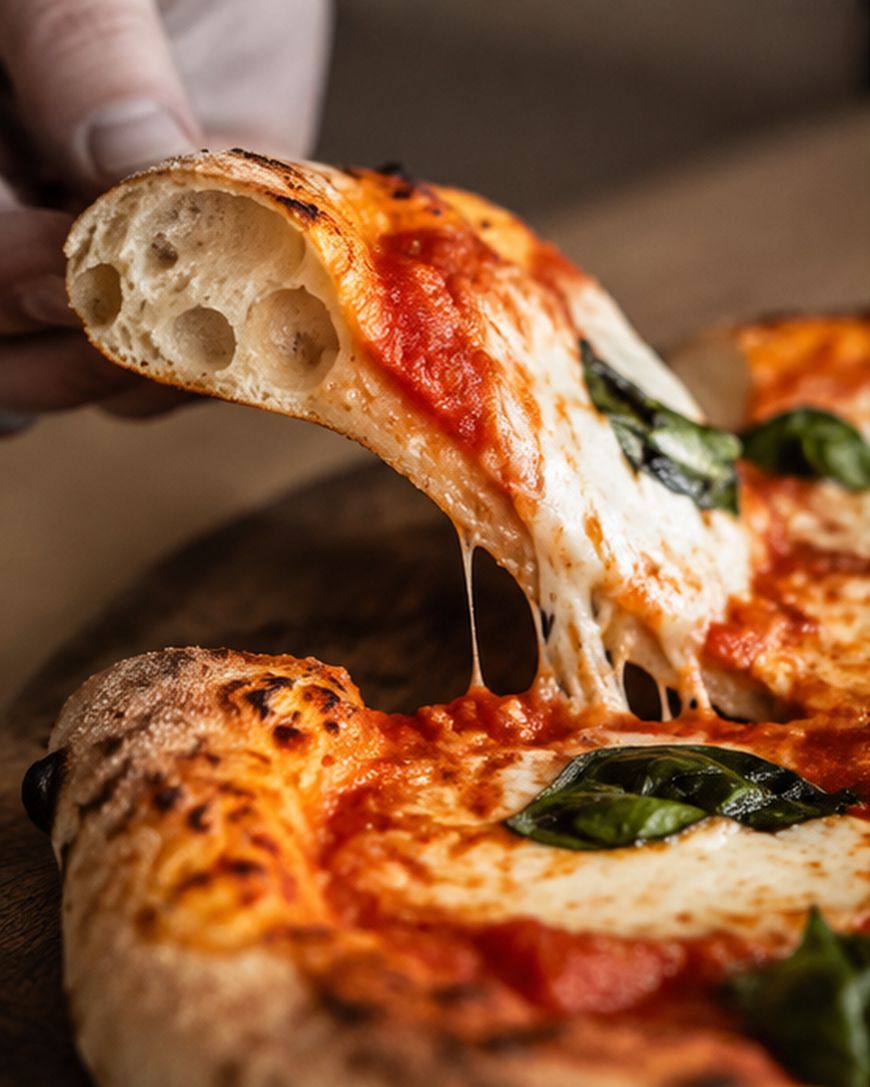
The dough uses bread flour rather than all-purpose flour, since bread flour’s higher protein content builds the gluten network that gives Neapolitan-style crusts their signature chew.
Olive oil adds tenderness and helps the crust brown evenly in a hot oven, while a modest amount of sugar feeds the yeast and encourages a deeper golden color at the edges.
The Role of Each Ingredient
Bread flour is the backbone of this dough, and King Arthur or Caputo 00 flour both work well if you want to get closer to a wood-fired pizzeria texture.
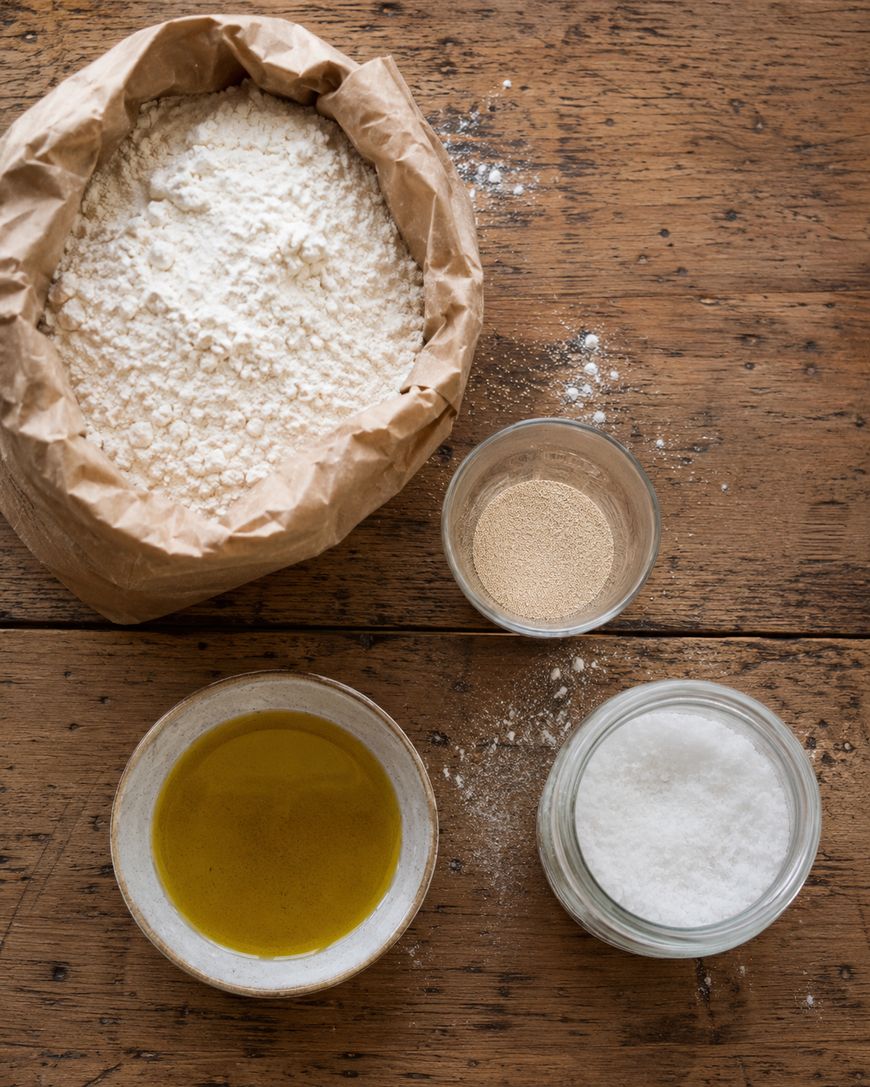
Instant yeast dissolves directly into the dry ingredients and skips the proofing step that active dry yeast requires, which shaves a few minutes off your prep time.
Warm water, ideally between 100 and 110 degrees Fahrenheit, activates the yeast without killing it, so use a kitchen thermometer if you have one on hand.
Kosher salt controls the fermentation speed and strengthens the gluten strands, so resist the urge to skip it even if you’re watching sodium.
How to Make Pizza Dough From Scratch
Start by combining the bread flour, instant yeast, sugar, and kosher salt in a large mixing bowl or the bowl of a stand mixer fitted with a dough hook.
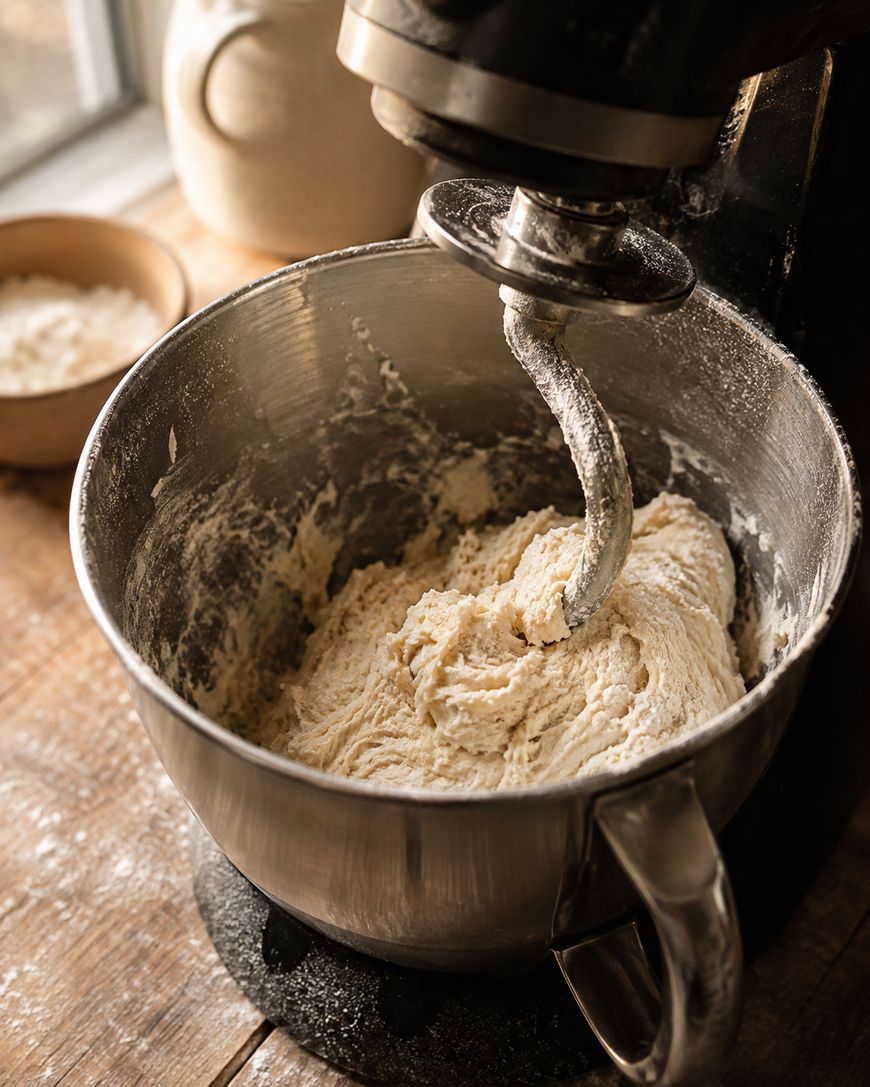
Whisk the dry ingredients together first so the yeast and salt don’t come into direct contact before the liquid goes in, since salt can slow yeast activity if it sits too long against the granules.
Pour in the warm water and olive oil, then mix on low speed for about a minute until a shaggy dough forms, or stir by hand with a wooden spoon if you don’t have a stand mixer.
Kneading and Building Gluten
Increase the mixer speed to medium and knead for 7 to 8 minutes, or turn the dough out onto a lightly floured countertop and knead by hand for 10 to 12 minutes.
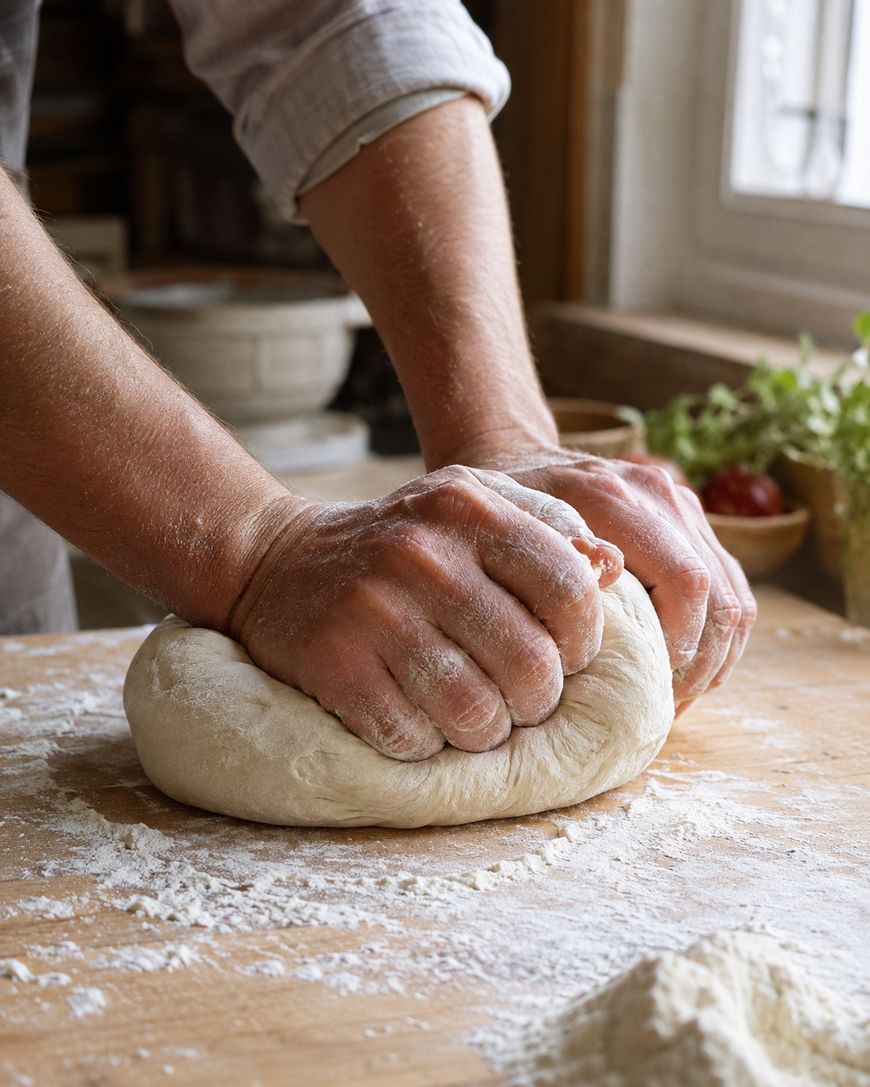
You’ll know the dough is ready when it feels smooth, slightly tacky but not sticky, and springs back when you press two fingers into it.
If the dough tears easily instead of stretching, keep kneading, since underdeveloped gluten is the most common reason homemade pizza dough turns out dense.
The First Rise
Shape the kneaded dough into a tight ball and place it in a lightly oiled bowl, turning it once so the surface is coated in oil to prevent a dry skin from forming.
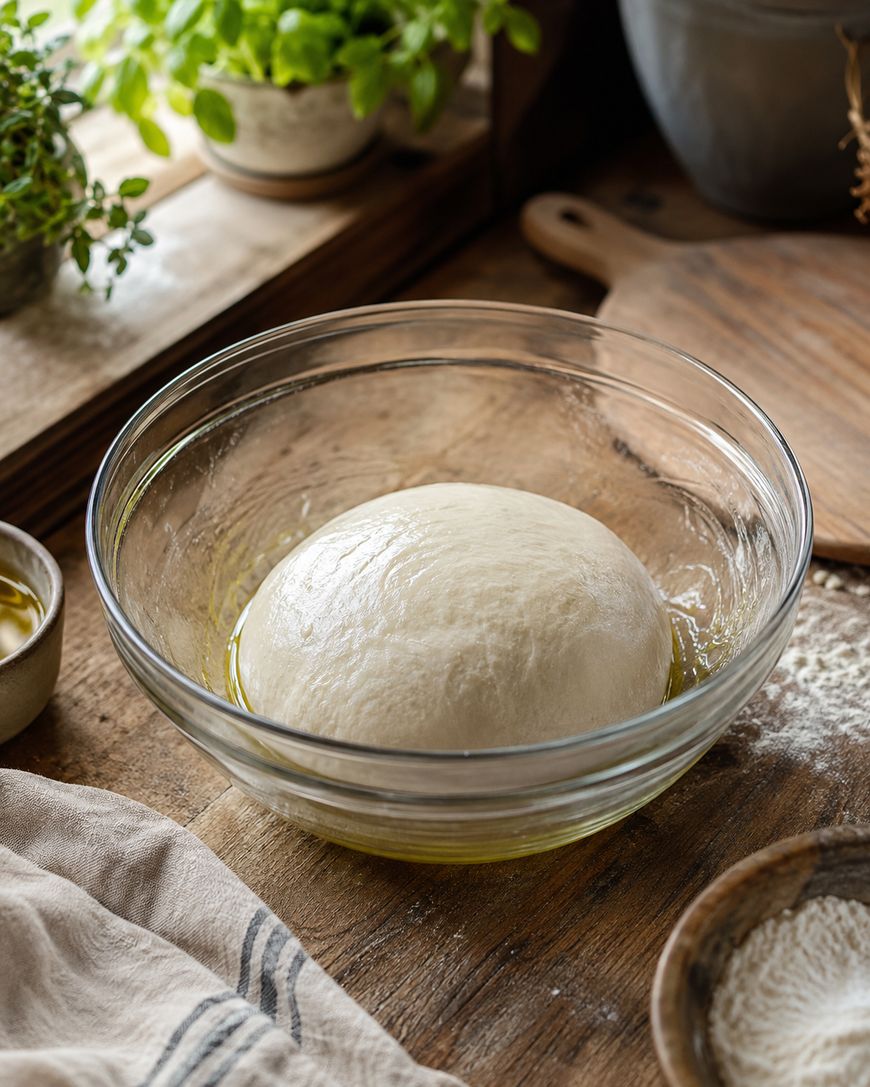
Cover the bowl with plastic wrap or a damp kitchen towel and let it rise in a warm spot for 60 to 90 minutes, until it has doubled in size.
A turned-off oven with just the oven light on creates a gentle, draft-free environment that’s ideal for proofing dough during colder months.

Dividing and Shaping
Once the dough has doubled, punch it down gently to release the trapped gas, then divide it into two equal portions for two 12-inch pizzas.
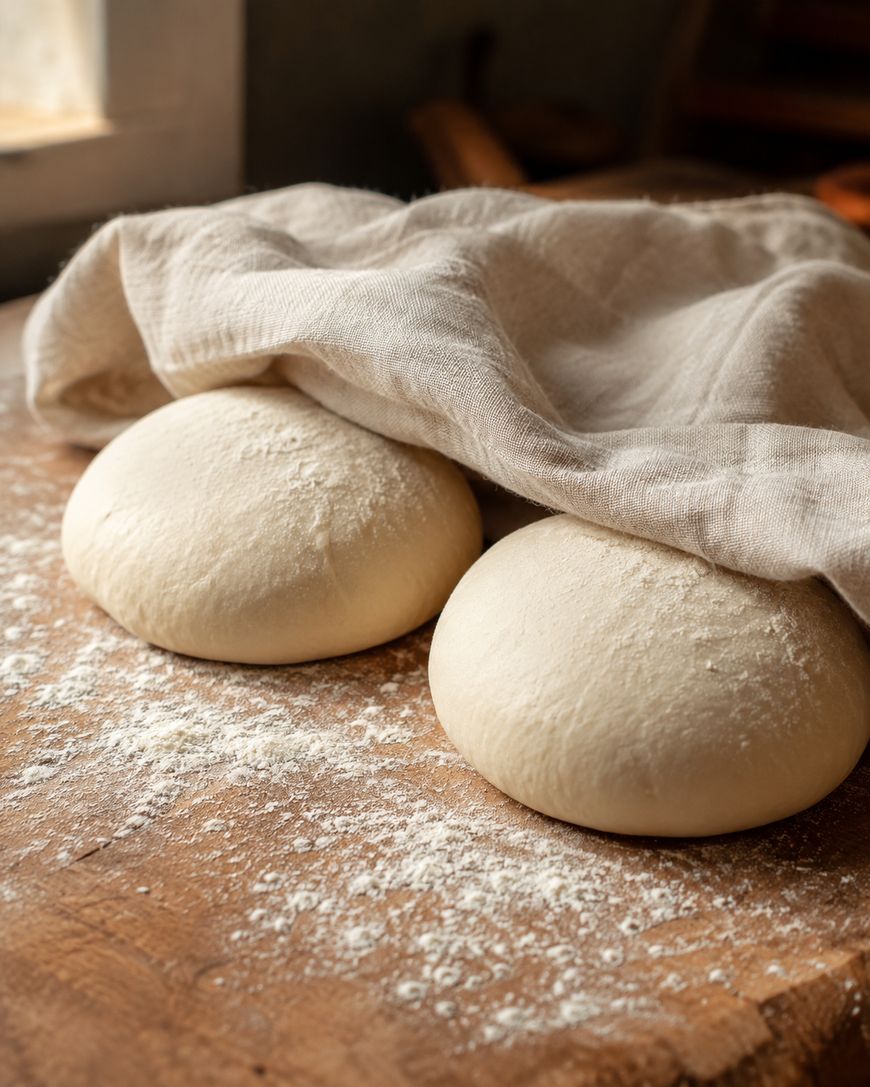
Shape each portion into a smooth ball, cover with a towel, and let them rest for 10 minutes before stretching, since this short bench rest relaxes the gluten and makes shaping much easier.
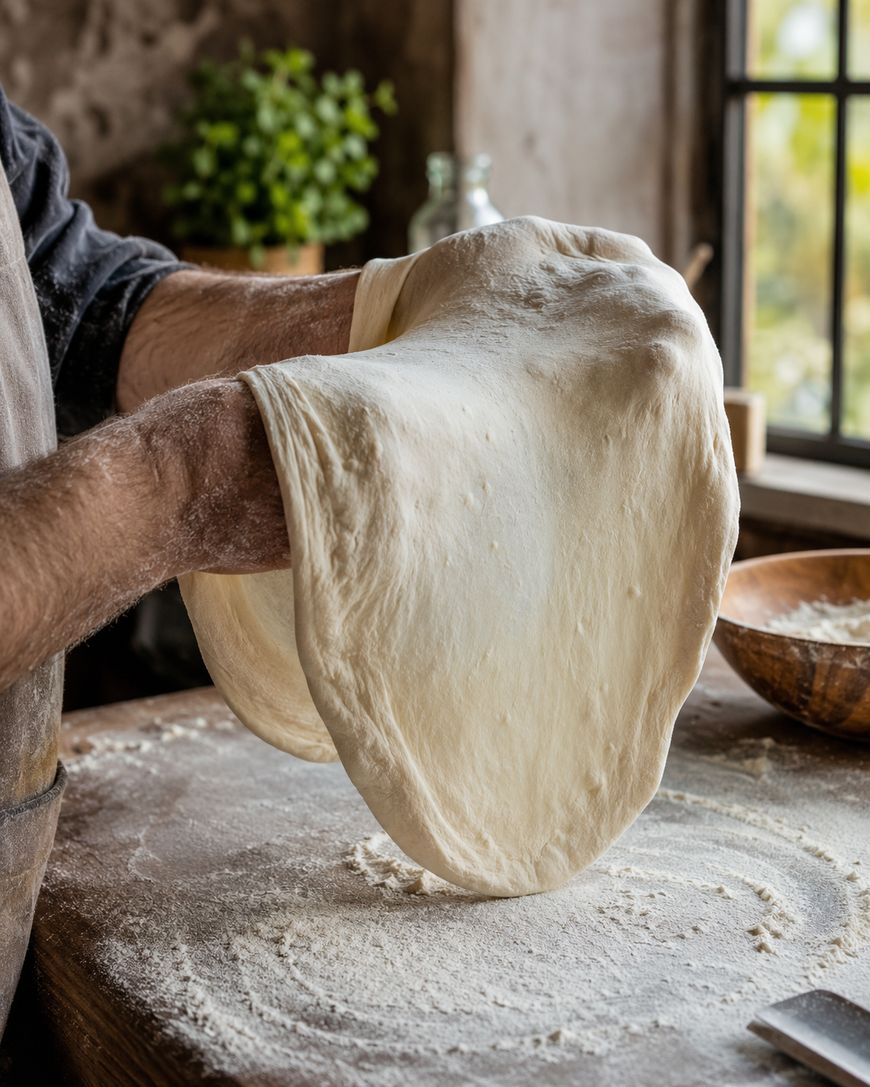
Stretch each ball into a round by pressing from the center outward with your fingertips, leaving a slightly thicker border for the crust, then finish by draping the dough over your knuckles and gently rotating it.
Baking Tips for a Better Crust
Preheat your oven as hot as it will go, ideally 500 to 550 degrees Fahrenheit, with a pizza stone or steel inside for at least 45 minutes before baking.
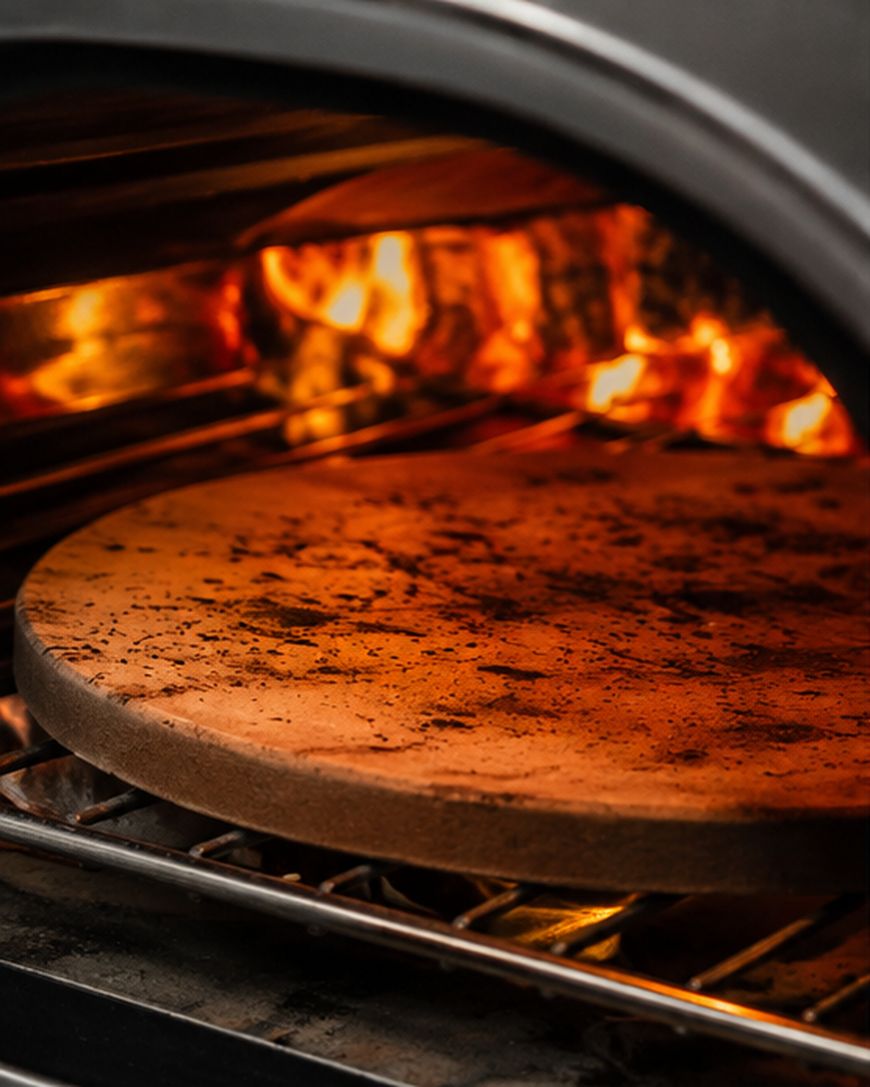
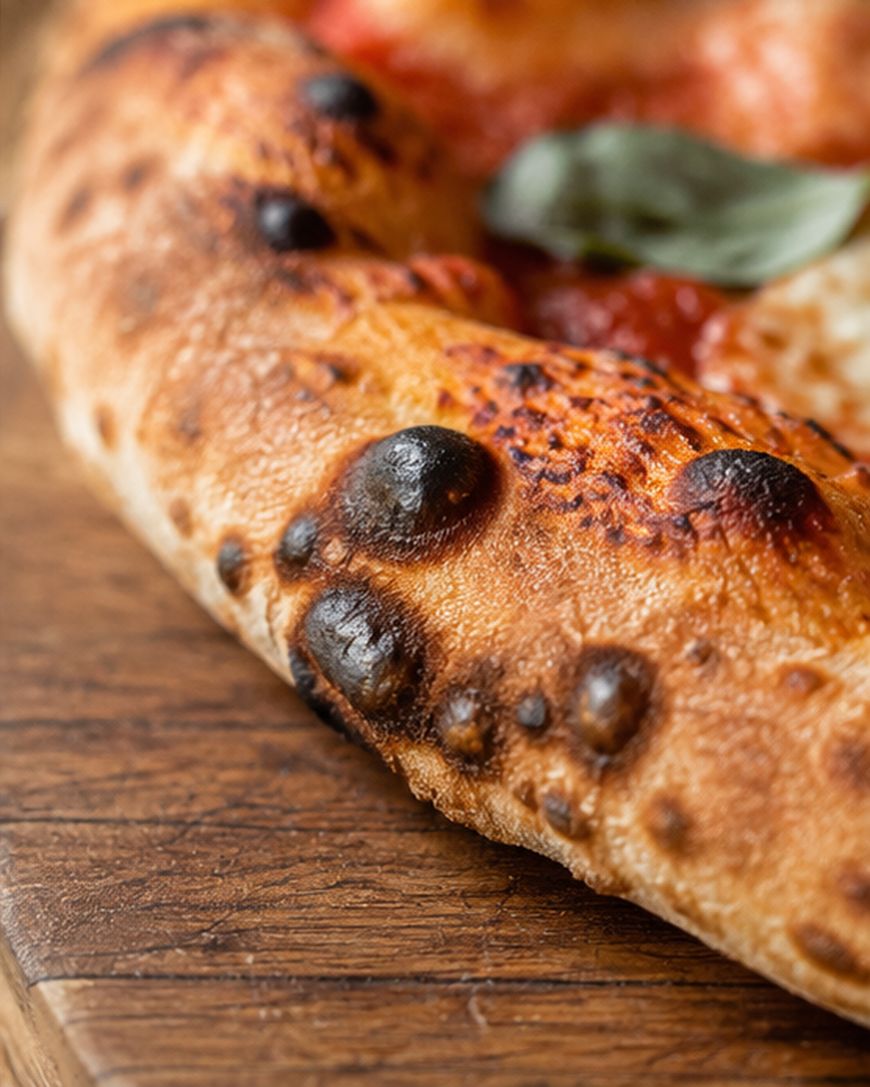
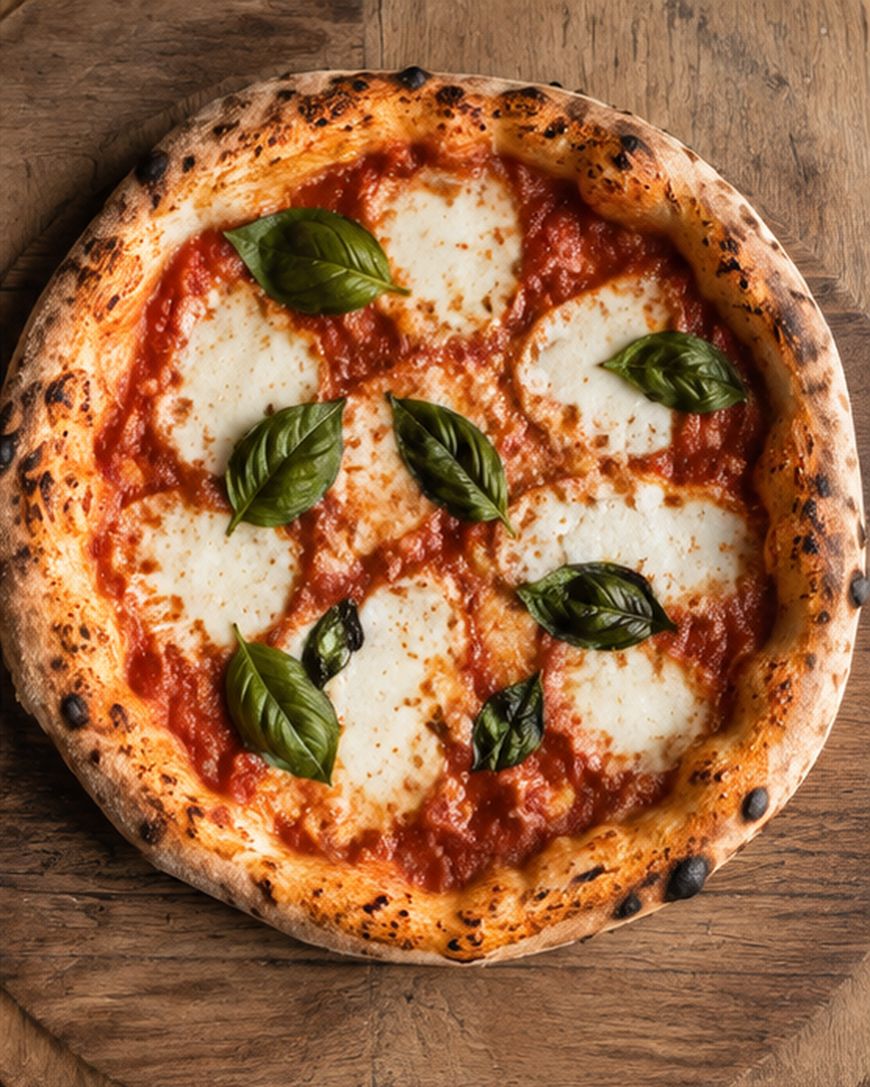
A preheated stone transfers intense, direct heat into the bottom of the crust, which is what produces those characteristic dark leopard spots on a Neapolitan-style pizza.
If you don’t own a pizza stone, an inverted heavy baking sheet works as a reasonable substitute, though it won’t retain heat quite as well.
Variations and Substitutions
Swap half the bread flour for whole wheat flour if you want a nuttier, heartier crust, though you may need an extra tablespoon or two of water since whole wheat absorbs more liquid.
For a gluten-free version, use a 1:1 gluten-free flour blend that includes xanthan gum, and expect a slightly more delicate, less chewy texture.
If you prefer a thin and crispy crust, divide the dough into three portions instead of two and roll it out thinner before topping.
Make-Ahead and Storage
This dough freezes beautifully, so consider doubling the recipe and freezing extra portions in individually oiled zip-top bags for up to three months.
For a slow, cold fermentation that develops deeper flavor, let the dough rise in the refrigerator for 24 to 72 hours instead of at room temperature, then bring it back to room temperature for about an hour before shaping.
Leftover baked pizza keeps well in the refrigerator for up to four days, and reheating slices in a skillet over medium heat restores a crisp bottom better than the microwave does.
Serving Suggestions
Top this dough with a simple crushed tomato sauce, fresh mozzarella, and basil for a classic Margherita, or go heartier with pepperoni, mushrooms, and a drizzle of hot honey after baking.
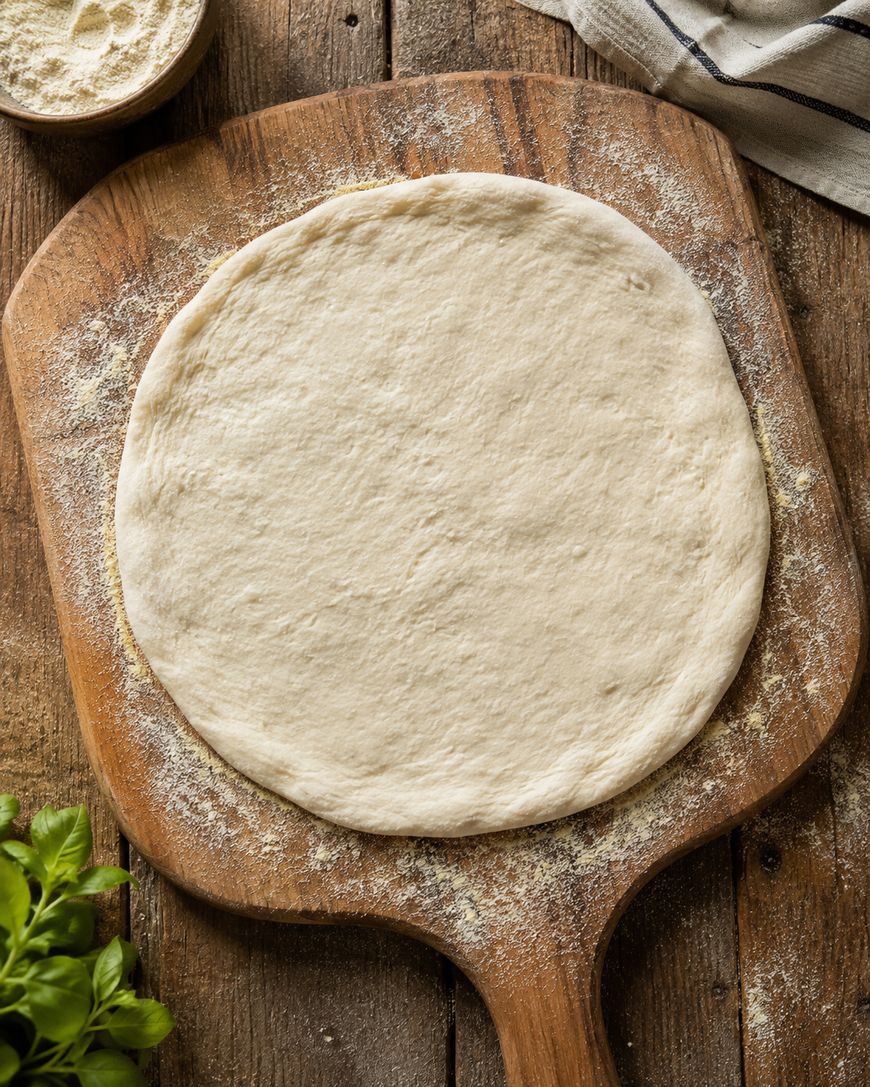
A light dusting of semolina flour or cornmeal on your pizza peel keeps the shaped dough from sticking as you slide it onto the hot stone.
The Background of Pizza Dough
Pizza dough traces its roots to Naples, Italy, where bakers in the 18th and 19th centuries developed the simple flour, water, yeast, and salt formula that still defines authentic Neapolitan pizza today.
The Associazione Verace Pizza Napoletana, a Naples-based organization founded to protect traditional pizza-making standards, still specifies exact flour types, fermentation times, and oven temperatures for dough to be certified truly Neapolitan.
American home cooks have since adapted the technique with bread flour and home ovens, trading some of the wood-fired char for a version that’s realistic to make on a Tuesday night.
Ready to put this into practice? Use the recipe card below for the exact ingredient amounts and step-by-step instructions.

Pizza Dough Recipe
A soft, chewy homemade pizza dough made with bread flour, instant yeast, and olive oil, ready in about an hour and a half with one simple rise.
Ingredients
- 3 1/2 cups bread flour
- 1 packet (2 1/4 teaspoons) instant yeast
- 1 teaspoon granulated sugar
- 1 1/2 teaspoons kosher salt
- 1 1/3 cups warm water (100 to 110 degrees F)
- 2 tablespoons olive oil, plus more for the bowl
Instructions
- In a large bowl or stand mixer, whisk together the bread flour, instant yeast, sugar, and kosher salt.
- Add the warm water and olive oil, then mix on low speed for 1 minute until a shaggy dough forms.
- Knead on medium speed for 7 to 8 minutes, or by hand for 10 to 12 minutes, until the dough is smooth and elastic.
- Shape the dough into a ball, place it in a lightly oiled bowl, and turn to coat.
- Cover with plastic wrap or a damp towel and let rise in a warm spot for 60 to 90 minutes, until doubled in size.
- Punch down the dough and divide into 2 equal portions for two 12-inch pizzas.
- Shape each portion into a ball, cover, and let rest for 10 minutes.
- Preheat the oven to 500 to 550 degrees F with a pizza stone or steel inside for at least 45 minutes.
- Stretch each dough ball into a 12-inch round, leaving a slightly thicker border for the crust.
- Top as desired and bake until the crust is golden and blistered, 6 to 9 minutes.
Notes
For deeper flavor, let the dough rise in the refrigerator for 24 to 72 hours instead of at room temperature. Dough can be frozen for up to 3 months in individually oiled zip-top bags.
Nutrition Information:
Yield:
8Serving Size:
1 slice of crustAmount Per Serving: Calories: 210Total Fat: 4gSaturated Fat: 0.5gSodium: 330mgCarbohydrates: 37gFiber: 1gSugar: 1gProtein: 6g
This site provides estimated nutritional information. This information comes from online calculators. Although we try to provide accurate nutritional information, these figures are only estimates.
Frequently Asked Questions
Can you make pizza dough without a stand mixer?
Yes, this dough comes together easily by hand with a wooden spoon and about 10 to 12 minutes of kneading on a floured countertop.
The hand-kneading process just takes a bit longer than a stand mixer, but you’ll get the same smooth, elastic result.
Why is my pizza dough not rising?
Your yeast may be expired or your water may have been too hot, since water above 130 degrees Fahrenheit kills instant yeast outright.
Also check that your rising spot isn’t too cold, since dough rises noticeably slower in a chilly kitchen below 68 degrees Fahrenheit.
Can you make this pizza dough recipe the night before?
Absolutely, and a longer cold rise in the refrigerator actually improves the flavor by giving the yeast more time to develop complex, slightly tangy notes.
Just bring the dough to room temperature for about an hour before you shape and stretch it, since cold dough is stiff and tears more easily.
What’s the best flour for homemade pizza dough?
Bread flour is the best all-around choice for home ovens, since its higher protein content builds the chewy structure this recipe is built around.
00 flour is the traditional choice for wood-fired Neapolitan pizza, but it performs best at much higher oven temperatures than most home ovens reach.
How thin should you stretch pizza dough?
Aim for about a quarter-inch thickness across the center, with a slightly thicker, puffier border of about an inch for the crust.
Stretching it too thin in the middle can cause tearing or a soggy center once the toppings go on.
Can you freeze pizza dough after it rises?
Yes, punch down the risen dough, divide it into portions, coat each lightly in olive oil, and freeze in zip-top bags for up to three months.
Thaw frozen dough overnight in the refrigerator, then let it come to room temperature before shaping.
Final Thoughts
This pizza dough recipe proves that a chewy, restaurant-quality crust doesn’t require special equipment or years of practice, just a handful of pantry staples and a little patience while it rises.
Once you’ve made this pizza dough recipe a few times, you’ll find yourself reaching for it over delivery menus more often than not.