Last updated: August 23, 2026
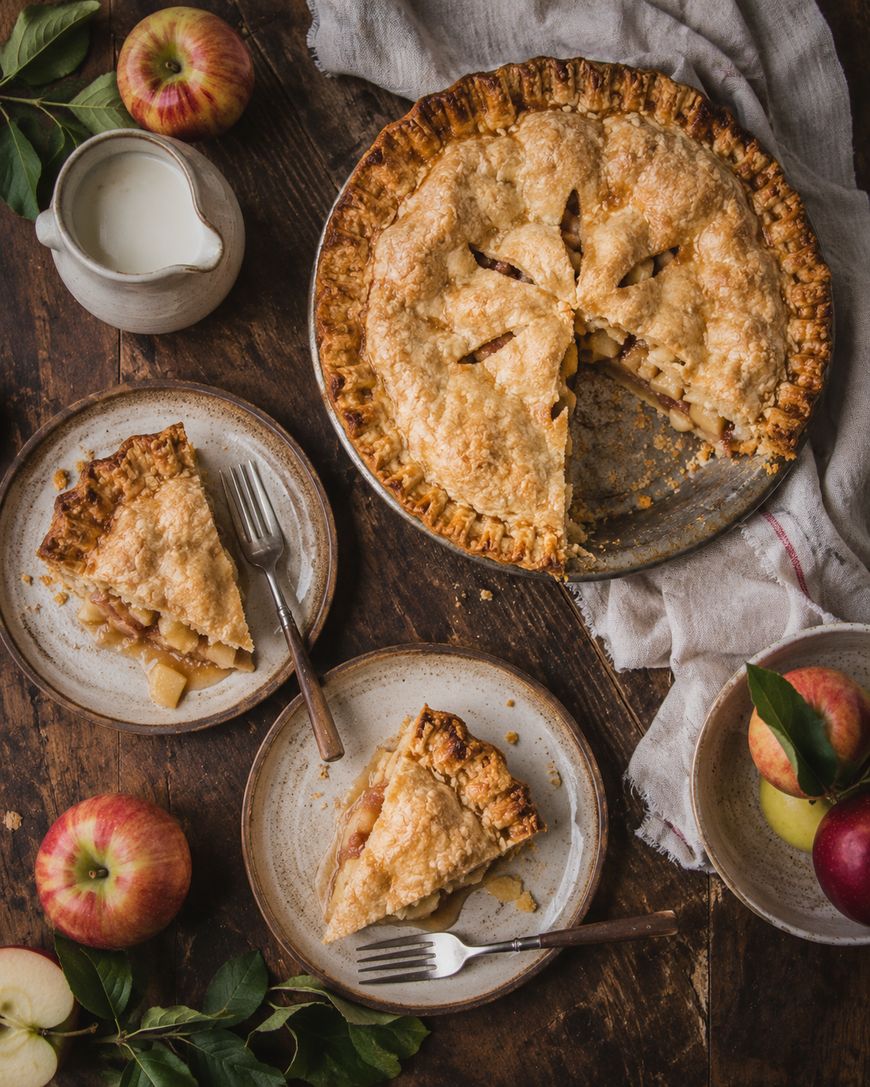
Apple pie is the dessert most people picture when they think of a homemade fall treat, and this version uses a flaky butter crust with warm, spiced apples that hold their shape. You will find the full recipe card below once you have read through the tips here.
Why This Apple Pie Works
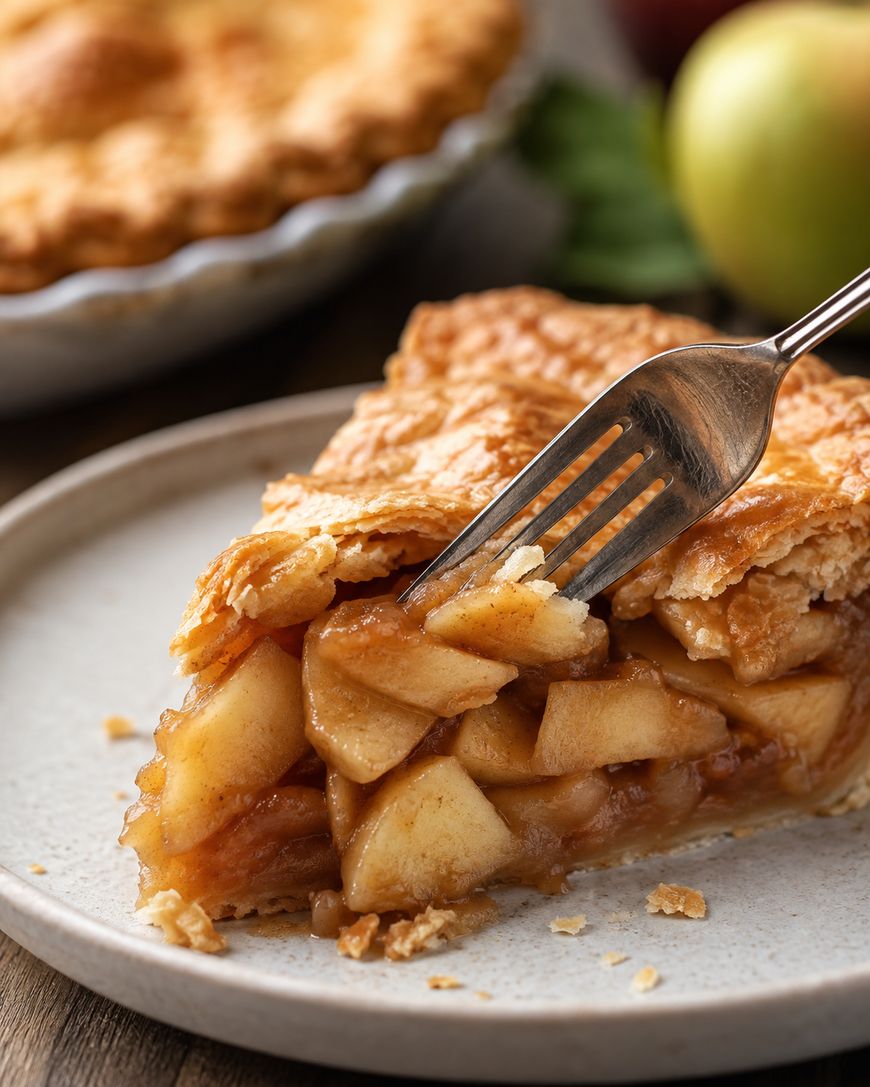
A great apple pie comes down to two things: the crust and the apple filling, and this recipe treats both with equal care. Using a blend of Honeycrisp and Granny Smith apples gives you a filling that is both sweet and tart, with enough structure that the slices hold together instead of turning to mush.
The Apple Blend Matters
Granny Smith apples are firm and tart, which means they resist breaking down in the oven and keep their shape after baking. Honeycrisp apples bring natural sweetness and a juicy bite that balances out the tartness.
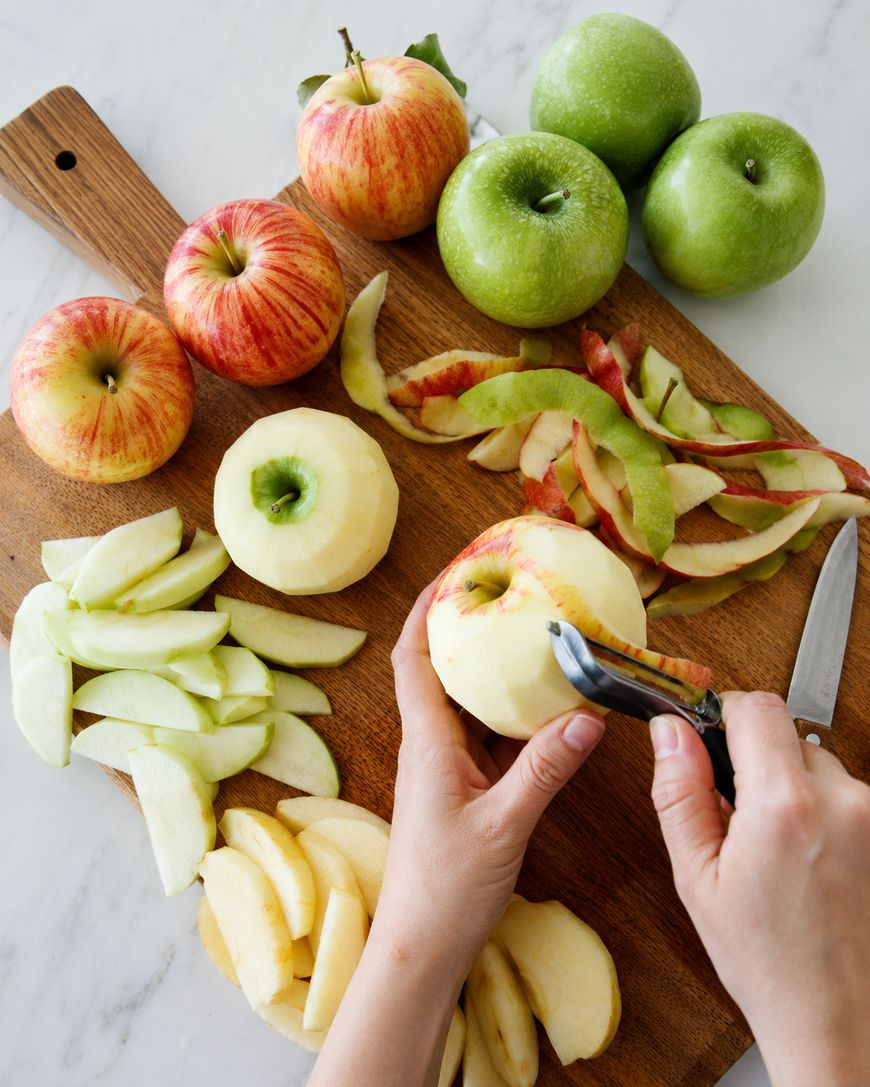
Using only one variety of apple often leads to a filling that is either too watery or too one-note in flavor. A 50/50 split between the two gives you the best of both worlds, and it is a combination bakers have relied on for generations.
Building a Flaky, Reliable Crust
Cold butter is the secret to a flaky pie crust, and it needs to stay cold all the way through the mixing and rolling process. Cutting the butter into the flour until it resembles coarse crumbs, with some pea-sized pieces still visible, creates pockets of steam as the pie bakes that puff the layers apart.
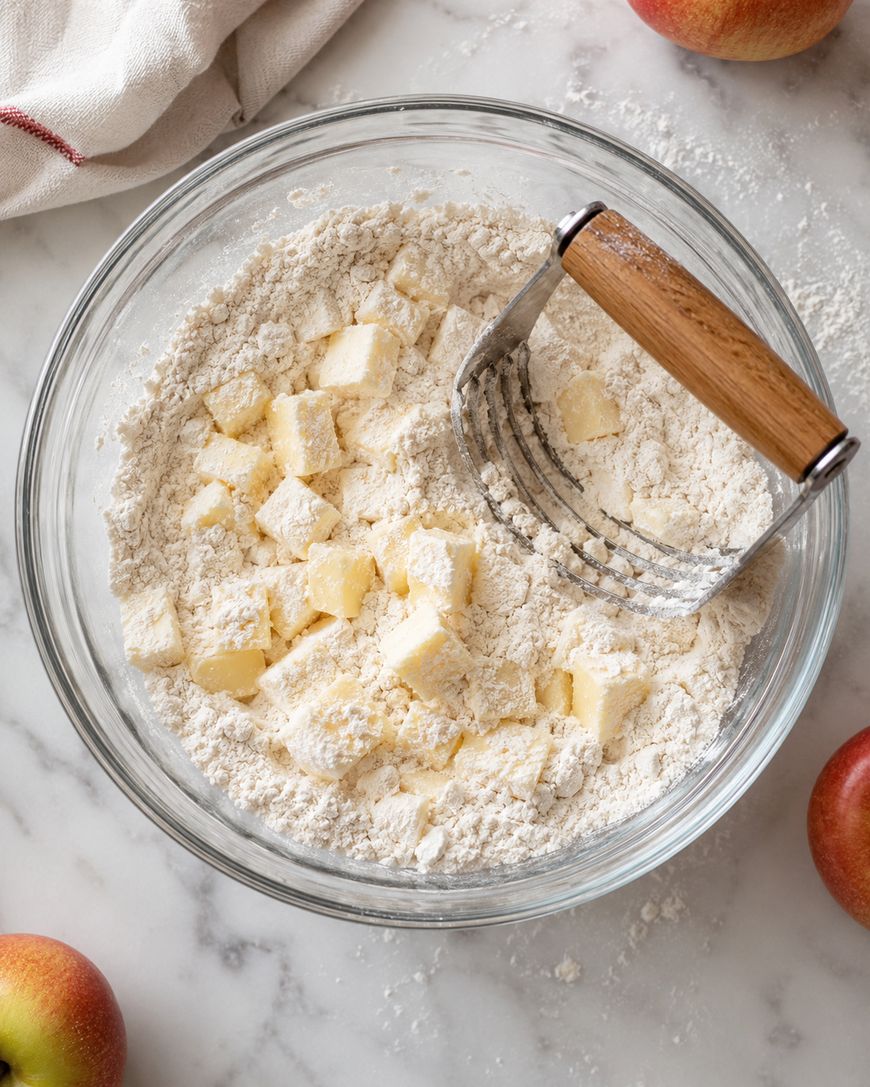
Ice water should be added a tablespoon at a time, just until the dough comes together without being sticky. Overworking the dough at this stage is the most common reason a homemade crust turns out tough instead of tender.
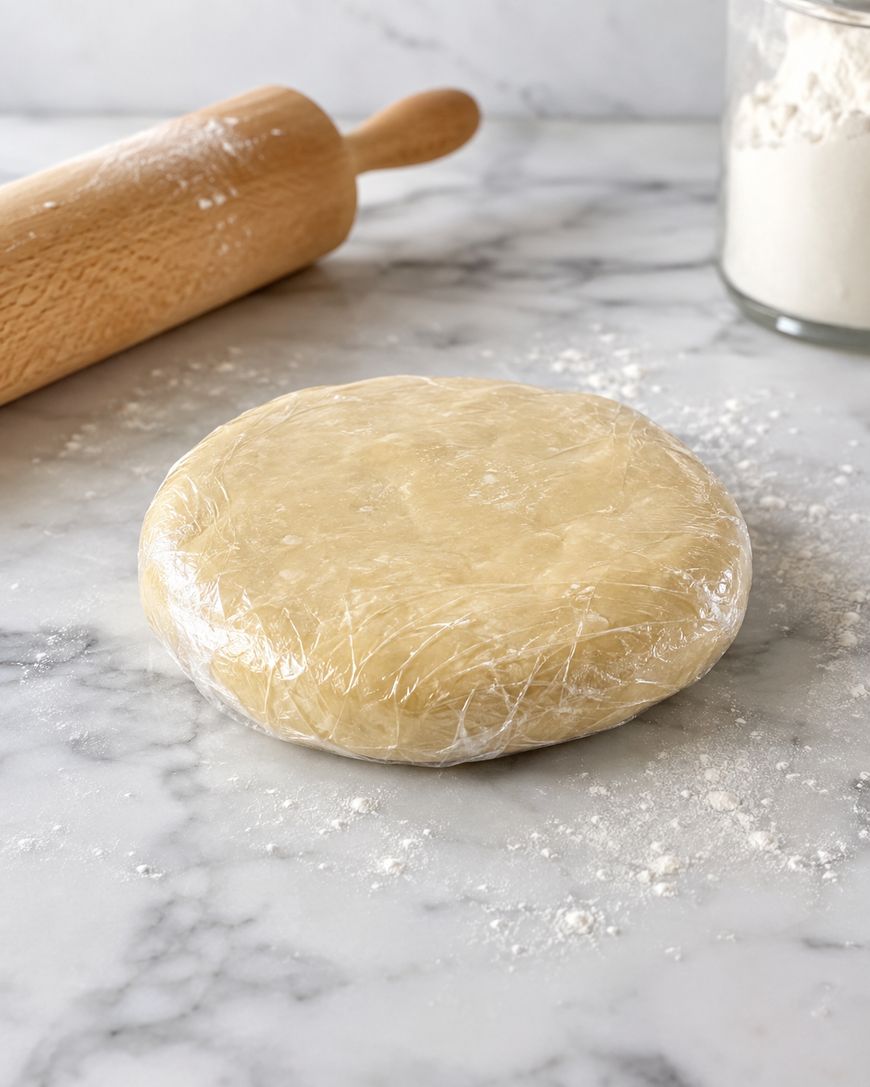
Once the dough is formed into two discs, it needs to chill in the refrigerator for at least an hour before rolling. This resting period relaxes the gluten and firms the butter back up, both of which make the dough easier to roll and the finished crust flakier.
Ingredients You Will Need
The full ingredient list with exact measurements is available in the recipe card below, but a few notes are worth mentioning here. All-purpose flour, unsalted butter, and ice water form the base of the crust, while a touch of sugar and salt round out the flavor.
For the filling, the apples are tossed with granulated sugar, brown sugar, ground cinnamon, a touch of nutmeg, lemon juice, and a small amount of flour or cornstarch to thicken the juices as they cook. Lemon juice not only brightens the flavor but also keeps the sliced apples from browning while you finish the crust.
Step-by-Step Method
Start by making the crust so it has time to chill while you prepare the apples. Combine the flour, salt, and sugar in a large bowl, then cut in the cold, cubed butter using a pastry cutter or your fingers until the mixture looks like coarse crumbs with pea-sized butter pieces throughout.
Add ice water one tablespoon at a time, mixing gently with a fork after each addition, until the dough just holds together when pressed. Divide the dough into two discs, wrap each in plastic, and refrigerate for at least one hour.
While the dough chills, peel, core, and slice the apples into even, quarter-inch pieces so they cook at the same rate. Toss the apple slices with the sugars, cinnamon, nutmeg, lemon juice, and flour in a large bowl, then let the mixture sit for about fifteen minutes so the sugars start to draw out the natural juices.
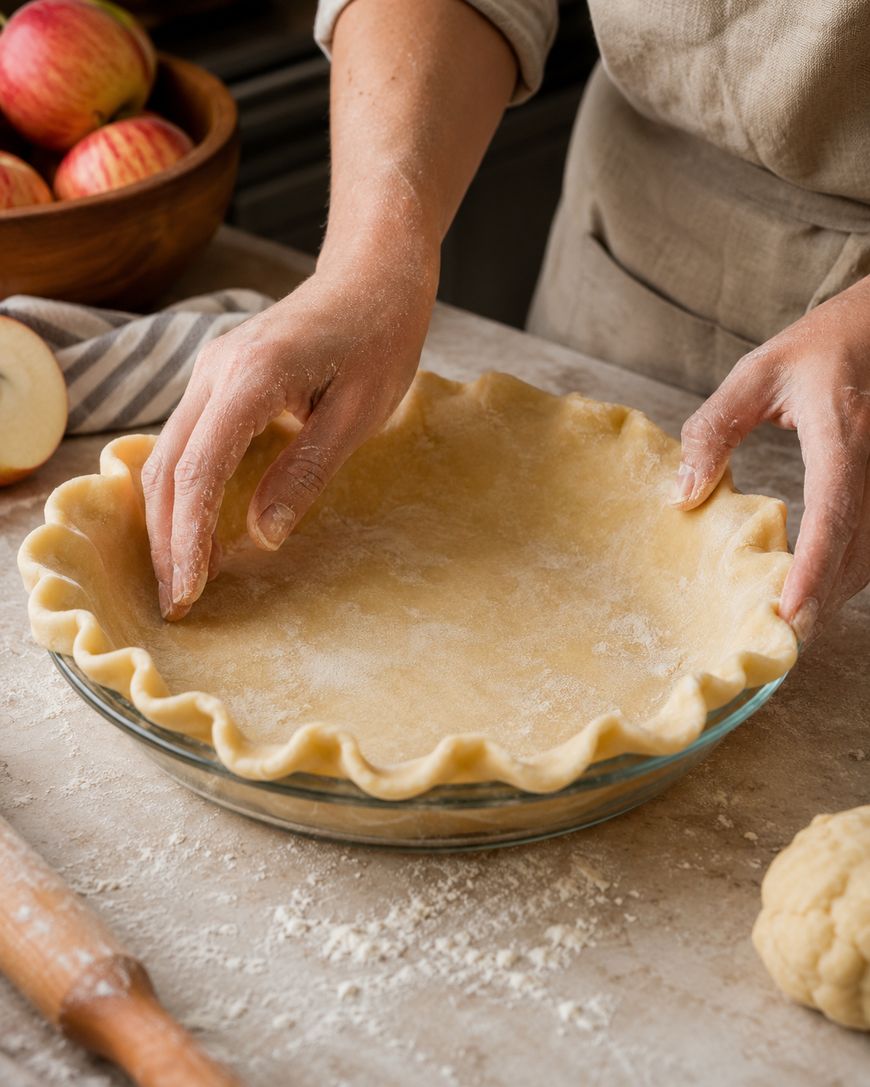
Preheat the oven to 425 degrees Fahrenheit and roll out the first disc of dough on a lightly floured surface into a circle about twelve inches across. Transfer the dough to a nine-inch pie dish, gently pressing it into the bottom and sides without stretching it.
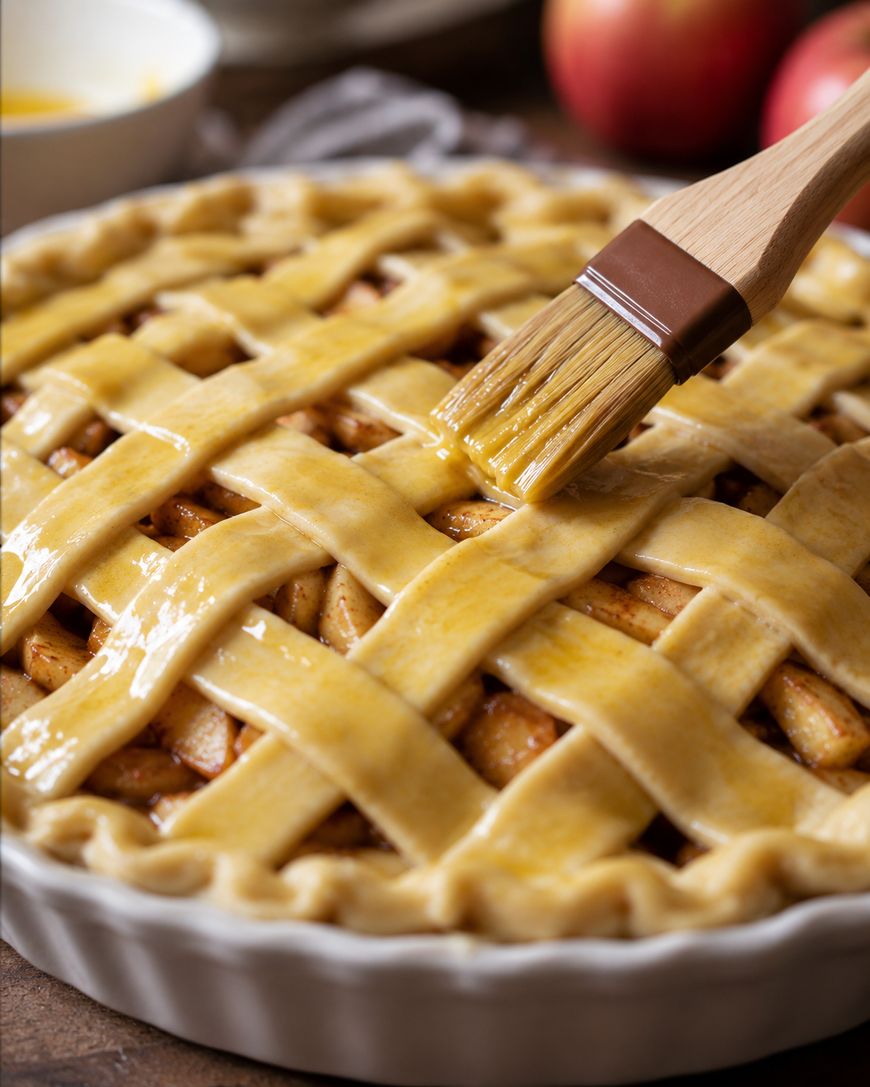
Pour the apple filling into the crust, mounding it slightly in the center since the apples will shrink as they bake. Roll out the second disc of dough and either lay it over the top whole, cutting a few slits for steam to escape, or slice it into strips for a lattice top.

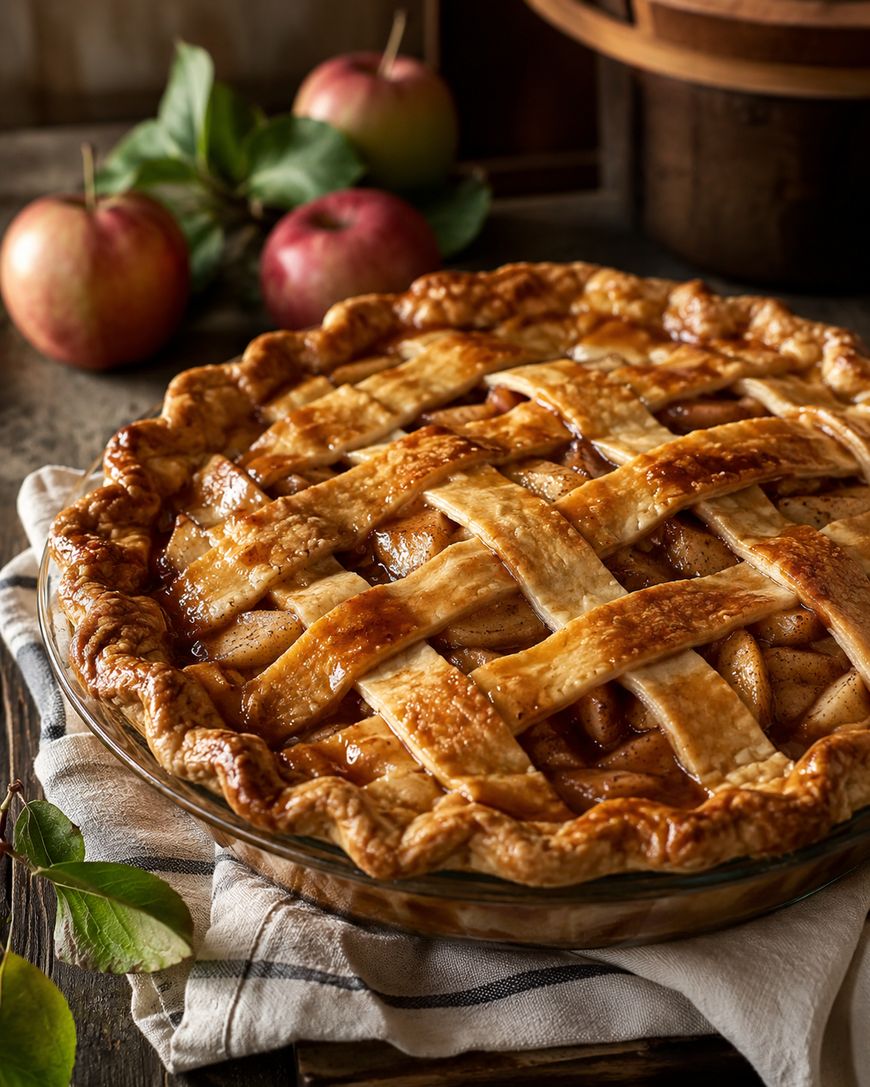
Trim the excess dough, crimp the edges to seal, and brush the top crust with an egg wash for a golden, shiny finish. Bake at 425 degrees Fahrenheit for 20 minutes, then reduce the oven temperature to 375 degrees Fahrenheit and continue baking for another 35 to 40 minutes, until the crust is deep golden brown and the filling is bubbling through the vents.
Tips for Success
Placing a baking sheet on the rack below the pie catches any bubbling juices and saves you from a smoky oven. If the crust edges start browning too quickly, a pie crust shield or a loose ring of foil protects them while the center continues to cook.
Letting the pie cool for at least three hours before slicing is essential, even though it is tempting to cut in right away. This cooling time allows the thickened juices to set, so the filling holds its shape instead of running out onto the plate.

Variations and Substitutions
A crumb topping made from butter, flour, and brown sugar can replace the top crust for a streusel-style apple pie that is a little easier to assemble. Swapping in Braeburn or Jonagold apples works well if Honeycrisp or Granny Smith are not available, since both hold their shape similarly well.
For a dairy-free crust, a plant-based butter substitute works in the same quantities as regular butter, though the dough may need a few extra minutes of chilling. A tablespoon of bourbon or apple brandy added to the filling brings out a deeper, more complex flavor for anyone who wants to experiment.
Storage and Make-Ahead Tips
Apple pie keeps well at room temperature, loosely covered, for up to two days, or in the refrigerator for up to five days. The unbaked pie dough can be made up to three days ahead and kept refrigerated, or frozen for up to three months if wrapped tightly.
A fully baked and cooled pie also freezes well for up to three months; simply thaw it overnight in the refrigerator and warm it in a 300 degree Fahrenheit oven for about 20 minutes before serving. Reheating individual slices in the microwave works in a pinch, though the crust will be softer than fresh from the oven.
Serving Suggestions
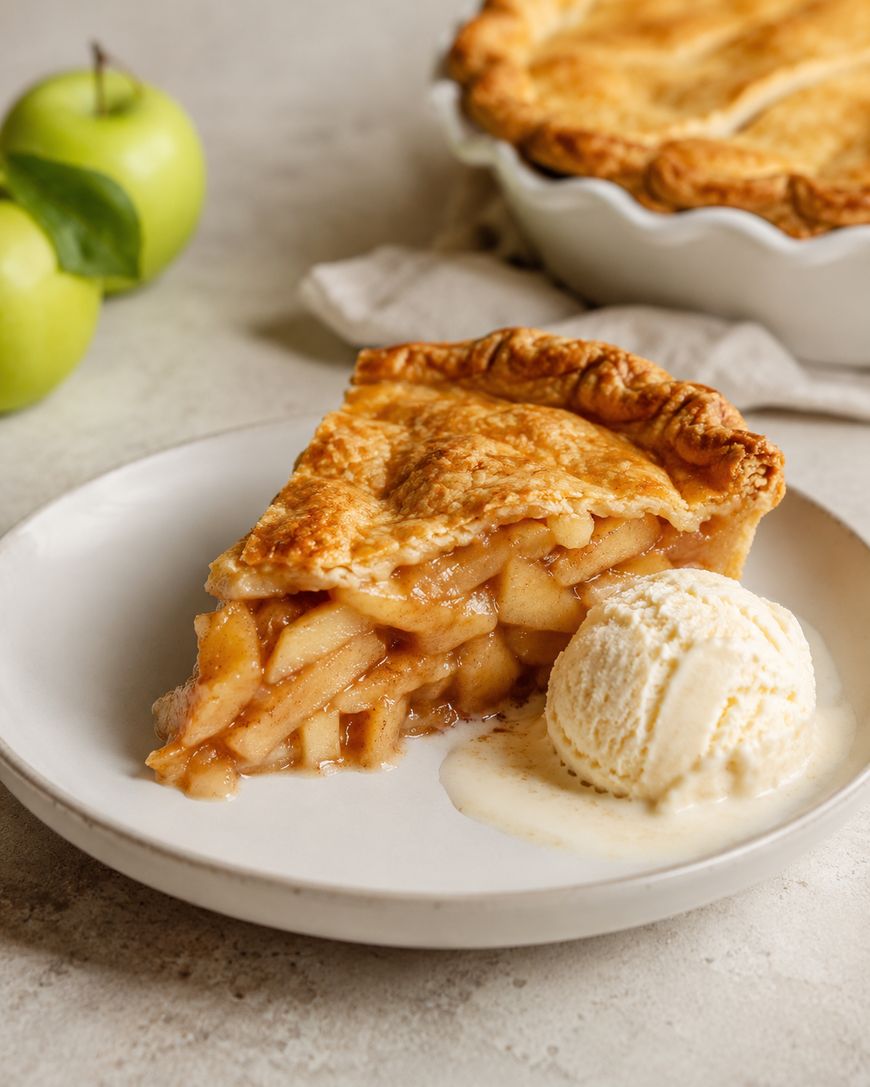
A scoop of vanilla ice cream is the classic pairing for a warm slice of apple pie, and the contrast between warm filling and cold ice cream is hard to beat. A drizzle of caramel sauce or a dollop of freshly whipped cream also complements the warm spices in the filling.
The Story Behind Apple Pie
Apple pie has roots that stretch back to medieval England, where early versions used a tough pastry shell mainly to protect the filling during baking rather than to be eaten. Apples themselves were brought to North America by European settlers, and the pie became closely tied to American culinary identity over the following centuries.
The phrase “as American as apple pie” took hold in the twentieth century, even though the dish itself has much older European origins. Today, regional variations abound, from Dutch apple pie with its crumb topping to deep-dish versions loaded with extra filling.
Now that you know the story and the technique behind it, go ahead and use the recipe card below to build your own apple pie from start to finish.
Classic Apple Pie
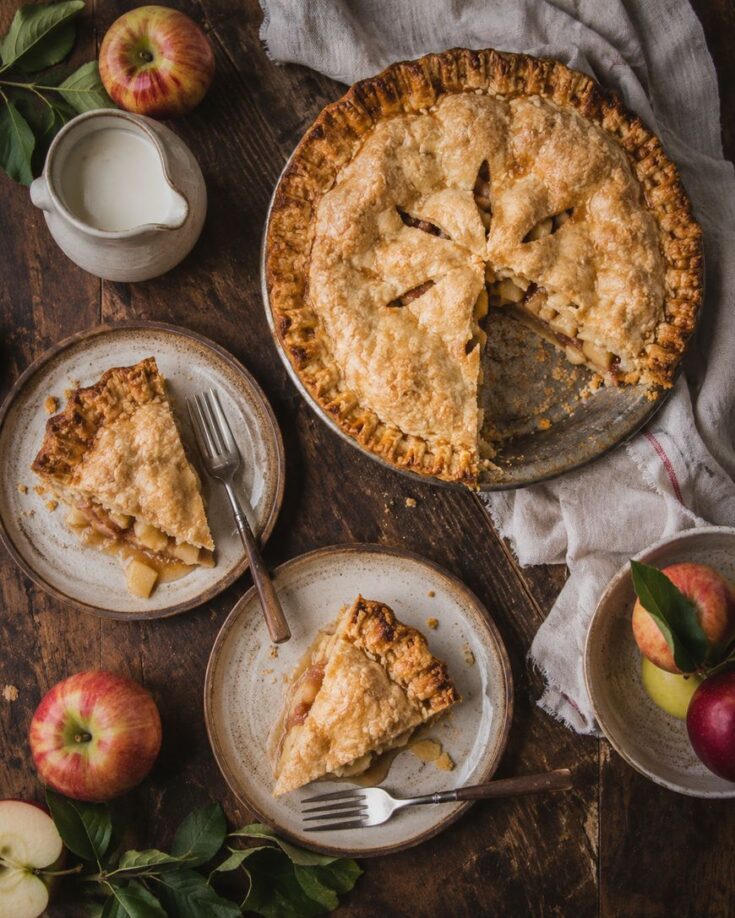
A classic apple pie with a flaky, buttery double crust and a warmly spiced filling made from a blend of Honeycrisp and Granny Smith apples.
Ingredients
- 2 1/2 cups all-purpose flour
- 1 teaspoon salt
- 1 tablespoon granulated sugar
- 1 cup unsalted butter, cold and cubed
- 6 to 8 tablespoons ice water
- 3 pounds apples (half Honeycrisp, half Granny Smith), peeled, cored, and sliced
- 3/4 cup granulated sugar
- 1/4 cup brown sugar, packed
- 1 teaspoon ground cinnamon
- 1/4 teaspoon ground nutmeg
- 1/4 teaspoon salt
- 2 tablespoons lemon juice
- 3 tablespoons all-purpose flour
- 1 egg, beaten (for egg wash)
- 1 tablespoon coarse sugar (optional, for topping)
Instructions
- In a large bowl, whisk together the flour, salt, and sugar for the crust.
- Cut in the cold, cubed butter with a pastry cutter until the mixture resembles coarse crumbs with pea-sized pieces of butter remaining.
- Add ice water one tablespoon at a time, mixing gently until the dough just holds together.
- Divide the dough into two discs, wrap in plastic wrap, and refrigerate for at least 1 hour.
- Preheat the oven to 425 degrees Fahrenheit.
- In a large bowl, toss the sliced apples with granulated sugar, brown sugar, cinnamon, nutmeg, salt, lemon juice, and flour. Let sit for 15 minutes.
- Roll out one disc of dough on a floured surface into a 12-inch circle and fit it into a 9-inch pie dish.
- Pour the apple filling into the crust, mounding it slightly in the center.
- Roll out the second disc of dough and place it over the filling, or cut into strips for a lattice top. Trim and crimp the edges to seal.
- Cut a few slits in the top crust for steam to escape, then brush with the beaten egg and sprinkle with coarse sugar if using.
- Bake at 425 degrees Fahrenheit for 20 minutes, then reduce the temperature to 375 degrees Fahrenheit and bake for another 35 to 40 minutes, until golden brown and bubbling.
- Cool the pie for at least 3 hours before slicing to let the filling set.
Notes
Place a baking sheet on the rack below the pie to catch any bubbling juices. Use a pie crust shield if the edges brown too quickly.
Nutrition Information:
Yield:
8Serving Size:
1 sliceAmount Per Serving: Calories: 420Total Fat: 19gSaturated Fat: 11gSodium: 320mgCarbohydrates: 58gFiber: 4gSugar: 32gProtein: 4g
Apple Pie Questions and Answers
What are the best apples for apple pie?
A blend of Granny Smith and Honeycrisp apples gives you the best texture and flavor balance for apple pie. Granny Smith apples hold their shape well during baking, while Honeycrisp apples add natural sweetness and juiciness.
Why is my apple pie filling watery?
A watery filling usually means the apples released more juice than the flour or cornstarch could thicken during baking. Letting the pie cool fully before slicing also helps the filling set, since it continues to thicken as it cools.
Can I make apple pie ahead of time?
Yes, you can bake the pie up to two days ahead and store it loosely covered at room temperature. You can also prepare the dough and apple filling separately and assemble the pie the day you plan to bake it.
Do I need to peel the apples for apple pie?
Peeling the apples is recommended for apple pie, since the skins can turn tough and chewy once baked into the filling. Removing the peel also gives the filling a smoother, more traditional texture.
Can I freeze apple pie?
Both baked and unbaked apple pie freeze well for up to three months when wrapped tightly in plastic wrap and foil. Thaw a baked pie overnight in the refrigerator, then warm it in the oven before serving for the best texture.
What is the best way to reheat apple pie?
Reheating apple pie in a 300 degree Fahrenheit oven for about 20 minutes restores the crust’s crispness better than a microwave. If you are short on time, individual slices can be warmed in the microwave for about 30 seconds, though the crust will be softer.
Final Thoughts
This apple pie recipe delivers everything you want from a classic dessert: a flaky, buttery crust and a warmly spiced apple filling that holds together beautifully. Once you try this apple pie, you will understand why it remains a favorite for holidays, potlucks, and Sunday dinners alike.