Last updated: September 25, 2026
Brown butter rice krispie treats take the classic no-bake snack and give it a deep, nutty flavor that plain butter never delivers.
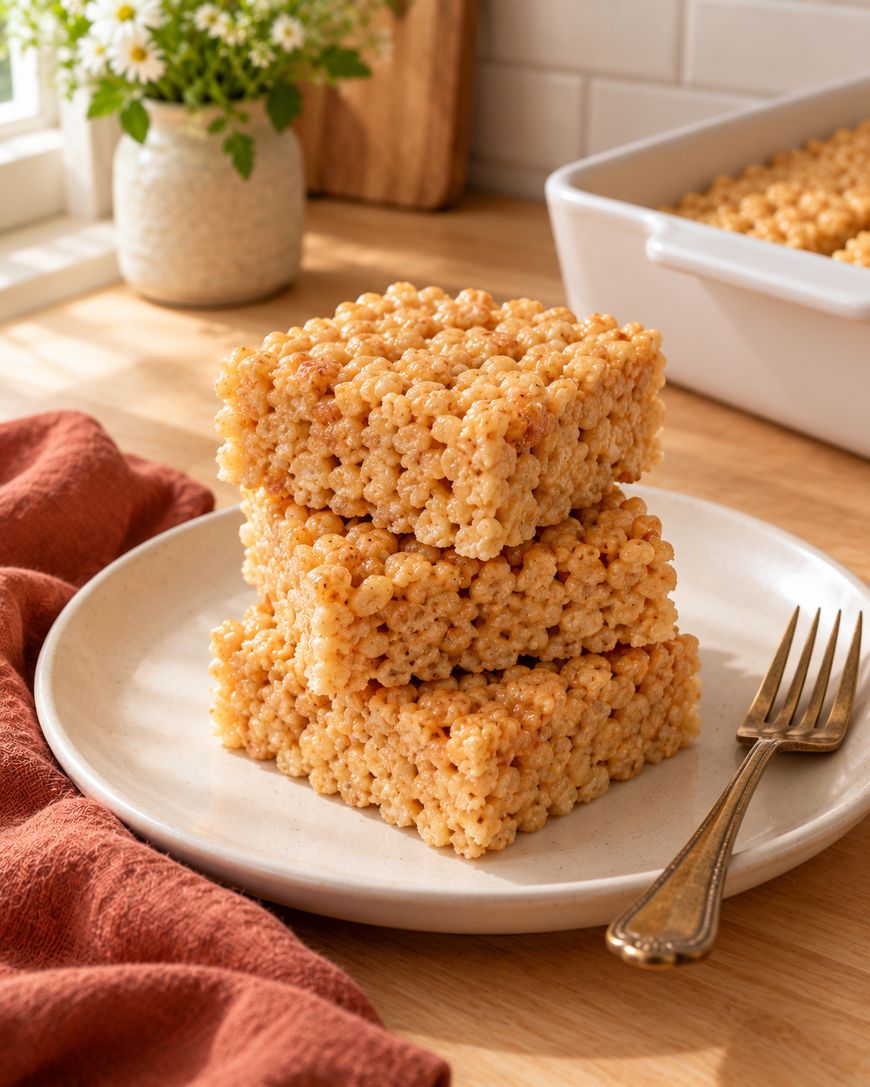
You only need one extra step to get there, and the payoff tastes like caramel and toffee wrapped around every crispy square.
Why Brown Butter Changes Everything
Regular rice krispie treats rely on butter mostly for moisture and a bit of richness.
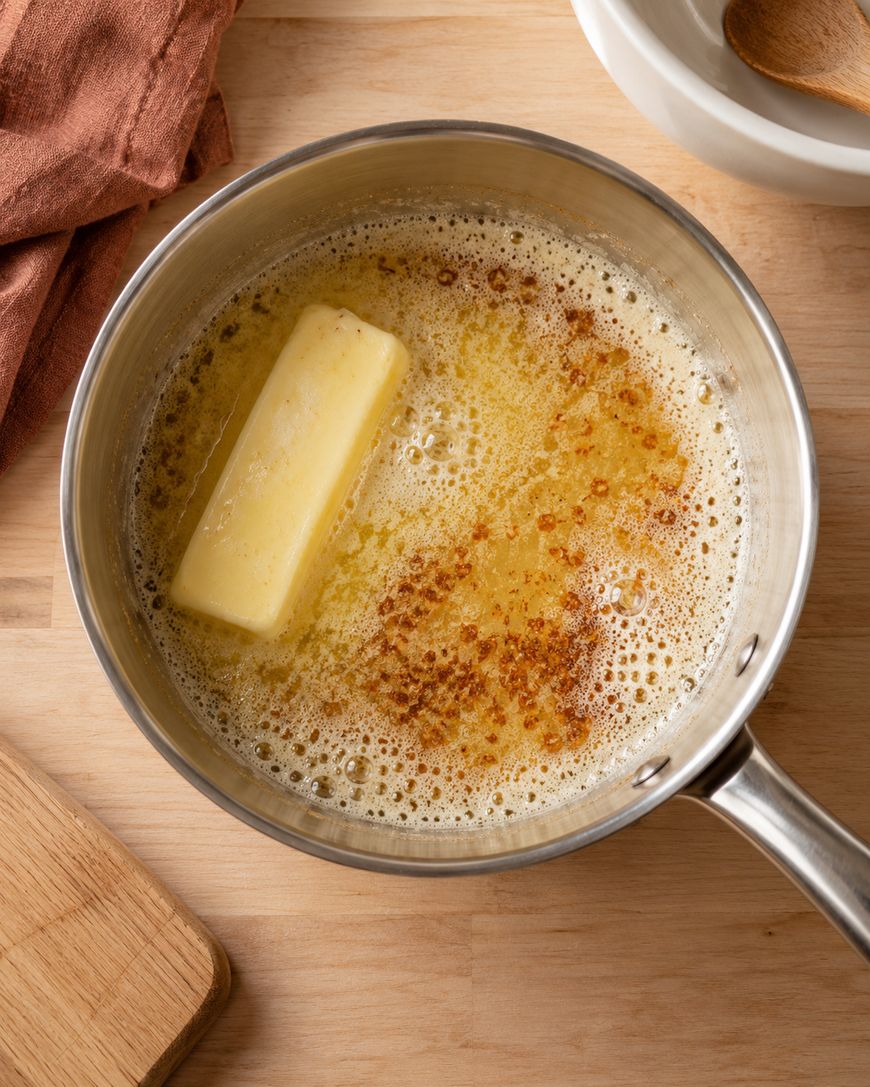
Browning the butter first cooks off the water content and toasts the milk solids until they turn a deep amber color, releasing a nutty aroma that smells almost like hazelnuts.
That flavor carries straight through into the marshmallow mixture, so instead of a one-note sweet treat, you get something that tastes closer to a batch of toffee blondies.
Bakeries have used browned butter in cookies and frostings for years because it adds complexity without adding a single new ingredient.
You are simply changing how the butter cooks, not what goes into the bowl.
What You Need for Brown Butter Rice Krispie Treats
The Butter
Use unsalted butter so you can control the salt level yourself, since browned butter tastes saltier than you expect once it reduces.
A light-colored, heavy-bottomed saucepan works best because you can actually see the color change as it happens.
The Marshmallows
Standard large marshmallows melt down smoothly and give you the classic stretchy texture everyone expects from this treat.
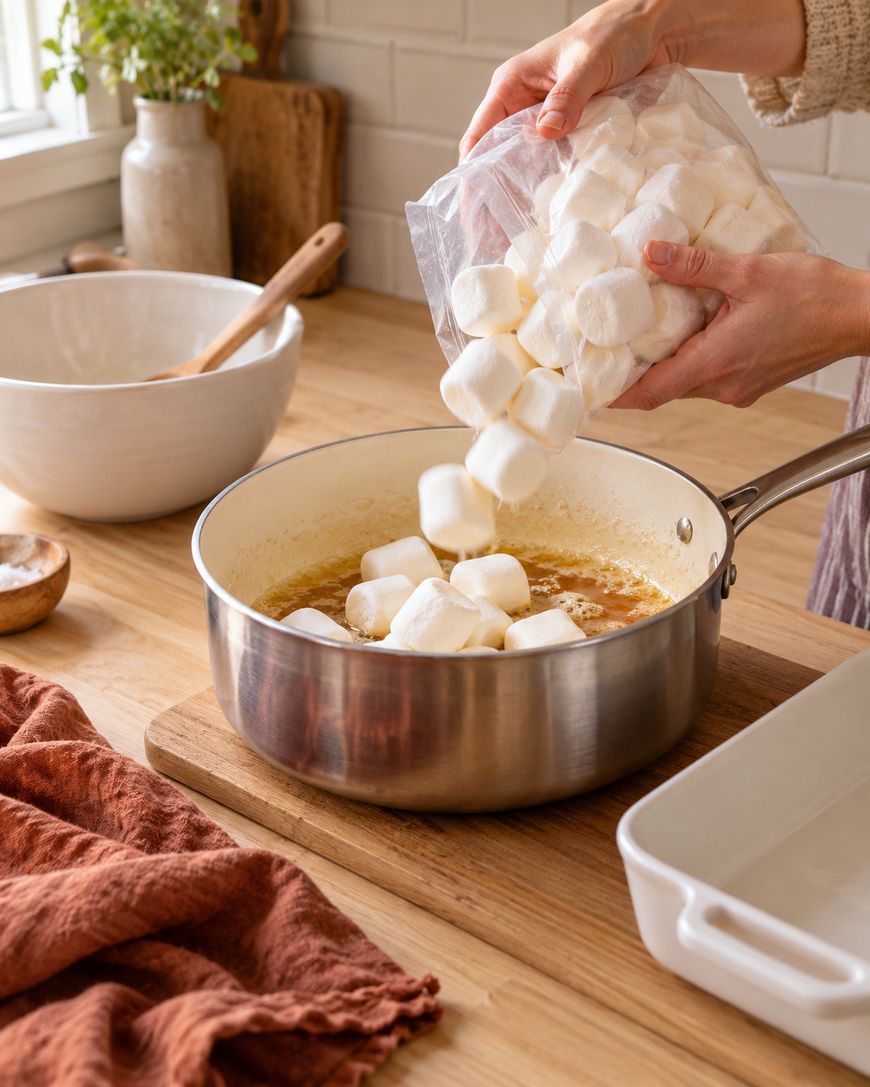
Mini marshmallows work too and melt slightly faster, so keep the heat low and stir often either way.
The Cereal
Crisp rice cereal is the backbone of the recipe, and slightly stale cereal actually holds its crunch better once it is coated in the marshmallow mixture.
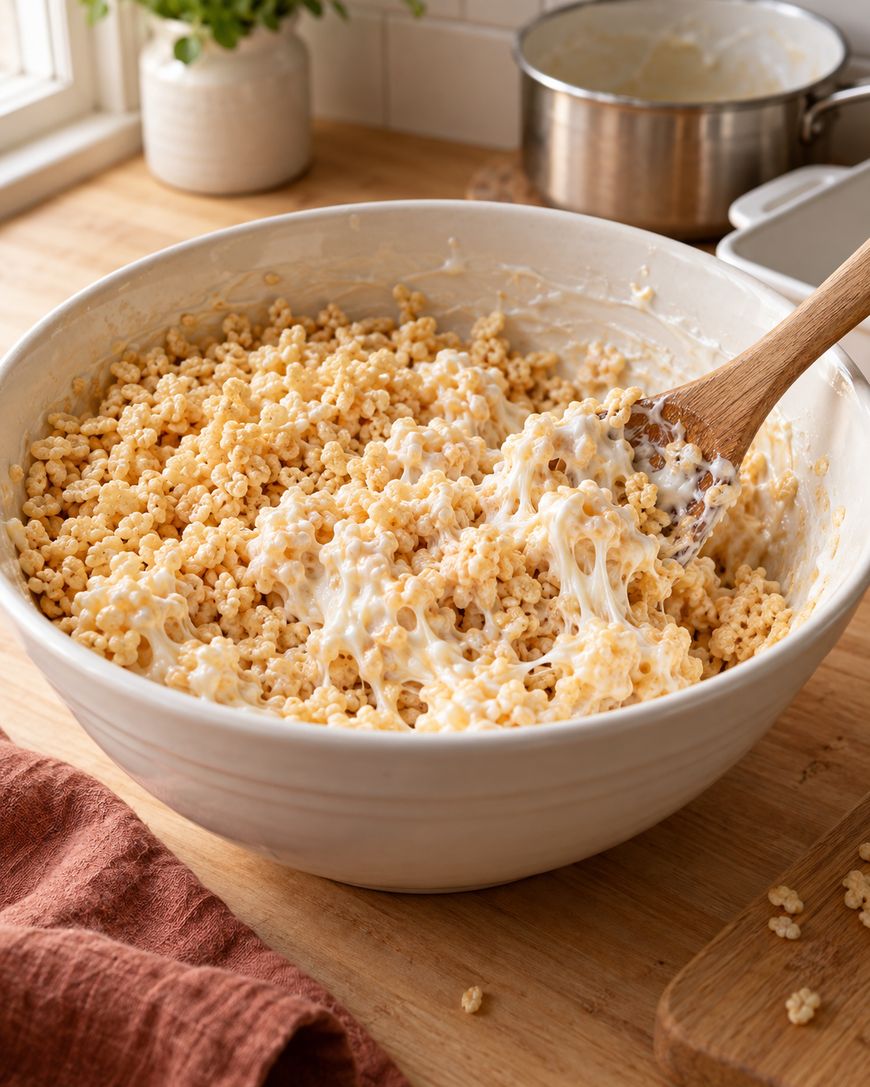
Measure it after the butter and marshmallows are fully melted so you are not guessing at ratios while everything is still hot.
How to Brown the Butter
Melt the butter in a light-colored saucepan over medium heat, swirling the pan occasionally instead of stirring constantly.
The butter will foam first, then the foam will subside and small brown flecks will start to form at the bottom of the pan.
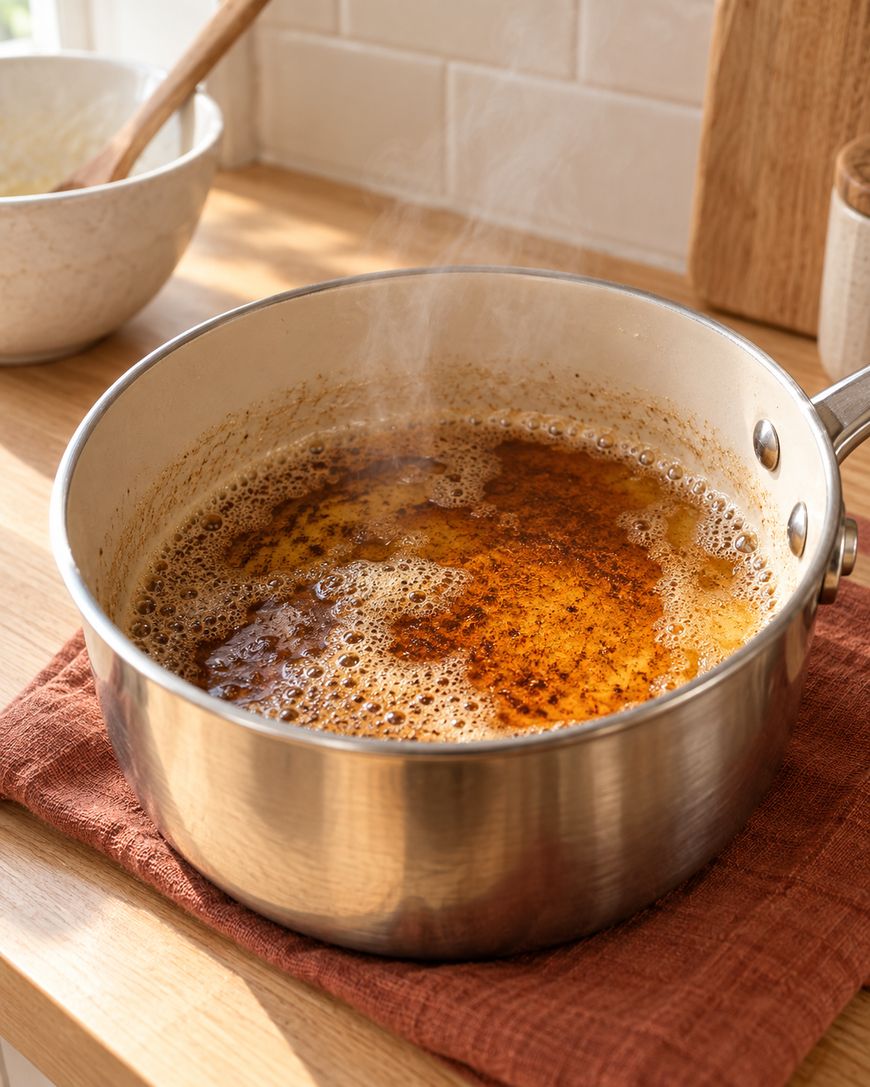
Watch closely once you see any color change, since browned butter can go from perfect to burnt in under a minute.
Pull the pan off the heat the moment it smells nutty and turns a deep amber, then move straight into the marshmallows so the residual heat keeps working for you.
Building the Marshmallow Mixture
Add the marshmallows directly to the pan of hot browned butter and lower the heat so nothing scorches.
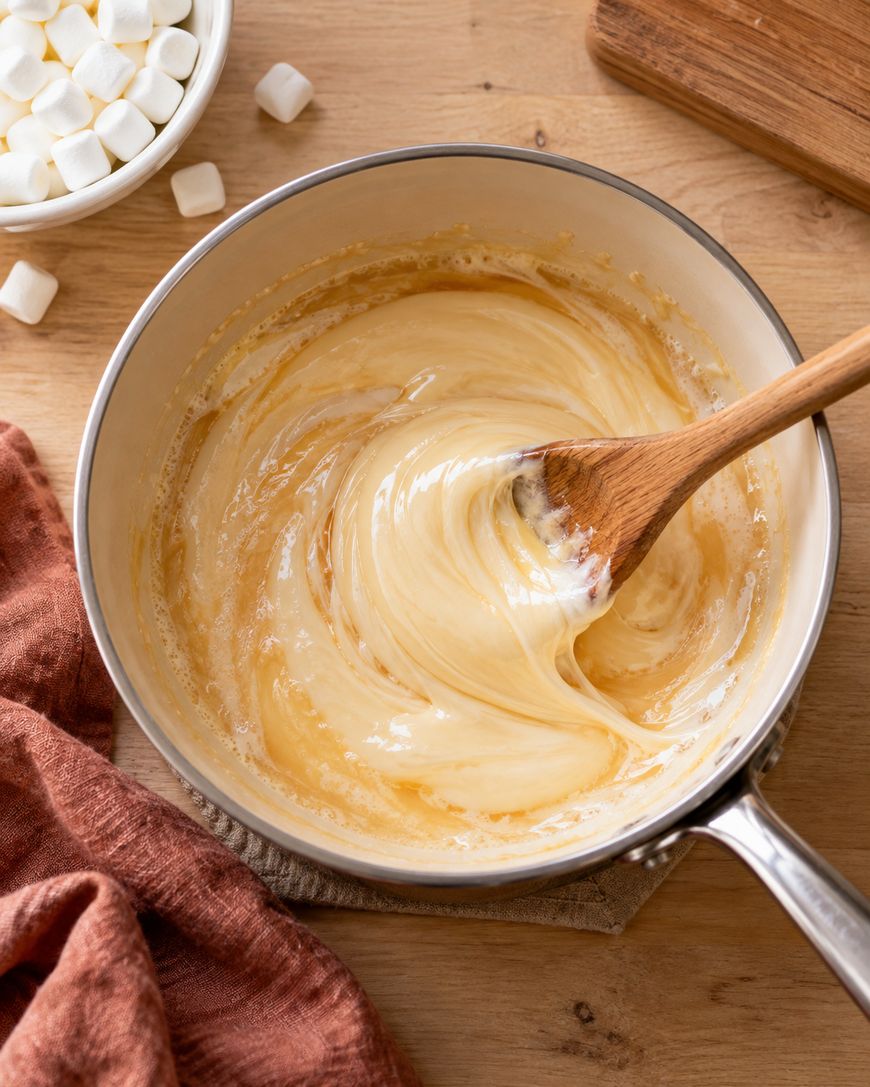
Stir gently and continuously until the marshmallows are completely melted and the mixture looks glossy and smooth.
A pinch of flaky salt at this stage balances the sweetness and makes the toffee notes from the browned butter stand out even more.
Remove the pan from the heat before folding in the cereal, since the cereal only needs the marshmallow mixture’s residual warmth to coat evenly.
Pressing and Setting the Treats
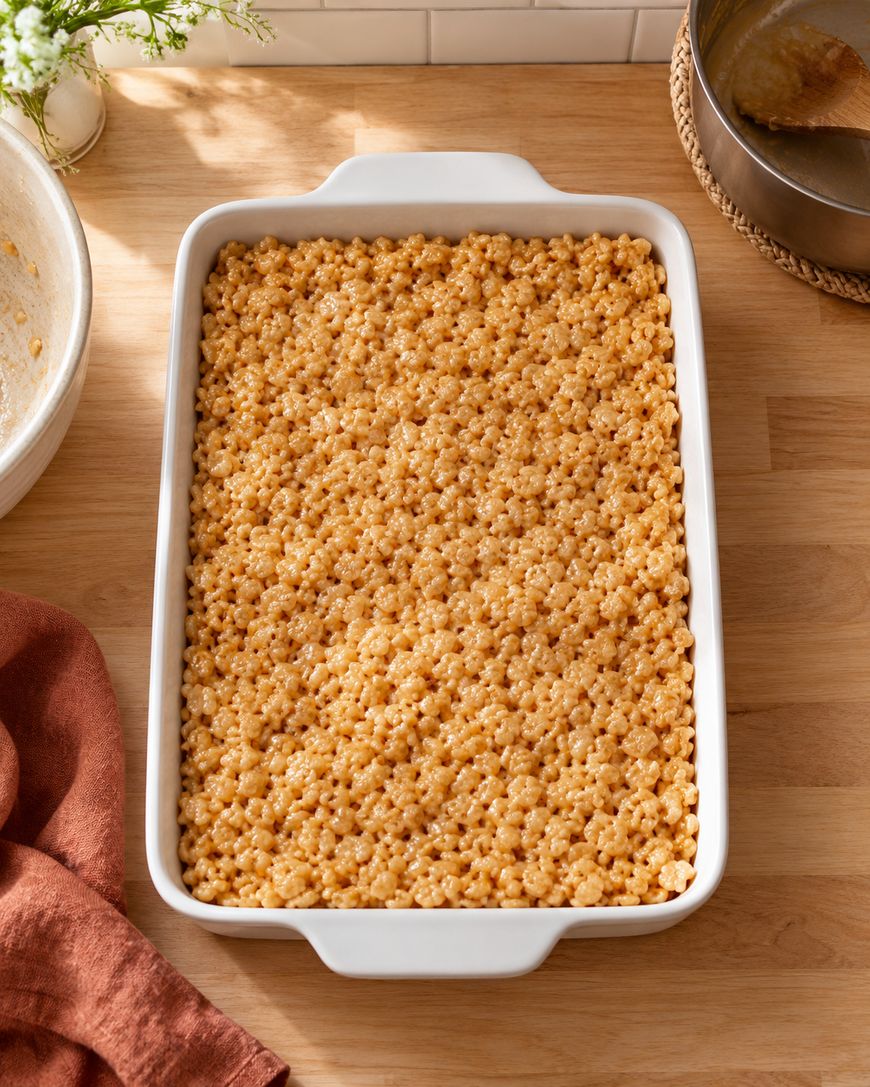
Pour the coated cereal into a lightly greased baking dish and press it down with a piece of parchment paper or a greased spatula.
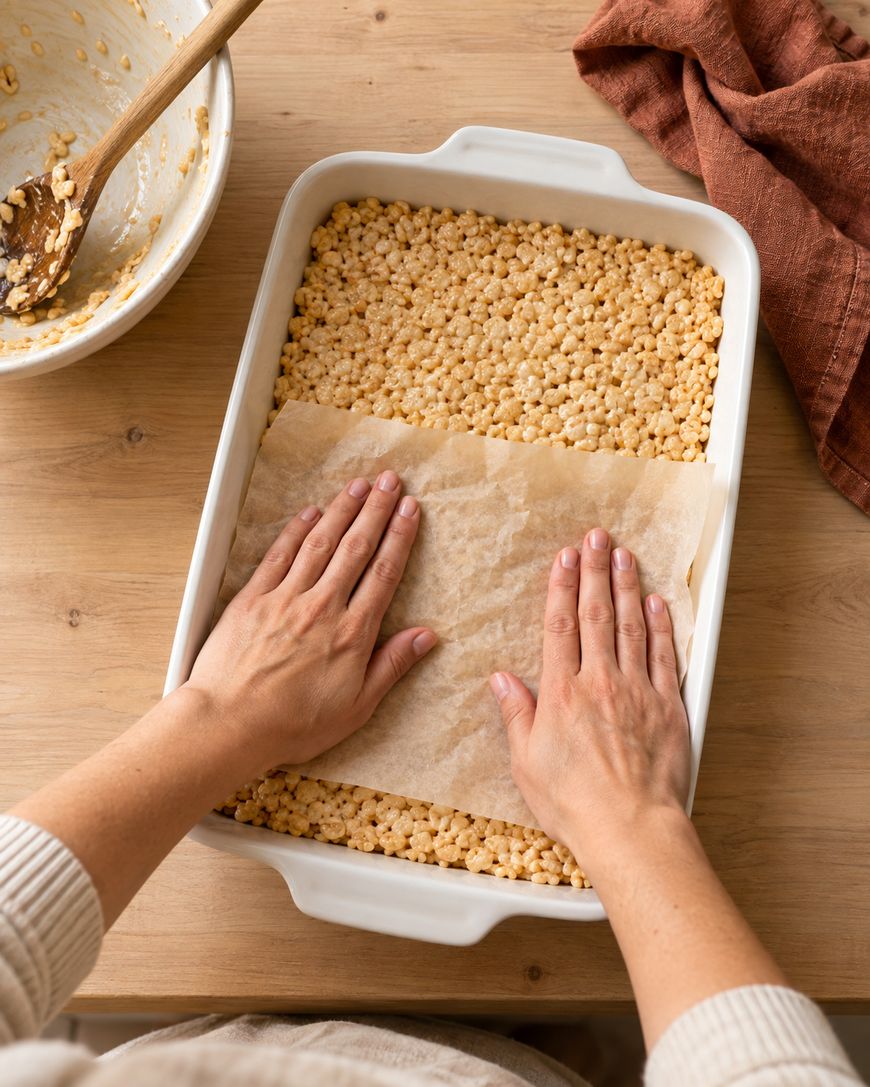
Press firmly enough to hold the shape together, but avoid compacting it so much that the treats turn dense instead of light.
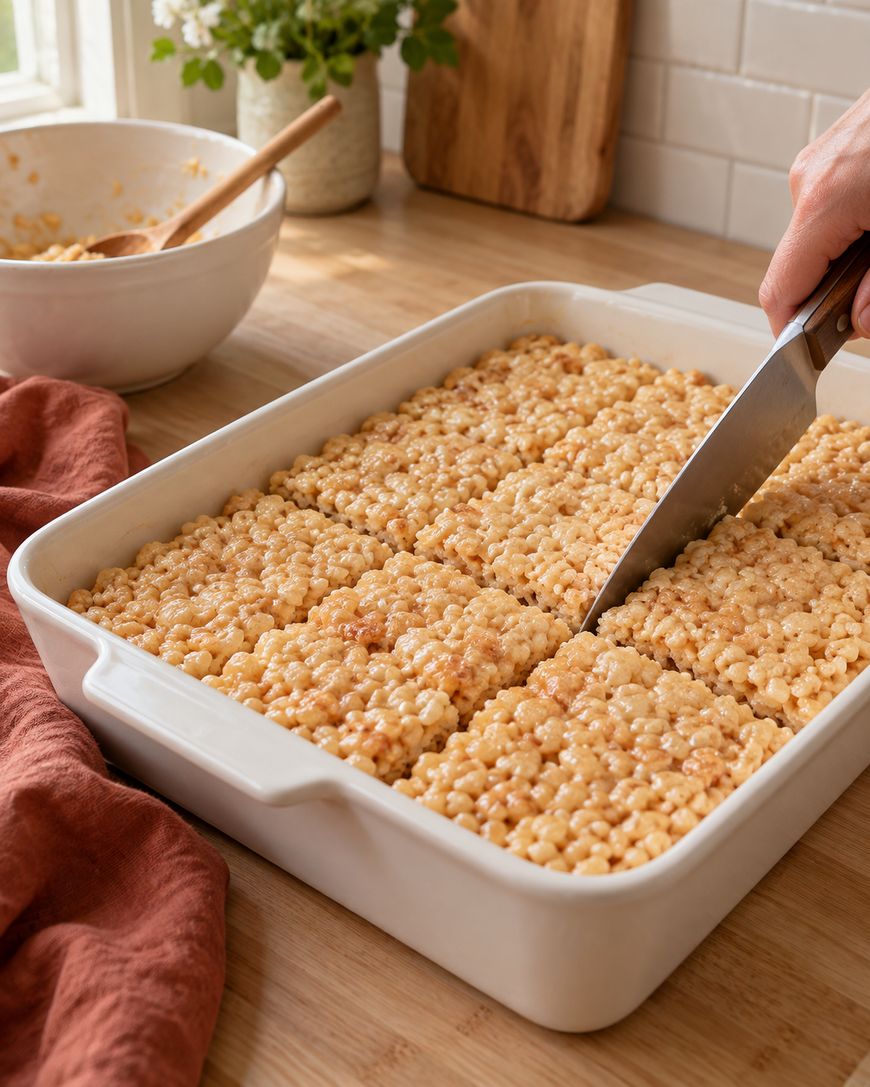
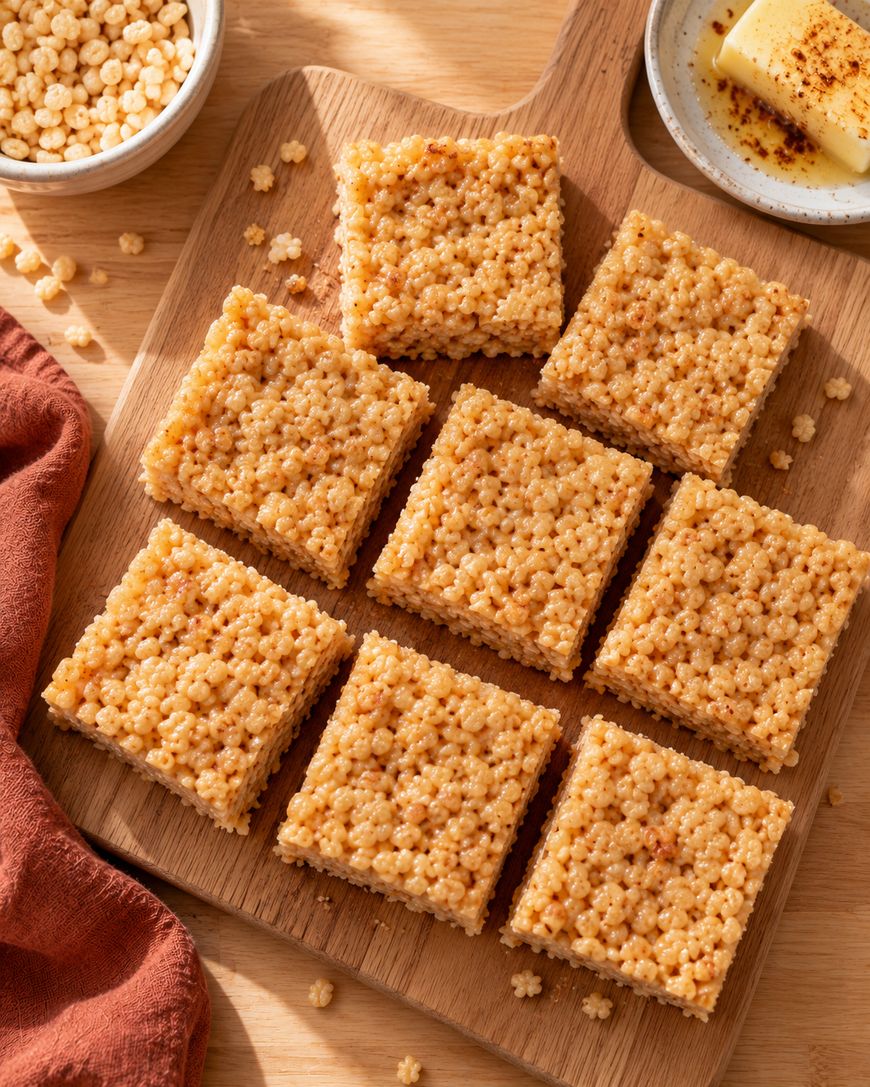
Let the pan sit at room temperature for at least thirty minutes before cutting, since the marshmallow needs time to firm back up.
A sharp knife sprayed lightly with cooking spray cuts through cleanly without dragging or tearing the marshmallow.
Variations Worth Trying
The recipe card already builds in a touch of vanilla extract, since it rounds out the toffee flavor from the browned butter so well.
Chopped pecans or walnuts folded in with the cereal add crunch that pairs naturally with the nutty butter.
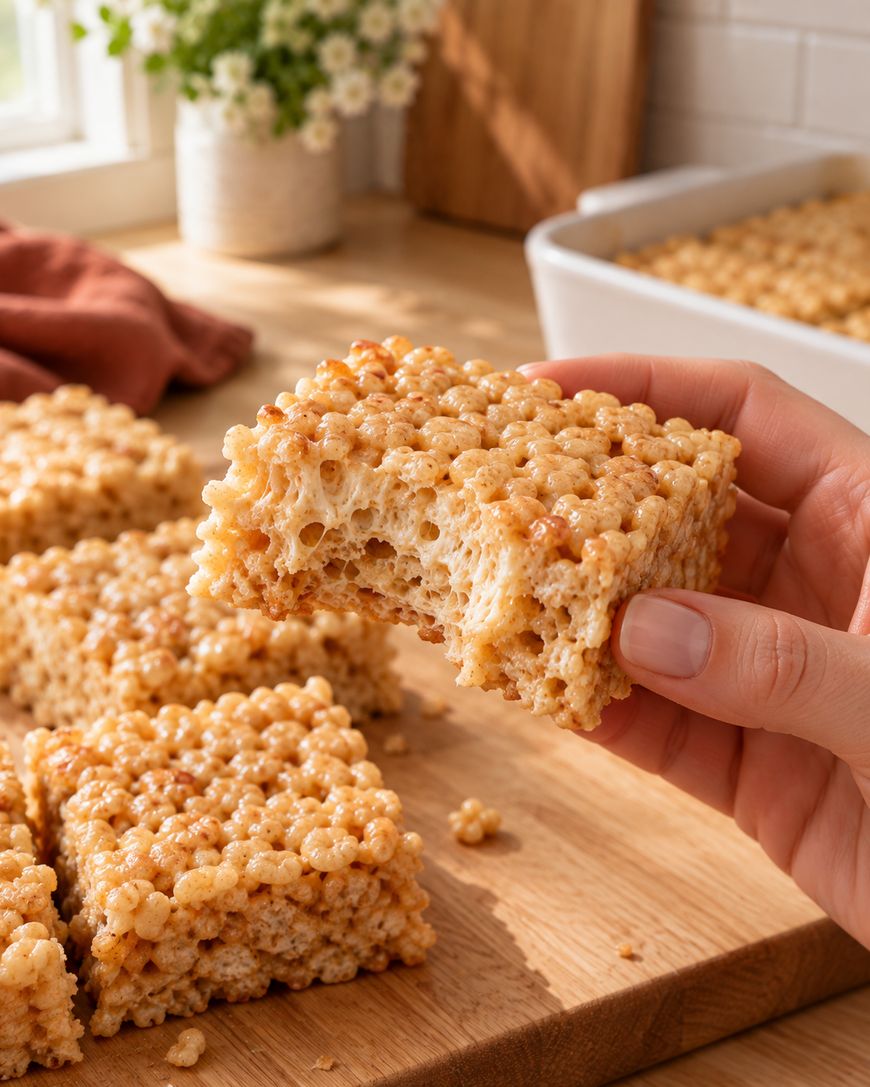
A drizzle of melted chocolate over the top turns these into more of a dessert bar than an everyday snack, and flaky sea salt on top makes that combination even better.
For a fall-friendly version, a pinch of cinnamon added with the salt gives the treats a warm, cozy edge.
Storing Brown Butter Rice Krispie Treats
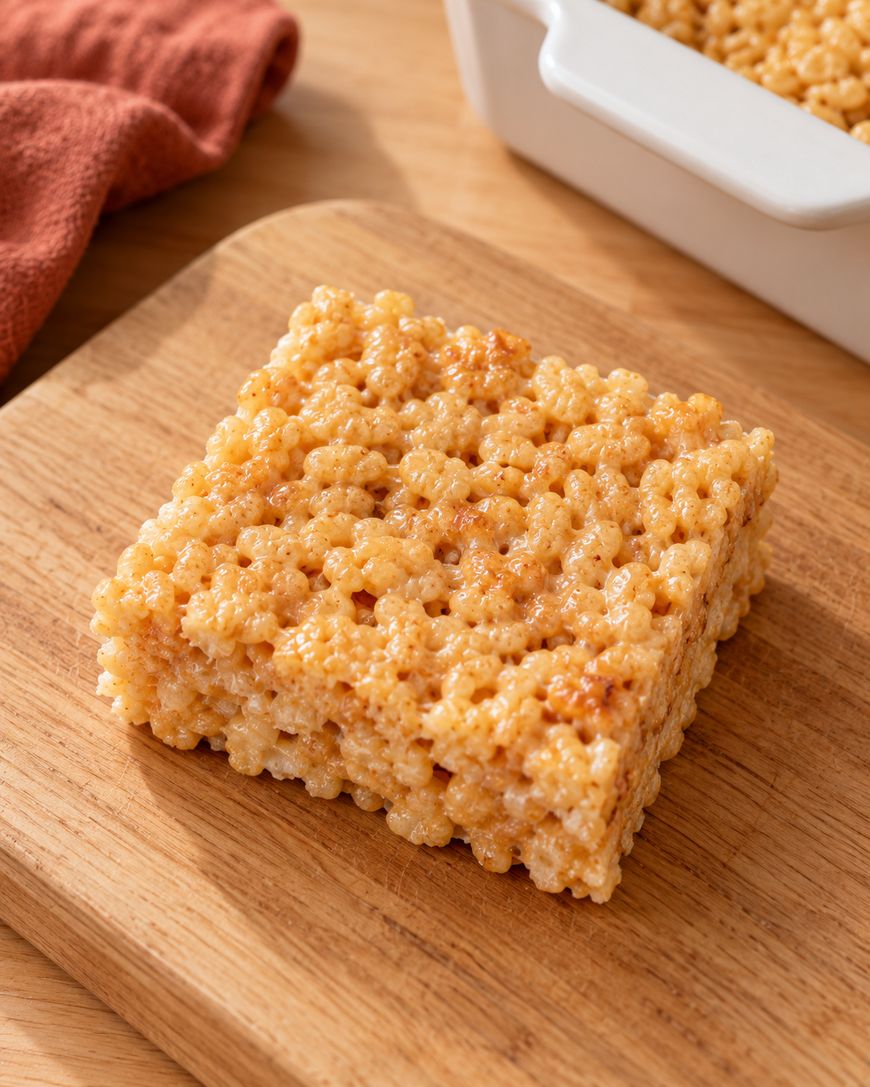
Keep the treats in an airtight container at room temperature, and they will stay soft and chewy for up to four days.
Layering parchment paper between stacked pieces keeps them from sticking to each other.
You can freeze the cut squares for up to two months if you wrap them tightly, then let them thaw at room temperature for about twenty minutes before serving.
Where This Recipe Came From
Rice krispie treats trace back to a Kellogg’s marketing effort in the 1930s, created to sell more of the company’s crisp rice cereal.
The original recipe used plain melted butter, and that version has stayed popular precisely because it is so quick and foolproof.
Browning the butter is a more recent twist that borrows a technique from pastry kitchens, where cooks have long known that browned butter beats melted butter in almost any recipe that calls for it.
Once you use this recipe below, you will probably never want to go back to the plain version.
Give the recipe card below a try, then keep reading for answers to the most common questions about making these treats.
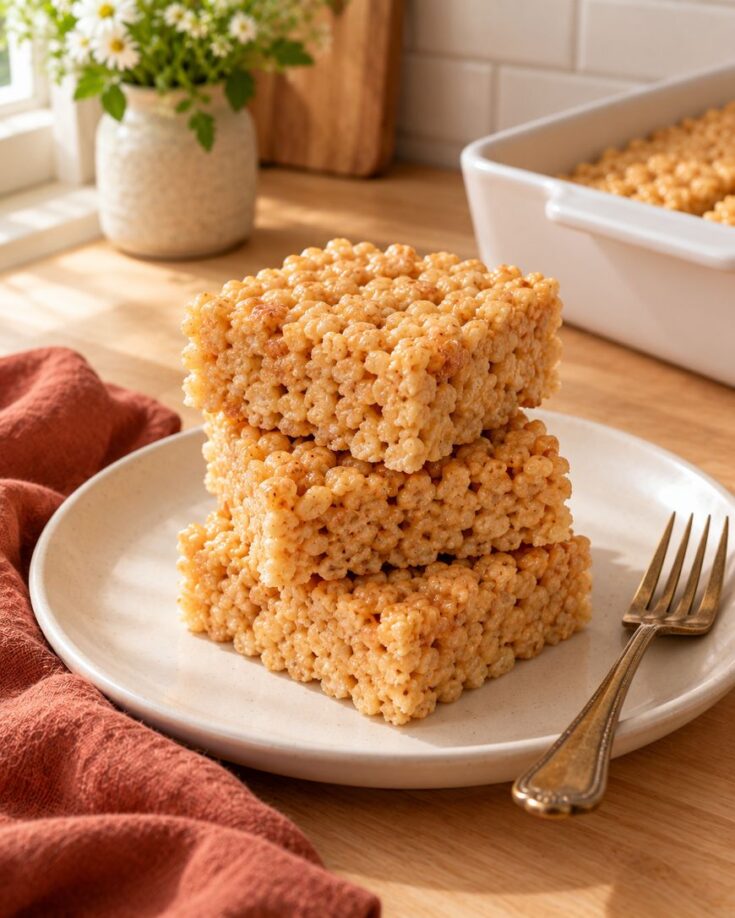
Brown Butter Rice Krispie Treats
Classic rice krispie treats made with browned butter for a deep, nutty, toffee-like flavor in every bite.
Ingredients
- 1 cup unsalted butter
- 1 (16 oz) bag large marshmallows
- 1/4 teaspoon flaky salt
- 1 teaspoon vanilla extract
- 6 cups crisp rice cereal
Instructions
- Melt the butter in a light-colored saucepan over medium heat, swirling occasionally, until it foams, then turns amber and smells nutty, 5 to 7 minutes.
- Remove the pan from the heat and immediately add the marshmallows.
- Return the pan to low heat and stir continuously until the marshmallows are fully melted and smooth.
- Stir in the flaky salt and vanilla extract.
- Remove the pan from the heat and fold in the crisp rice cereal until evenly coated.
- Pour the mixture into a greased 9x13 inch baking dish.
- Press the mixture gently and evenly into the dish using parchment paper or a greased spatula.
- Let the pan sit at room temperature for at least 30 minutes before cutting into 16 squares.
Notes
Store in an airtight container at room temperature for up to 4 days. Freeze cut squares for up to 2 months, wrapped tightly.
Nutrition Information:
Yield:
16Serving Size:
1 squareAmount Per Serving: Calories: 150Total Fat: 7gSaturated Fat: 4gSodium: 105mgCarbohydrates: 22gFiber: 0gSugar: 12gProtein: 1g
Frequently Asked Questions
Can you burn the butter instead of browning it?
Yes, and it happens fast once the color starts changing, so pull the pan off the heat as soon as you see amber flecks and smell a nutty aroma.
Burnt butter tastes bitter and will make the whole batch taste off, so it is worth watching closely during this step.
Why are my treats too hard?
Overcooking the marshmallows or pressing the mixture too firmly into the pan are the two most common causes of dense, hard treats.
Keep the heat low while melting the marshmallows and press the cereal down gently rather than packing it in tightly.
Can you use salted butter instead of unsalted?
You can, but the browning process concentrates the salt along with the flavor, so the treats may taste saltier than expected.
If salted butter is all you have, skip the added pinch of salt in the marshmallow mixture.
Do you have to use a saucepan to brown the butter?
A saucepan works best because the sides are tall enough to contain the foaming butter while still letting you see its color.
A skillet can work too, but the butter foams up quickly and a shallow pan makes that harder to manage.
Can you make these ahead of time?
Yes, these treats hold up well for a few days when stored in an airtight container, which makes them a good make-ahead option for parties or lunchboxes.
Just wait until they have fully set before cutting and storing them.
What can you add besides nuts or chocolate?
Mini chocolate chips folded in right before pressing the mixture into the pan add pockets of melty chocolate throughout.
A swirl of peanut butter melted in with the marshmallows also pairs beautifully with the toffee flavor from the browned butter.
Why This Recipe Works
Browning the butter before it ever touches the marshmallows means every bite carries that toasted, nutty flavor all the way through, not just on the surface.
The technique relies on cooking off water and toasting milk solids, which is exactly what gives good caramel and toffee their depth, so borrowing it here turns a simple no-bake snack into something with real complexity.
Keeping the marshmallow-melting heat low protects that delicate flavor while still giving you the same glossy, stretchy texture the original recipe is known for.
A light hand when pressing the cereal into the pan is what keeps the texture tender instead of dense, so the browned butter flavor gets to shine in a treat that still feels light.
Give Brown Butter Rice Krispie Treats a Try
Brown butter rice krispie treats take one simple swap and turn a familiar snack into something that tastes like toffee in every bite.
Use the recipe card above, follow the tips for browning the butter safely, and you will have a new go-to version of this classic treat.