Last updated: October 26, 2026
Homemade clay takes three pantry ingredients and about ten minutes at the stove, and you can start sculpting the same day.
This guide gives you the exact ratio, the cooking cue to watch for and the drying times, and the full recipe card is further down the page.
How to Make Homemade Clay With Baking Soda and Cornstarch
The fastest way to make homemade clay is to cook 2 cups of baking soda, 1 cup of cornstarch and 1 1/4 cups of cold water in a nonstick saucepan until it forms a thick ball. Once it cools, you knead it smooth and it behaves like store-bought air dry clay.
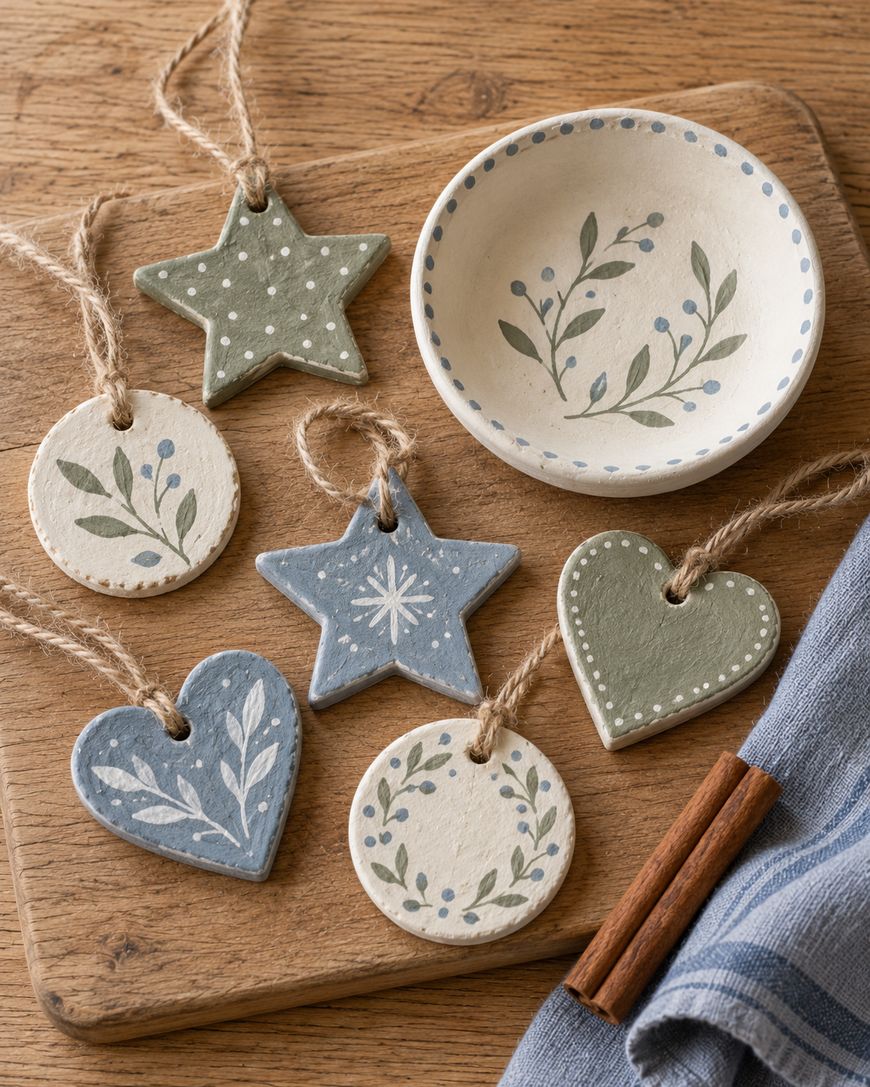
This is a cooked clay, which is why it dries so smooth and white. The heat gels the cornstarch and binds the baking soda, so the finished dough holds fine detail instead of crumbling at the edges.
What You Need
Gather baking soda, cornstarch, cold tap water, a nonstick saucepan, a silicone spatula, a whisk, a plate and a clean damp tea towel. Use regular baking soda, not baking powder, because baking powder contains extra acid and starch that change the texture.
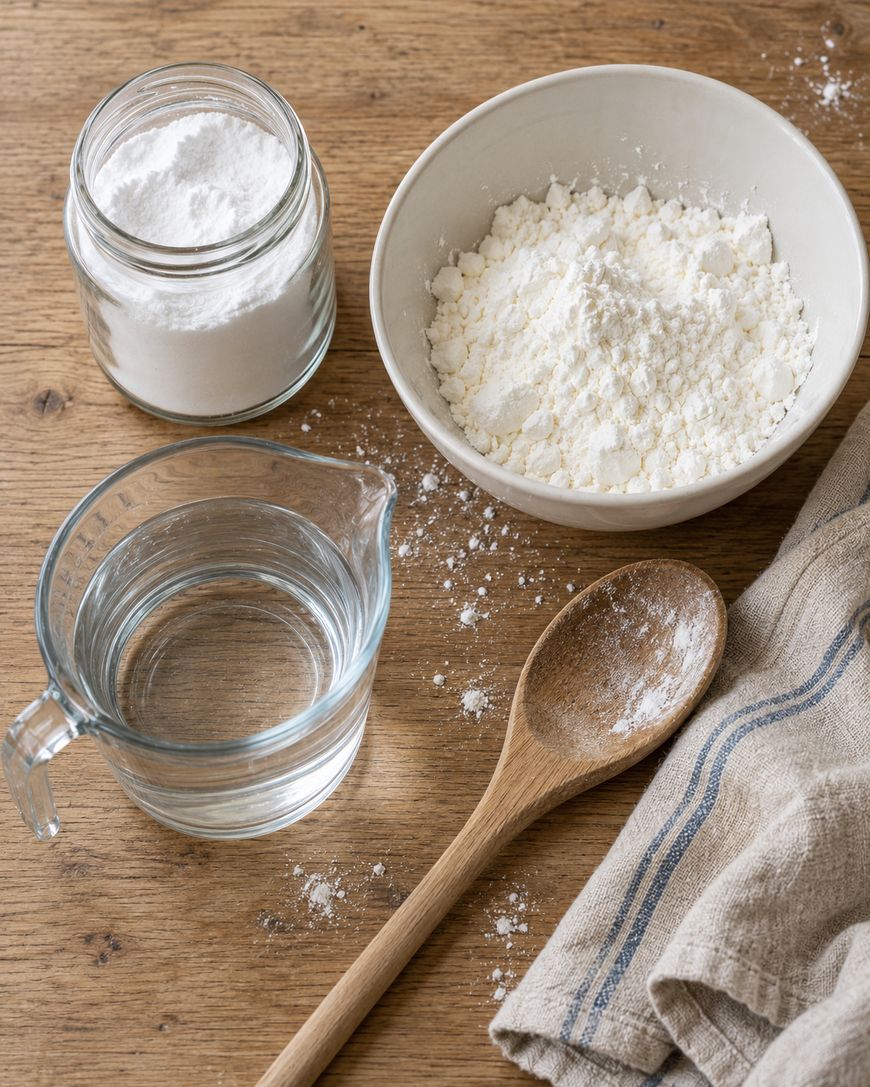
A nonstick pan matters because the dough grips bare steel hard as it thickens. A silicone spatula lets you scrape the whole base without scratching the coating.
Mixing the Base
Whisk the baking soda and cornstarch together in the dry saucepan first. Pour in the cold water and whisk until no dry pockets remain and the mixture looks like thin, chalky milk.

Starting with cold water and a cold pan keeps the starch from clumping. Do not turn on the heat until the mixture is completely smooth, because lumps cooked in at this stage never fully knead out.
Cooking the Clay
Set the pan over medium heat and stir constantly with the spatula. After about 2 minutes the mixture turns lumpy and starts to thicken, and by 4 to 5 minutes it gathers into one ball that looks like mashed potatoes.
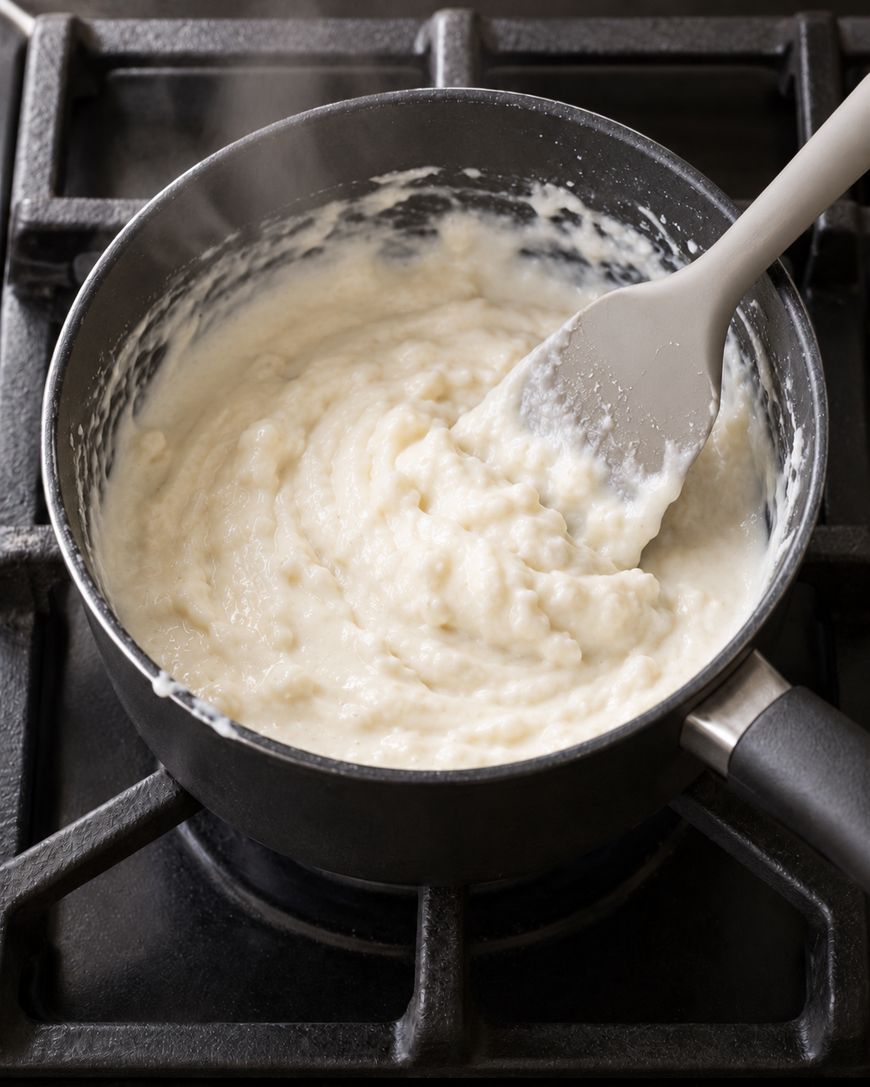
When the dough pulls away from the sides of the pan and holds its shape on the spatula, take it off the heat right away. Overcooking dries it out and makes it crumbly, so stop as soon as it forms a single mass.

Cooling and Kneading
Turn the hot ball onto a plate and cover it with a damp tea towel straight away. Let it cool for 15 to 20 minutes until you can handle it comfortably.

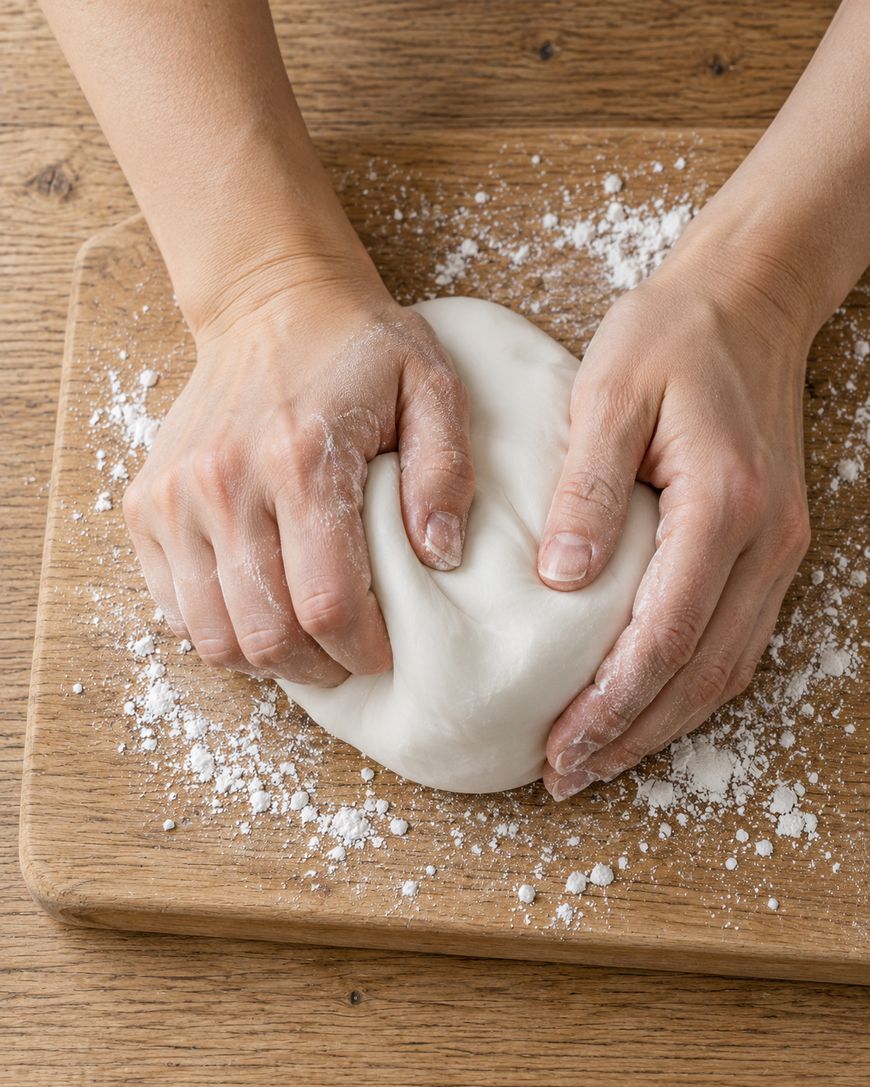
Knead for a minute or two until the surface is smooth and slightly satiny. If it feels sticky, dust your hands with a little cornstarch, and if it feels dry or cracks, wet your hands and knead again.
How to Shape and Dry Homemade Clay
Homemade clay air dries on the counter with no oven needed. Thin pieces are dry in about 24 hours, and thick pieces can take 48 hours or longer.
Rolling and Cutting
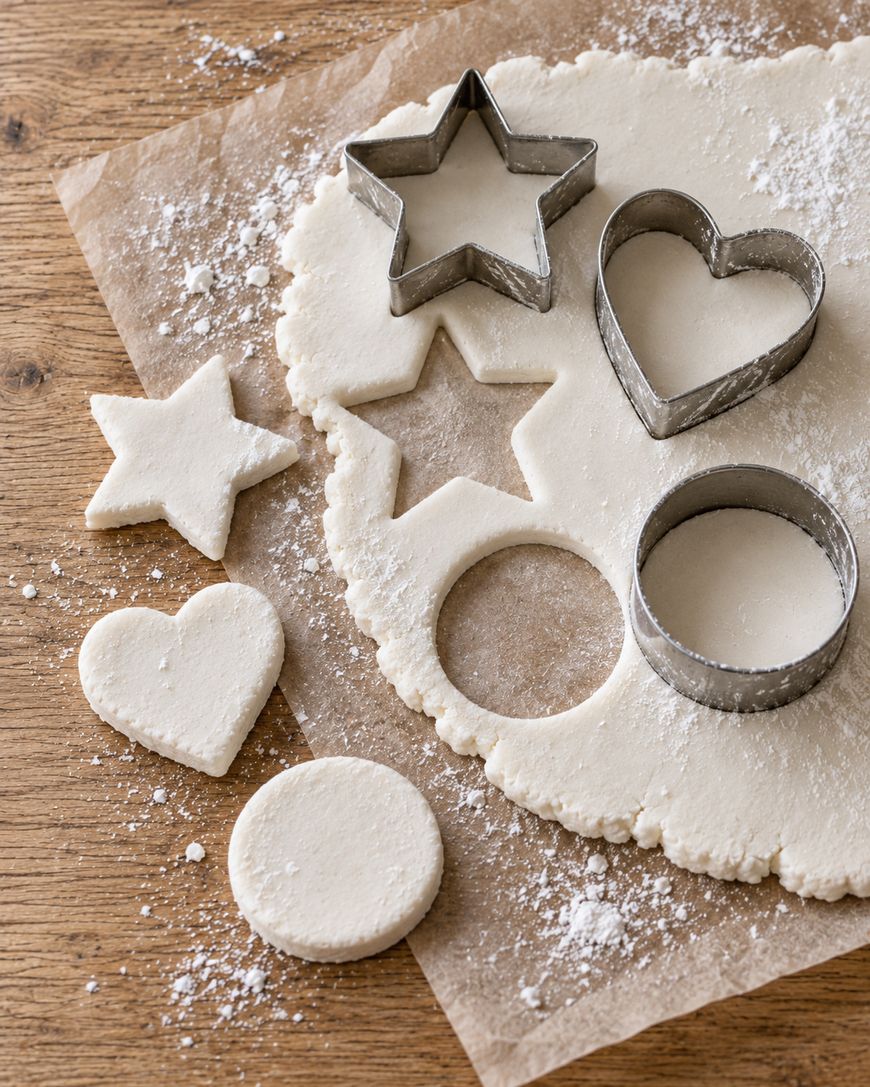
Roll the clay between two sheets of parchment paper to about 1/4 inch thick for ornaments, magnets, gift tags and trinket dishes. Cookie cutters, rubber stamps, lace and textured rolling pins all press crisp patterns into the surface.
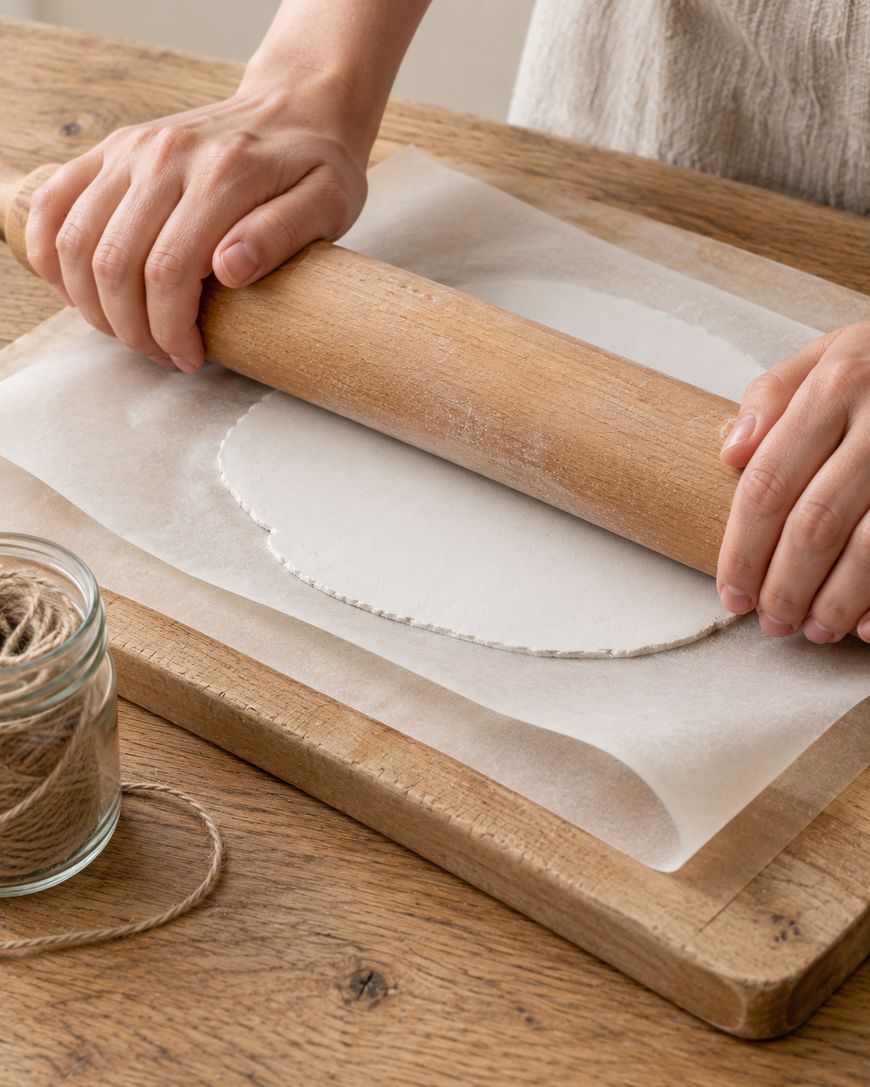
Smooth any cracks or fingerprints with a fingertip dipped in water. If you plan to hang a piece, poke a hole with a straw or skewer before it dries, because drilling dried clay is much harder.
Drying Times
Set finished pieces on parchment paper or a wire rack in a spot away from direct heat, sunlight and drafts. Flip each piece once, about halfway through drying, so the underside dries evenly and the edges stay flat.
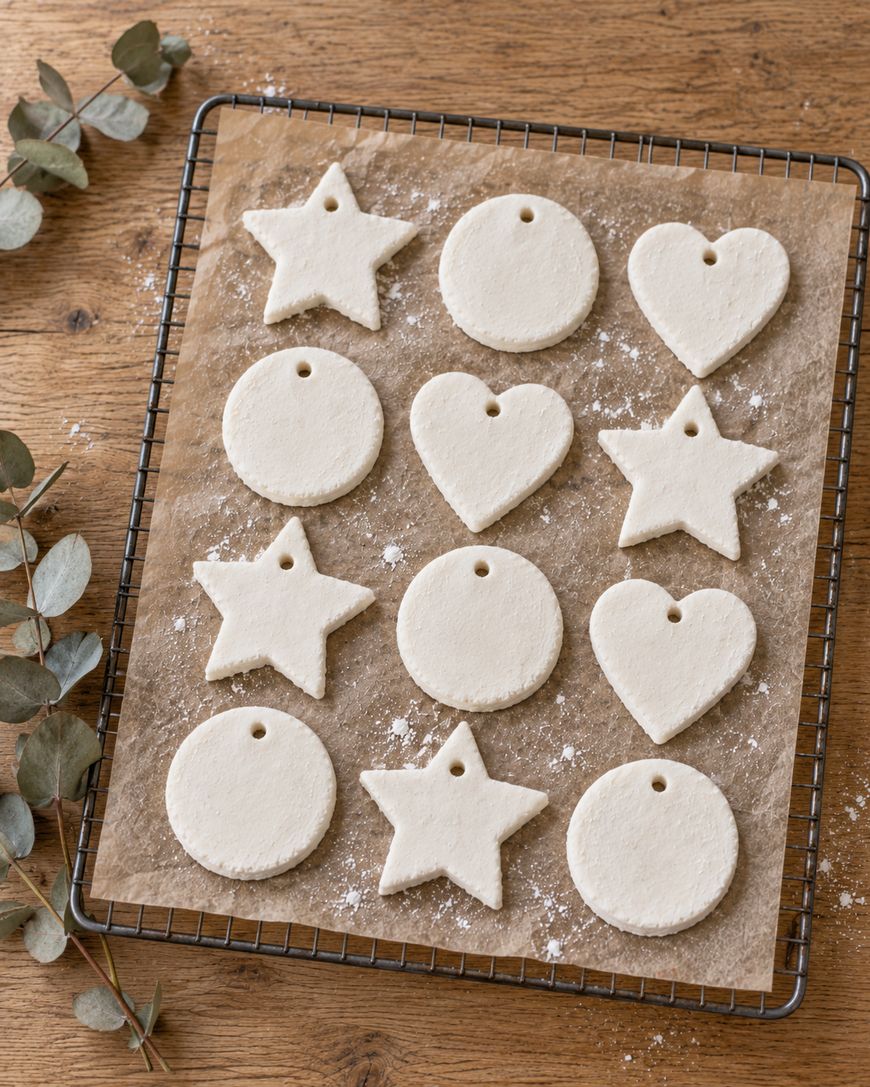
A piece is ready when it feels light, hard and no longer cool to the touch. We do not recommend baking this clay, because oven heat tends to make it puff and crack.
Painting and Sealing
Once a piece is fully dry, paint it with acrylic craft paint and let each coat dry before adding the next. Fine details look best with a small round brush, while broad areas cover faster with a flat brush.
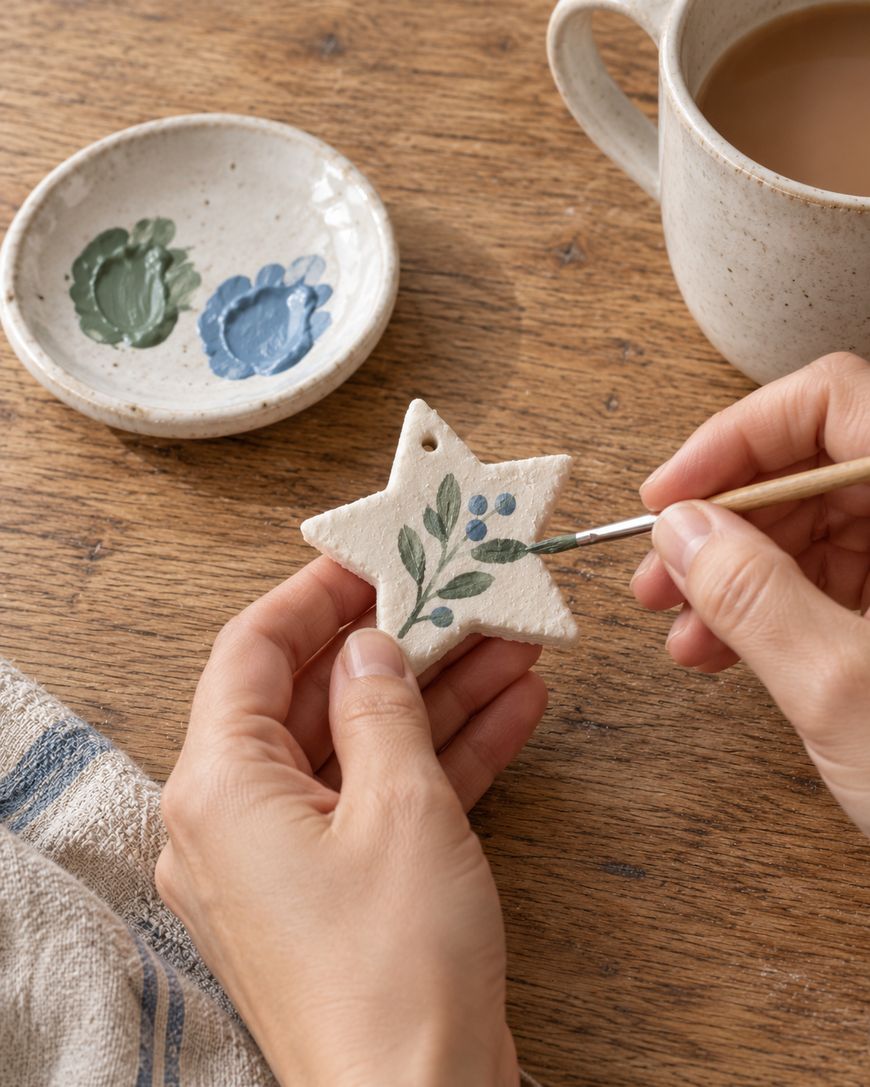
Seal the finished piece with a brush-on craft sealer or a clear acrylic spray, and spray outdoors or in a well ventilated spot. Sealing matters because unsealed homemade clay softens if it gets wet.
Tips for Coloring, Storing and Using Homemade Clay
The best tip for homemade clay is to decide on color before you shape anything. You can knead a few drops of food coloring or a dab of acrylic paint into the cooled dough, or paint the pieces after they dry.
Coloring the Dough
Flatten a small ball of dough, add a drop or two of coloring and fold the dough over it. Knead until the streaks disappear, and wear gloves if you want to keep your hands clean.
Dough colored this way dries a shade lighter than it looks wet. Keep each color in its own wrapped ball so you can mix custom shades later.
Storing Leftover Clay
Wrap leftover dough tightly in plastic wrap, then place it in an airtight container or zip bag. It keeps at room temperature for up to 1 week.
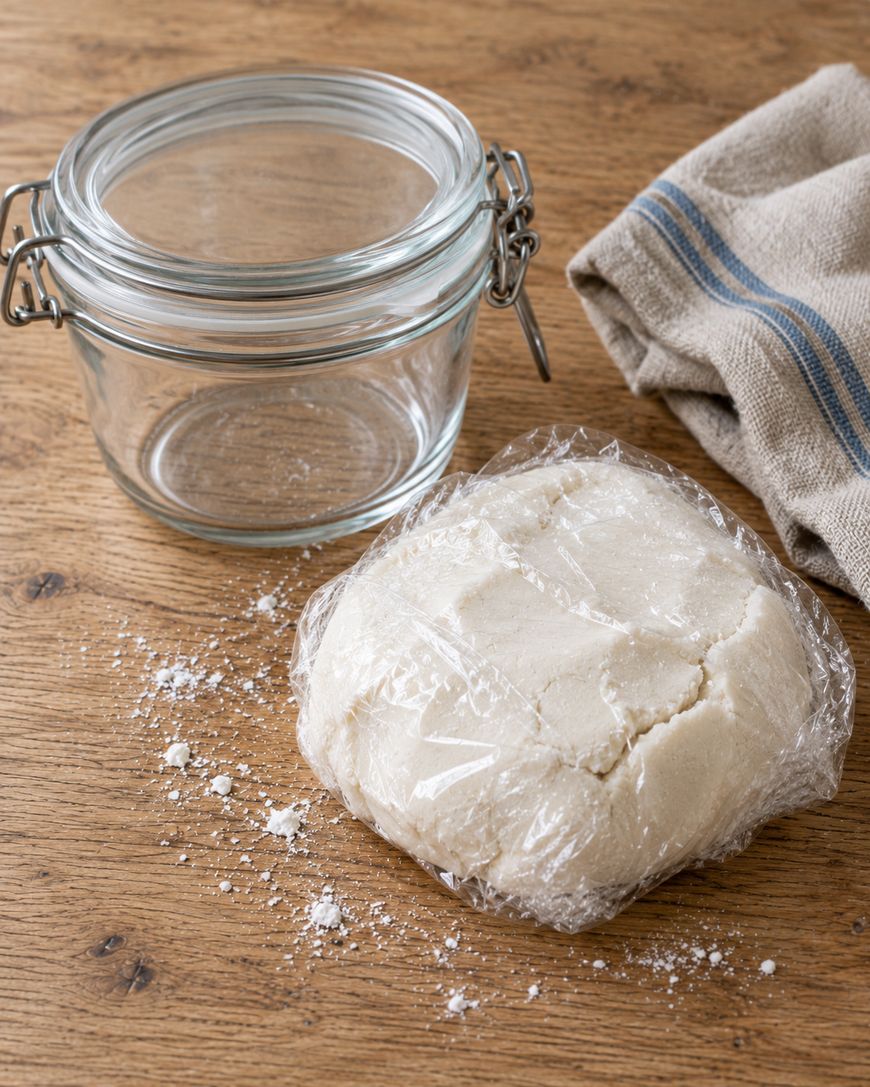
Knead the stored clay for a minute before you use it, and add a few drops of water if it feels stiff. Throw it away if it dries out completely or smells off.
Safety and Supervision
Homemade clay is a craft material, not food, even though it uses pantry ingredients. Adults should handle the hot cooking stage, and young children should shape the cooled dough under supervision.
Keep the dough and finished pieces away from pets and toddlers who might put things in their mouths. Wash hands after crafting and wipe your work surface when you finish.
Where Homemade Clay Comes From
Homemade clay has a long history in classrooms and craft rooms, where teachers and parents have mixed their own modeling dough for generations. Salt dough has long been the classic, and cornstarch based recipes grew popular because they dry smoother and whiter.
Crafters also know cornstarch clays as a cousin of cold porcelain, a pliable air dry clay used for delicate flowers and figurines. The baking soda version we use here is a kitchen shortcut, since it needs nothing you cannot buy at a grocery store.
Today this type of clay turns up in holiday ornaments, jewelry dishes, handprint keepsakes, miniature food crafts and kids science projects. It is cheap, forgiving and easy to scale up, which is why it keeps coming back.
Ready to start? Use the recipe card below for the exact amounts and steps, and scroll on for answers to the most common questions.
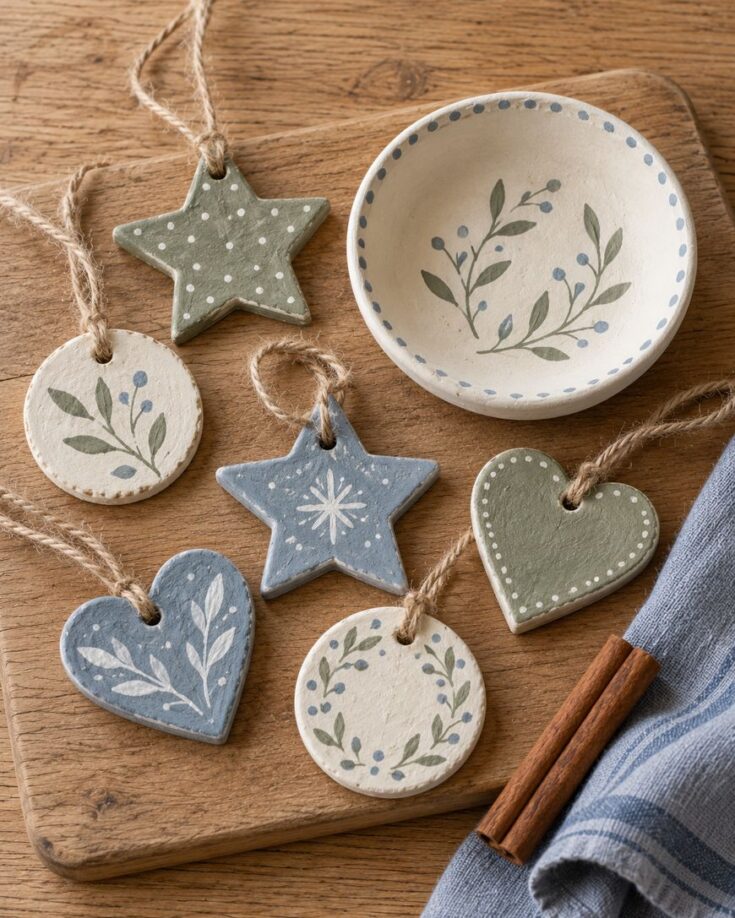
Homemade Clay
A smooth, air dry clay made from baking soda, cornstarch and water, perfect for ornaments, magnets, gift tags and kids crafts.
Ingredients
- 2 cups baking soda
- 1 cup cornstarch
- 1 1/4 cups cold water
Instructions
- Whisk the baking soda and cornstarch together in a dry nonstick saucepan.
- Pour in the cold water and whisk until completely smooth with no dry pockets.
- Cook over medium heat, stirring constantly with a silicone spatula, for 4 to 5 minutes until the mixture thickens and gathers into one ball like mashed potatoes.
- Turn the ball onto a plate and cover with a damp tea towel. Cool for 15 to 20 minutes.
- Knead for 1 to 2 minutes until smooth, adding a little cornstarch if sticky or a few drops of water if dry.
- Roll to about 1/4 inch thick between parchment paper, cut or shape, and poke any hanging holes with a straw.
- Air dry on parchment or a wire rack away from heat for 24 to 48 hours, flipping once halfway through.
- Paint with acrylic craft paint and seal with a craft sealer once fully dry.
Notes
Not food and not edible. Adults should handle the hot cooking stage and supervise children. Use baking soda, not baking powder. Do not bake. Wrap leftover dough tightly in plastic wrap and store in an airtight container at room temperature for up to 1 week. Knead before using. Thin pieces dry in about 24 hours, thick pieces take 48 hours or longer. Seal finished pieces because unsealed clay softens when wet.
Homemade Clay Questions and Answers
Can you bake homemade clay?
We recommend air drying instead. Oven heat dries the outside faster than the inside, so thicker pieces tend to puff, warp and crack.
Is homemade clay safe for kids?
The ingredients are common pantry staples, but the finished dough is a craft material and not food. Adults should handle the hot stove stage, and children should only shape the cooled dough with supervision.
Why did my clay crack while drying?
Cracking usually means the piece dried too fast, sat near heat or was rolled very thick. Overcooking the dough can also make it dry and crumbly, so stop cooking as soon as it forms a ball.
How long does homemade clay last?
Wrapped tightly in plastic and stored in an airtight container, the dough keeps for up to 1 week at room temperature. Dried and sealed pieces last for a long time when kept dry.
How do you color homemade clay?
Knead in a few drops of food coloring or acrylic paint after the dough cools. You can also paint dried pieces with acrylic craft paint for brighter, more even color.
Why This Homemade Clay Recipe Works
The ratio of 2 parts baking soda to 1 part cornstarch gives a dough that dries smooth and white while still holding detail. Cornstarch supplies the stretch and binding, and baking soda supplies the fine, chalky body.
Whisking the dry ingredients with cold water before you turn on the heat prevents lumps. Cooking over medium heat while stirring constantly gels the cornstarch evenly, so the dough forms one cohesive ball in about 5 minutes.
Covering the hot dough with a damp towel keeps the surface from drying into a skin. Kneading after it cools smooths out any remaining texture, which gives you a dough that rolls cleanly without cracking.
Final Thoughts on Making Homemade Clay
Homemade clay is one of the easiest and cheapest crafts you can make, and the result looks surprisingly close to store-bought air dry clay. With three ingredients, one saucepan and a little patience while it dries, you can make ornaments, magnets, gift tags and more.
Make a batch this weekend, shape a few test pieces and let them dry on the counter. Then come back, tell us what you made and share your favorite painting ideas.
The Salt Dough Recipe That Holds Every Ornament, Handprint, and Craft Shape Perfectly


