Last updated: October 22, 2026
This lemon curd recipe gives you a glossy, tart, spoonable curd made with real lemon juice, egg yolks, and butter, and a thermometer takes the guesswork out of the cooking. The recipe card sits below, and the walkthrough here covers every step so your first batch turns out silky instead of scrambled.
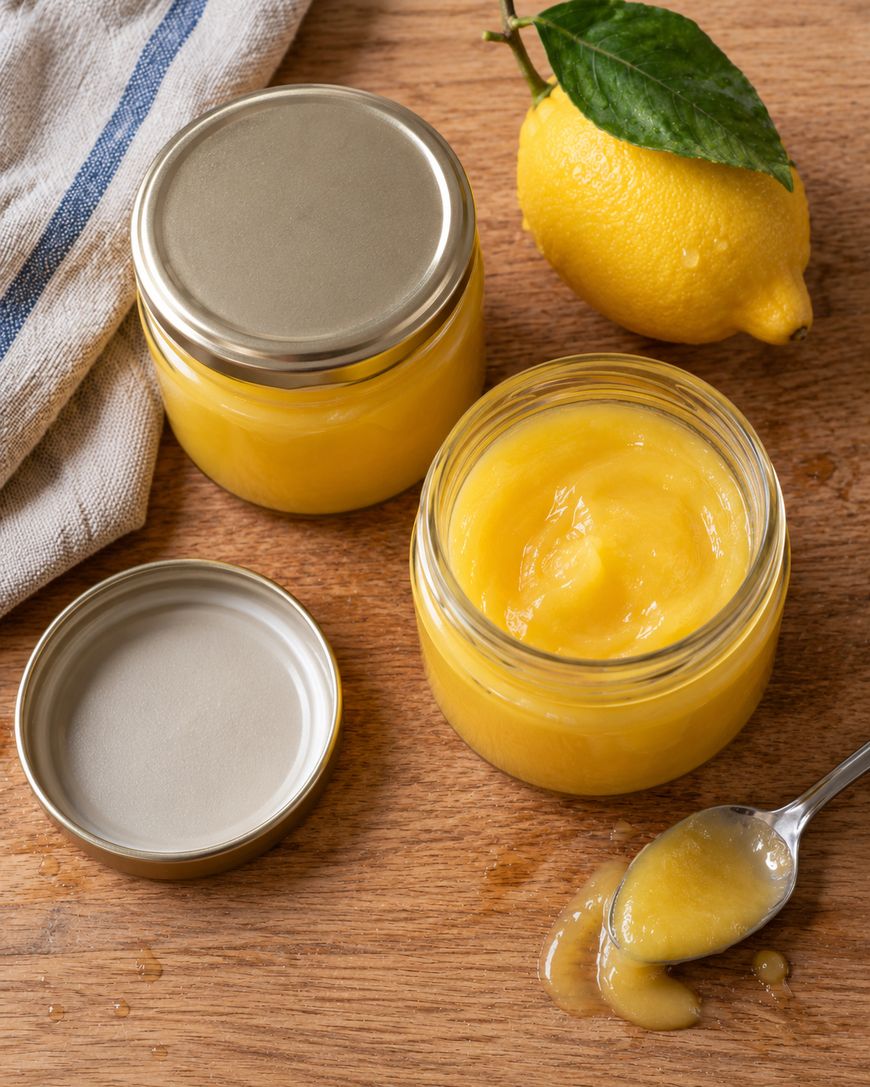
What You Need for This Lemon Curd Recipe
Lemon curd needs only six ingredients: lemons, granulated sugar, egg yolks, a whole egg, unsalted butter, and a pinch of fine salt. A heatproof bowl, a saucepan, a whisk, a fine mesh strainer, and an instant-read thermometer complete the setup.
Lemons
You need 3 to 4 medium lemons, enough for 1/2 cup of fresh juice and 1 tablespoon of finely grated zest. Choose heavy, thin-skinned lemons such as Eureka or Lisbon, because they hold the most juice.

Scrub each lemon under warm water before zesting, since grocery store lemons often carry a waxy coating. Bottled juice gives the curd a flat, slightly bitter taste, so squeeze fresh.

Eggs, Sugar, and Butter
The base uses 4 large egg yolks plus 1 whole large egg, which gives the curd a rich color and a firm, sliceable set once chilled. Add 3/4 cup of granulated sugar and 1/8 teaspoon of fine sea salt to balance the sharp juice.

Finish with 1/2 cup (1 stick) of cold unsalted butter cut into 8 pieces. The cold butter cools the curd slightly as it melts, which helps it turn glossy and smooth.
Equipment
Use a medium saucepan and a heatproof glass or stainless steel bowl that sits snugly on top without touching the water below. A reactive pan such as aluminum or unlined copper can give lemon curd a metallic taste, so stick with glass or stainless steel.
You also need an instant-read thermometer, a flexible spatula, a fine mesh strainer, and a clean jar or bowl for storing the finished curd.
How to Make Lemon Curd on the Stovetop
The method has four stages: set up a gentle water bath, cook the curd to temperature, whisk in the butter, then strain and chill. Plan on 15 minutes of prep, about 10 minutes of cooking, and at least 2 hours of chilling.
Set Up the Water Bath
Pour 1 to 2 inches of water into your saucepan and bring it to a gentle simmer over medium-low heat. Rest your bowl on top and check that the bottom stays above the water line.
Gentle steam heats the curd evenly, while direct heat cooks the yolks too fast and leaves little scrambled bits. A lazy simmer is all you need.
Mix the Base
Add the zest and sugar to the bowl and rub them together with your fingertips until the sugar looks damp and smells strongly of lemon. This releases the zest oils and gives the curd a deeper citrus flavor.

Whisk in the 4 egg yolks, the whole egg, the lemon juice, and the salt until the mixture is smooth and pale yellow.
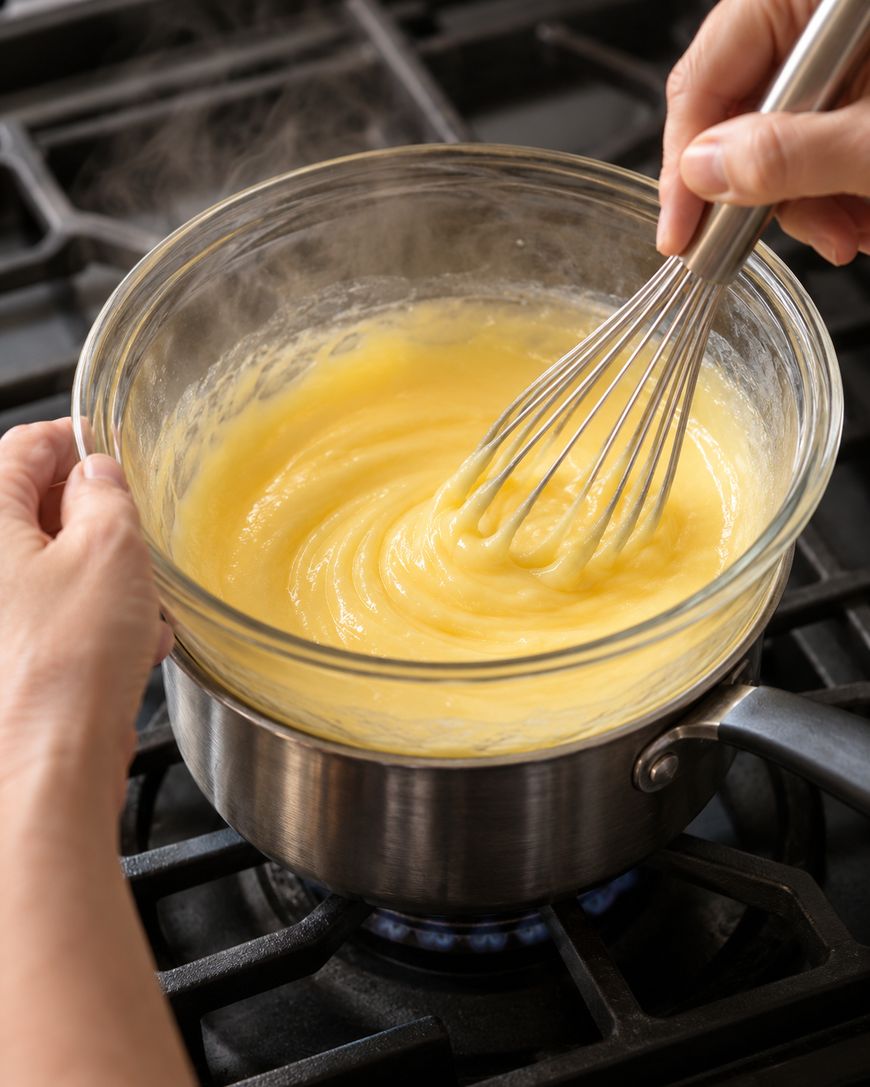
Cook the Curd to 170°F
Set the bowl over the simmering water and cook, whisking constantly and scraping the bottom and sides, for 8 to 10 minutes. The curd is ready when it coats the back of a spoon and reads 170°F on an instant-read thermometer.

That temperature clears the 160°F that the USDA Food Safety and Inspection Service lists as safe for egg mixtures, and it matches the cooking target in the National Center for Home Food Preservation lemon curd guidance. If the curd looks thin at first, keep whisking, because it thickens quickly near the end.
Whisk in the Butter and Strain
Lift the bowl off the heat and whisk in the cold butter a few pieces at a time, waiting until each addition melts before adding the next. The curd turns glossy and slightly lighter in color.

Pour it through a fine mesh strainer into a clean bowl or jar, pressing with a spatula. This catches the zest and any tiny cooked egg bits so the texture is perfectly smooth.

Chill Until Thick
Press a piece of plastic wrap directly onto the surface so no skin forms, then refrigerate for at least 2 hours. Lemon curd looks like a thick sauce when warm and sets to a spreadable pudding texture as it cools.
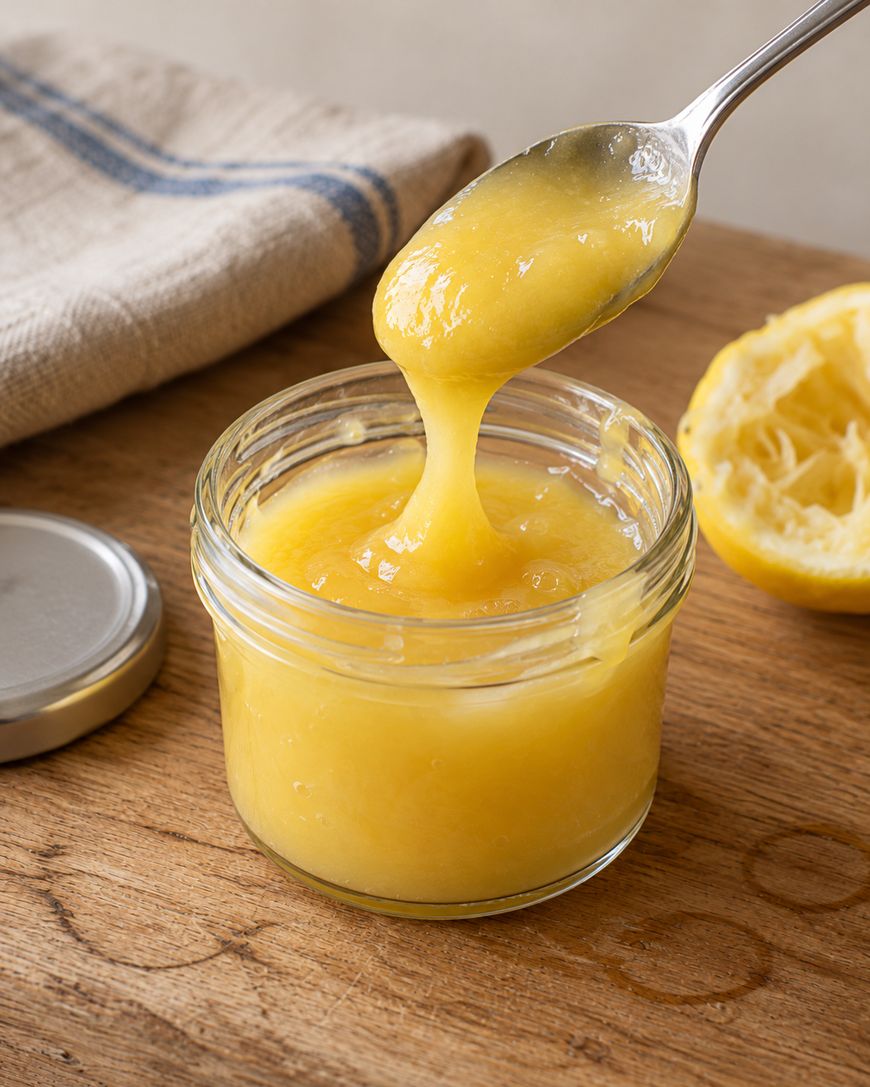
Tips for Smooth Lemon Curd That Never Scrambles
Smooth lemon curd comes down to gentle heat, constant motion, and a strainer. Each of these habits protects the yolks from overcooking.
Keep the Heat Low and the Whisk Moving
Whisk the whole time the bowl is over the water, reaching into the corners where the curd cooks fastest. If you ever see the edges starting to set, lift the bowl off the heat for a few seconds and keep whisking.
A flexible silicone spatula is useful for scraping the curved bottom of the bowl between whisking rounds. The more of the bowl you reach, the more evenly the curd cooks.
Use a Thermometer
Color and thickness can fool you, but a thermometer does not. Stop at 170°F, because pushing the curd well past that temperature risks a grainy texture.
Dip the probe into the center of the curd without touching the bottom of the bowl, and check every minute or so once the mixture starts to thicken.
Rescue Curd That Looks Grainy
If tiny lumps appear, strain the curd right away and then blend it with an immersion blender for 10 to 15 seconds. This smooths out minor graininess, though badly scrambled curd cannot be saved.
Lemon Curd Variations and Substitutions
Once you have the base lemon curd recipe down, a few simple swaps change the flavor without changing the method. Keep the juice at 1/2 cup total so the ratio stays balanced, and note that the recipe card below keeps the classic lemon version.
Meyer Lemon, Lime, and Orange Curd
Meyer lemons give a softer, more floral curd, and you can use them in equal amounts. For lime curd, swap in fresh lime juice and zest, and for orange curd, use 1/4 cup of orange juice plus 1/4 cup of lemon juice so the sweetness stays bright.
Dairy-Free and Sugar Swaps
Plant-based butter sticks work in place of dairy butter, though the flavor will taste slightly less rich. Granulated sugar gives the cleanest color and set, so we do not recommend honey or brown sugar here.
You can also dial the sweetness up or down slightly by adding or removing a tablespoon of sugar. Taste the finished curd while it is still warm, since the flavor tastes a little sweeter once it chills.
How to Store and Freeze Lemon Curd
Store lemon curd in a clean, airtight jar in the refrigerator for up to 4 days. That window follows the USDA Food Safety and Inspection Service guidance of 3 to 4 days for cooked egg dishes, and the curd should go into the fridge within 2 hours of cooking.
For longer storage, freeze the cooled curd in freezer-safe containers with a little headspace. The National Center for Home Food Preservation reports that prepared lemon curd holds its quality in the freezer for up to 1 year.
Thaw frozen curd in the refrigerator for 24 hours, then treat it like fresh curd and use it within 4 days.
This lemon curd recipe is not a canning recipe, so do not process it in a water bath canner. The National Center for Home Food Preservation publishes its own tested canning process for lemon curd, and that is the only one to follow if you want shelf-stable jars.
Ways to Use Lemon Curd
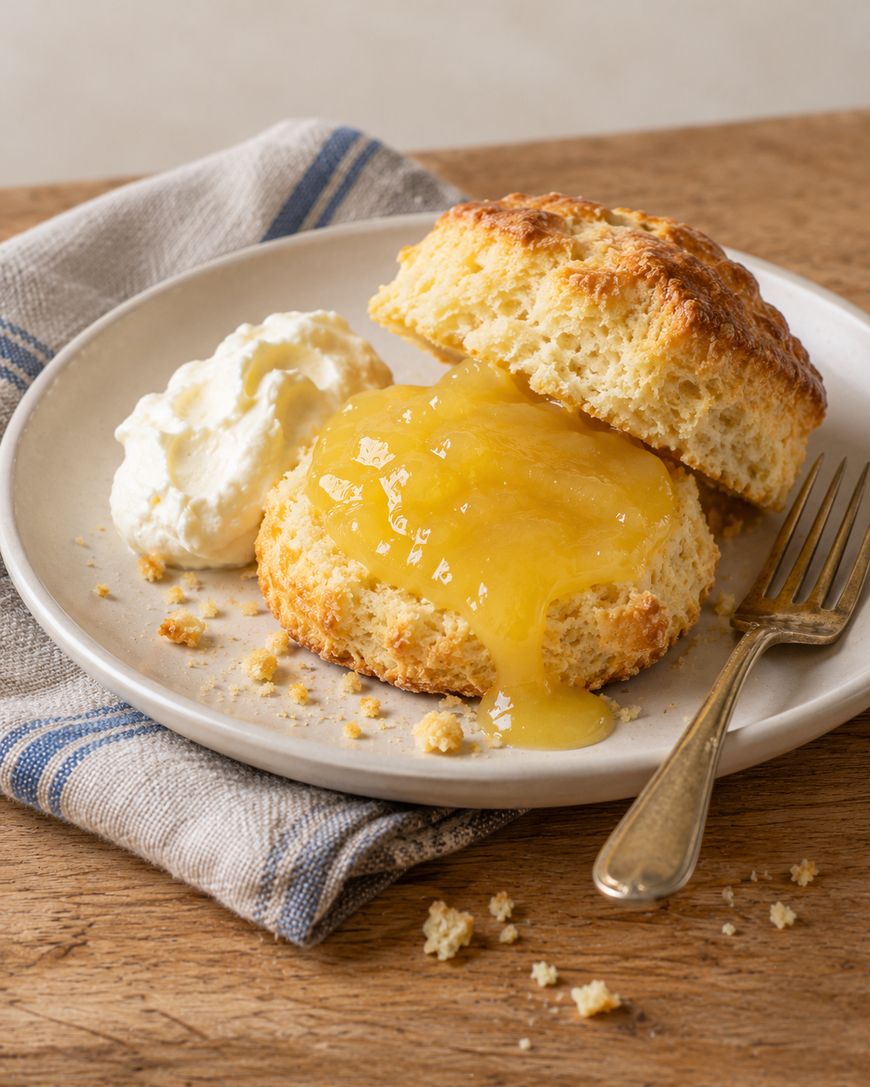
Lemon curd is far more versatile than a spread for scones. A spoonful brightens almost anything creamy, buttery, or plain.
Swirl it into plain Greek yogurt or whipped cream for a quick dessert, spoon it into baked tart shells, or sandwich it between layers of vanilla cake. It also works as a filling for thumbprint cookies, a topping for pancakes and waffles, or a spread on toast with a little flaky salt.
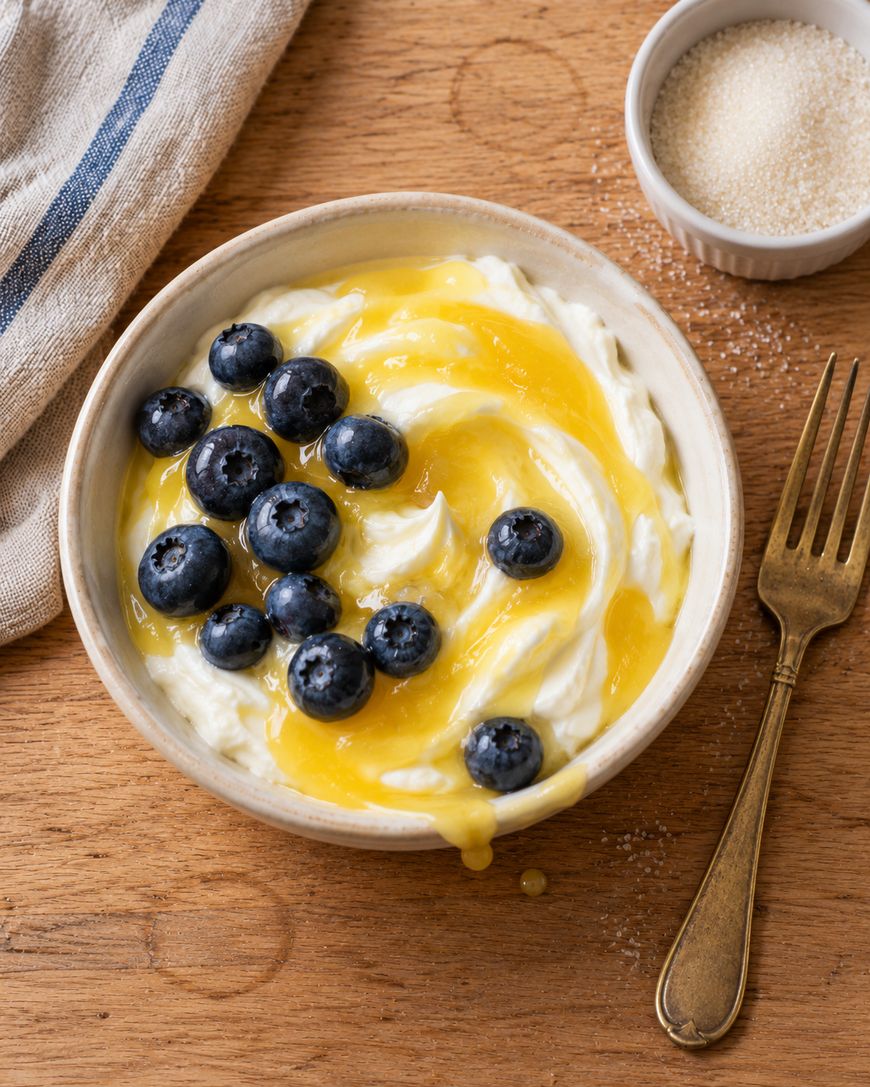
For an easy fruit dessert, layer lemon curd with fresh berries and crushed shortbread in small glasses. The tart curd balances sweet berries beautifully.
If you are serving a crowd, set out a small bowl of curd alongside warm biscuits, sliced pound cake, and a plate of fresh fruit. Guests can build their own bites, and a single batch goes surprisingly far.
A Short History of Lemon Curd
Lemon curd is an English preserve-style spread that was well established by the 1800s. It was traditionally served at afternoon tea, spooned onto scones, bread, and tarts.
Early versions were a thrifty way to turn eggs, butter, and sugar into something special, with fruit juice added for flavor and a tart edge. That simple formula has barely changed, and the stovetop curd remains the classic that bakers return to year after year.
Today lemon curd shows up in everything from trifles to tart fillings and layer cakes. Its popularity comes from the balance of sharp citrus, rich yolks, and silky butter in every spoonful.
That balance is also why homemade curd tastes so different from jarred versions, which often lean on thickeners and flavorings. Making it yourself takes under half an hour and puts you in control of how tart or sweet it turns out.
Use the recipe card below for the full ingredient list, step-by-step instructions, and nutrition estimates, and print it to keep on hand for your next batch.
Lemon Curd
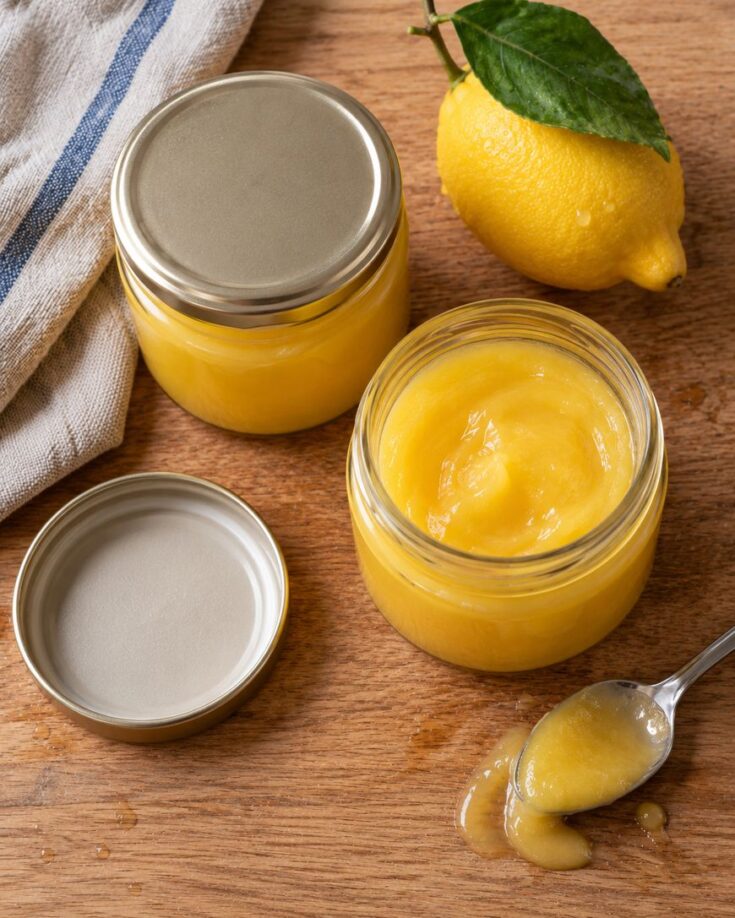
Silky, tart lemon curd made on the stovetop with fresh lemon juice, zest, egg yolks, and butter, cooked to 170°F so it sets smooth and never scrambles.
Ingredients
- 1 tablespoon finely grated lemon zest (from 2 to 3 lemons)
- 3/4 cup granulated sugar
- 4 large egg yolks
- 1 large egg
- 1/2 cup fresh lemon juice (from 3 to 4 medium lemons)
- 1/8 teaspoon fine sea salt
- 1/2 cup (1 stick) cold unsalted butter, cut into 8 pieces
Instructions
- Pour 1 to 2 inches of water into a medium saucepan and bring to a gentle simmer over medium-low heat.
- In a heatproof glass or stainless steel bowl that sits over the pan without touching the water, rub the lemon zest into the sugar with your fingertips until damp and fragrant.
- Whisk in the egg yolks, whole egg, lemon juice, and salt until smooth and pale yellow.
- Set the bowl over the simmering water and cook for 8 to 10 minutes, whisking constantly and scraping the bottom and sides, until the curd coats the back of a spoon and reaches 170°F on an instant-read thermometer.
- Lift the bowl off the heat and whisk in the butter a few pieces at a time, waiting for each addition to melt, until the curd is glossy.
- Pour the curd through a fine mesh strainer into a clean bowl or jar, pressing with a spatula.
- Press plastic wrap directly onto the surface and refrigerate for at least 2 hours, until thick and fully chilled.
Notes
Use a glass or stainless steel bowl, since aluminum or unlined copper can give the curd a metallic taste. Cook to 170°F, which is above the 160°F USDA FSIS lists for egg mixtures. Refrigerate within 2 hours of cooking and store in an airtight jar for up to 4 days. Freeze in freezer-safe containers for up to 1 year, thaw in the refrigerator for 24 hours, and use within 4 days of thawing. This recipe is not a canning recipe, so do not process it in a water bath canner. If tiny lumps appear, strain and blend with an immersion blender for 10 to 15 seconds.
Nutrition Information:
Yield:
12Serving Size:
2 tablespoonsAmount Per Serving: Calories: 140Total Fat: 10gSaturated Fat: 5gSodium: 35mgCarbohydrates: 13gFiber: 0gSugar: 13gProtein: 1g
Lemon Curd Recipe FAQ
Why does my lemon curd taste metallic?
A metallic taste almost always comes from cooking the curd in a reactive pan such as aluminum or unlined copper. Use a glass or stainless steel bowl, and your curd will taste clean and bright.
Why is my lemon curd runny?
Curd that is too thin was usually pulled off the heat before it reached 170°F. Return it to the water bath, whisk until it hits the temperature, and chill it fully, since it thickens a lot as it cools.
Can I make lemon curd without a double boiler?
Yes, the bowl over a saucepan of simmering water is a simple double boiler, and it is the method this recipe uses. You can cook the curd directly in a heavy saucepan over low heat, but it scrambles much more easily, so a thermometer and constant whisking are essential.
Can I use bottled lemon juice?
Bottled juice works in a pinch, but the flavor is flatter and sometimes bitter. Fresh juice and zest are what give lemon curd its bright, fragrant character.
What can I do with leftover egg whites?
Whisk them into scrambled eggs or an omelet, or use them for meringue cookies or a pavlova. Egg whites can also be frozen in a labeled container for later baking.
Why This Lemon Curd Recipe Works
This lemon curd recipe works because it cooks the eggs gently over a water bath instead of over direct heat. The steam raises the temperature slowly, which gives you time to whisk and watch the thermometer.
Using mostly egg yolks creates a rich, deep golden curd, and the single whole egg adds just enough structure for a clean set. The butter is whisked in off the heat, which keeps it emulsified and glossy rather than greasy.
Rubbing the zest into the sugar releases the lemon oils before any liquid goes in, so the flavor tastes bright rather than flat. Finally, straining removes the zest and any stray bits, so every spoonful is perfectly smooth.
Chilling is the last piece of the puzzle, because the proteins and butter firm up as the curd cools. That is why the curd looks loose in the bowl but spreads like a thick pudding the next day.
Final Thoughts on Making Lemon Curd
This lemon curd recipe takes about 25 minutes of active time and rewards you with a jar of silky, tart curd you can use for days. Once you see how easy the thermometer method is, you may never buy a store-bought jar again.
Grab a few fresh lemons and make a batch this week, then stir it into yogurt, spread it on warm scones, or fill a tart. Leave a comment below to tell us how you used yours.
If you have lemons left over, squeeze the juice into ice cube trays for the next batch, or zest them before juicing and freeze the zest in a small bag. A little planning makes the next jar of lemon curd even faster to whip up.