Last updated: April 7, 2026
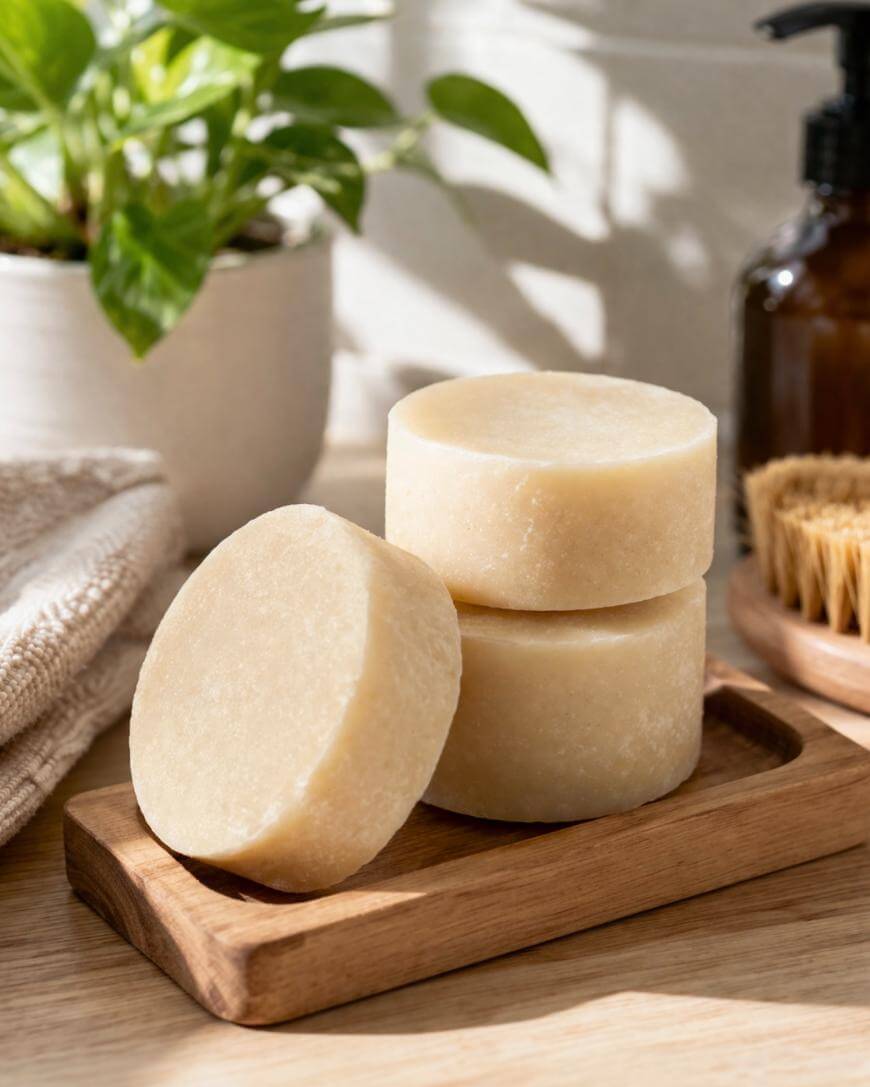
This shampoo bar recipe is a solid, practical way to make a solid cleanser you use on hair instead of liquid shampoo. Start with a melt-and-pour shampoo bar base so you can customize it without handling lye. If you want the easiest, most reliable results, make a small 4-bar batch first and tweak your oils or additives on the next round.
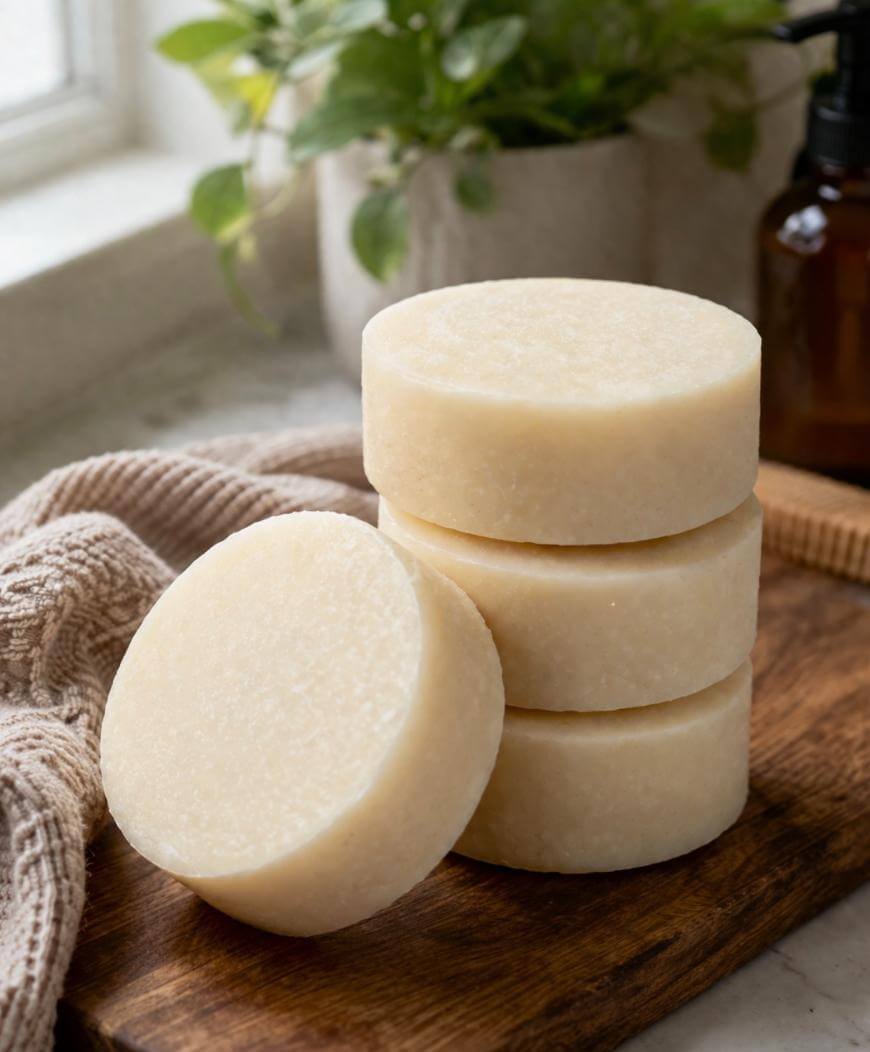
Ingredients For A Beginner Shampoo Bar Recipe (4-Bar Batch)
1. Melt-And-Pour Shampoo Bar Base
Use 16 oz (1 lb) of melt-and-pour shampoo bar base.
This is your main ingredient and the easiest starting point because it is already formulated for hair.
2. Essential Oil Or Fragrance Oil
Use 0.16 oz for a 1% scent level (about 1/2 teaspoon, but weighing is more accurate).
If you have a sensitive scalp, cut this to 0.08 oz (0.5%) or skip scent entirely.
3. Optional Add-In: Panthenol (Pro-Vitamin B5)
Use 0.16 oz to 0.32 oz (1% to 2% of the batch).
This can help hair feel smoother, especially if your hair tangles easily.
4. Optional Add-In: Aloe Powder
Use 1/2 teaspoon (or about 0.05 oz to 0.1 oz depending on the powder).
This is a good option if your scalp feels dry or easily irritated.
5. Optional Add-In: Hydrolyzed Protein
Use 0.08 oz to 0.16 oz (0.5% to 1% of the batch).
This is best if your hair is damaged or you want a slightly fuller feel.
6. Optional Add-In: Kaolin Or Rhassoul Clay
Use 1 teaspoon (start low).
This can help oily roots, but too much can make hair feel dry or dull.
7. Optional Add-In: Colloidal Oatmeal
Use 1 teaspoon of finely milled colloidal oatmeal.
This is a gentle choice for sensitive scalps, but it needs to be very fine to avoid grit.
8. Optional Add-In: Lightweight Oil For Slip
Use 1 teaspoon jojoba or argan oil.
More than this can soften the bar and make hair feel coated, so keep it small.
Shampoo Bar Recipe Ideas And Variations You Can Use
1. Start With A Melt-And-Pour Shampoo Bar Base For The First Batch
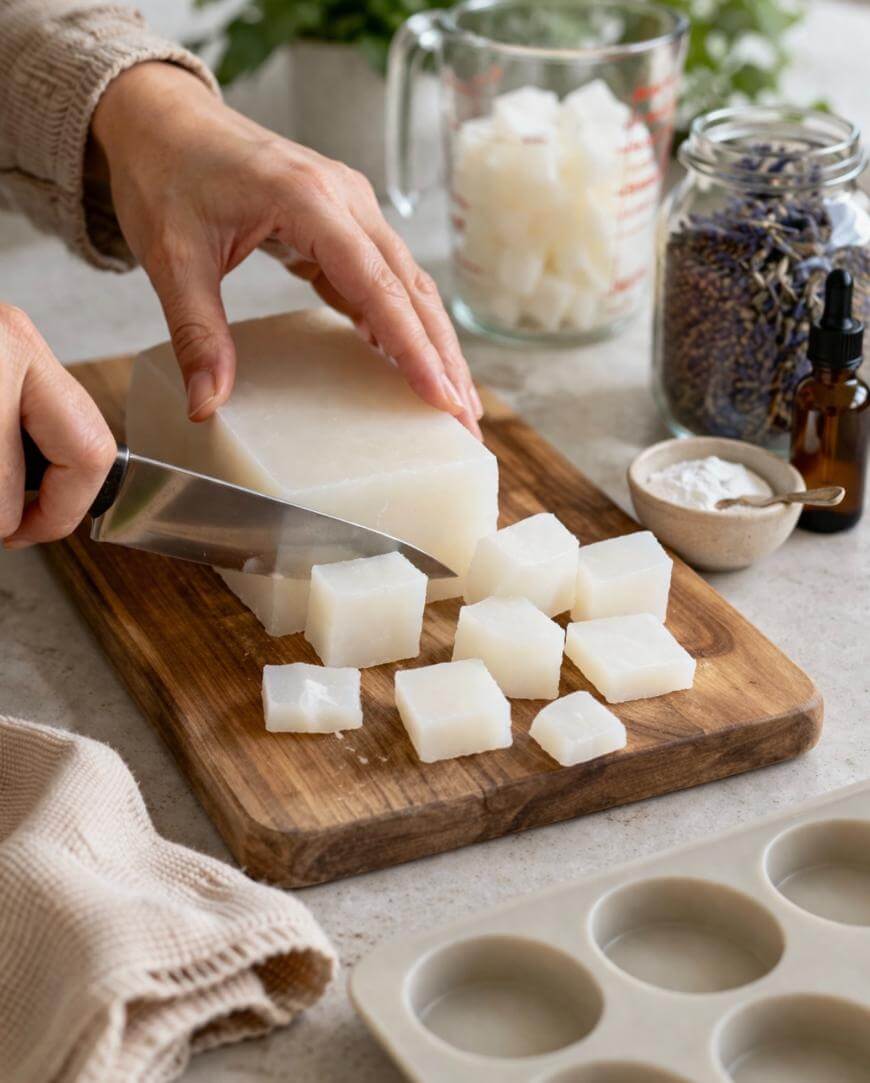
A melt-and-pour base is pre-made and pH-balanced for hair, so you skip the tricky chemistry and still get a legit solid bar. This is the best “most people should do this” option if you want fewer fails.
A simple target is a 1 lb base, which typically makes 4 medium bars depending on your mold size. If your scalp is sensitive, keep fragrance low and avoid heavy essential oil blends.
2. Use A True Soap Shampoo Bar Only If You Are Okay With A Higher pH
Traditional “soap” shampoo bars made with oils + lye are usually higher pH than hair prefers, so some people get waxy buildup or tangles. If you have hard water, this can feel worse.
If you still want to try it, plan on an acidic rinse (like diluted apple cider vinegar) after washing. That one tweak can be the difference between “hair feels like straw” and “hair feels normal.”
3. Choose Your Bar Type Based On Hair Type Instead Of Trends
If your hair is color-treated, fine, or easily weighed down, a syndet-style bar (surfactant-based) is often more predictable than true soap. If your hair is thick and you love a squeaky-clean feel, you might prefer a stronger cleanse.
A simple rule is to start gentler than you think you need, because you can always clarify later. It is harder to undo an over-cleansing bar than to boost cleansing with technique.
4. Keep Essential Oils Under A Safe Percentage
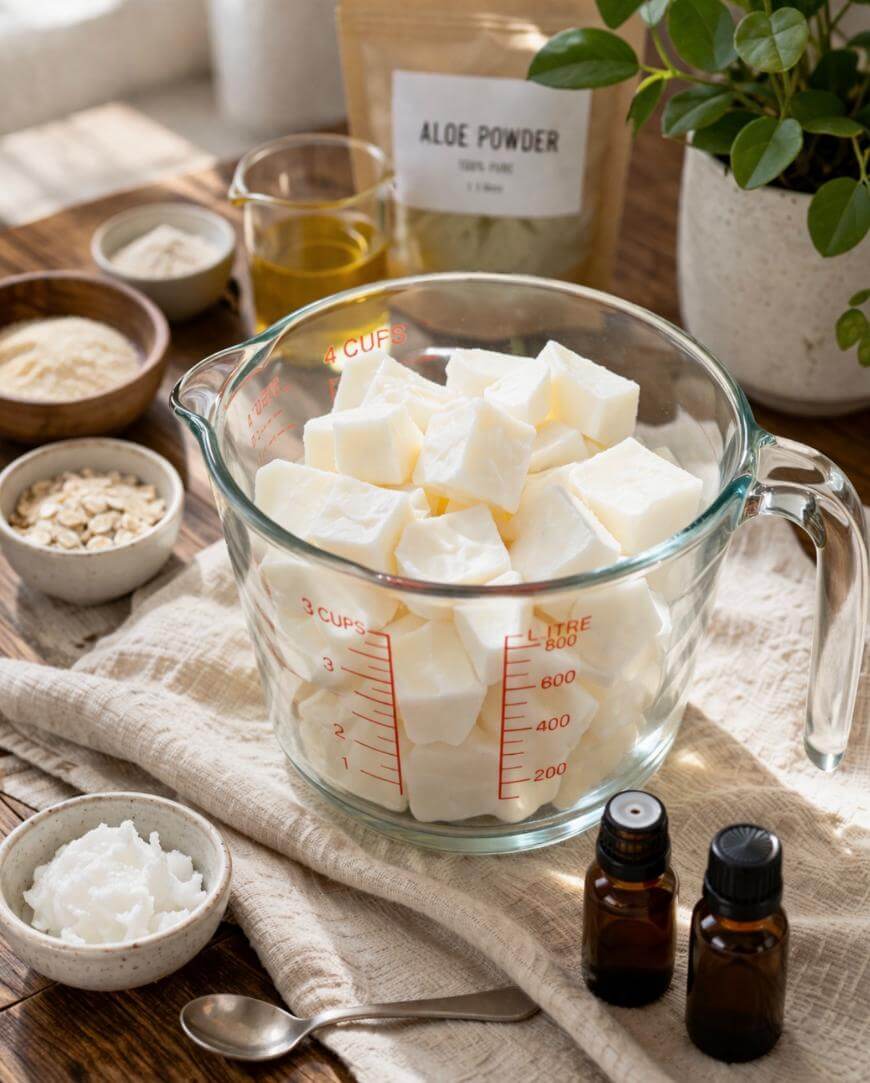
It is tempting to load up on essential oils for scent, but hair products sit on your scalp, and irritation is real. A safe starting point is 0.5% to 1% essential oil by weight for a rinse-off bar.
For a 1 lb batch (16 oz), 1% is about 0.16 oz. If you are measuring in drops, still try to convert to weight because drop size varies.
5. Add A Small Amount Of Jojoba Or Argan For Slip Without Greasiness
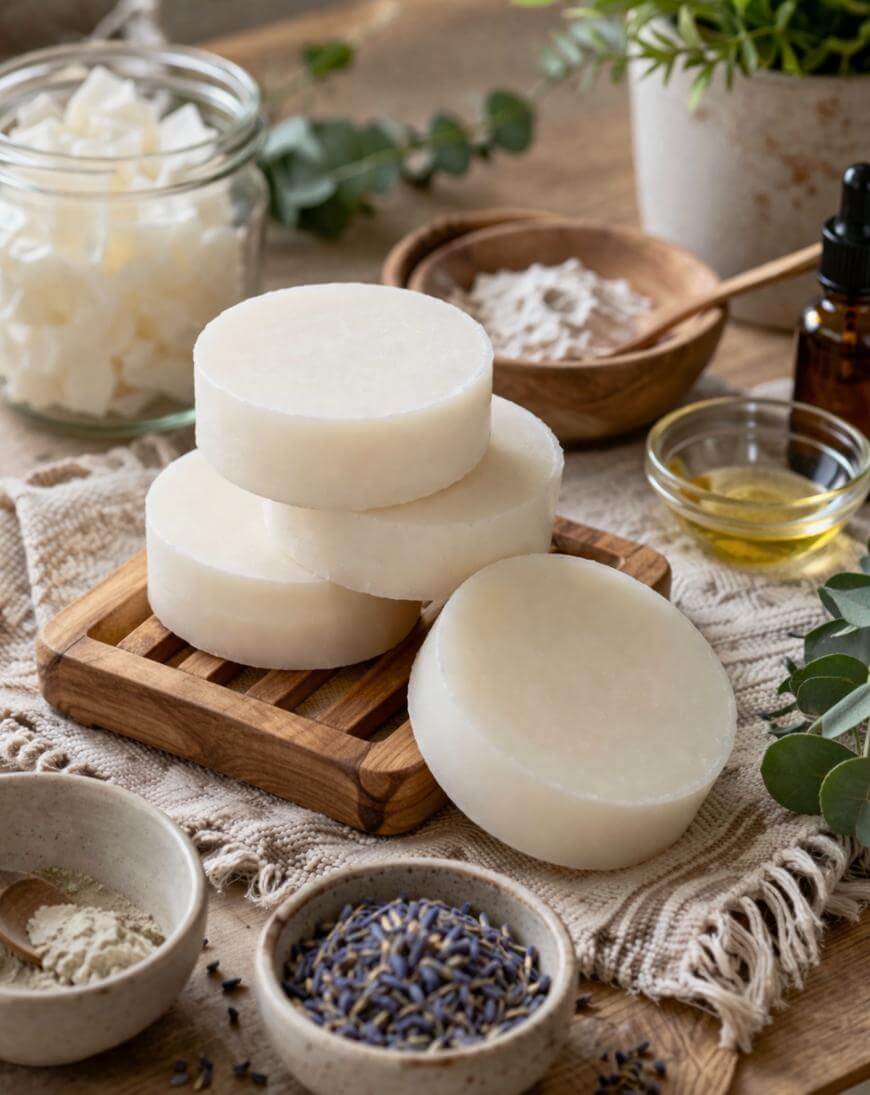
A tiny amount of lightweight oil can help reduce that “drag” feeling when you rub a bar on wet hair. Jojoba and argan are popular because they can feel less heavy than coconut or olive.
A good starting add-in is 1 teaspoon per 1 lb batch for melt-and-pour. If you add too much, the bar can get soft and your hair can feel coated.
6. Use Panthenol For A Smoother Feel
Panthenol (pro-vitamin B5) is a classic ingredient for shine and softness, especially if your hair tangles easily. It works nicely in syndet or melt-and-pour formulas.
Keep it modest, like 1% to 2% of your total batch weight. If you overdo it, you may not love the feel or the bar’s firmness.
7. Add Hydrolyzed Protein Only If Your Hair Likes Protein
Protein can make hair feel stronger and fuller, but some hair gets stiff or brittle with too much. If you have heat damage or breakage, it can be helpful.
Start at 0.5% to 1% and test. If your hair suddenly feels rough or “crunchy,” back it down or skip it entirely.
8. Use Clay Sparingly To Avoid Dullness
Kaolin or rhassoul clay can help with oily roots, but too much clay can leave hair feeling dry or dull. Clay also makes bars more crumbly if you go overboard.
A safe starting point is 1 teaspoon per 1 lb batch. If you want more oil control, adjust your wash frequency or technique before you keep adding clay.
9. Swap In Aloe Powder For A Calmer Scalp Feel
Aloe is a go-to if your scalp gets itchy, especially in winter or after too many styling products. Powdered aloe is easy because you do not change the bar’s water content much.
Try 1/2 teaspoon aloe powder per 1 lb batch. If you use liquid aloe, your bar may sweat or soften depending on the base.
10. Use Oatmeal For Sensitive Scalps But Grind It Fine
Colloidal oatmeal can help calm irritation and feels gentle. If you use chunky oats, they can get stuck in hair or make the bar feel scratchy.
Use colloidal oatmeal or grind it into a fine powder. Start with 1 teaspoon per 1 lb batch and see how your scalp reacts.
11. Choose A Simple Mold Size So You Can Test Faster
Making a huge loaf sounds efficient, but it locks you into one formula for weeks. Smaller cavity molds let you test multiple variations quickly.
Aim for 3 oz to 4 oz bars for trial batches. If you love the formula, then scale up.
12. Let The Bar Cure Or Dry Out Long Enough
Even melt-and-pour bars benefit from a few days of drying so they last longer in the shower. True soap bars need a longer cure for hardness and mildness.
A simple guideline is 48 to 72 hours of drying for melt-and-pour. For true soap, 4 to 6 weeks is a common baseline.
13. Store Finished Bars In A Dry, Breathable Way
A sealed container can trap moisture and make bars sweat or get slimy. You want airflow so the bar stays hard.
A paper bag, a cardboard box, or a breathable tin works better than a fully airtight plastic container. In the shower, use a draining soap dish.
How To Make A Melt-And-Pour Shampoo Bar Recipe
14. Measure Everything By Weight For Consistent Results
Weight is the difference between “it turned out perfect” and “why is it crumbly.” Measuring cups vary too much for ingredients like powders and butters.
A simple digital scale is usually under $15, and it pays for itself fast. If you want to tweak one thing at a time, weight makes changes repeatable.
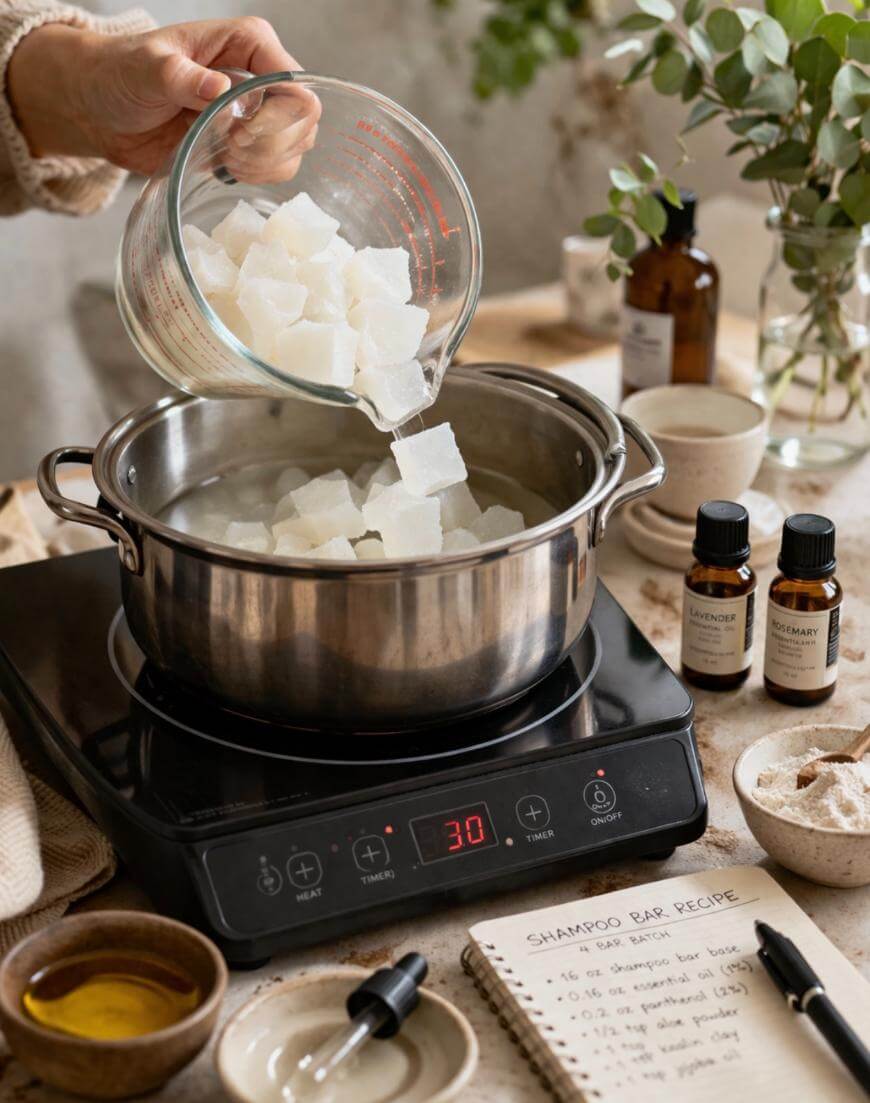
15. Use This Beginner Base Formula For A 4-Bar Batch
This is a clean, customizable starting point that you can adapt for dry hair, oily hair, or sensitive scalps. It keeps the formula simple so you can actually troubleshoot.
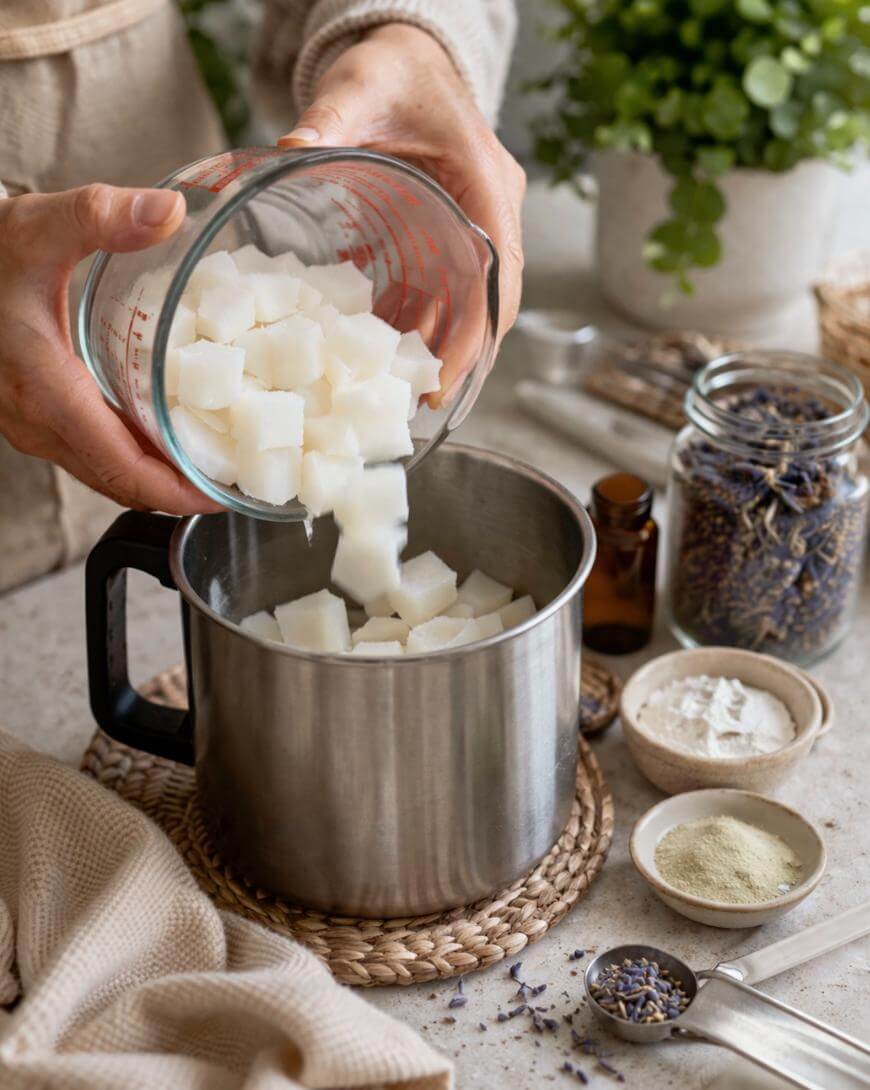
Use 16 oz melt-and-pour shampoo bar base, 0.16 oz essential oil or fragrance oil for 1% scent, and up to 0.3 oz total additives like panthenol, aloe powder, or protein. If you are adding powders, mix them into a small portion first to prevent clumps.
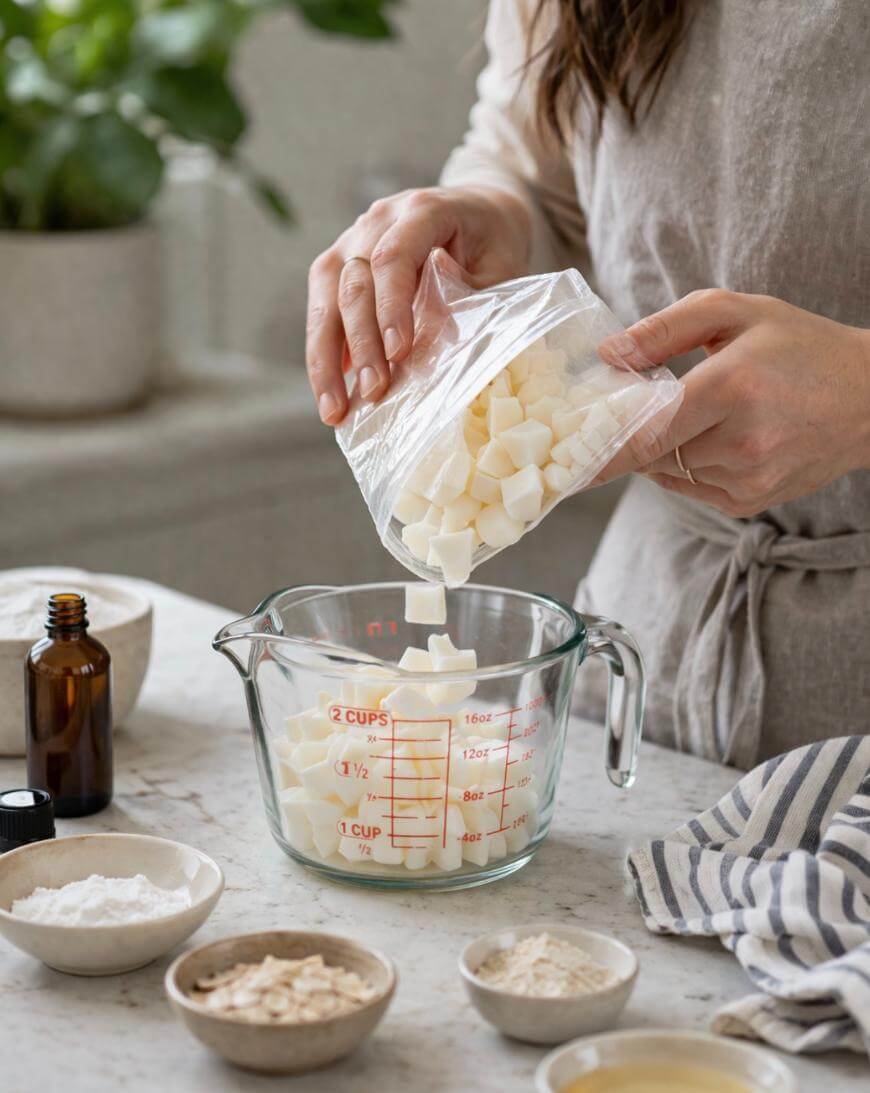
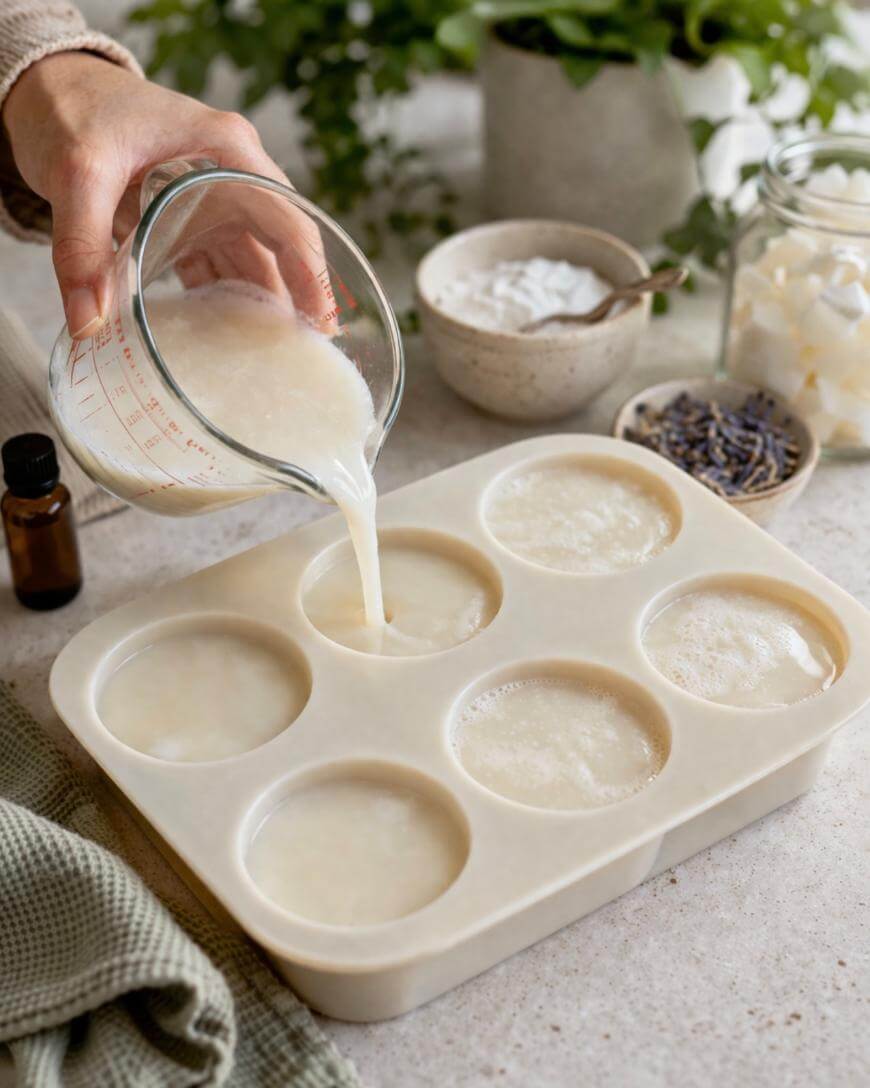
16. Melt Slowly To Avoid Bubbles And Texture Problems
Overheating can create sweating, pitting, or a weird rubbery feel in some bases. Slow melting gives you a smoother pour and a nicer-looking bar.
Microwave in short bursts like 15 to 20 seconds, stirring between each one. If you use a double boiler, keep the heat low and stir gently.
17. Add Heat-Sensitive Ingredients After You Remove From Heat
Essential oils and some actives can degrade with too much heat. Adding them late helps the scent last and keeps your ingredients more stable.
Let the melted base cool slightly until it is still pourable but not steaming. Then stir in scent and additives in a steady, gentle motion.
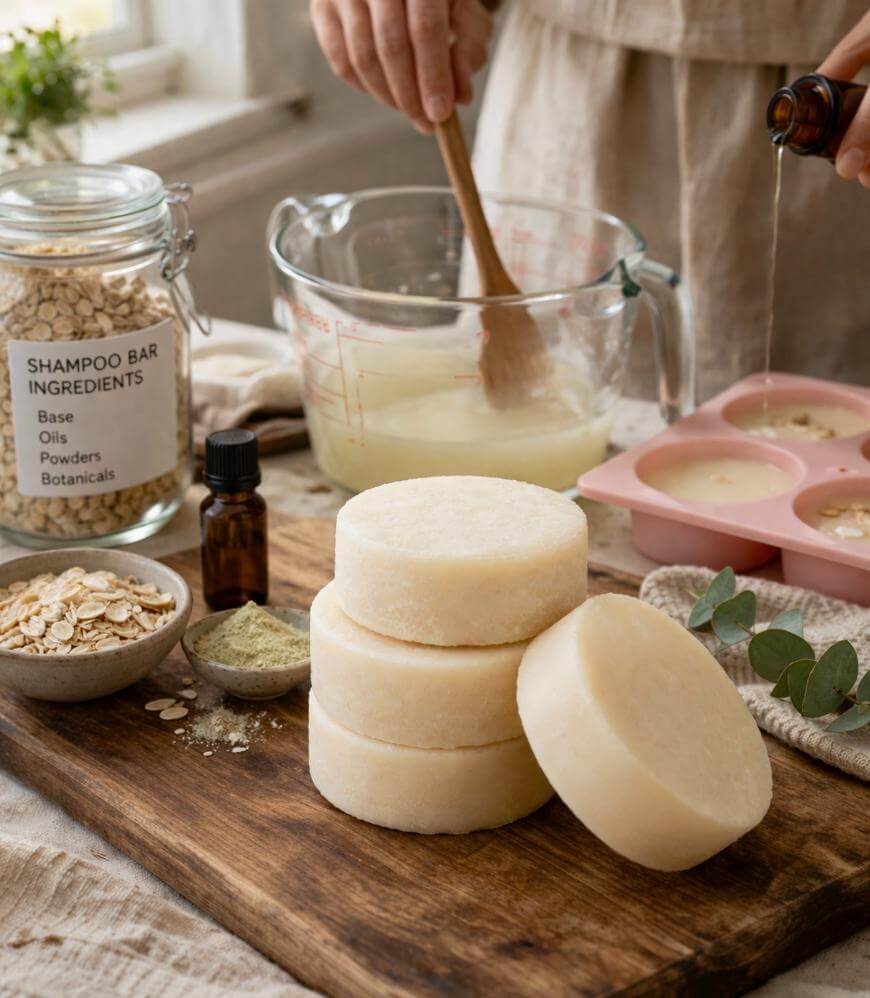
18. Pour And Tap The Mold To Release Air Pockets
Air pockets look annoying and can create weak spots that break later. A quick tap on the counter fixes most bubbles.
If you see surface bubbles, a light spritz of rubbing alcohol can help. Keep it minimal so you do not mess with the bar’s finish.
19. Unmold At The Right Time Instead Of Rushing It
If you unmold too early, the bars can dent or warp. If you wait too long with some molds, the bars can stick.
A good window is 2 to 4 hours at room temperature, or 30 to 60 minutes in the fridge if your mold is flexible silicone. If it feels soft, give it more time.
20. Wrap Or Store Properly So The Bars Stay Hard
Melt-and-pour bases can attract moisture from the air, especially in humid climates. That is why some bars “sweat” even when you did everything right.
Wrap each bar in shrink wrap or store them in a dry area with airflow. If you hate plastic, use a breathable container and keep bars away from steamy bathrooms.
How To Use A Shampoo Bar So Your Hair Actually Feels Good
21. Lather In Your Hands First For Less Tangles
Rubbing the bar directly on hair can rough up the cuticle and create knots, especially on longer hair. Hand-lathering gives a creamier wash.
Wet your hands, swirl the bar for 10 to 15 seconds, then apply the lather to your scalp. You can repeat once if you have a lot of product buildup.
22. Focus On The Scalp And Let Suds Rinse Through The Ends
Most people over-wash the ends, which makes hair feel dry and frizzy. Your scalp needs cleansing more than your lengths do.
Massage your scalp for 30 to 60 seconds. Then let the suds rinse down the ends without scrubbing them hard.
23. Use A Light Acid Rinse If Hair Feels Waxy
If you are using a true soap bar or you have hard water, a quick rinse can help remove residue. This can also help hair feel smoother.
Mix 1 tablespoon apple cider vinegar in 1 cup water and pour it through after shampooing, then rinse lightly. If your scalp is sensitive, reduce the vinegar.
What To Avoid With A Shampoo Bar Recipe
24. Do Not Overload Butters Or Heavy Oils
Too much shea, cocoa butter, or coconut oil can leave hair coated and make the bar soft. Shampoo bars are not body butter, even if your hair is dry.
If you want more conditioning, adjust your conditioner step rather than stuffing the bar with oils. A balanced bar plus a lightweight conditioner usually performs better.
25. Do Not Add Too Many Powders At Once
Powders can clump, make the bar gritty, and reduce lather. It is easy to blame the base when it is really the add-ins.
Pick one powder to test per batch. If you want both clay and oatmeal, try them in separate mini bars first.
26. Do Not Expect One Bar To Replace Clarifying Shampoo Forever
A gentle bar is great for regular use, but styling products and silicones can build up. You might still need a clarifying wash occasionally.
A realistic schedule is clarifying every 2 to 4 weeks depending on your hair and product use. If your hair suddenly looks dull, clarify before you change your whole recipe.
Key Takeaways
A shampoo bar recipe is a solid cleanser you use on hair instead of liquid shampoo.
Start with a melt-and-pour shampoo bar base for the easiest first batch.
Keep essential oils around 0.5% to 1% by weight to avoid scalp irritation.
Dry bars for 48 to 72 hours and store them with airflow for longer life.
Lather in your hands first and focus washing on your scalp, not your ends.
Clarify every 2 to 4 weeks if you notice buildup or dullness.
FAQ
Can You Make A Shampoo Bar Without Lye?
Yes, you can make one without lye by using a melt-and-pour shampoo bar base. That option is the simplest and most beginner-friendly.
Why Does A Shampoo Bar Make Hair Feel Waxy?
It often happens with true soap bars and hard water because residue can cling to hair. An acidic rinse and a gentler formula usually fix it.
How Many Bars Does A 1 lb Batch Make?
A 1 lb batch usually makes about 4 bars if your molds are around 4 oz each. Smaller molds can make 5 to 6 mini bars for testing.
How Long Does A Shampoo Bar Last?
Most bars last 20 to 50 washes depending on size and how well you let them dry between uses. A draining soap dish makes a big difference.
This post contains affiliate links. A full disclosure is available from the main menu.